
How to Draw a Ladybug
In this easy tutorial, you’ll learn how to draw a ladybug step by step. Ladybugs are one of the most charming insects, known for their bright red shells and black spots.


How to Draw a Ladybug Step by Step – Easy Guide for Beginners
Ladybugs are small, colorful insects that are loved by both kids and adults. Known for their bright red shells with black spots, they are often considered symbols of luck and happiness. In this drawing tutorial, you will learn how to draw a ladybug step by step with clear and simple instructions.
Whether you’re an absolute beginner, a parent looking for a fun activity for kids, or a teacher creating an art lesson, this guide will help you draw a beautiful ladybug easily.
Why Draw a Ladybug?
Drawing a ladybug is not only fun but also educational. This little insect has a simple body structure, which makes it perfect for beginner artists. By sketching a ladybug, you will:
- Practice drawing smooth, rounded shapes.
- Learn to add symmetry with spots and body patterns.
- Improve your skills in drawing small details like antennae and legs.
- Create a cheerful artwork that can be used for school projects, nature drawings, or decorations.
What You’ll Need Before You Start
To make your drawing process smooth and enjoyable, prepare the following tools:
- Pencil – for sketching the initial shapes.
- Eraser – to correct mistakes and clean up guidelines.
- Black pen or marker – for outlining the final drawing.
- Colored pencils, crayons, or markers – mainly red and black for the ladybug, but you can also use green if you want to add leaves or grass.
- Drawing paper – any type will work, but thicker paper is better if you plan to use markers.
Fun Facts About Ladybugs
Adding a bit of nature knowledge makes drawing even more fun! Here are some interesting facts about ladybugs:
- There are over 5,000 species of ladybugs around the world.
- Not all ladybugs are red—some can be yellow, orange, or even black with different spot patterns.
- Ladybugs are actually beetles, not bugs, and they are considered helpful insects because they eat plant pests like aphids.
- The number of spots on a ladybug does not tell its age—it’s just part of its unique pattern.
Time needed: 20 minutes
How to Draw a Ladybug Step by Step
- Draw the Head Shape
Start by drawing a small half-oval shape. This will be the ladybug’s head. Keep the line curved at the top and flat at the bottom, just like a helmet.

- Add the Eyes and Antennae
Next, draw two large round eyes inside the head. Then, sketch two small antennae sticking out from the top. Make them short and curved with tiny circles at the ends.

- Draw the Body
Below the head, draw a large oval shape. This is the ladybug’s main body and shell. Make it bigger than the head, and a little wider at the bottom to give it a natural insect shape.

- Add the First Pair of Legs
On both sides of the head, draw two short, wavy legs. These should curve slightly outward. Ladybug legs are thin and simple, so don’t worry about adding too much detail yet.

- Add the Second Pair of Legs
Now, move down the body and draw another pair of legs on each side. These legs should be a bit longer and also bend outward.

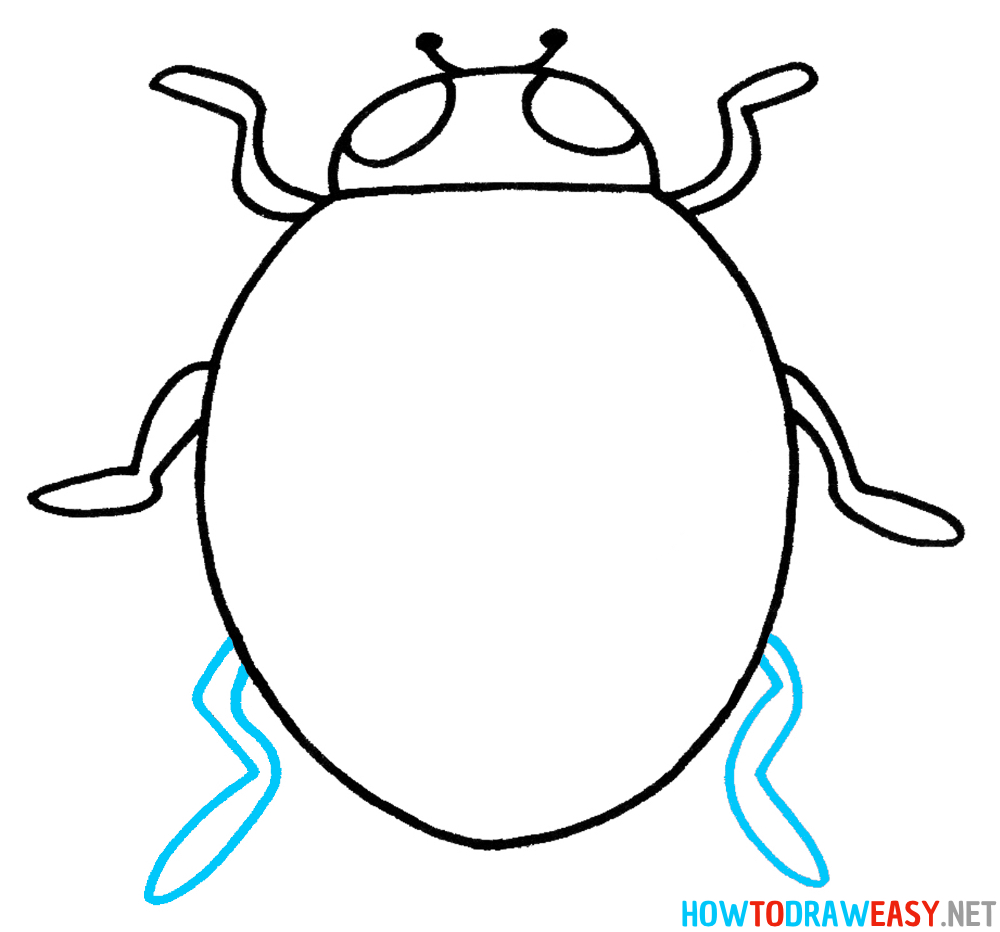
- Add the Third Pair of Legs
Finally, draw the last set of legs near the bottom of the body. These should be angled downward and a little longer, giving the ladybug six legs in total.
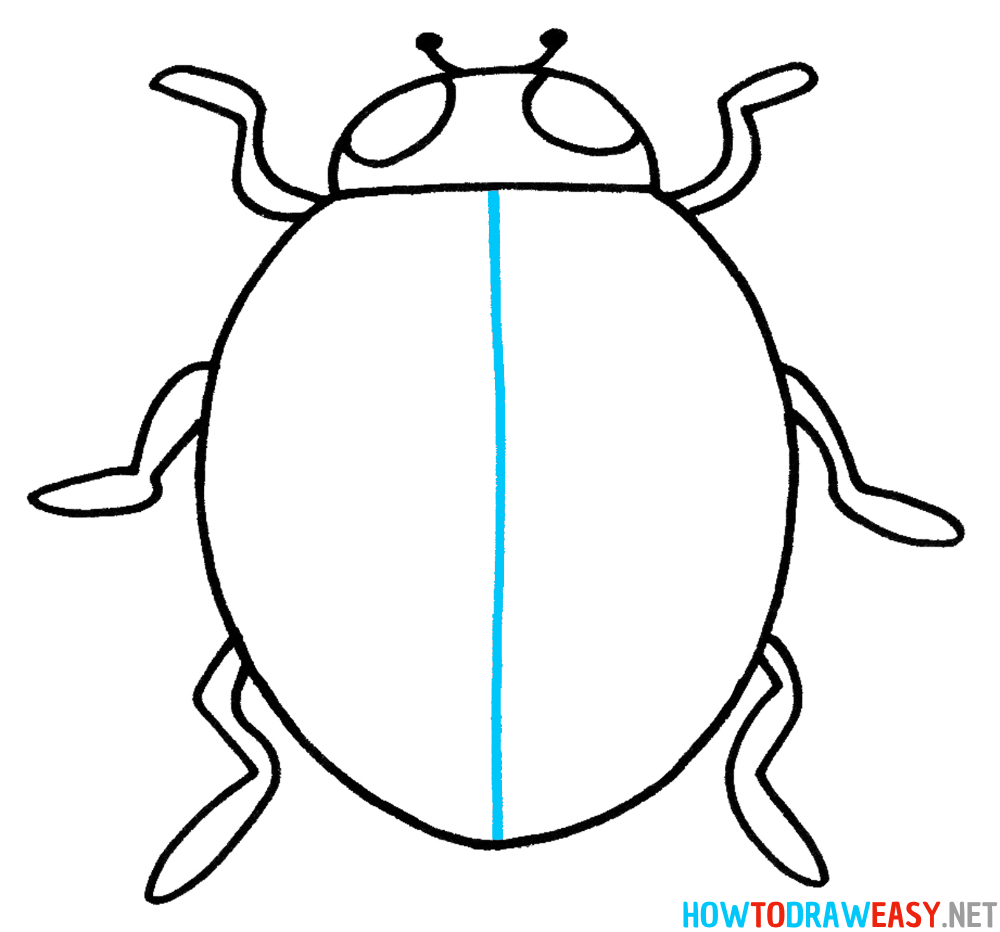
- Draw the Center Line of the Shell
Ladybugs have two wing covers that split down the middle. Draw one straight vertical line from the top of the body to the bottom. This will divide the shell into two equal halves.
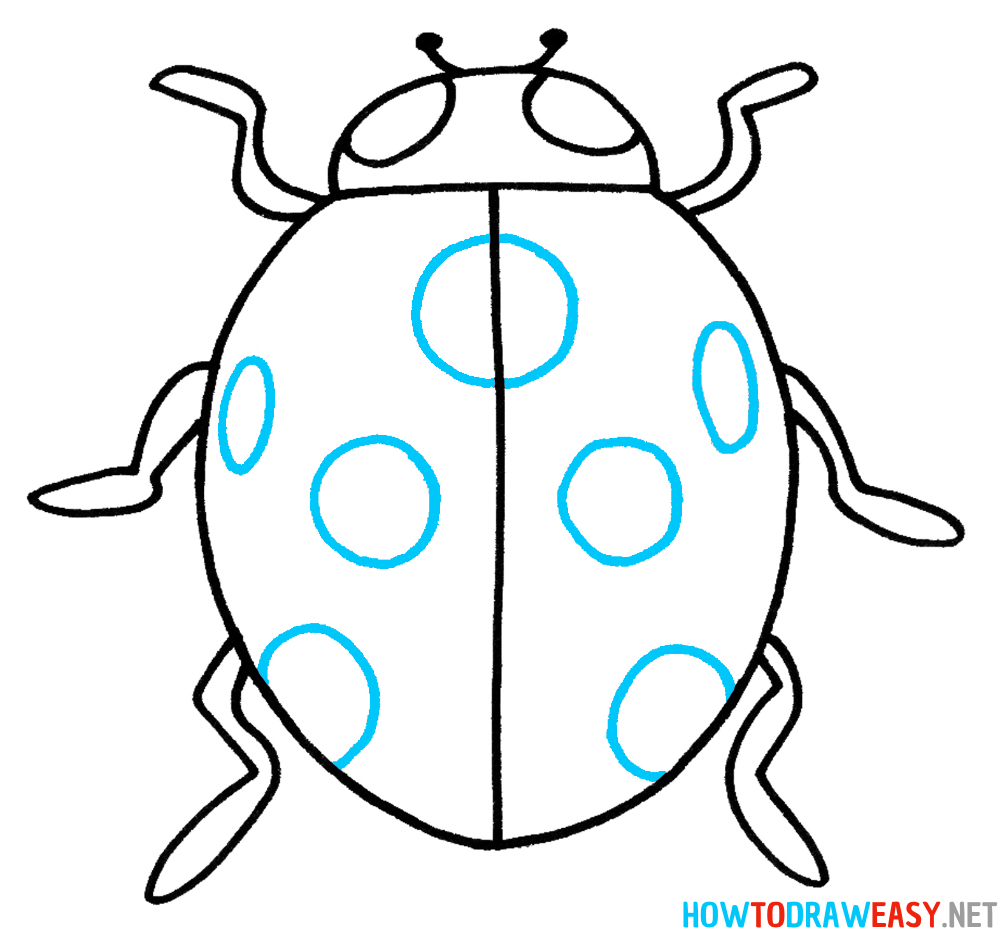
- Add the Spots
Now it’s time to add the ladybug’s signature spots! Draw several circles of different sizes on both sides of the body. Try to keep them balanced, but don’t worry if they’re not perfectly even—real ladybugs are unique too.
- Color Your Ladybug
Finish your drawing by coloring it. Make the body a bright red, the spots and legs black, and the head dark with lighter eyes. You can also add a touch of dark blue to the head for extra detail.
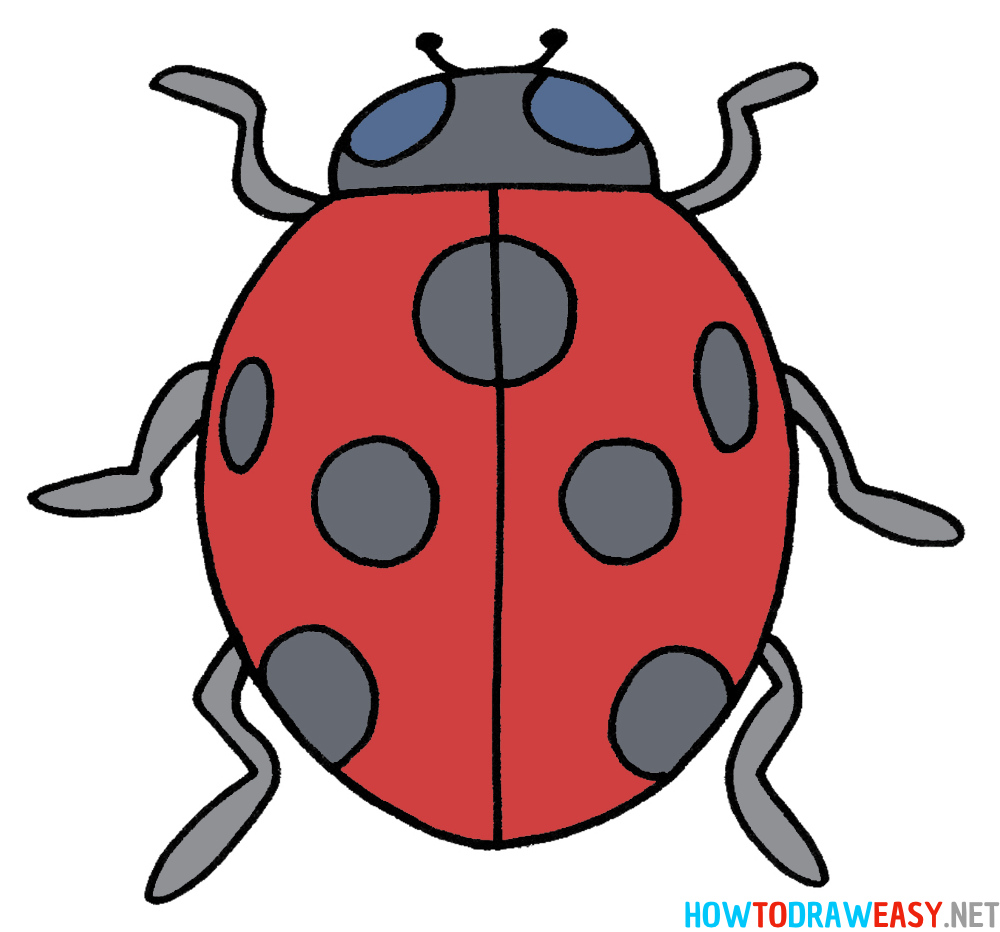


You’ve now learned how to draw a ladybug step by step, and your drawing should look both fun and realistic. From sketching the oval body to adding six legs and the signature black spots, you’ve completed a beautiful insect illustration. But your artistic journey doesn’t end here—keep practicing to make your ladybug drawings even better.
Tips to Improve Your Ladybug Drawing
- Try shading the shell to make it look rounder and more three-dimensional.
- Experiment with spot patterns to create unique ladybugs.
- Add details like grass, flowers, or a leaf to make a complete nature scene.
- Practice drawing other insects to improve your ability to capture tiny details.
What to Draw Next? Explore More Tutorials!
If you enjoyed this guide, check out more step-by-step lessons on HowtoDrawEasy.net. Here are a few insect and animal tutorials you might love:
- How to Draw a Butterfly – Learn to draw a beautiful butterfly with detailed wings.
- How to Draw a Bee – Follow easy steps to draw a buzzing bee.
- How to Draw a Caterpillar – A fun and easy drawing project for kids.
Keep Practicing and Share Your Artwork!
Every drawing you complete makes you a better artist. Don’t forget to share your ladybug drawing with friends, family, or online communities—it’s always inspiring to see how others draw the same subject in different ways.
For more creative inspiration and hundreds of tutorials, explore HowtoDrawEasy.net. Keep practicing, stay creative, and most importantly—enjoy the process of drawing!