
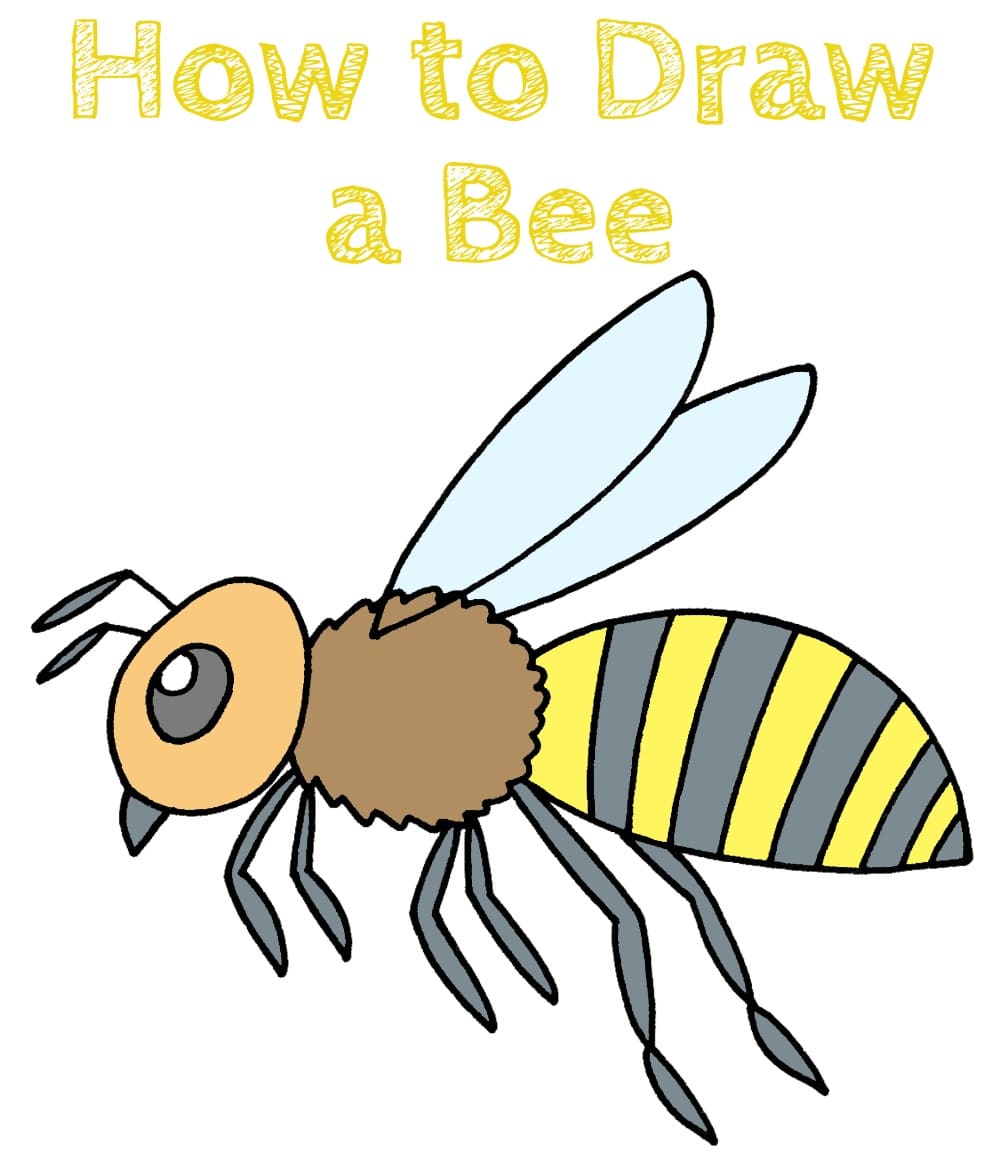
How to Draw a Bee
In this guide, you will learn in detail how to draw a bee easily and step by step. To study the lesson in more detail, scroll down and see the instructions.
We are glad to see you on a step-by-step instruction where you will learn how to draw a bee. It is probably no secret to anyone that bees (especially honeybees) are incredibly hardworking and useful insects. When they move from one flower to another, pollination of plants occurs, which, in turn, favorably affects the growth and productivity of flowers and plants. An interesting fact: we can say that these insects have excellent vision, even more sensitive than human. Bees have paired antennae on their heads, as well as compound eyes.
At the moment, bees require supervision and protection by specialists, because the benefits of bees for the earth are priceless. We also urge you to cherish and love these wonderful little workers! We hope that this instruction will be useful for you, and you will be able to portray a cute bee. Let’s start!
Time needed: 25 minutes
How to Draw a Bee
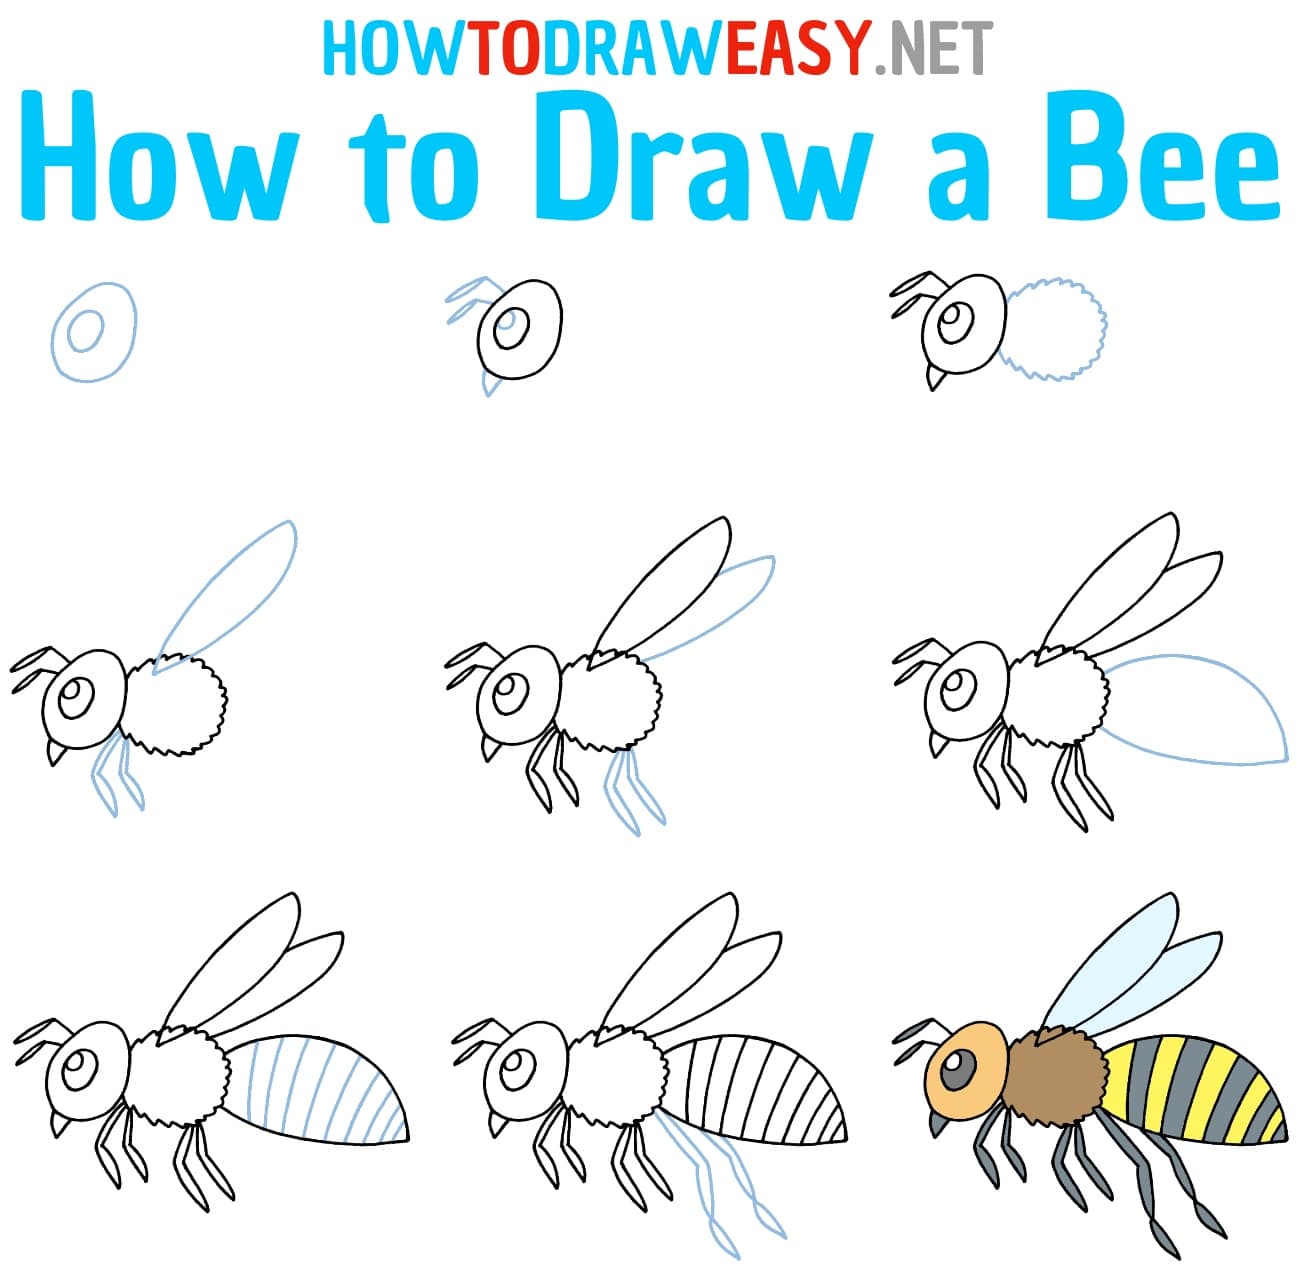
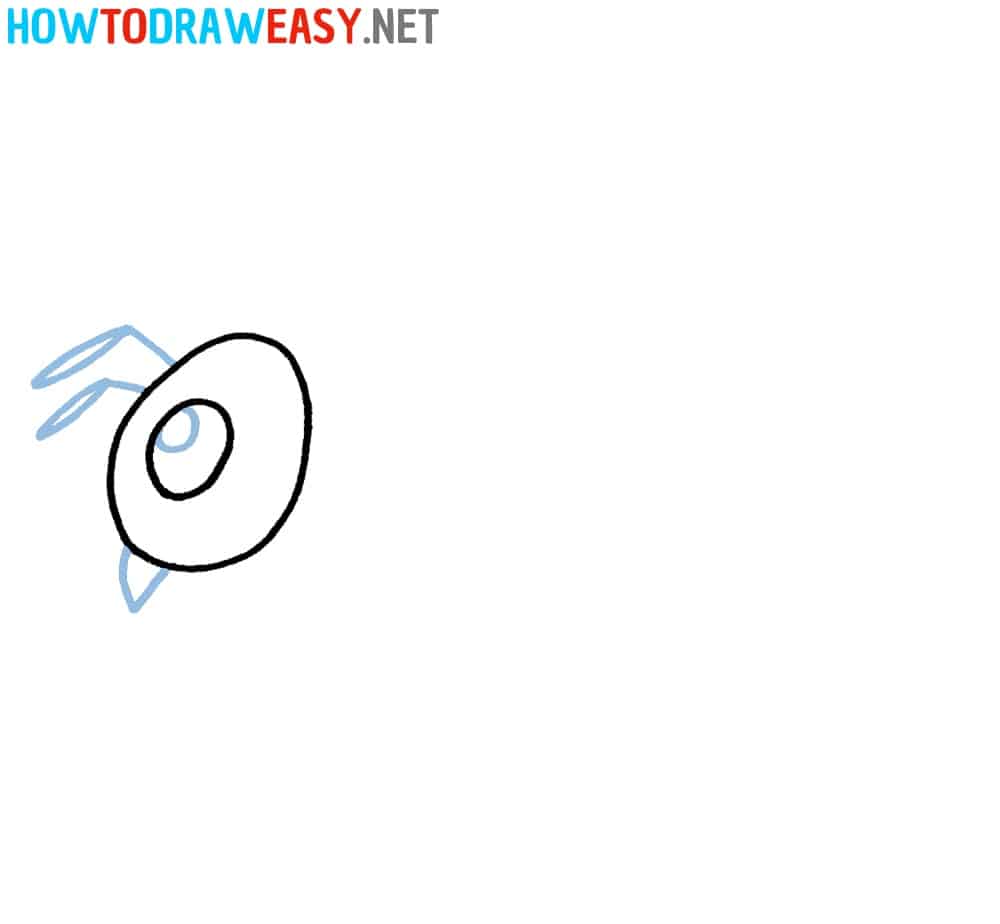
- Shape the head.
First, draw an oval-shaped bee head and an eye of the same shape.

- Add details.
On the head of the bee depict two antennae, then depict the mandible of this insect. You also need to detail the bee’s eye by adding a light reflection effect.
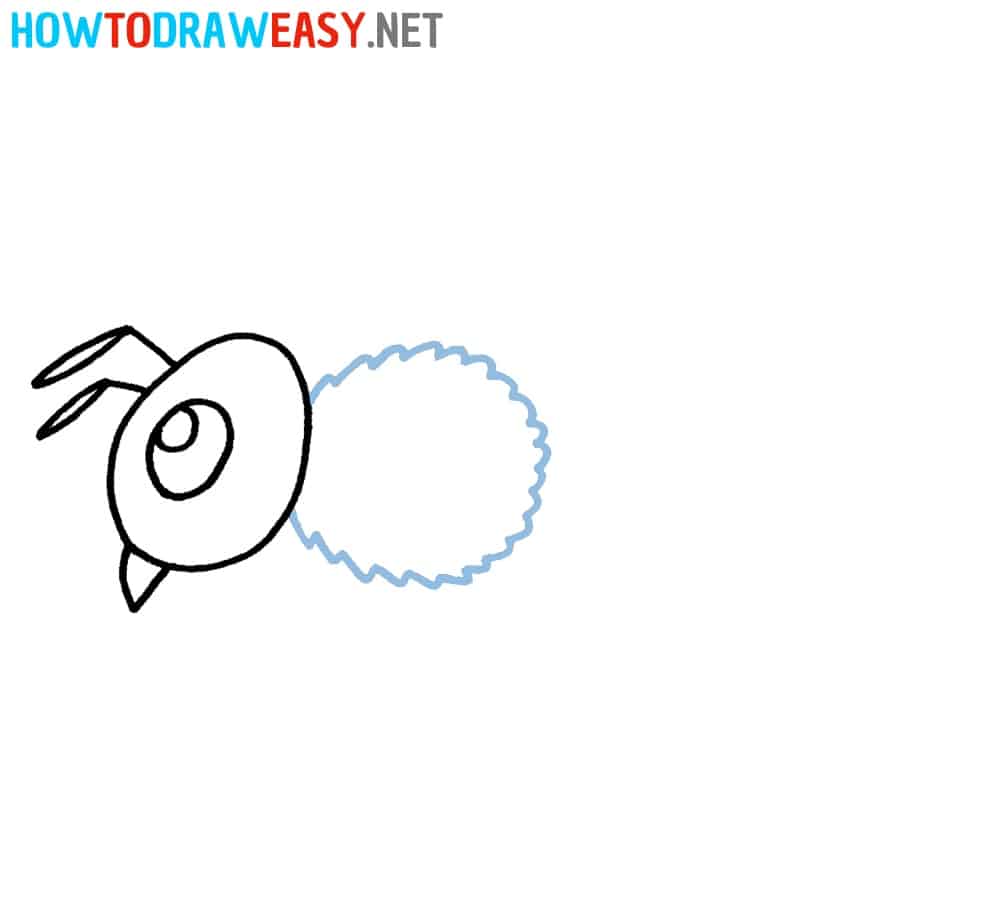
- Thorax.
Now you need to depict the next part of the bee body—this is the thorax. Sketch it in the form of a fluffy circle as shown.
- Add body parts.
In this step, you need to draw the first bee wing. In addition to this wing, depict the forelegs of the insect.
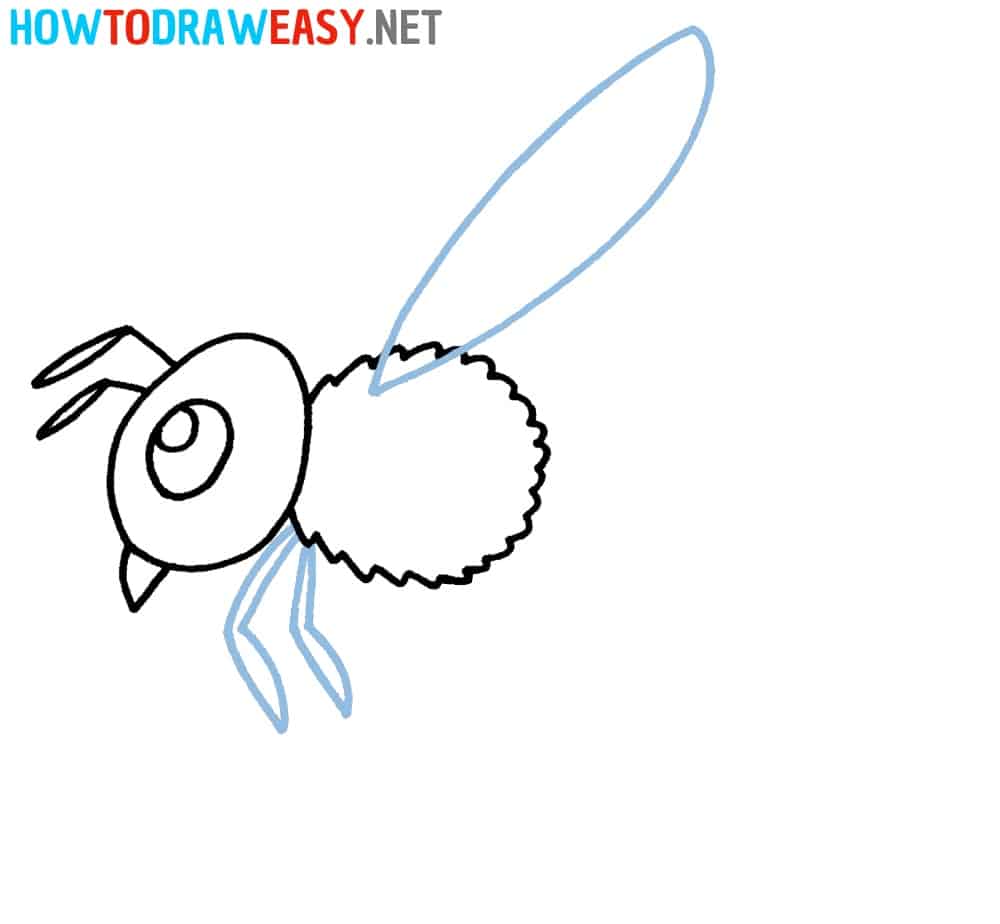
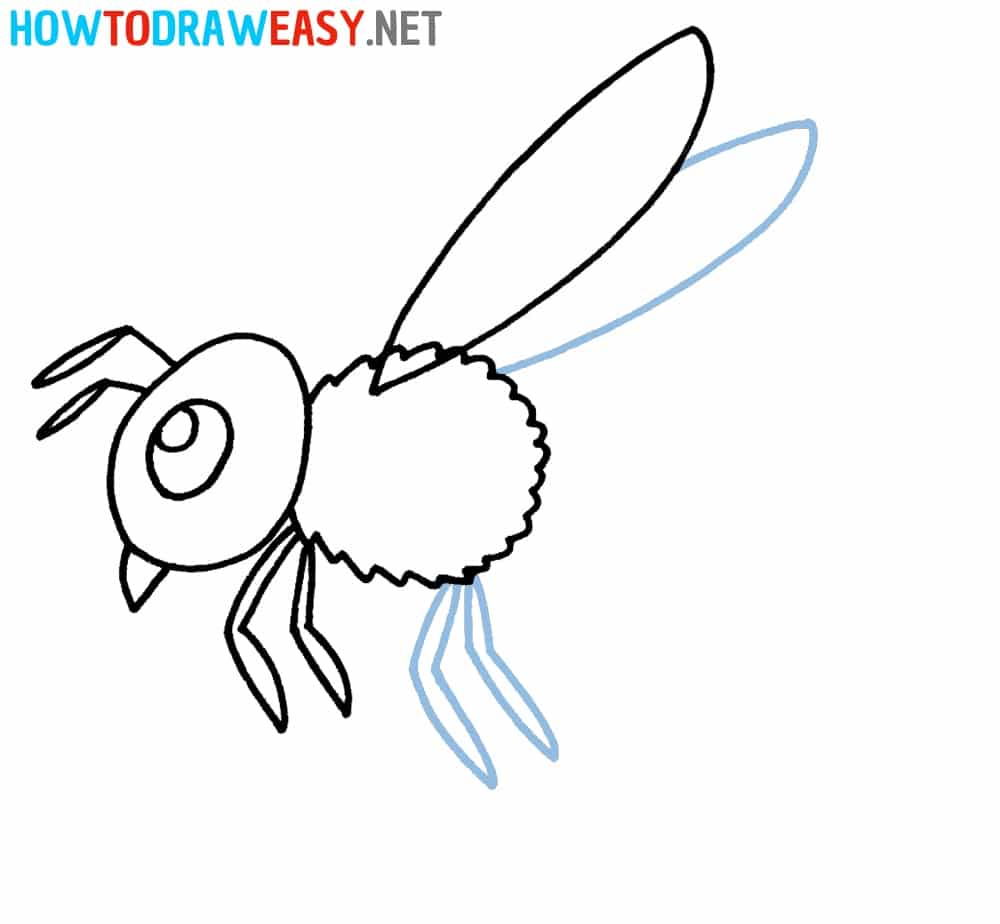
- Middle part.
Draw the middle bee legs and the second wing.
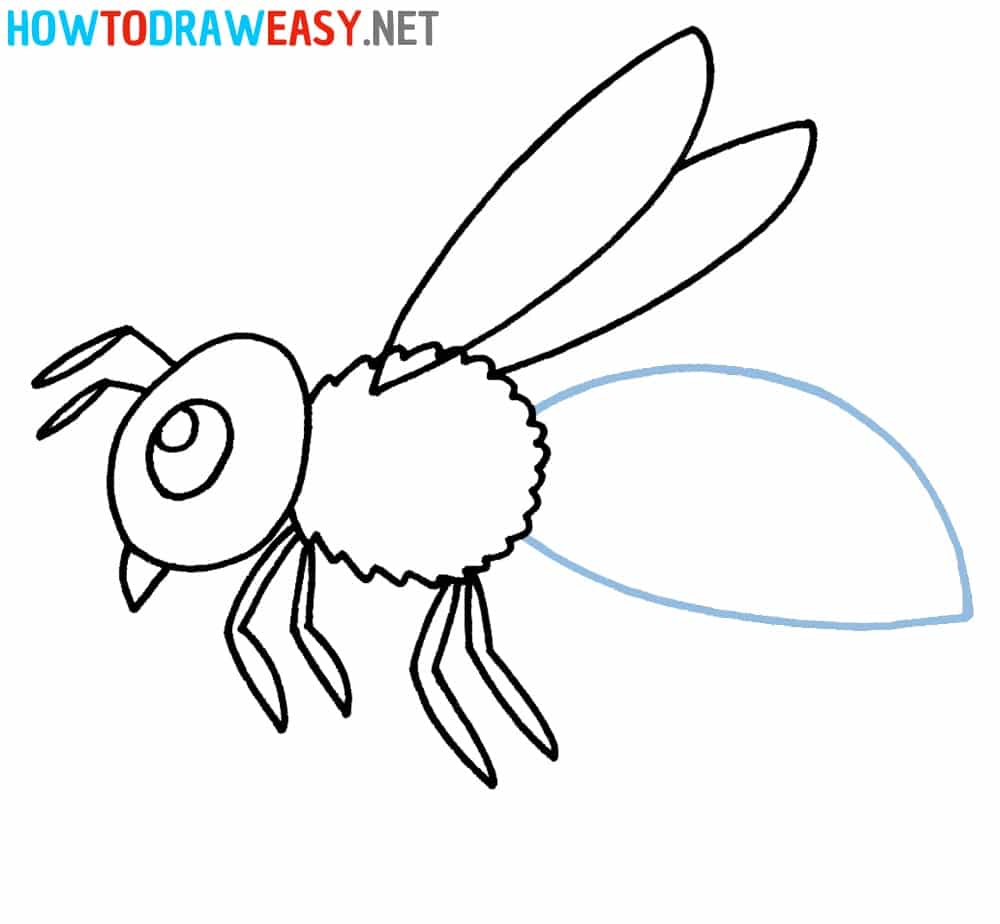
- Add the abdomen.
The turn has come to draw the largest part of the bee body—this is the belly. Draw the bee’s abdomen in a pointed shape, and use curved lines for this, as in the example. The bee tail should be pointed, since it is at the tip that the bee sting is located.
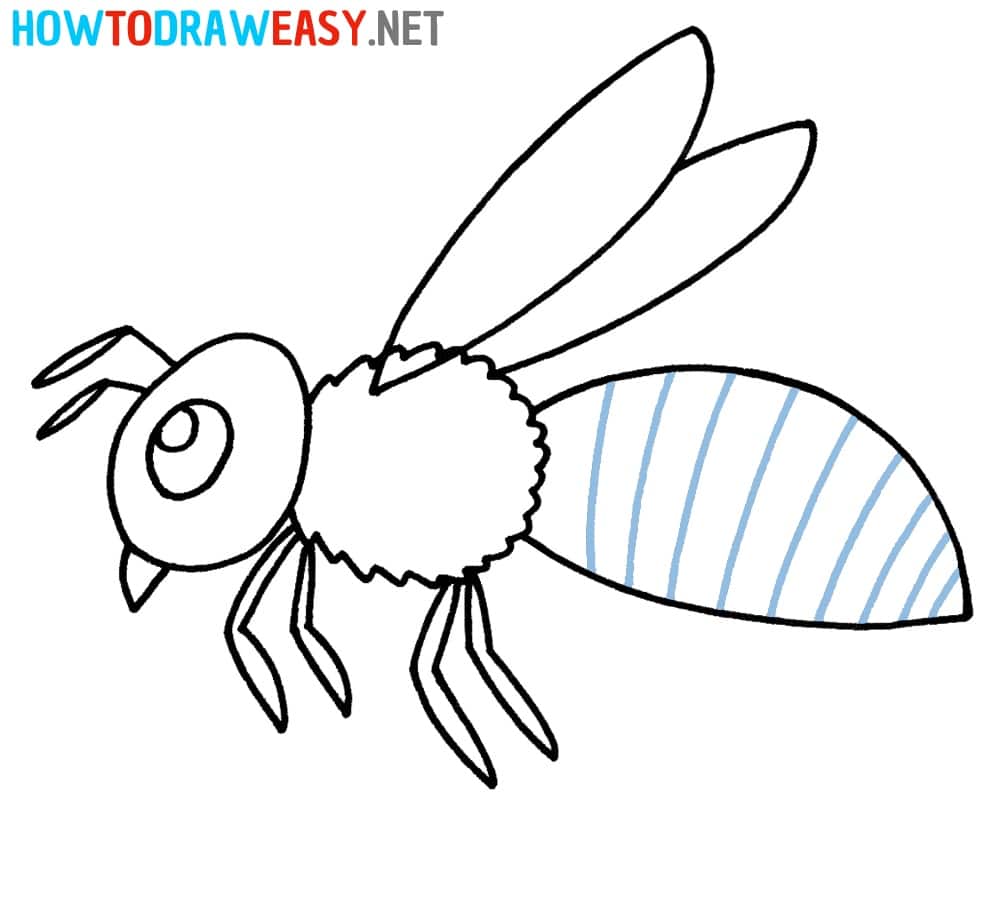
- Add stripes.
On the bee’s abdomen, depict stripes that you will need to color in yellow and black.
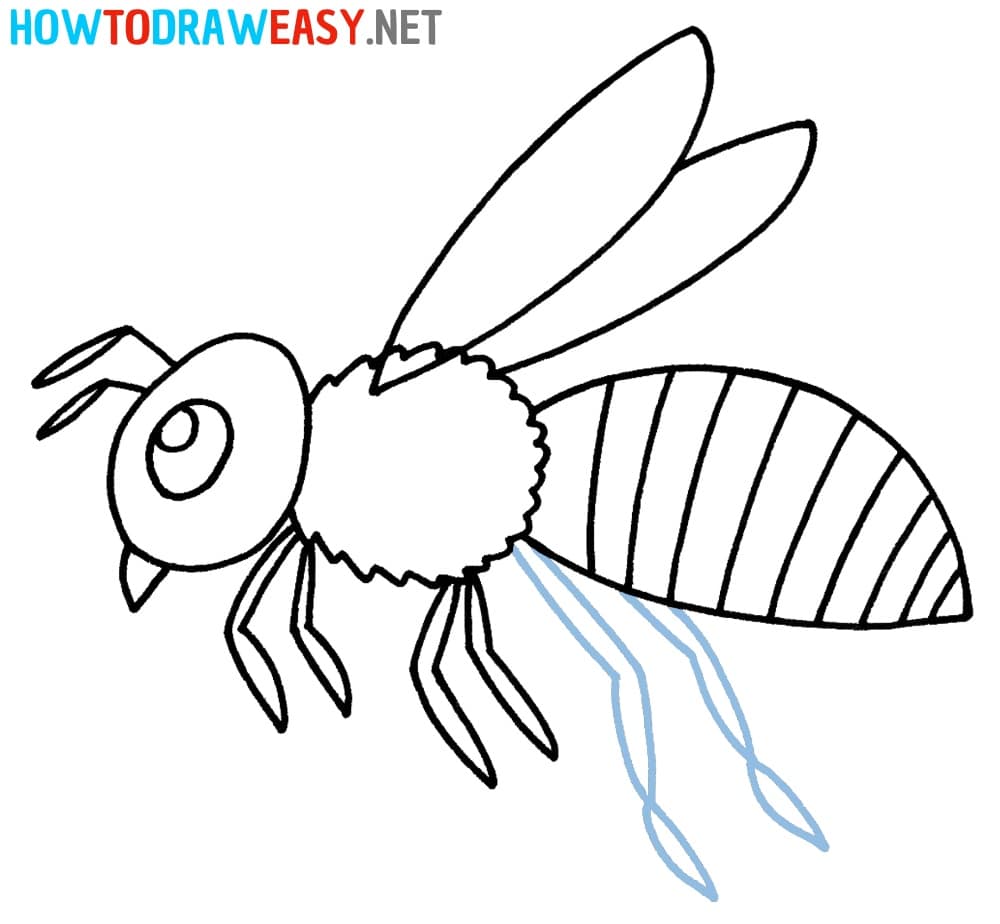
- Add legs.
Draw the longest limbs of the bee, which are the hind limbs.
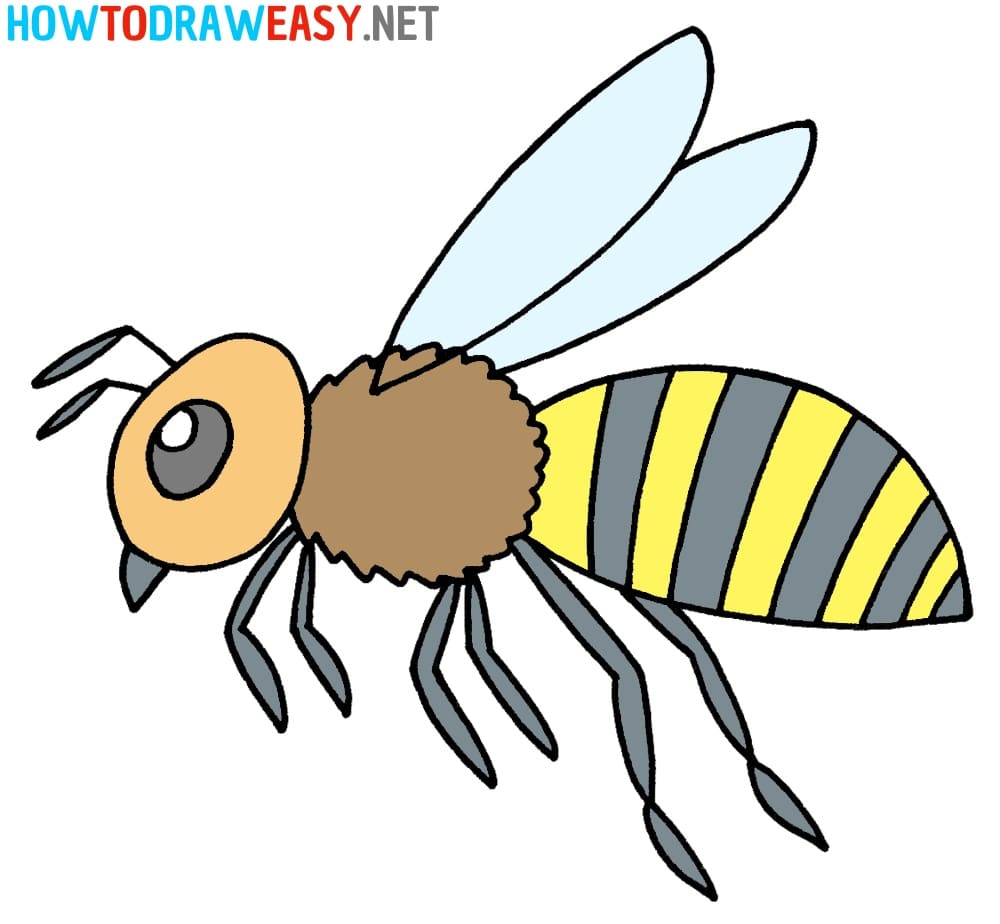
- Color the bee.
Now trace your sketch with a marker or fountain pen. Then color your drawing using coloring tools. We hope that this instruction has become helpful for you and that you were able to draw a cute bee the way you intended.
Your beautiful bee drawing is ready, and now you can proceed to other drawing lessons. Practice more to improve your skills! Try to draw another hardworking insect, we are talking about an ant.