
How to Draw an Anime Hand
Learn how to draw an anime hand step-by-step with this beginner-friendly guide. Includes easy instructions, drawing tips, and easy to follow steps.


How to Draw an Anime Hand: A Complete Beginner’s Guide
Why Drawing Hands Matters in Anime Art
If you’ve ever tried drawing anime characters, you know that hands can be surprisingly tricky. They’re expressive, detailed, and play a huge role in bringing your characters to life. From confident clenched fists to delicate gestures, mastering how to draw an anime hand can take your illustrations to the next level. Whether you’re sketching for fun, building your portfolio, or just starting out, learning to draw hands accurately is a fundamental skill worth developing.
Understanding the Basics of Anime-Style Hands
Anime art simplifies many real-world details, but hands still require a basic understanding of structure and proportion. Anime hands are usually a bit more stylized—fingers may be longer and more tapered, gestures are exaggerated, and details like nails or knuckles are often minimized. But the structure? That still needs to be solid. Before putting pencil to paper, take a moment to observe how hands move and bend. This will help your drawings feel more natural and balanced.
What You’ll Learn in This Tutorial
This step-by-step tutorial breaks down the process into clear, manageable phases. By the end of it, you’ll know how to build an anime hand from basic shapes, how to correctly place each finger, and how to give your hand a clean, polished look. You don’t need years of experience or any expensive tools — just some time and a willingness to sketch.
Tools You’ll Need to Draw an Anime Hand
To get started, make sure you have the following materials on hand:
- Pencil – HB or 2B for sketching (mechanical or traditional)
- Eraser – Preferably a kneaded eraser for light corrections
- Paper – Sketchbook, printer paper, or digital tablet
- Fine liner or ink pen – To finalize your drawing (optional)
- Coloring tools – Colored pencils, markers, or digital brushes (optional)
These basic supplies are more than enough to follow along. If you’re working digitally, most drawing apps offer built-in pencil tools that mimic traditional drawing textures.
Tips Before You Start Drawing
Keep your hand relaxed and don’t stress if the first few tries aren’t perfect. Drawing is all about repetition and observation. Use light strokes at the beginning—you can always darken the lines later. If you get stuck, hold up your own hand or take reference photos. Artists use reference constantly—it’s not cheating, it’s smart.
Time needed: 15 minutes
How to Draw an Anime Hand – Step-by-Step Tutorial
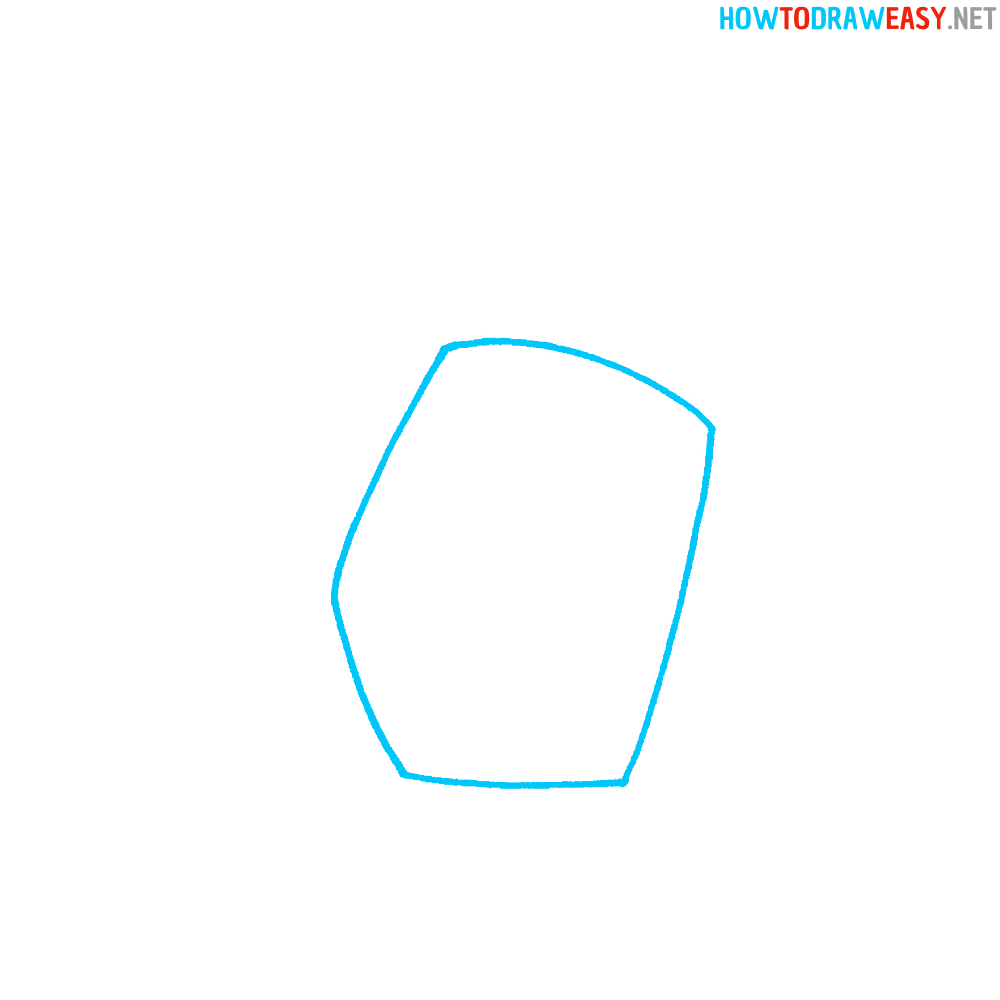
- Draw the Basic Palm Shape
Start by sketching the general outline of the palm. It should look like an uneven pentagon — wide at the top and narrowing slightly toward the bottom. This shape will be the foundation for the hand.
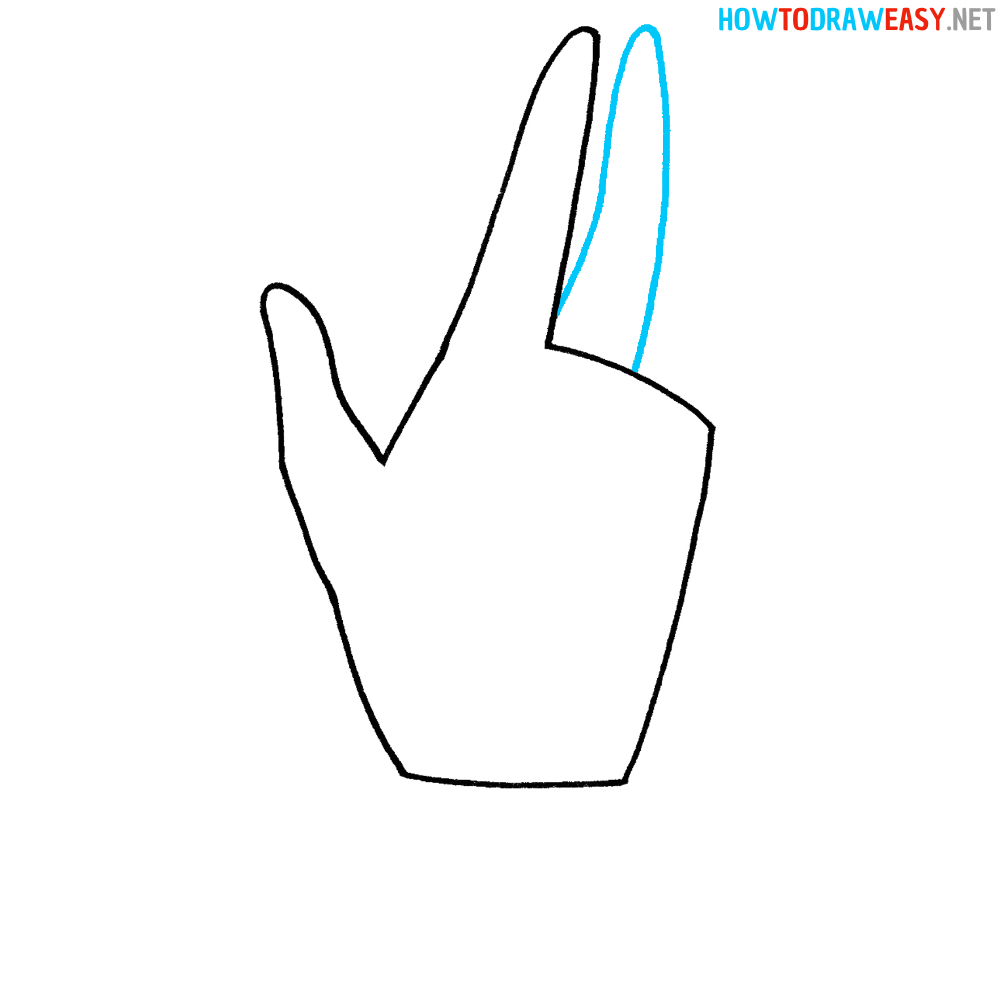
- Add the Thumb Base
On the left side of the palm shape, draw the curved base of the thumb. This curve should extend slightly outward from the palm and bend inward toward where the thumb will go.

- Draw the Index Finger
Now, draw a long vertical finger starting from the top-right corner of the palm. This will be the index finger. Make it long and slightly curved, in proportion to the size of the palm.

- Add the Middle Finger
To the right of the index finger, draw the middle finger. It should be slightly taller than the index finger and similarly curved.
- Draw the Ring Finger
Continue by sketching the ring finger next to the middle finger. It should be a little shorter and closely follow the curvature of the others.

- Draw the Pinky Finger
Add the final finger on the far right — the pinky. This finger should be the shortest and slightly slimmer than the others, curving softly.

- Add Wrist and Small Details
Extend two lines down from the bottom of the palm to form the wrist. You can slightly angle these lines for a natural arm shape. At this stage, refine the fingers by separating them slightly and adding subtle curve lines for knuckles or joints.

- Color Your Drawing
The final step is to color your anime hand. Use a skin tone or choose a color that fits your anime style. You can add shading later if you like, but for beginners, a solid flat color works great.


Like any other part of the body, anime hands become easier to draw the more you practice. Don’t worry about making every finger perfect right away. Focus on proportion, angles, and the overall gesture. With this guide, you now have a clear method to follow whenever you want to draw hands that feel believable and in-character.
As you improve, experiment with hand poses: open palms, peace signs, holding objects, and more. Every new sketch teaches you something—so keep your pencil moving and your creativity flowing.
Keep Practicing with More Drawing Lessons
Don’t stop here! Explore more fun and beginner-friendly lessons on HowToDrawEasy.net where you can learn to draw a wide variety of objects, animals, and accessories. Try these next: