How to Draw a Whale
We are glad to see you in this step-by-step drawing lesson. Let’s dive into drawing together, where you will learn how to draw a whale easy step by step!
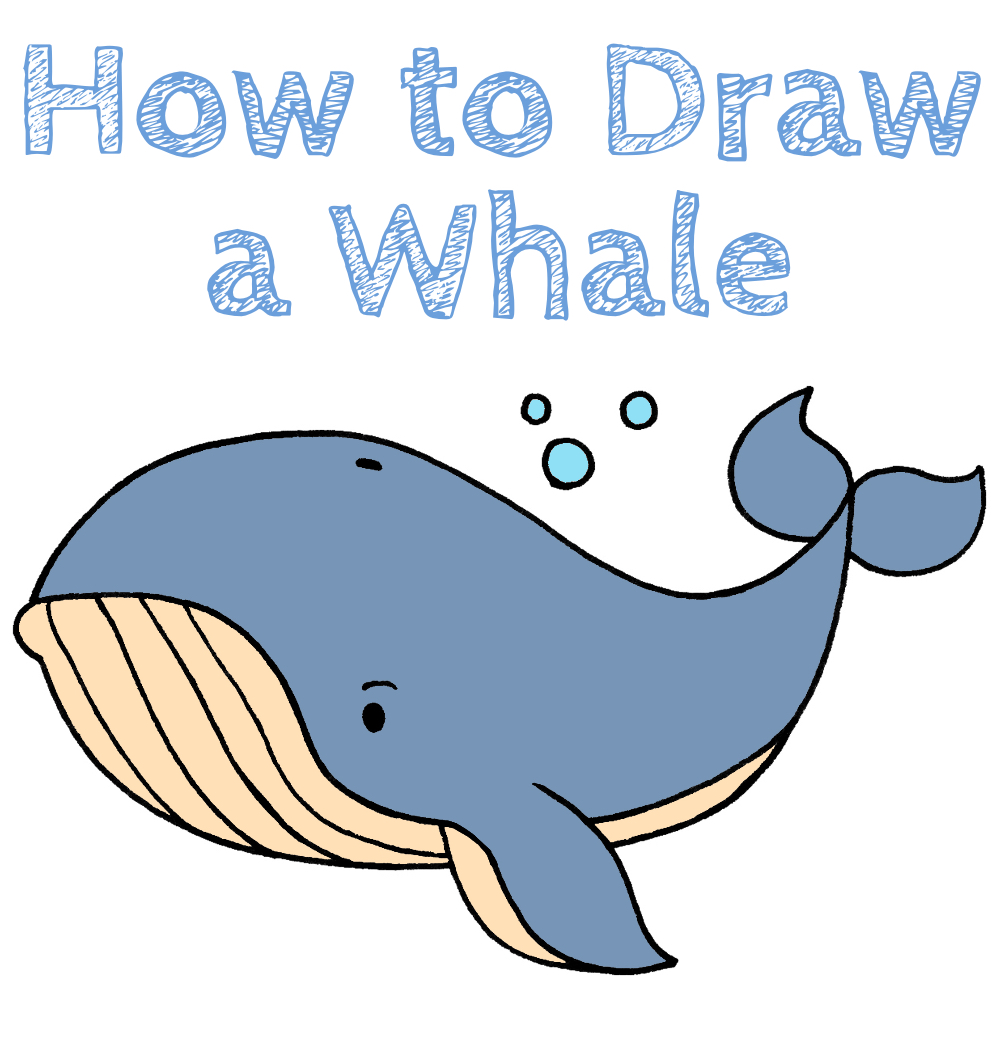
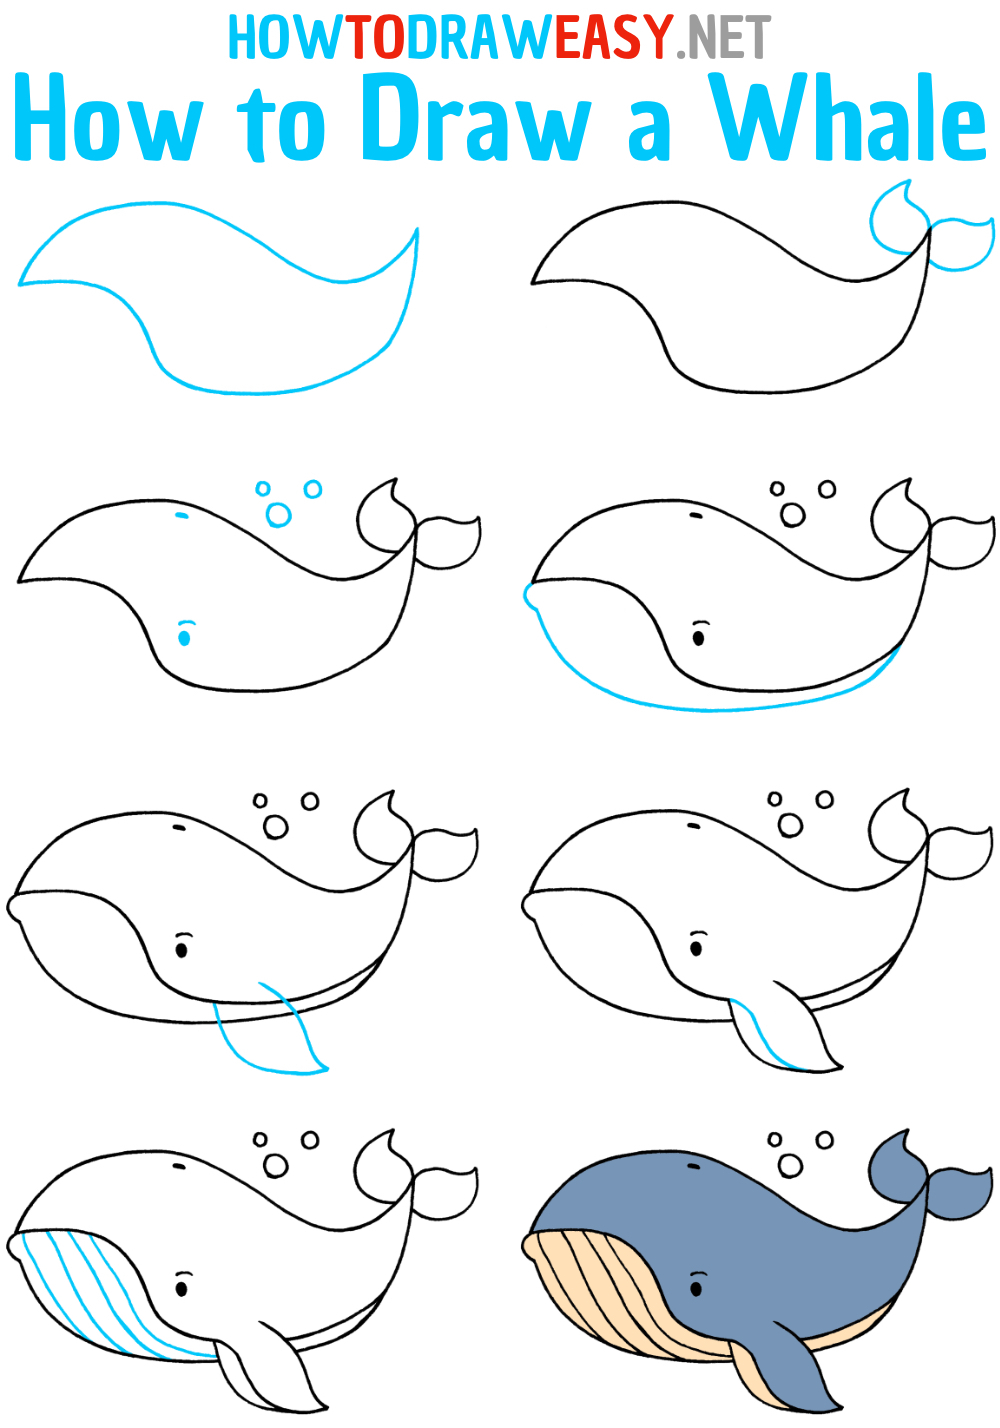
Welcome to a drawing lesson dedicated to one of the most majestic creatures of the ocean — the whale! In this step-by-step and easy drawing tutorial, you will learn how to draw a whale. We will immerse ourselves in the world of ocean depths and try to capture on paper all the beauty and power of this amazing marine creature. Get your brushes and paints ready, as together we will embark on an exciting journey through the vast seas, where every drop of water and every movement of the whale’s tail will inspire our creative ideas. Get ready for an unforgettable experience of drawing a whale that will leave a mark in your heart and on your sheet of paper!
Time needed: 30 minutes
How to Draw a Whale Step by Step
- Shape the whale body.
Let’s start with the basic shapes of the whale, and to begin with, draw the upper part of the whale’s body. Use curved lines and follow the lines shown in the example from the first step. You need to form the head, back, and tail of the whale.

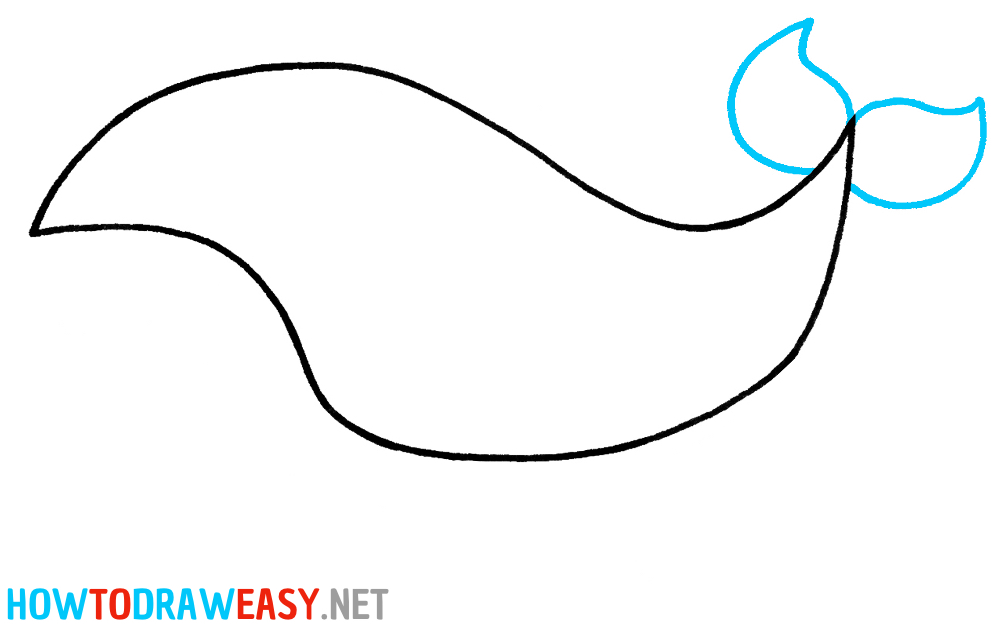
- Draw the tail of the whale.
On the tapered tail part of the whale, draw the whale’s fins. The fins are shaped like two leaves.
- Add details.
Detail the drawing by adding the whale’s blowhole and eye, as shown in the example. Also, draw water bubbles above the whale.

- Draw the whale’s belly.
Form the lower part of your whale’s body, as shown in the example. Use a curved line starting from the tail part, and finish the line by forming the whale’s mouth in the front part of the body.

- Add the flipper of the whale.
Outline the side flipper of the whale using a similar shape to what you used in the second step to draw the fins on the tail.

- Detail the flipper.
Divide the whale’s flipper visually into two parts with a curved line; this will make the whale’s flipper look most realistic and effectual.

- Detail the whale’s belly.
In this step, draw the ventral pleats of the whale, which are located in the front lower part of the whale’s body. To draw this detail, use several smoothly running parallel lines.

- Color your whale drawing.
Using a marker, trace the contours of your sketch to make it crispy. Then use your favorite coloring tools and add colors to your whale drawing. Color the upper half of the body dark blue or gray, and you can color the lower part of the body light gray, beige, or white.

Congratulations on completing the drawing of the whale! Now you have a beautiful whale drawing. I hope this tutorial was interesting and inspiring for you. Remember, practice makes perfect, so don’t stop here and keep drawing. Every artist has their own style and path, so experiment, create, and enjoy the creative process. We will be happy to help you with new lessons and advice. Good luck on your creative journey! You can also try to draw an easier version of a whale or another sea creature — a shark. Have a great mood!
