How to Draw a Helicopter for Kids
In this step by step guide you will learn how to draw a helicopter very easy even for kids.
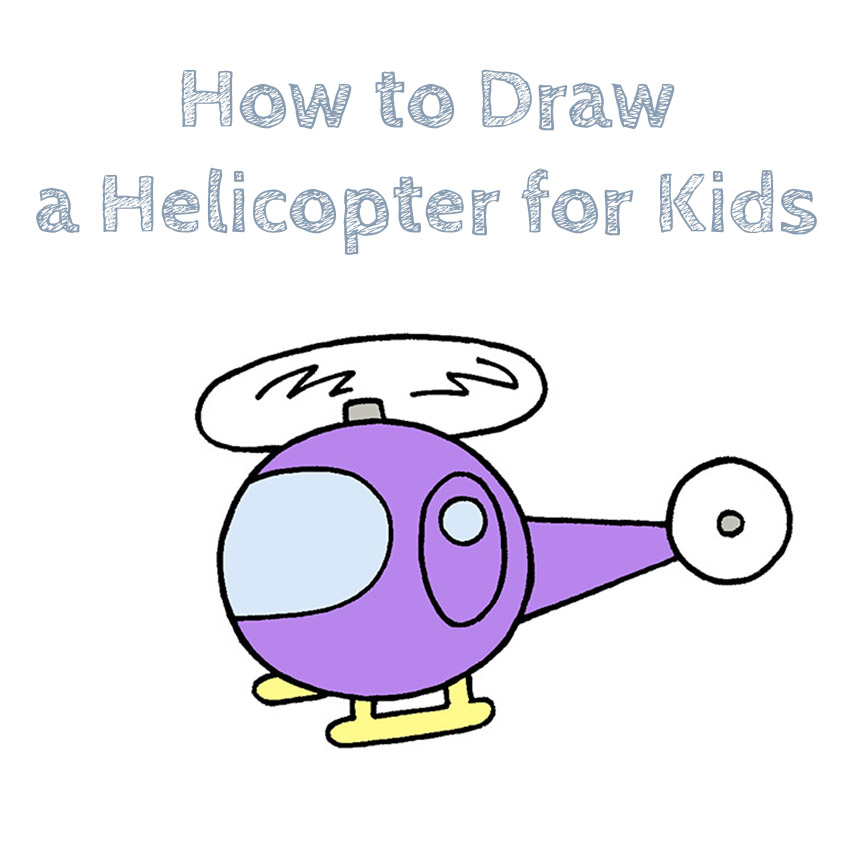

Hello, friends! How many times have you heard the sound of blades, looked up, and seen an aerial vehicle flying overhead? That is why we have prepared a lesson on how to draw a helicopter for kids.
The twenty-first century is the age of technology, and few can argue with that. Every day of our life does not pass without the use of one or another technique: a telephone, a car, a microwave oven, and you also need to be able to draw in this technique. Despite the fact that the technique is complicated, even a novice artist can draw a helicopter, because you need to complete only 8 steps.
Time needed: 30 minutes
How to Draw a Helicopter for Kids
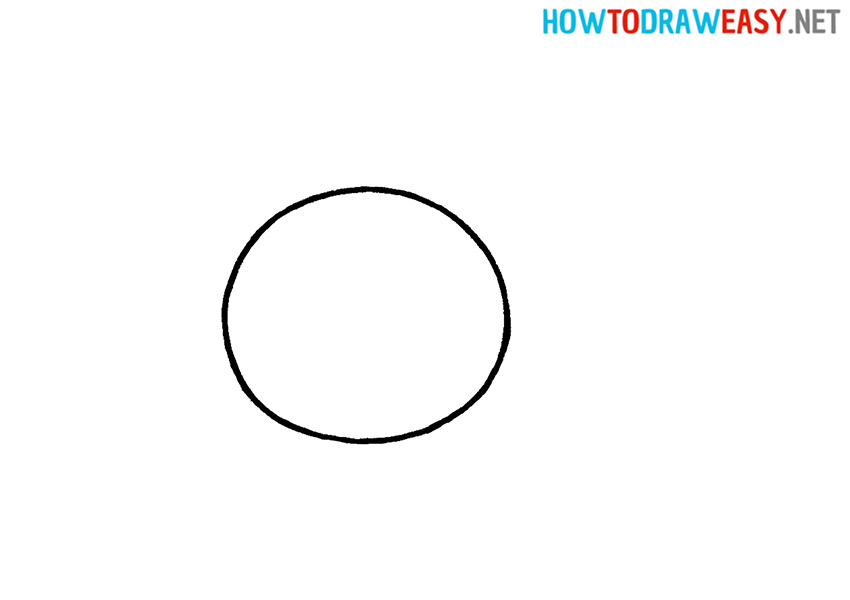
- Draw the cockpit.
The future cockpit of our helicopter will be in the form of an ordinary circle.
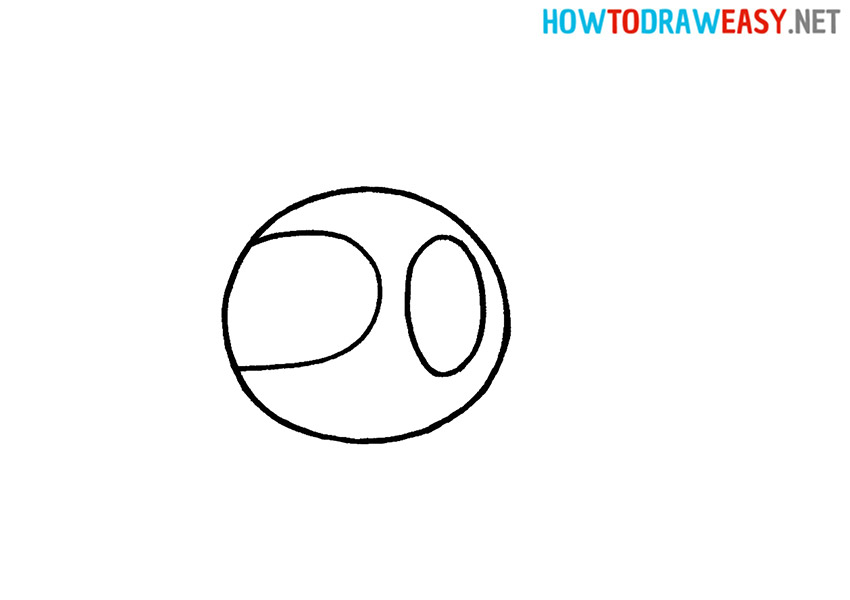
- Draw the windshield and the door.
Draw a round window in front of the cockpit and an oval door on the side.
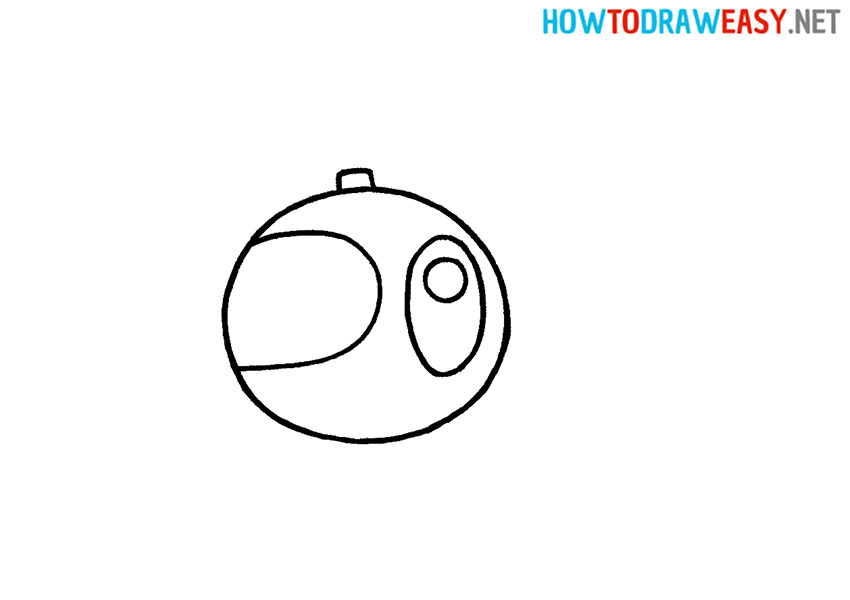
- Add the window to the door.
On the door, you need to add a small round window. And on top of the cockpit there is a small square—the base for the blades.
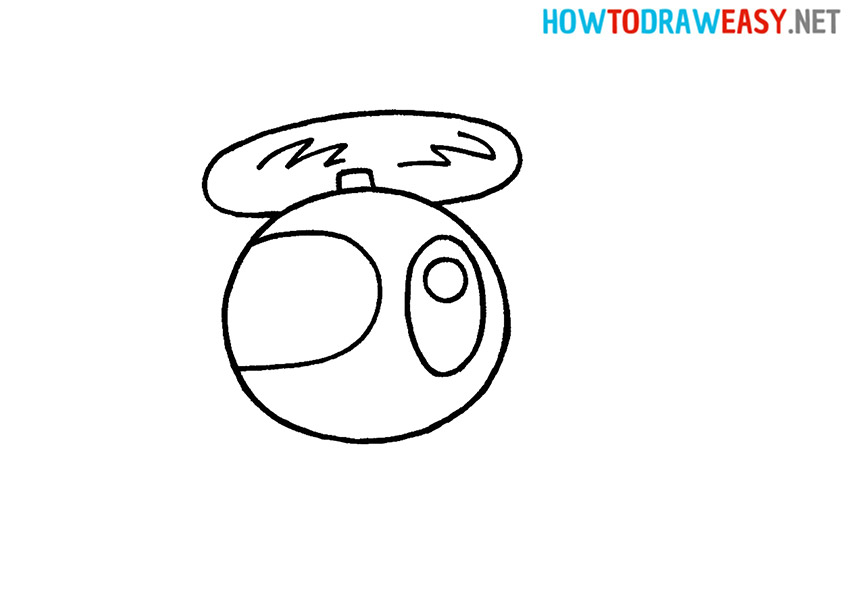
- Add rotating blades.
To do this, draw an oval with a center and, inside this oval with curved lines, create the illusion of rotation of the blades.
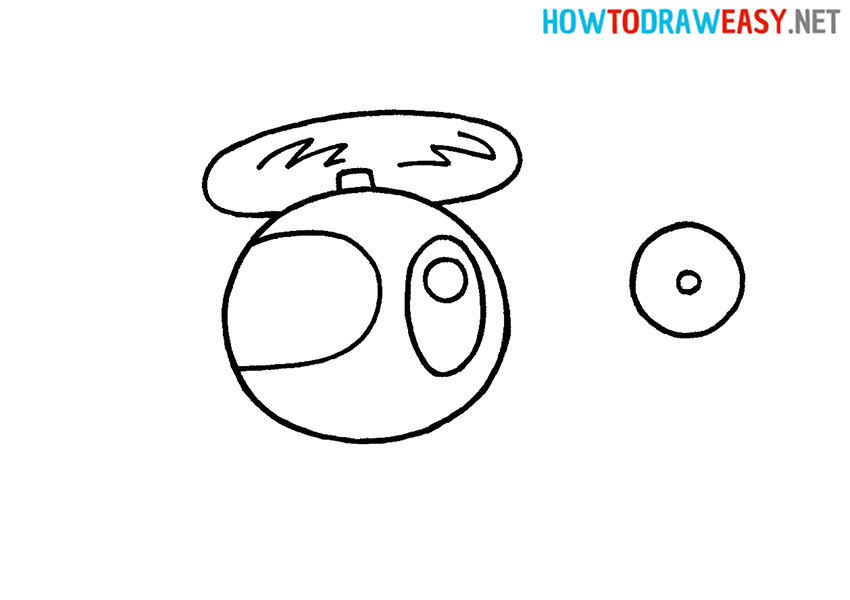
- Draw the additional propeller.
The helicopter turns with the help of the propeller on its tail, which must be depicted in the form of a large circle of the propeller itself and a small circle in the center—its mount.
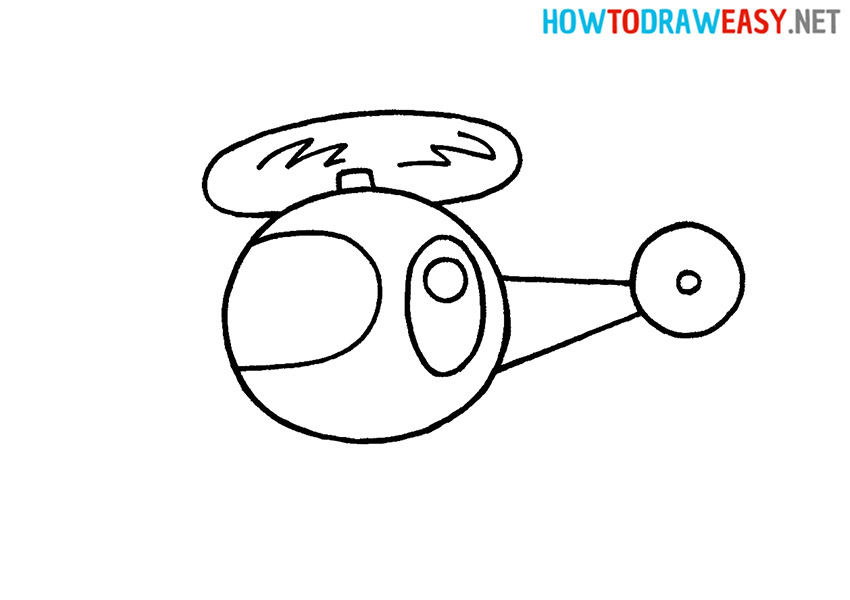
- Add the tail section.
Connect the propeller to the cockpit using two lines.
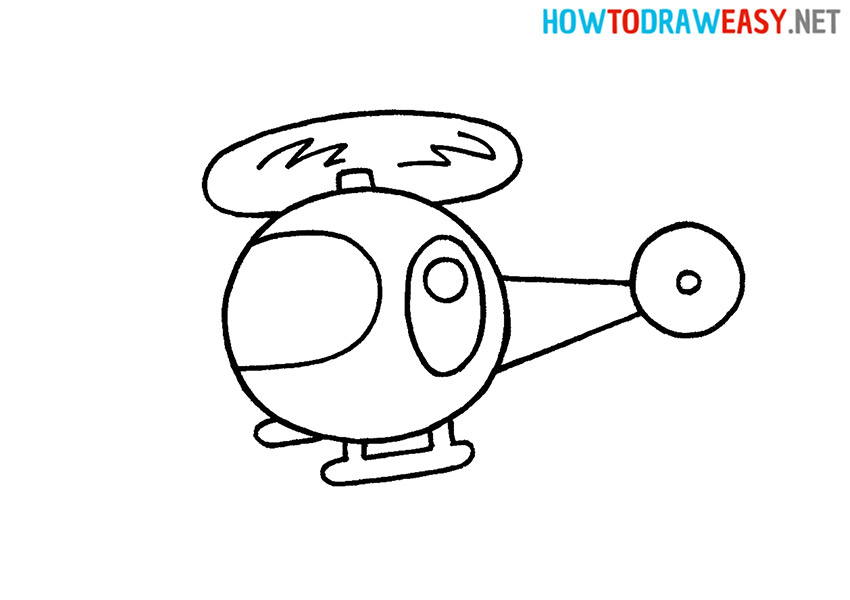
- Add the landing skid.
Draw the landing skid as shown in the instructions.
- Color the drawing.
Color the windows blue, the cockpit purple, and the landing skid yellow. You can use these colors or not limit yourself to come up with your own custom designs.
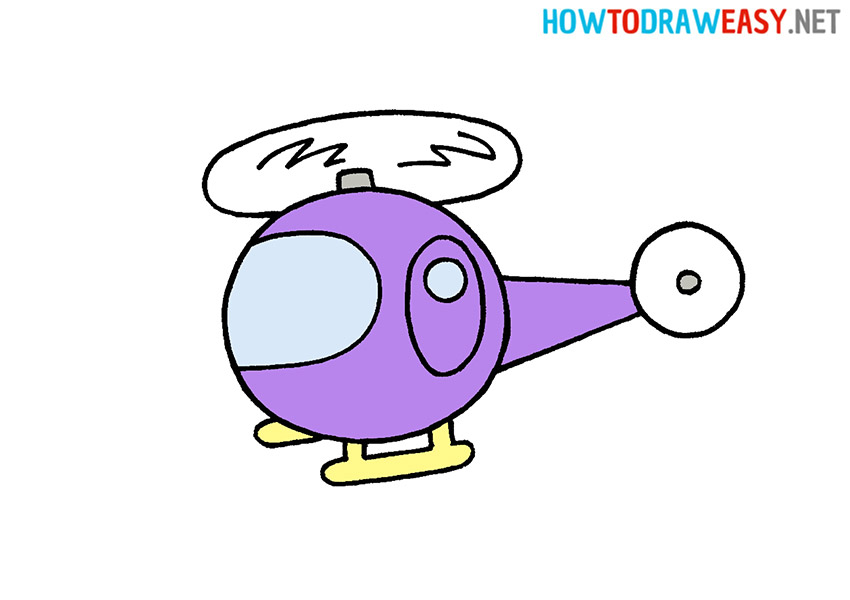
Your helicopter is ready! We hope you had a great time. We are waiting for you at other drawing lessons that will be useful for you in your drawing practice.
