How to Draw a Feather
If you want to learn how to draw a feather, then you have come to the best place where you can learn it. Below you will see a step by step collage and steps.
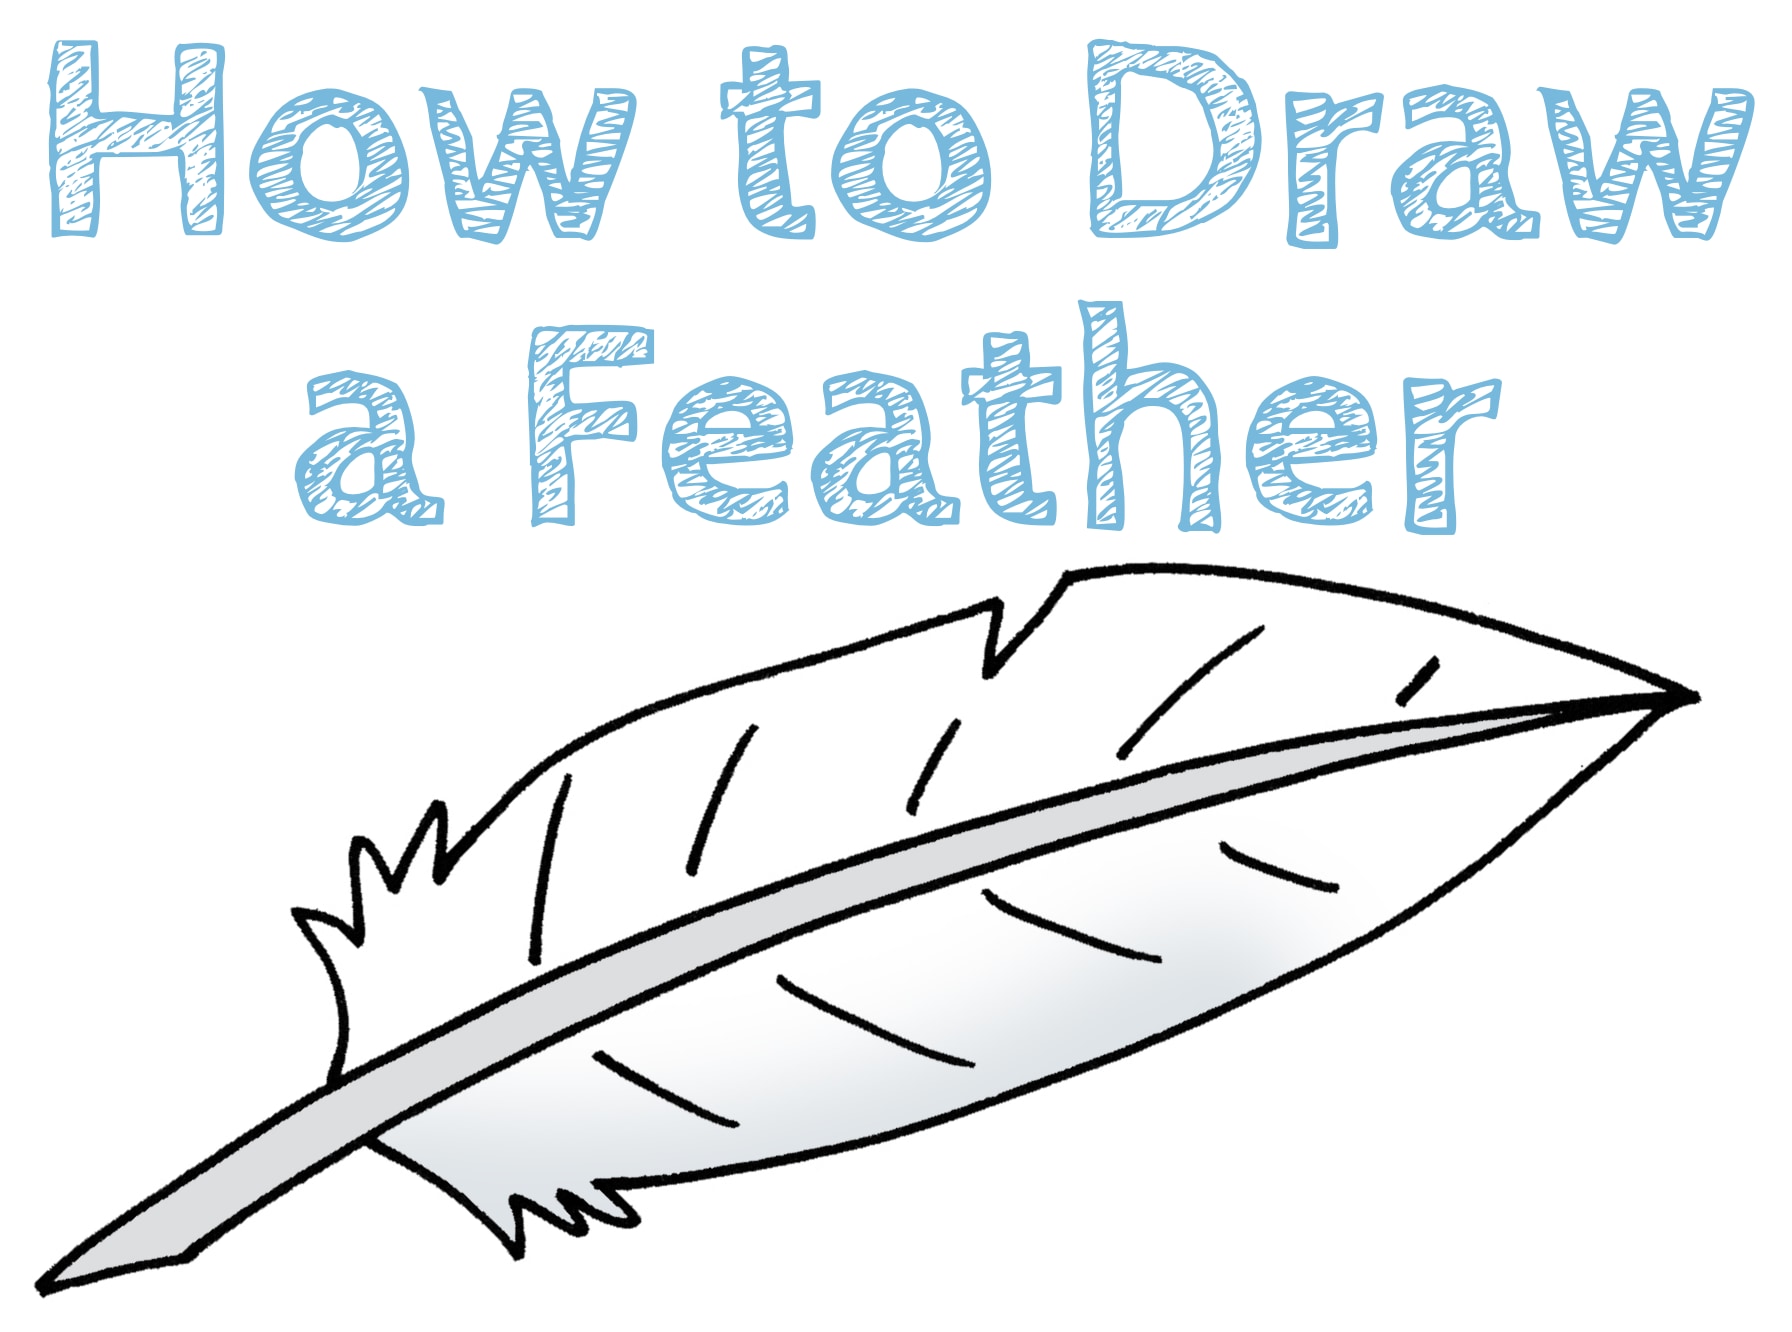
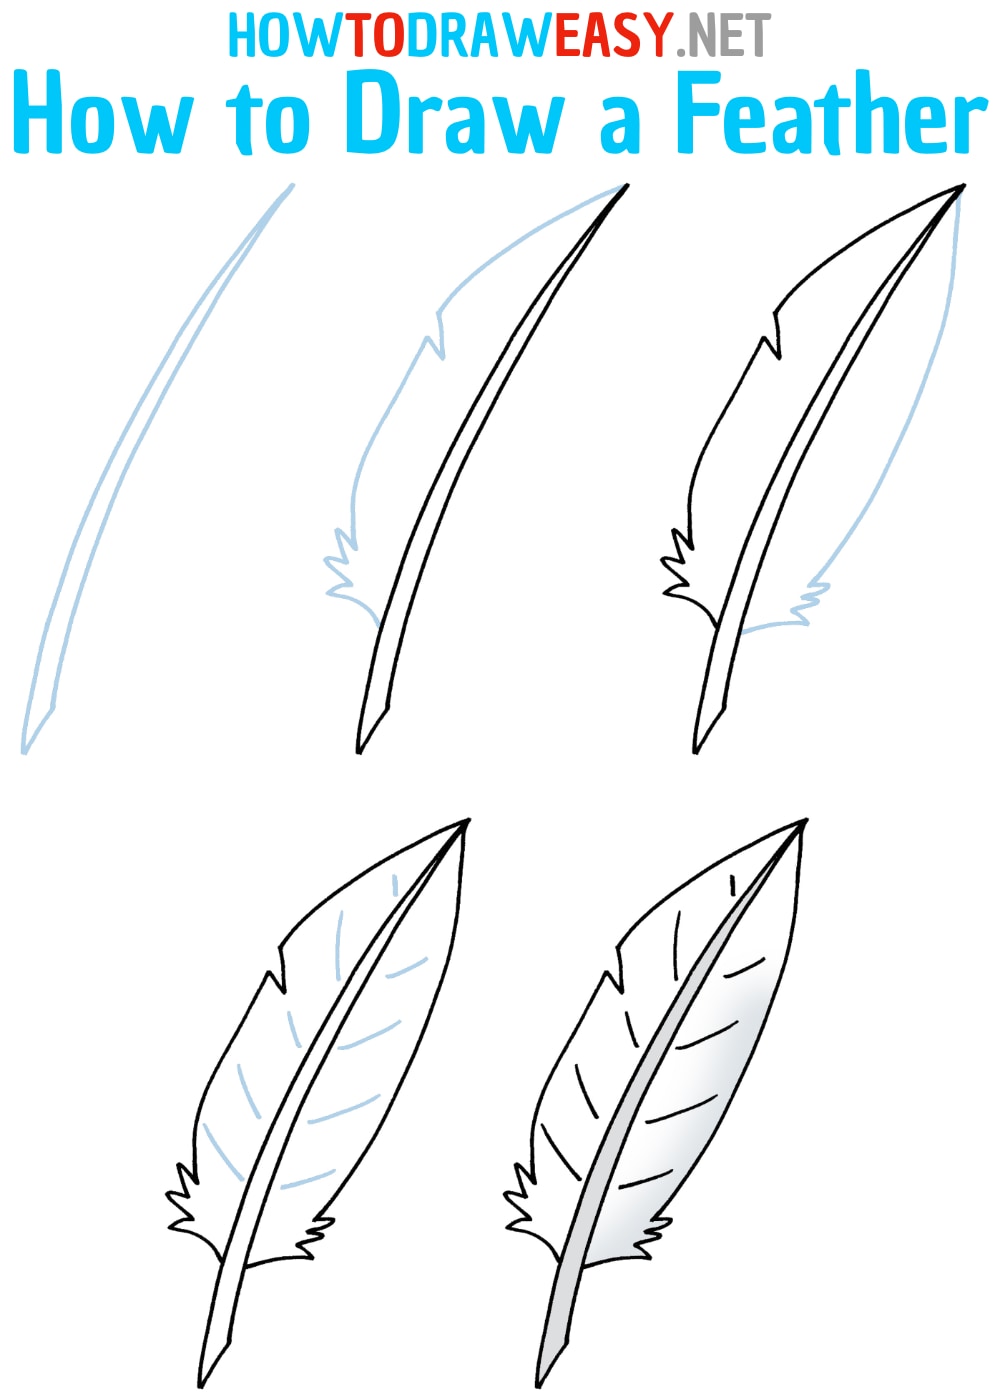
Welcome to our step-by-step drawing tutorial, where you will learn how to draw a feather! We hope that together with us, you will create a great feather artwork.
Feathers are primarily what covers the bodies of birds. Also, many things that people use are created from bird feathers.
Since ancient times, writing instruments have been made from bird feathers. They are made from wing feathers, especially geese, duck, and peacock feathers.
In Egypt, quills were used to write on papyrus, and in medieval Europe, feathers became a symbol of chivalry and nobility.
Nowadays, feathers are used not only for writing, but also for drawing and decorating. Feather painting is a technique that requires skill and experience. Artists use different types of pens to create different effects, such as thin lines or broad strokes.
Time needed: 25 minutes
How to Draw a Feather
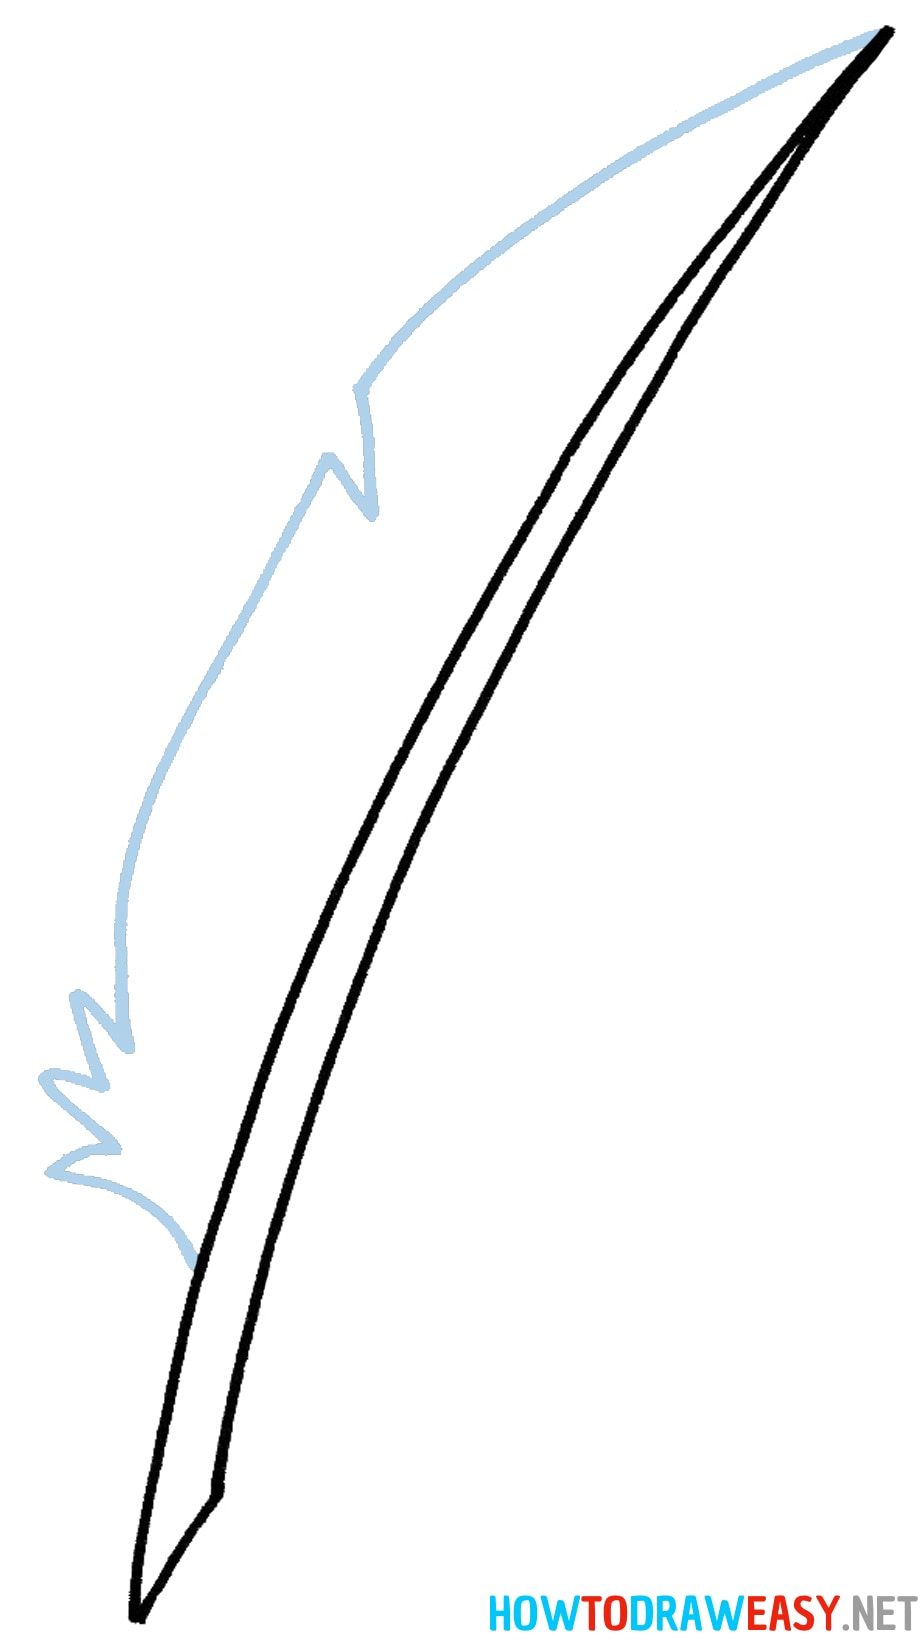
- Draw the rachis.
Begin by drawing the shaft (rachis) of your feather. Use two curved lines that meet at the top in a pointed shape.

- Add the left side.
Form the left side of the feather as shown. Start with the top point, then form the outline of the feather.
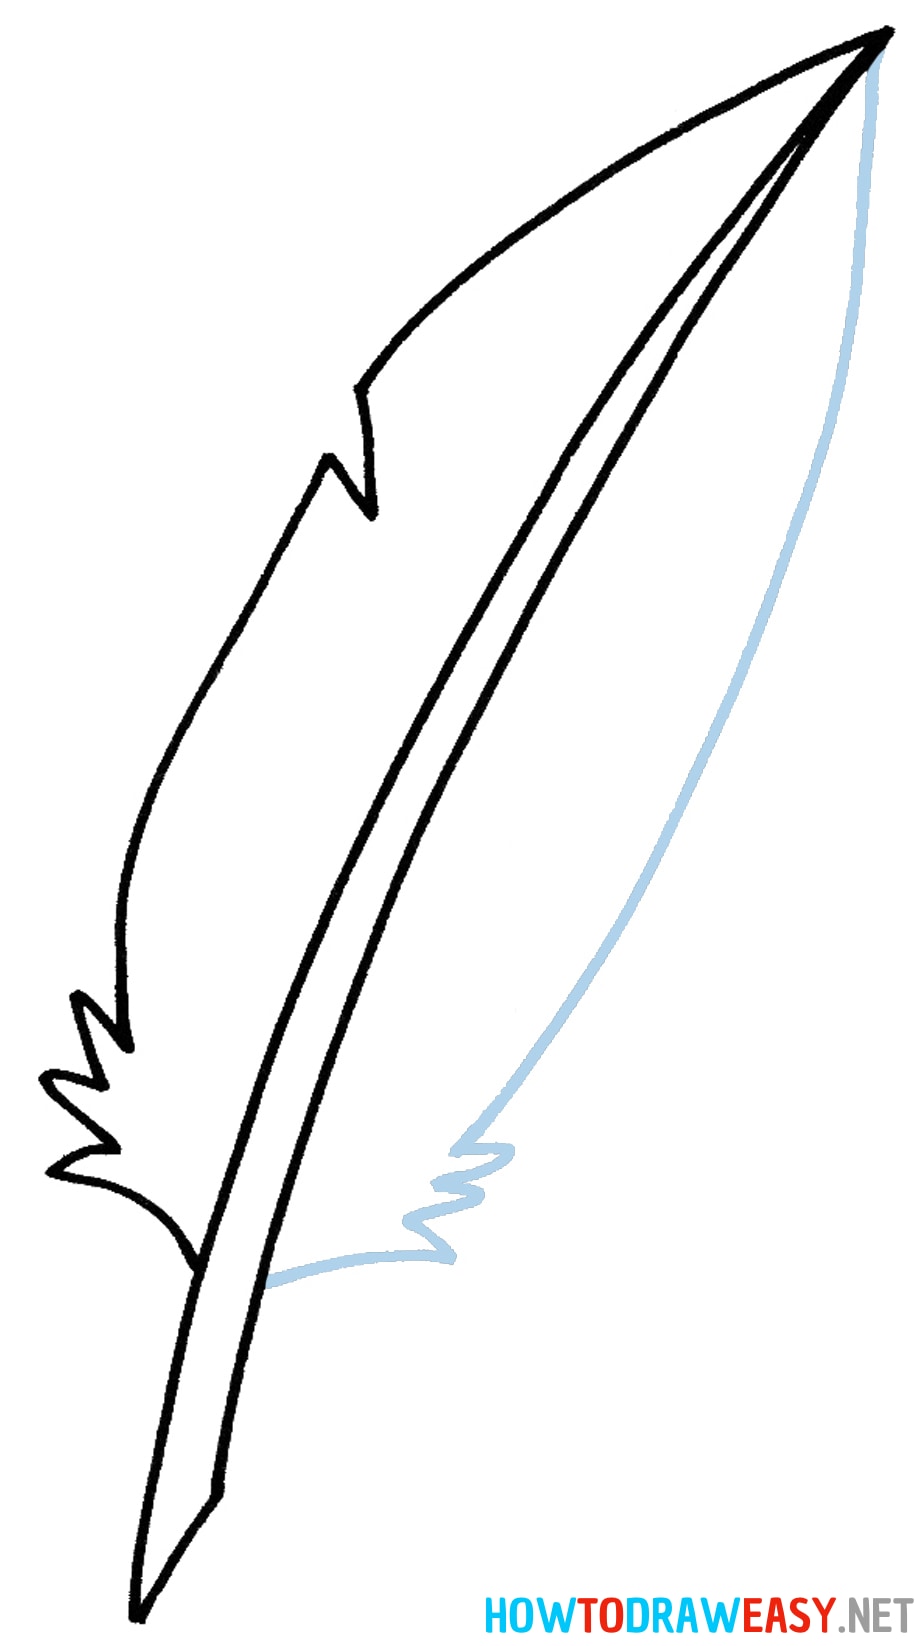
- Add the right side.
Using a curved line, form the right side of your feather. At the bottom of the feather, make it textured the same way as the left side.
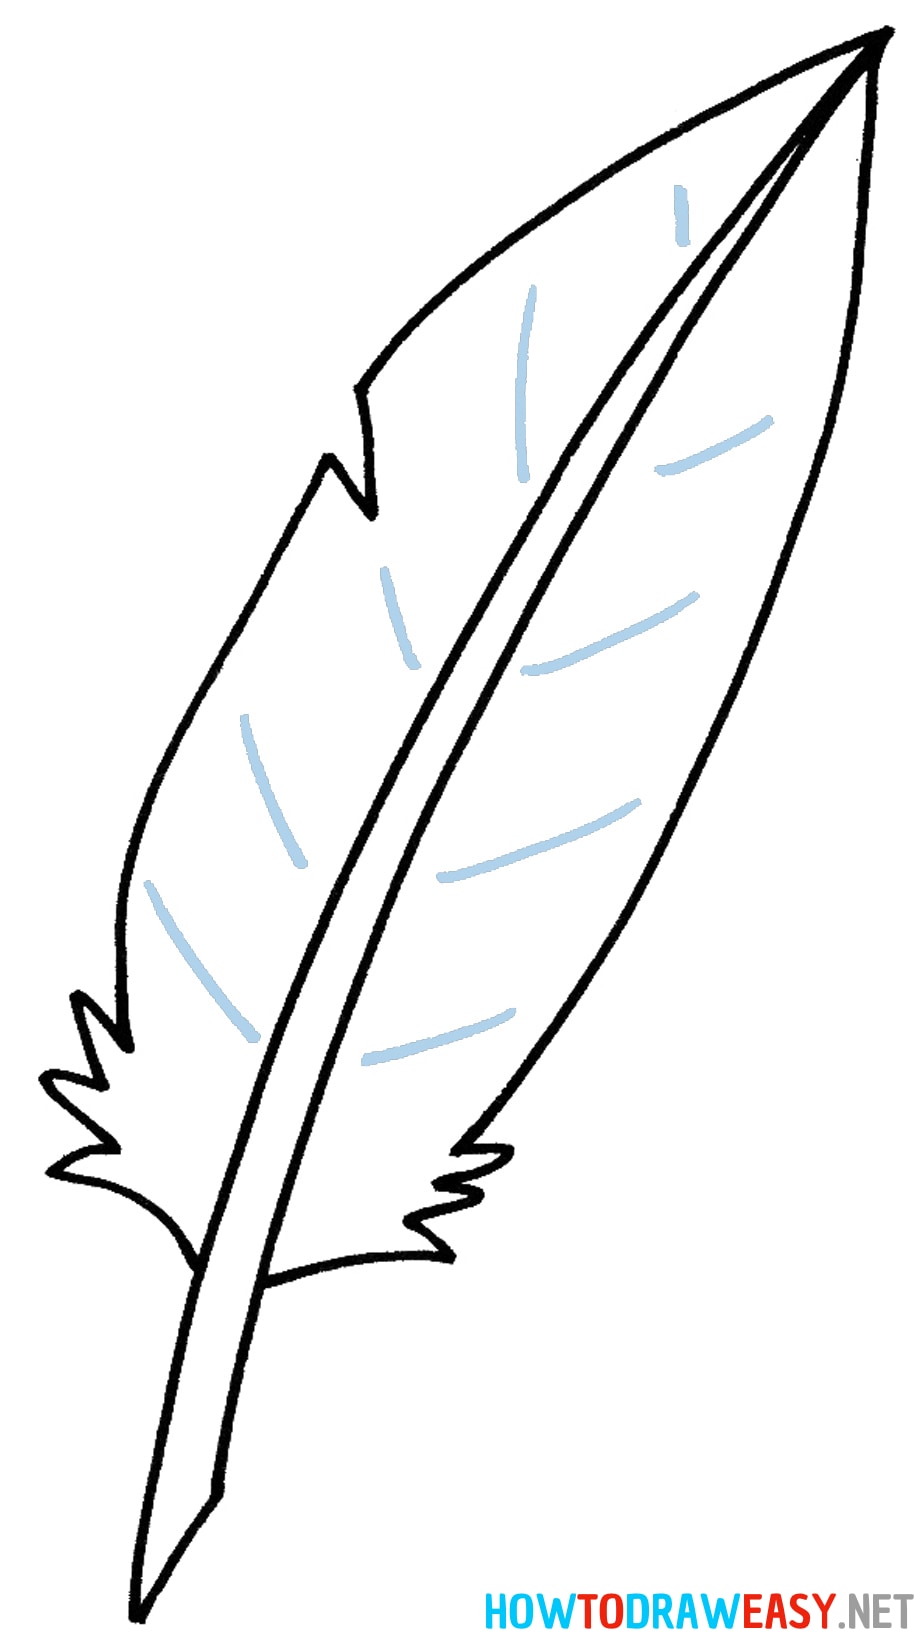
- Texture the feather.
Following the example from the step, add lines to make your feather look more natural and textured.
- Add color and shadows.
To make your drawing more realistic, add color and shadows, as in the example.
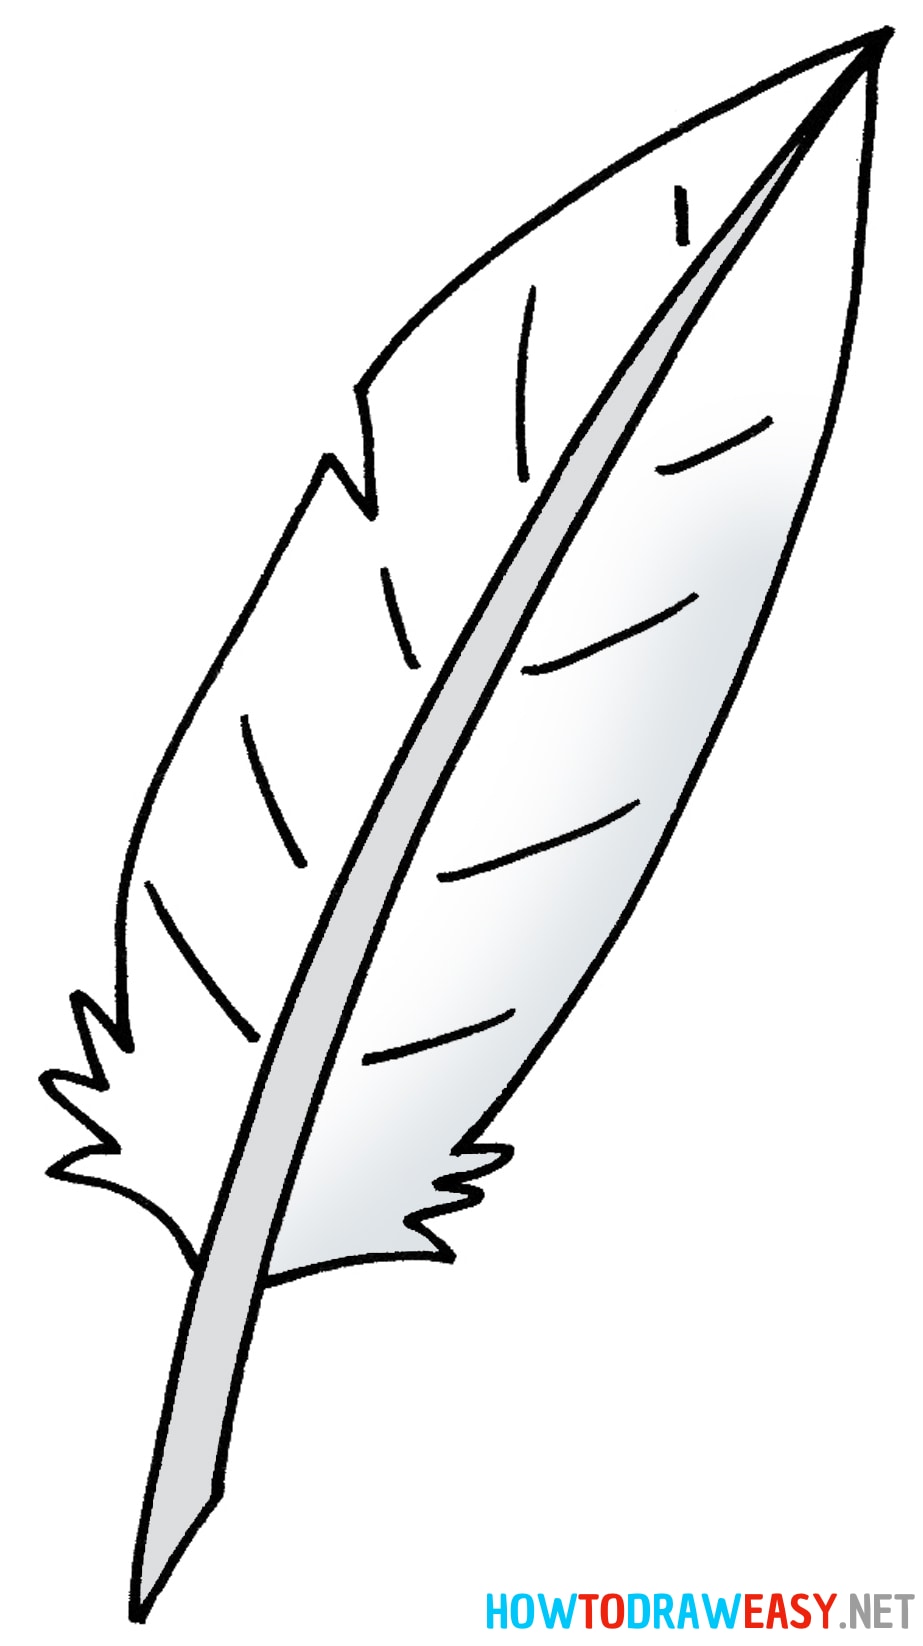
Great, your beautiful feather drawing is ready! We hope you had a great time and are ready to continue drawing other drawings.
