
How to Draw a Chibi Girl for Kids
Learn how to draw a chibi girl for kids step by step with this guide. Below you will see a collage and steps with detailed instructions.


Hello everyone! In this easy step-by-step guide, you will learn how to draw a chibi girl for kids. You can draw a lot, but drawing something is easy, but something is already harder. It is quite difficult to draw realistic people because such drawings should turn out to be proportional. In addition, people can be drawn in different styles and it will look completely different. In our case, we draw a chibi girl for this lesson, which is easy to draw.
Today, such a style of drawing as anime or chibi is very popular. It seems difficult, but in fact, drawing in this style is quite simple and easy if you start with simpler lessons. We will try to draw a girl in chibi anime style and do it in 8 steps! Enjoy drawing.
Time needed: 25 minutes
How to Draw a Chibi Girl for Kids
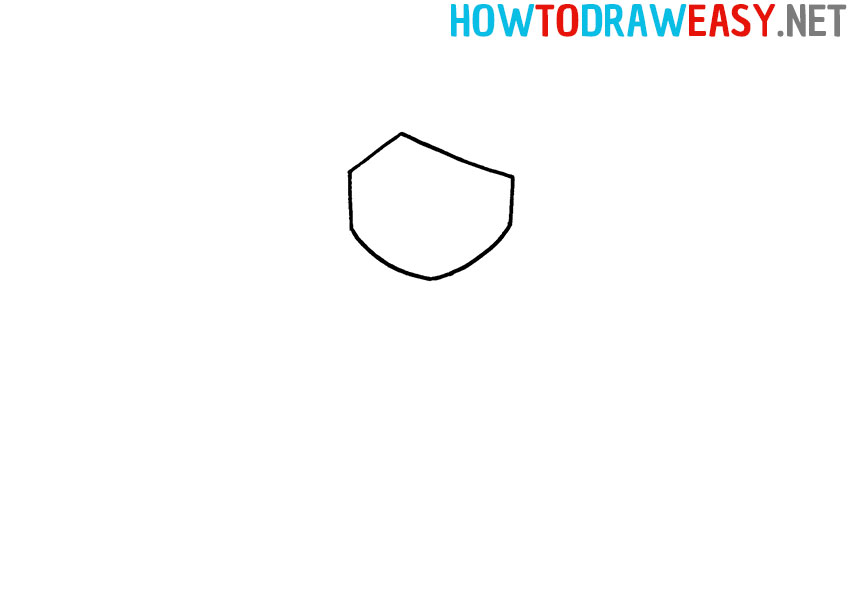
- Draw the shape of the face.
First, we need to draw the shape of the girl’s face. She will have a contoured pointed chin, which we will draw using slightly curved lines on the sides that connect to form a pointed chin. At the top, you need to draw a line of bangs using one straight line, and the second line is slightly curved.
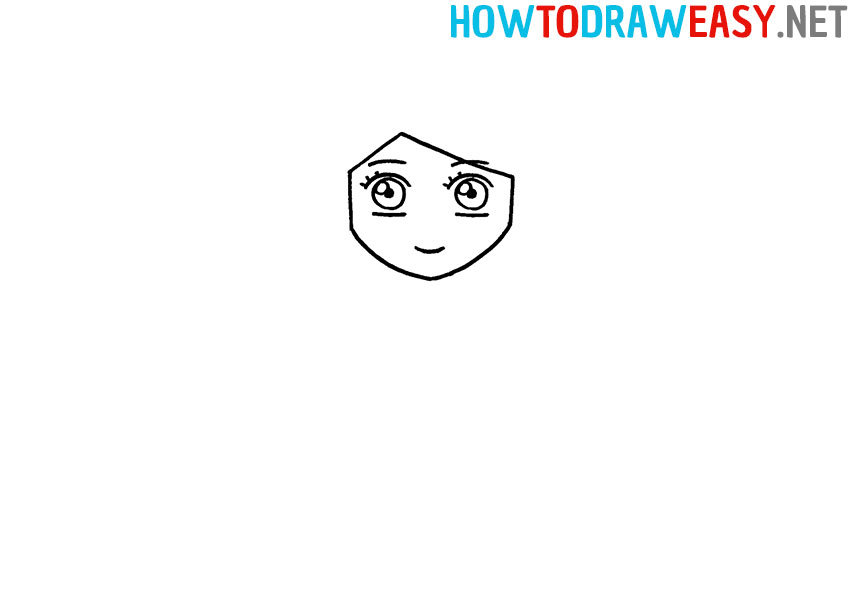
- Add parts of the face.
Now you need to draw eyes on the face: two rather large circles for the eyes and large circles inside them are the pupils. Above and below the eyes, make rounded lines to give the eyes a typical anime style. Do not forget to also draw the eyebrows using curved lines. Finish the detailing of the face by sketching a smile as shown.
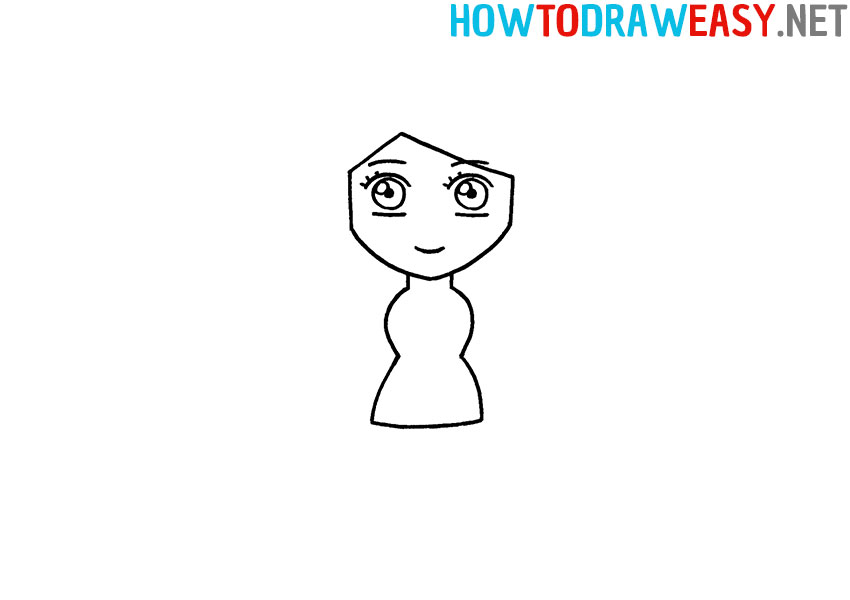
- Draw the shape of the dress.
Draw the outline of the chibi girl’s body, considering that she should be in a dress.
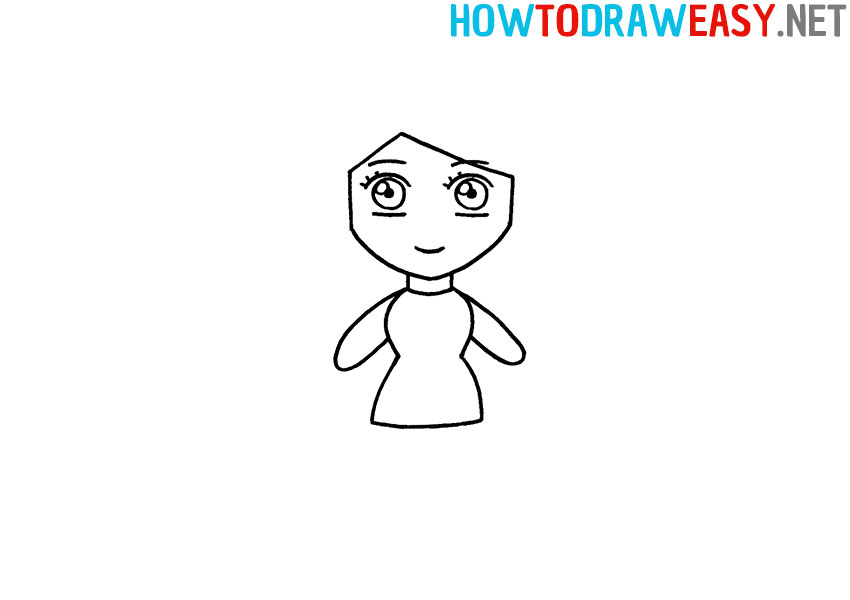
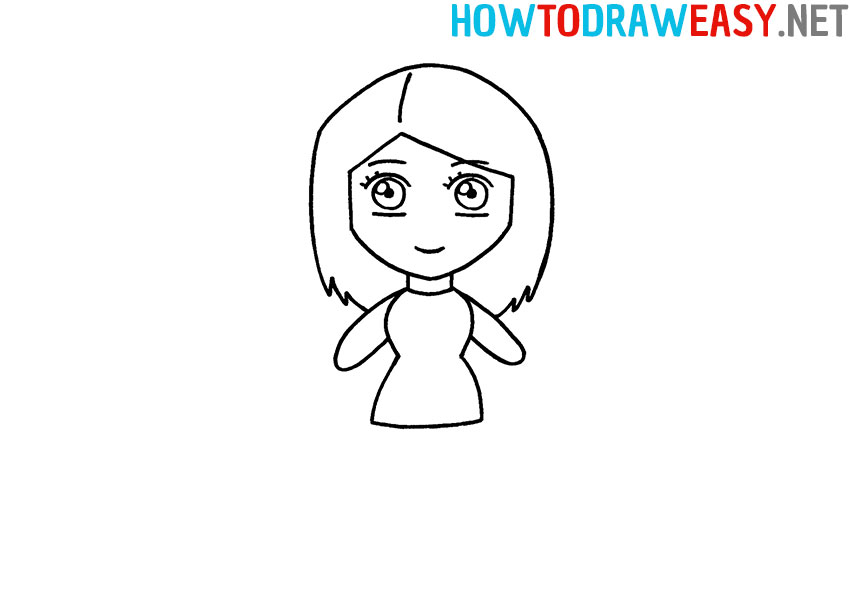
- Draw the chibi arms.
Now you need to draw simple chibi arms and separate the neck from the dress with a curved line.
- Draw the hair.
Now using curved lines sketch the girl’s hair, from the bottom the hair should be with pointed ends.
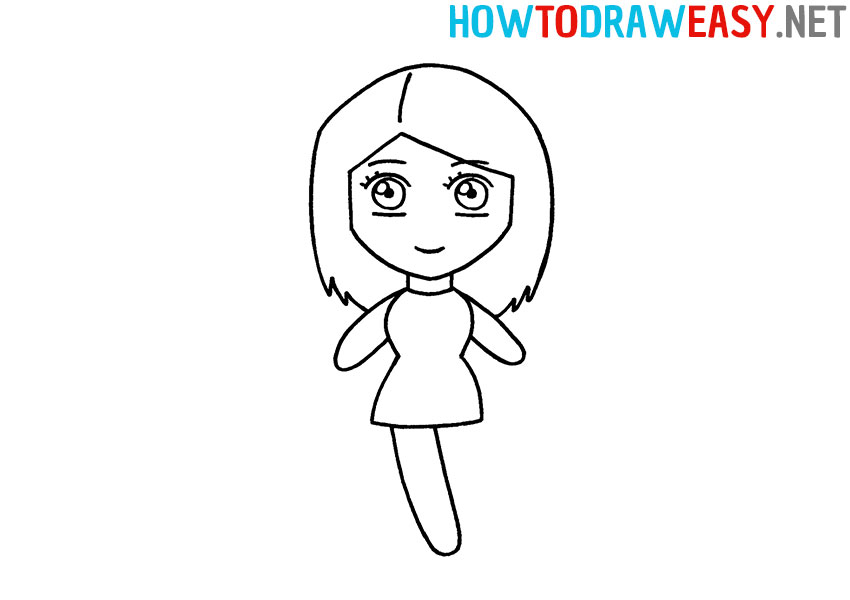
- Add the leg.
Draw the character’s leg so that the leg is tilted, as in the example.
- Add a second leg.
Now draw the second leg, which is visually behind the first leg. And also do not forget to sketch the shoes as in the example.

- Color your artwork.
Grab some crayons or colored pencils and start coloring in your beautiful drawing of a chibi girl.


If you have drawn this girl, now you can start drawing a more complex drawing of an Anime character. Drawing practice is very important, and we want you to be the best at drawing!