
How to Draw Thor’s Hammer for Kids
Learn how to draw Thor’s hammer for kids step by step. On our site you will find a whole variety of drawing guides for yourself!


In this step-by-step tutorial, you will learn how to draw Thor’s hammer for kids. Thor’s hammer is the most important attribute of a character from the MCU, as well as from comics about the Avengers and Thor.
Initially, Thor is the God of Thunder from Norse mythology, and the hammer of Mjölnir is the weapon of the deity. In the Marvel Comics universe, the character’s creators used the image of a Scandinavian deity to create a superhero. The main abilities of the character are control over thunder, lightning, as well as control of the mighty hammer Mjölnir. Thor is a very interesting character, which is not like the other members of the Avengers team because it is a combination of mythology and superheroes. This guide will help you draw this mighty hammer. Enjoy the drawing process!
Time needed: 15 minutes
How to Draw Thor’s Hammer for Kids
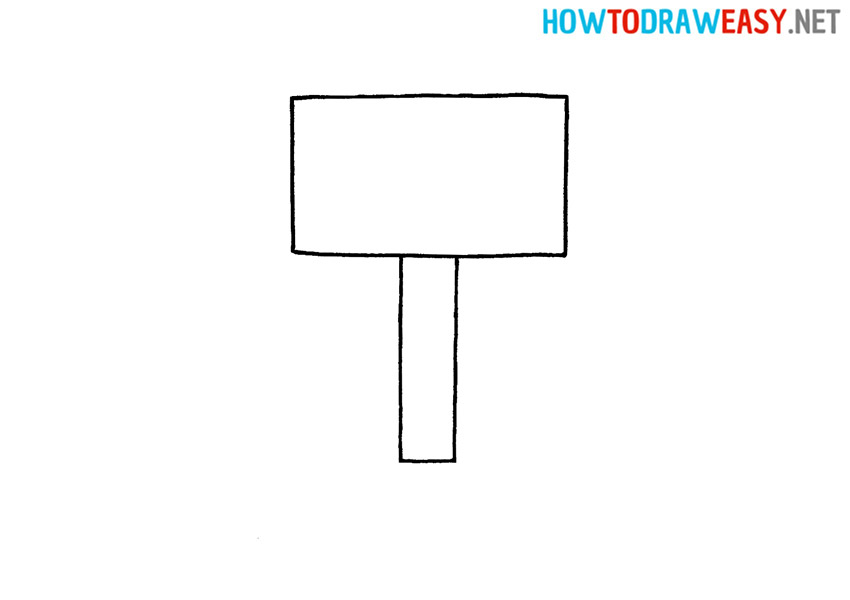
- Outlining the base.
Begin by drawing the shape of the metal part of Mjölnir, which is drawn in the shape of a large rectangle.

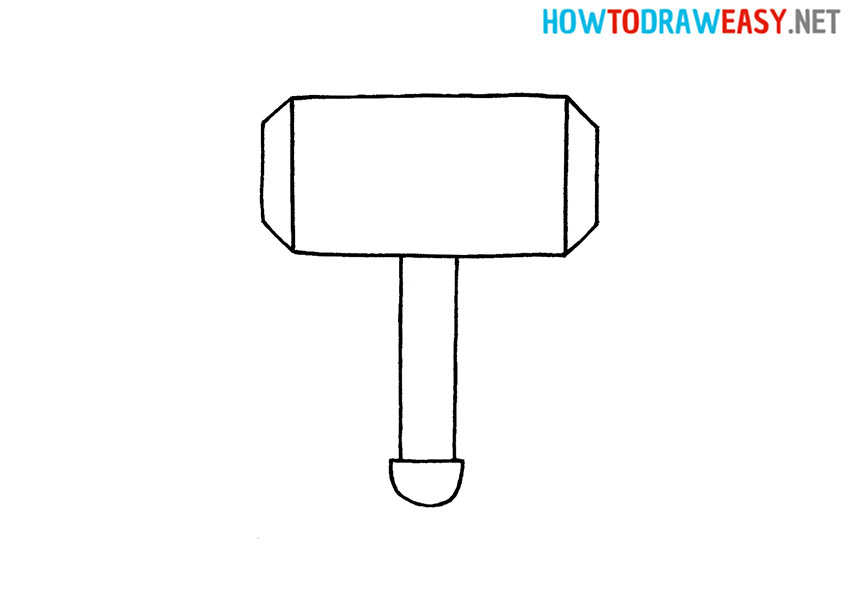
- Add the handle.
Now from the bottom of the hammerhead, draw two parallel, straight lines to form the hammer handle. After that, at the bottom, connect the two lines as shown.
- Add edges.
Now draw the sides of the hammer and also draw the lower rounded part of the handle
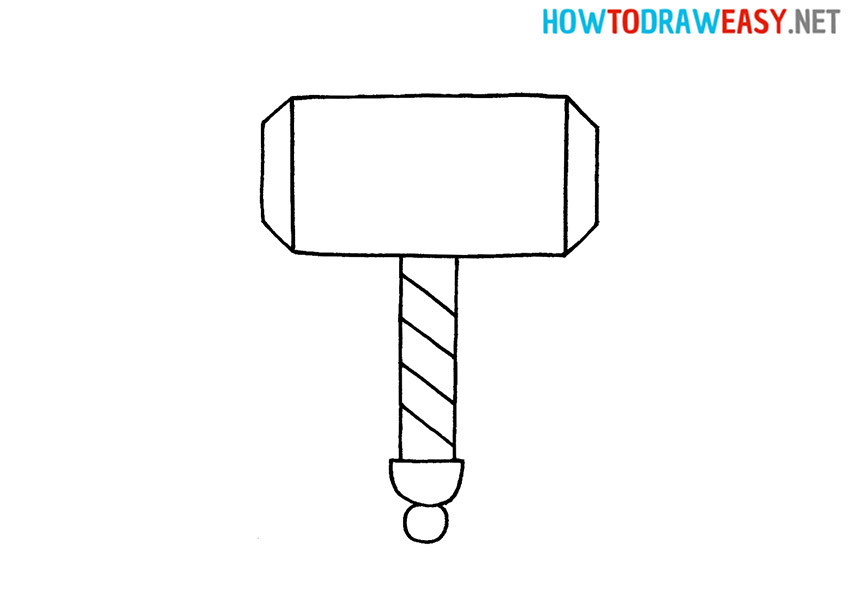
- Add details.
Detail the hammer handle using short and straight lines. After that, draw a round ball on the bottom of the hammer that balances the whole of Thor’s hammer.
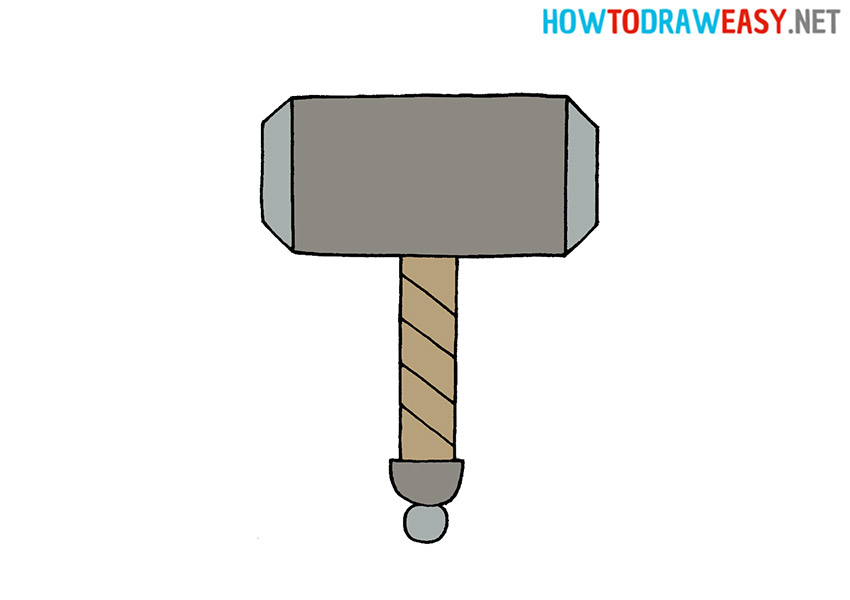
- Color your artwork.
Now color your Mjölnir drawing using your favorite coloring tools. Paint the metal part of Mjölnir gray and the handle brown or dark beige. Color the rest of the details as shown in the example.


Try to draw the owner of this hammer—Mighty Thor! Our drawing lessons will be understandable and easy even for those who do not have rich experience in drawing.