
How to Draw Spider-Man Easy
When you need to learn how to draw Spider-Man easy enough for beginners, start a sketch with this tutorial. This is a simple step-by-step tutorial to help you draw a classic spidey.


Twip-twip! The spider-web hero is in front of you because you are in the guide in which you will learn how to draw Spider-Man easy for beginners. Spidey is one of the most popular superheroes, he literally conquered the world. And this is not surprising, because this comic book character is very similar to each of us! We all went to school, met our first love, made friends, became disillusioned, and, in general, our lives have a lot in common with the life of Spider-Man’s friendly neighbor. And for these simple reasons, Peter Parker has become a symbol of several generations who grew up on comics, cartoons, and movies about this cool superhero who teaches us kindness and justice.
We would also like to say about our endless respect and love for the great Stan Lee and Steve Ditko, who were the creators of Spider-Man and many other Marvel characters that still inspire us today. We will never forget these great people who gave us this character. Rest in peace.
Now let’s move on to the sketch that you can draw with this step-by-step tutorial that we have prepared for you. Let’s go!
Time needed: 45 minutes
How to Draw Spider-Man Easy
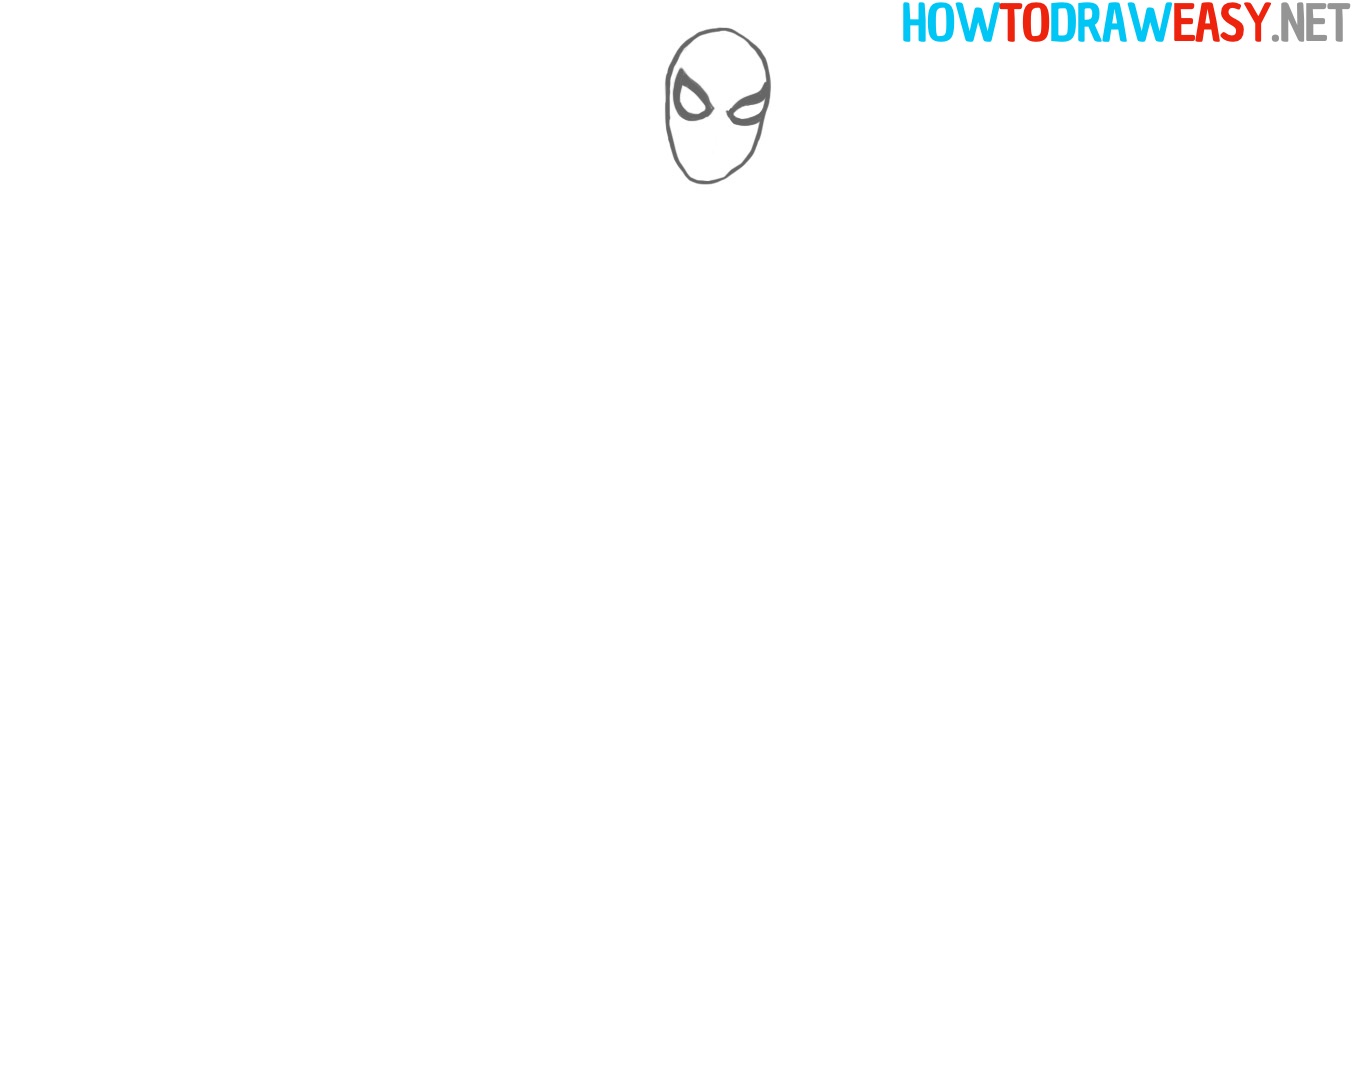
- Draw the oval for the head.
First, you will need to draw the oval shape for the head, as well as guidelines for proportional and correct positioning of the eyes. Note that the head is slightly tilted, but if you want to draw a vertically straight head, then do so.

- Draw the eyes.
The Spider has different eyes in different films and comics, but in our tutorial we depicted the most classic type of eyes, so we suggest that you draw eyes in this particular form. Also, don’t forget to erase the guidelines that you drew in the first step.
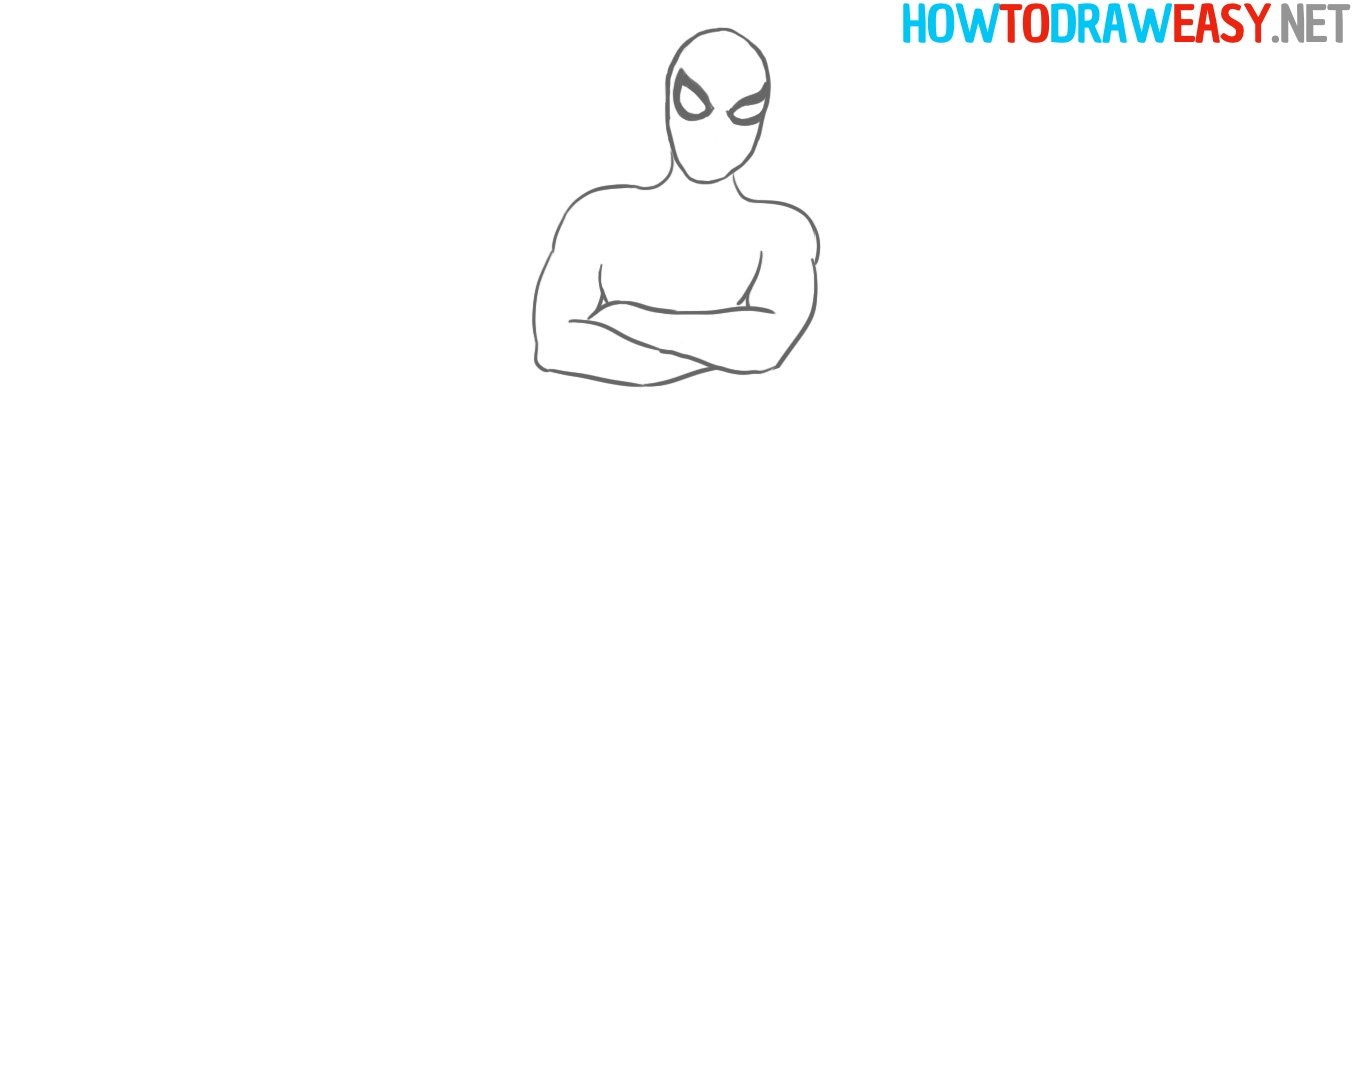
- Draw the neck and shoulders.
So, the eyes and the head are drawn, so now you need to depict the lines of Spider-Man’s neck, as well as his pumped-up powerful shoulders.

- Draw the arms.
Draw the arms of the Spidey that are crossed in this pose. Start drawing the arms with the triceps that are on the sides. To do this, you just need to continue drawing the lines that you drew in the last step, along with the shoulders. This will complete the sketch for the upper part, and now we need to move on to the waist and legs.
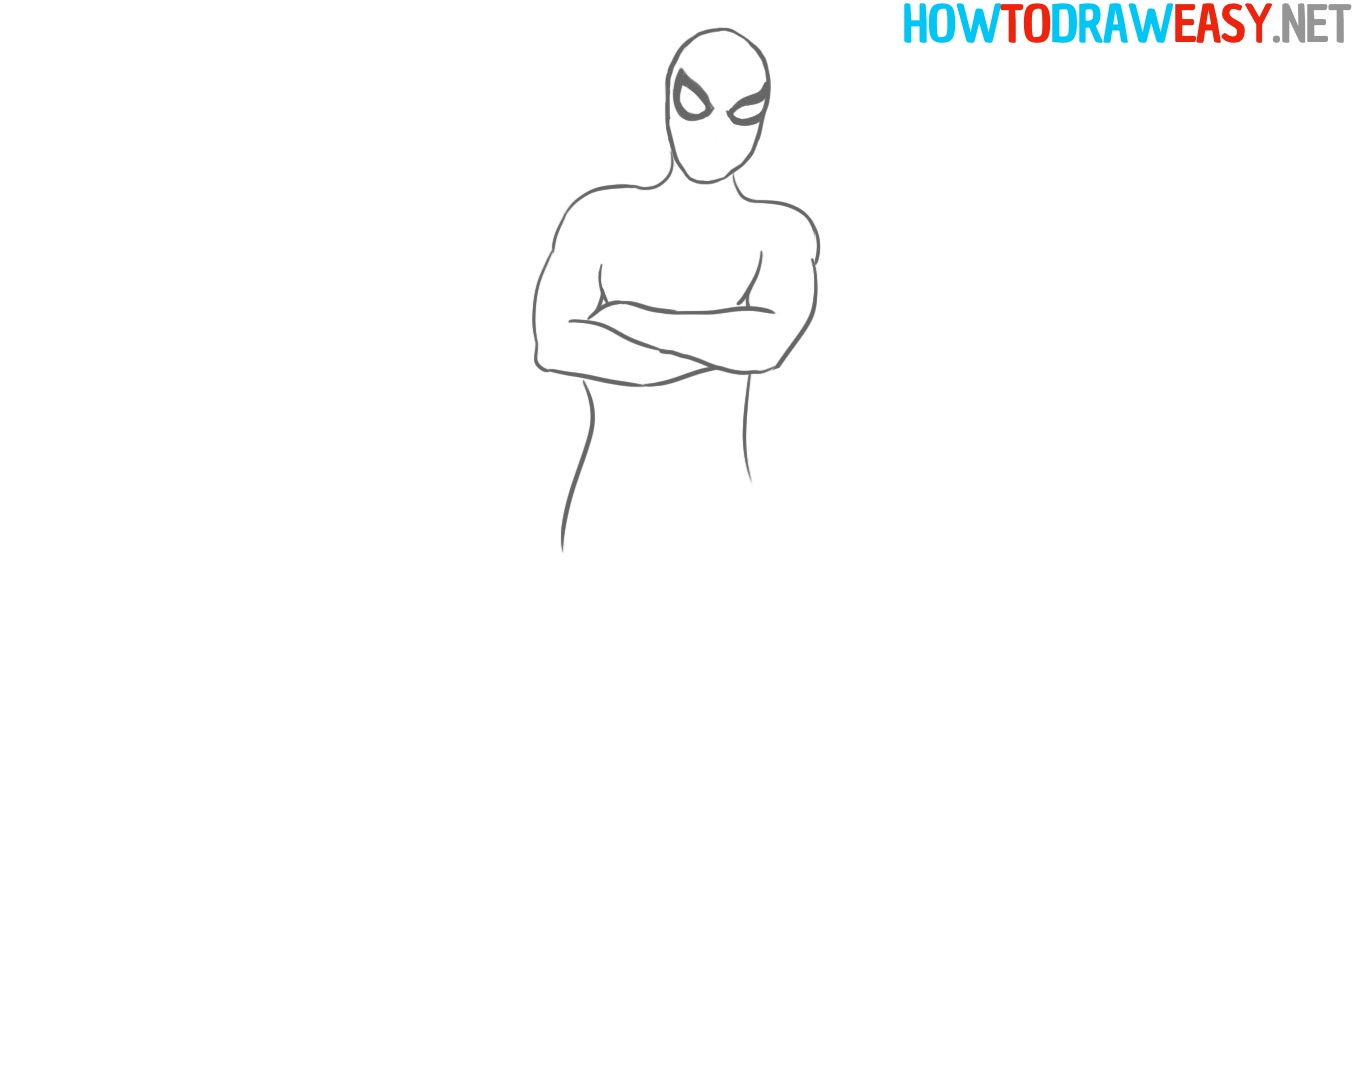
- Sketch the waist section.
Everything is simple here, you just need to draw two lines that go on both sides of the arms.
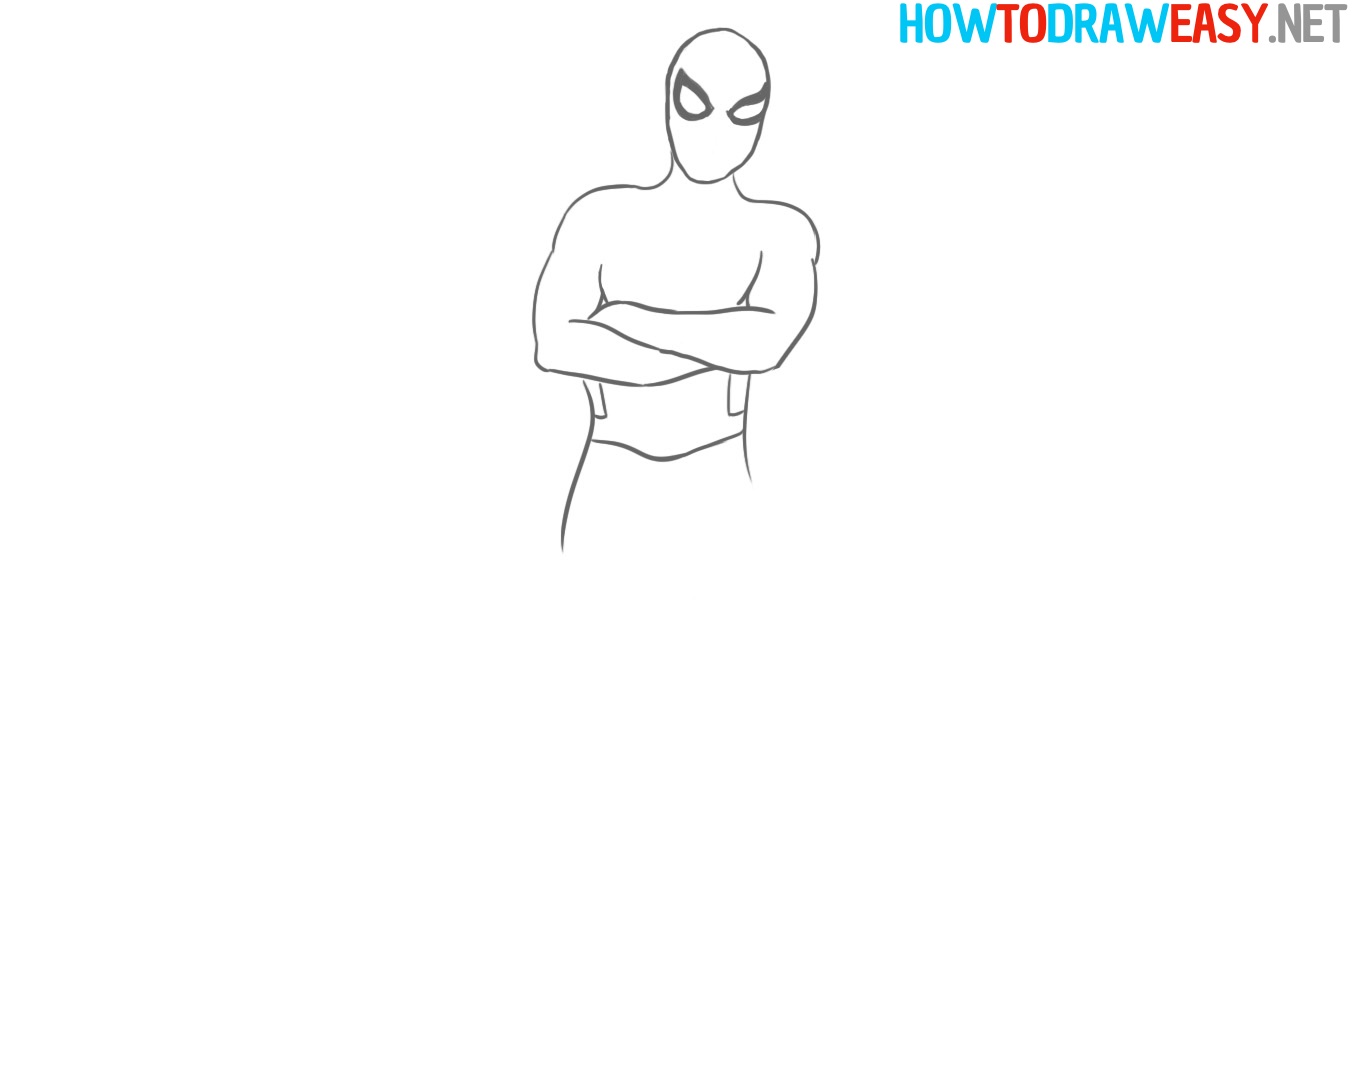
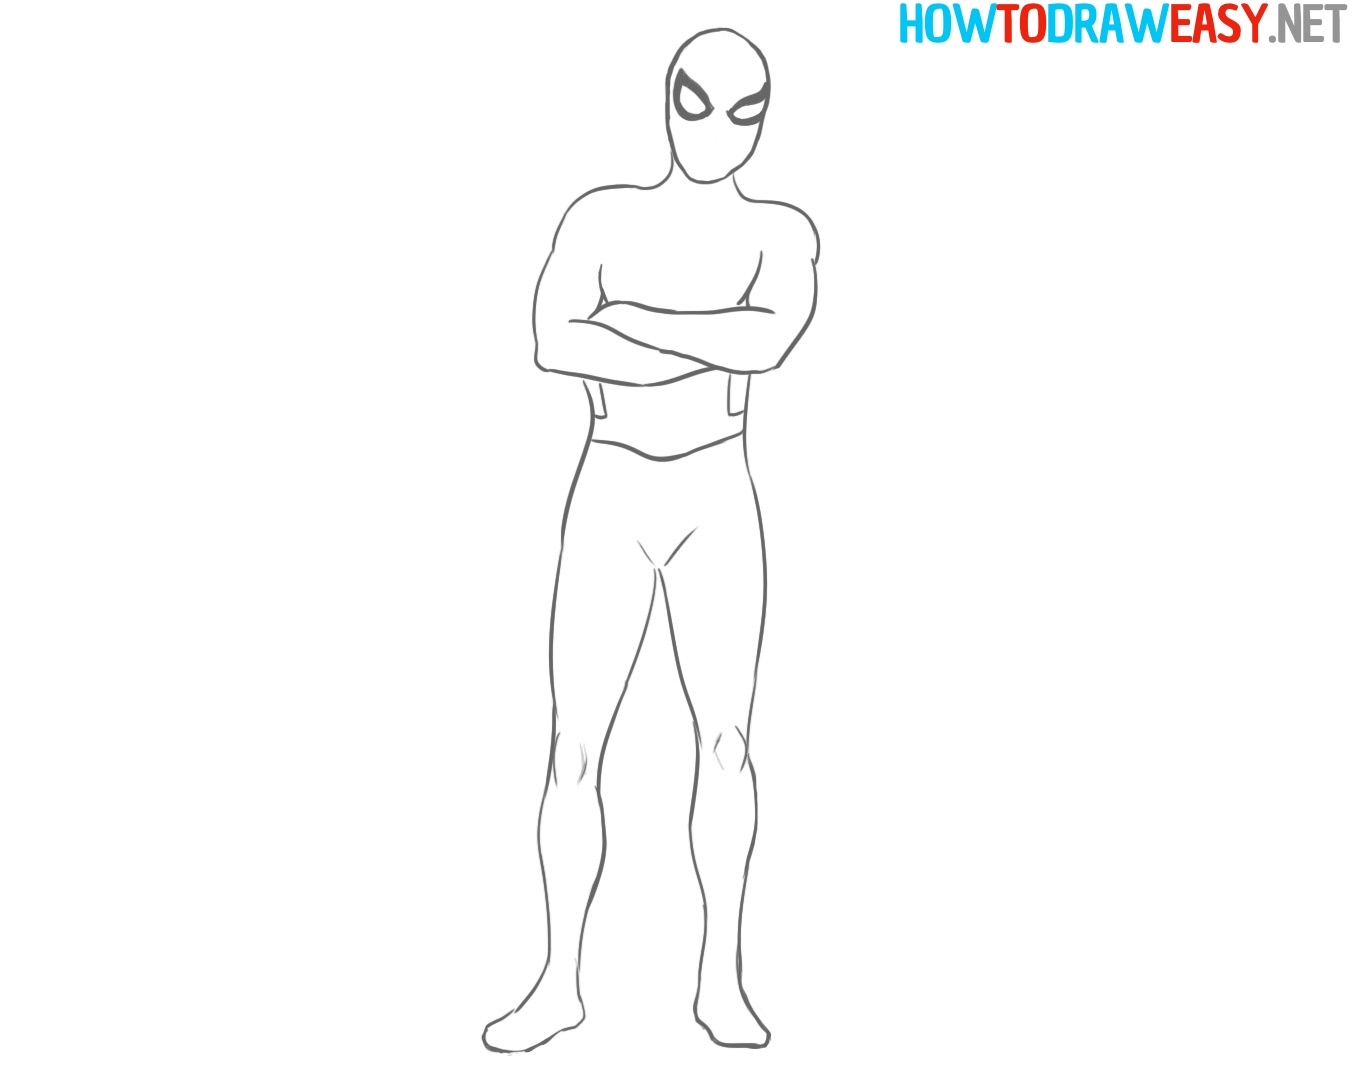
- Draw the belt for the suit.
The classic suit has a belt that we all have seen and know, and this is what you need to draw. First, draw the line for the bottom of the belt. An example of this line is shown in this step.

- Details of the suit.
The Spider-Man suit comes in two colors and is two-piece, and in this step, you need to draw the lines that separate the costume. You can see these lines in the example in this step. In these places, the costume will be painted blue at the end of the sketch of the whole body.
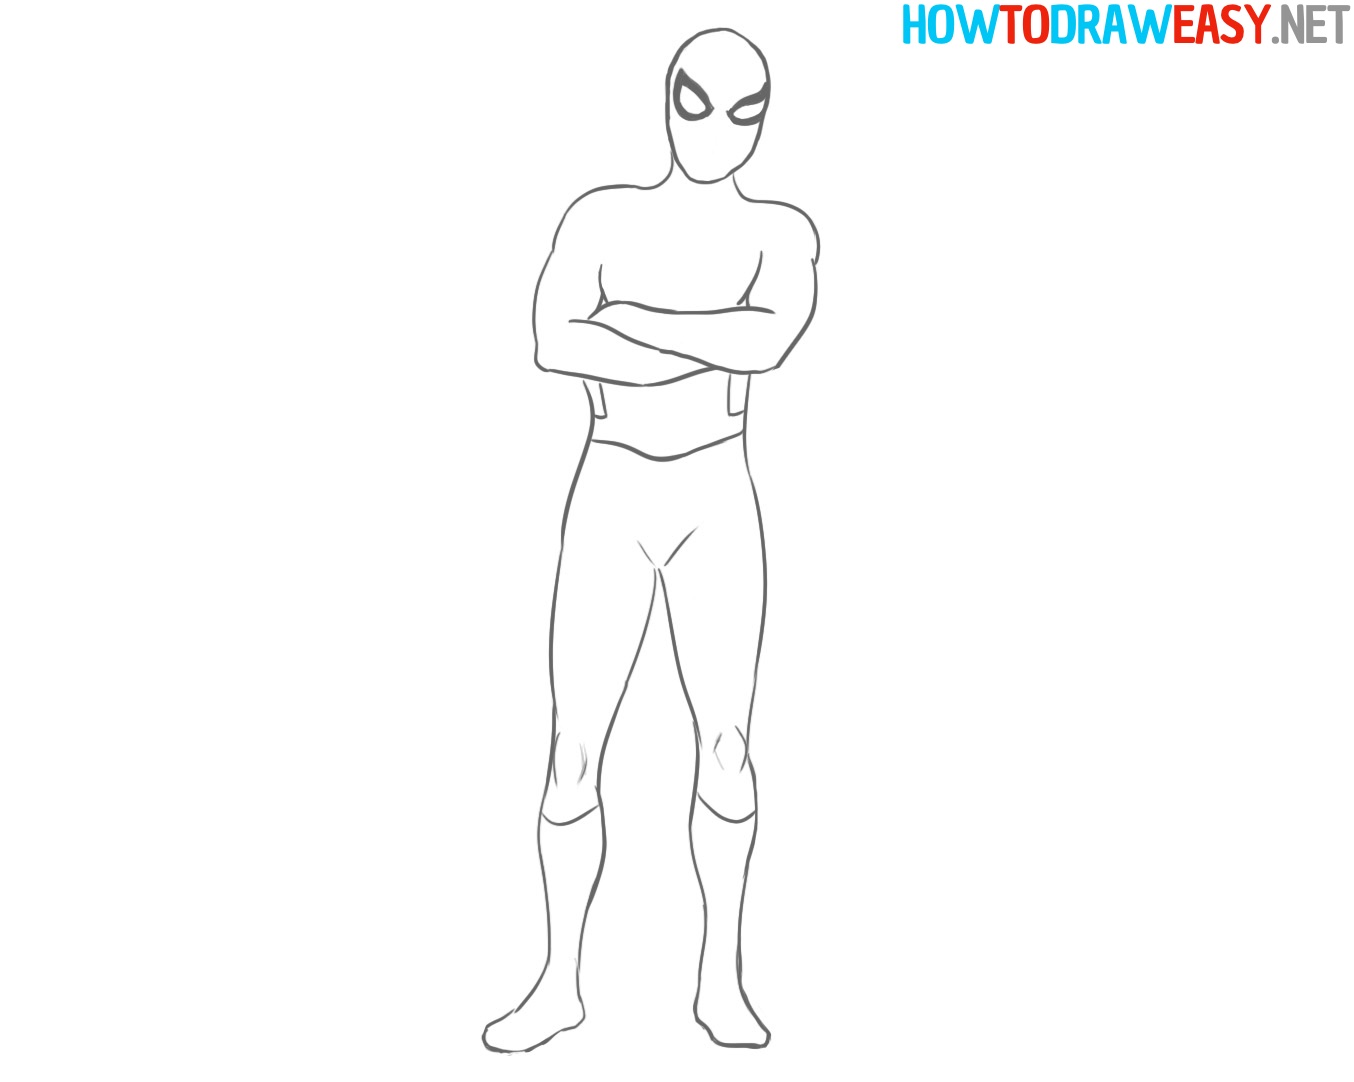
- Upper legs.
So, let’s move on to drawing the legs, and you need to start by drawing the thighs of Spider-Man. It’s pretty simple because you just need to continue the lines that you already drew earlier in the fifth step.

- Lower legs.
Now draw in the rest of the legs below the knees. Try to draw so that the shapes of the calf muscles and other details are preserved as in the example.
- Footwear.
The legs are completely finished, and therefore all that remains is to draw lines that will separate the shoes from the rest of the Spidey suit.
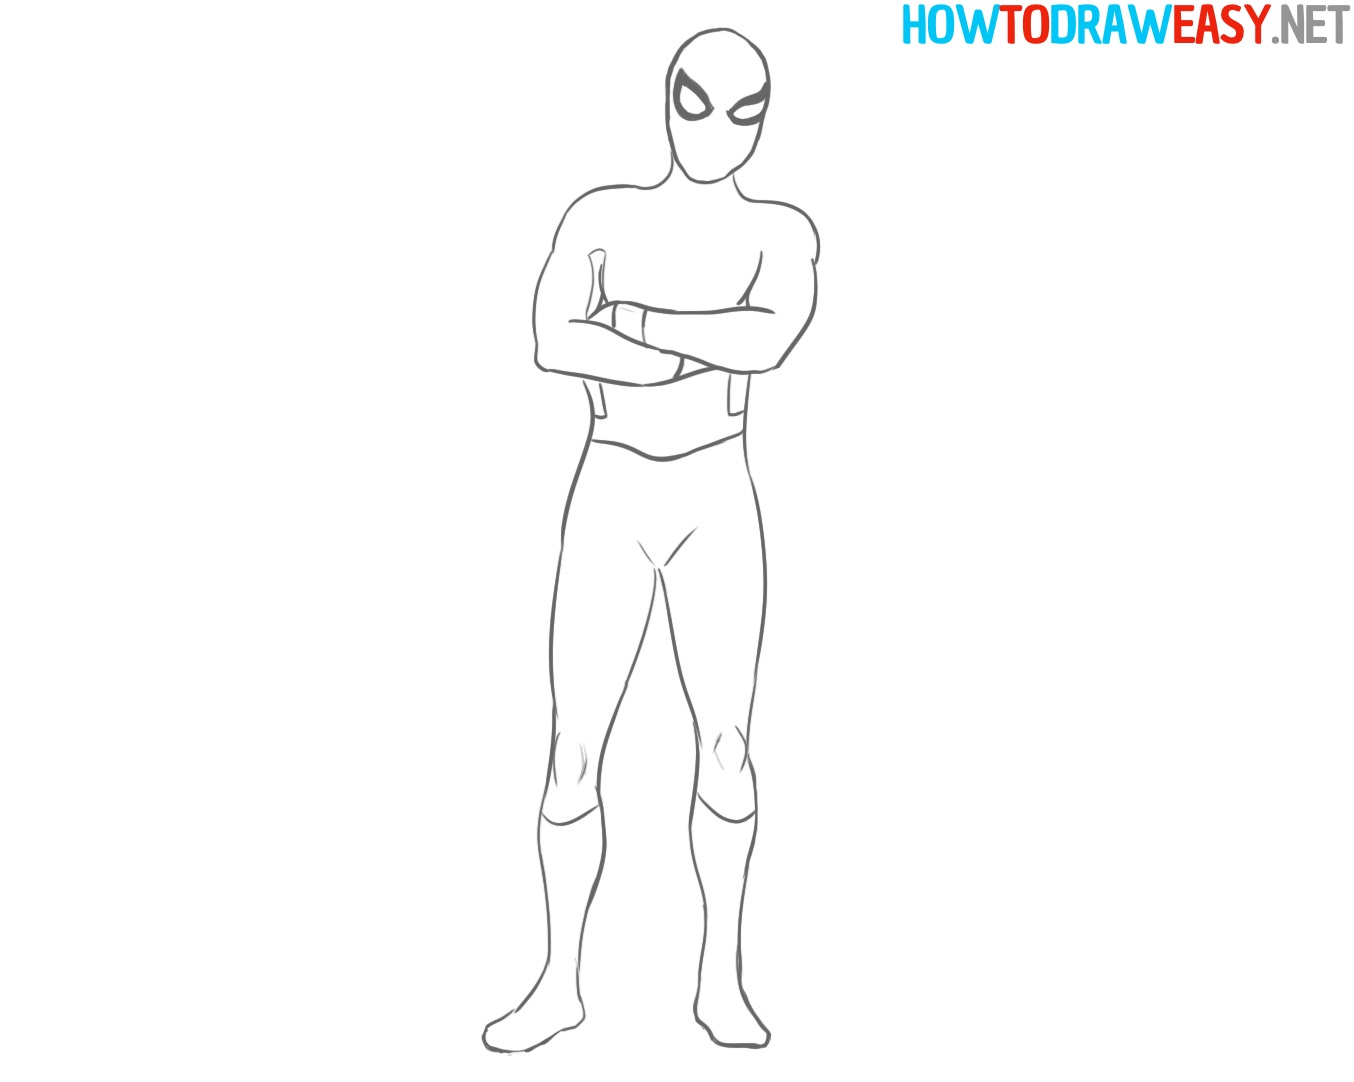
- Details of the suit.
Add the missing costume details to the sketch shown in the example.
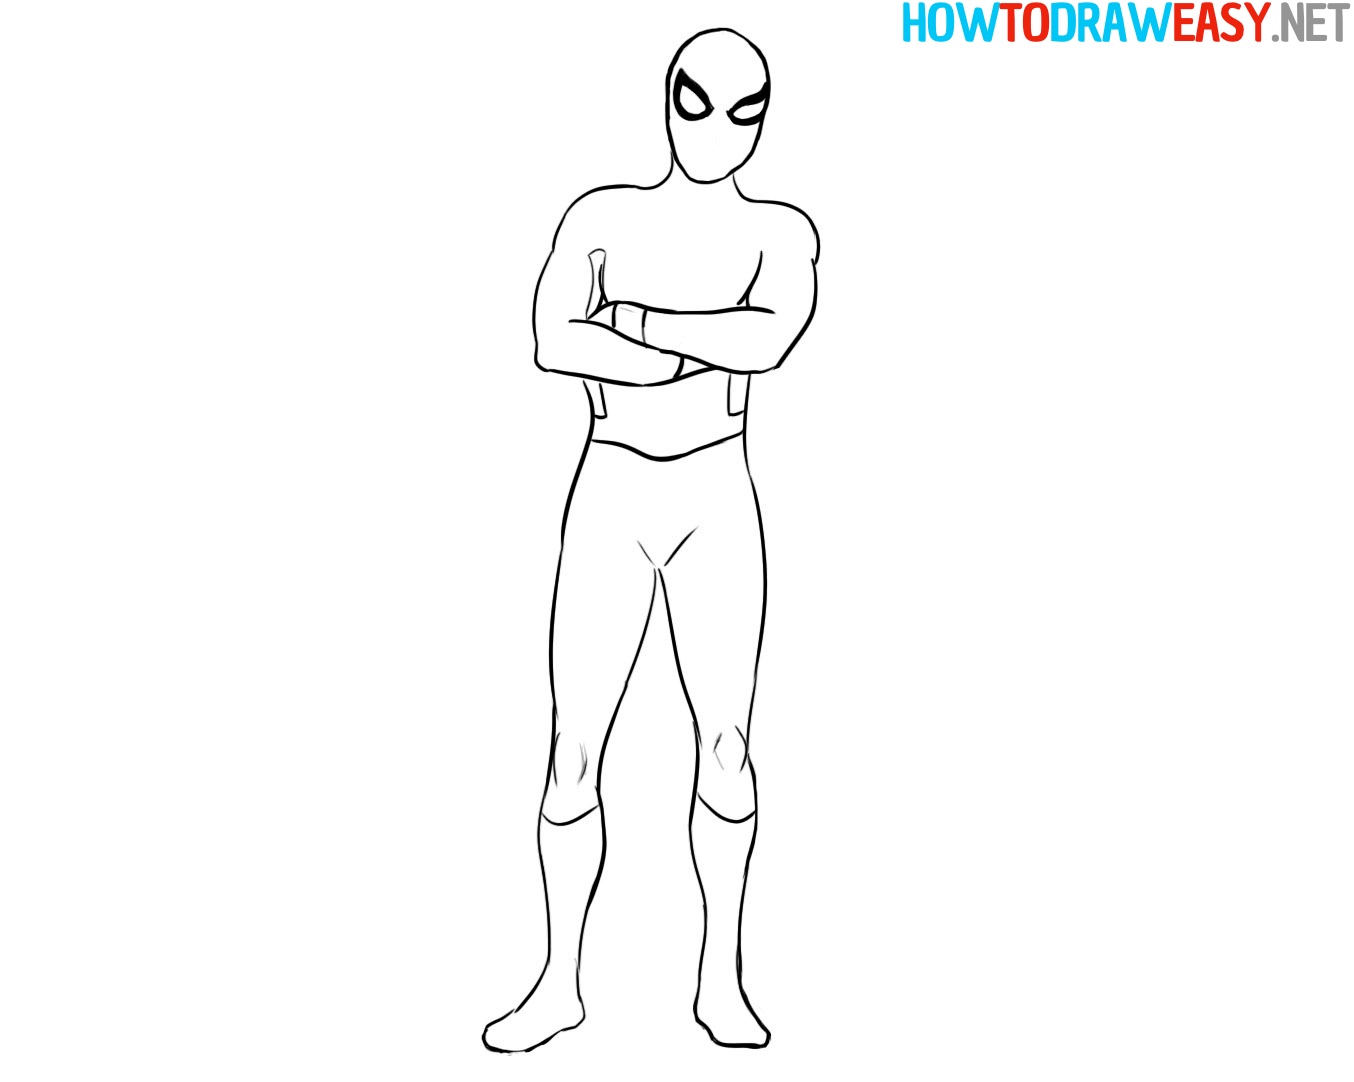
- Trace the sketch.
If you draw with a pencil and want to make the sketch more detailed and sharp, then use a black marker or ink for this. Trace all the lines of the sketch with a marker or ink and proceed to color in the picture.
- Start the color.
So, all the line art is ready, so now it remains to color the drawing, if you do not want to leave it that way.
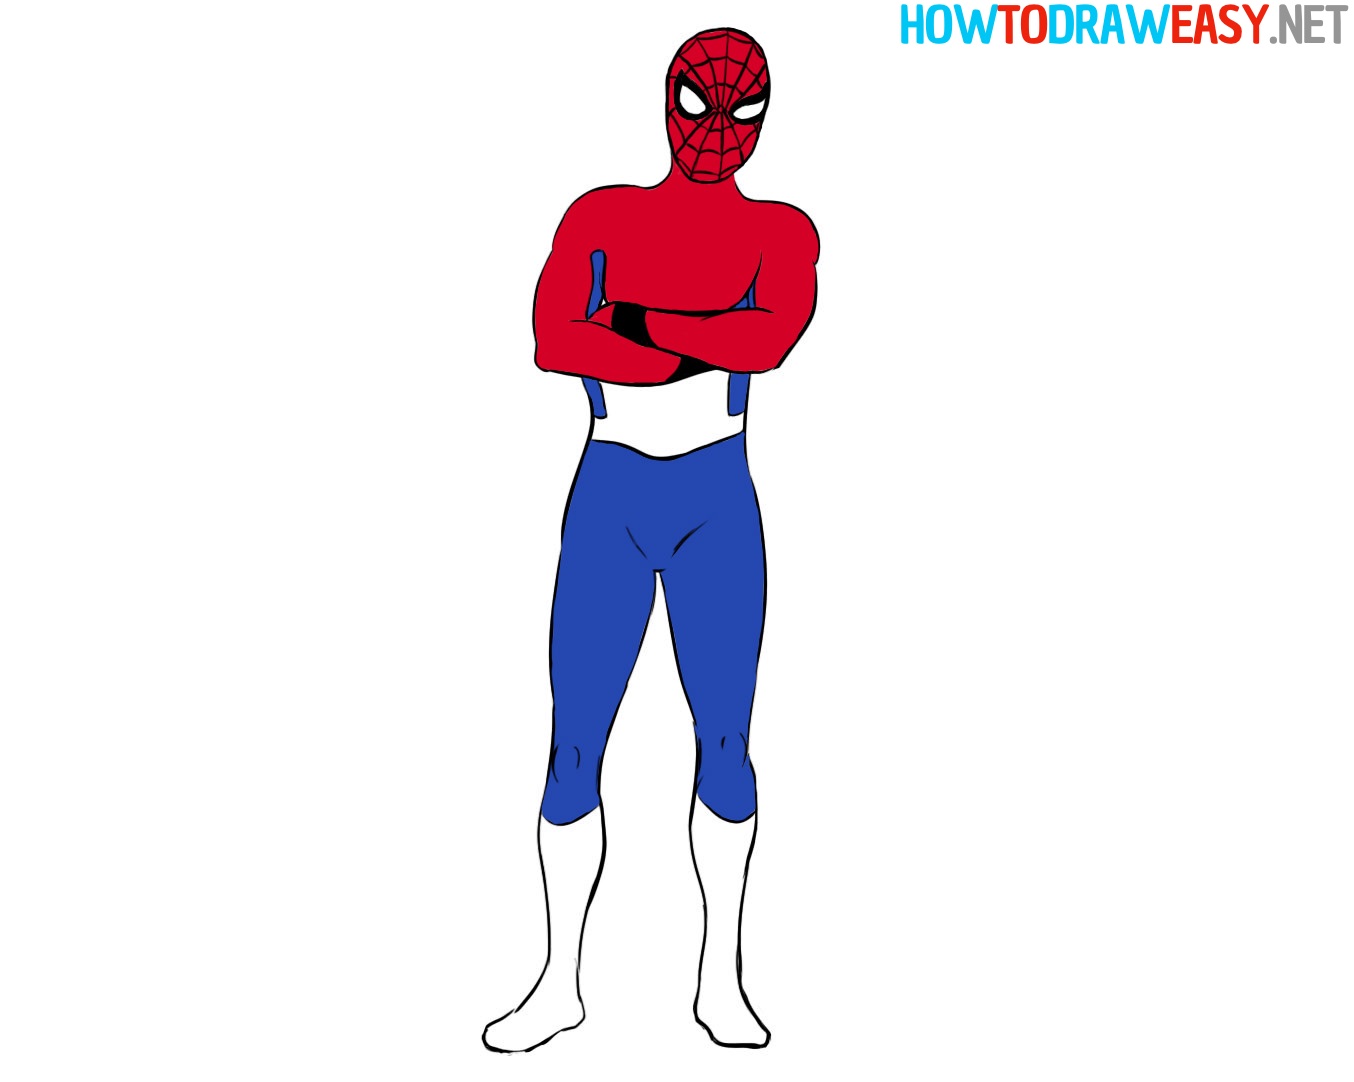
- Finish the coloring process.
We show in detail how we painted this art ourselves, and we expect from you the same painstaking and detailed coloring of your sketch.
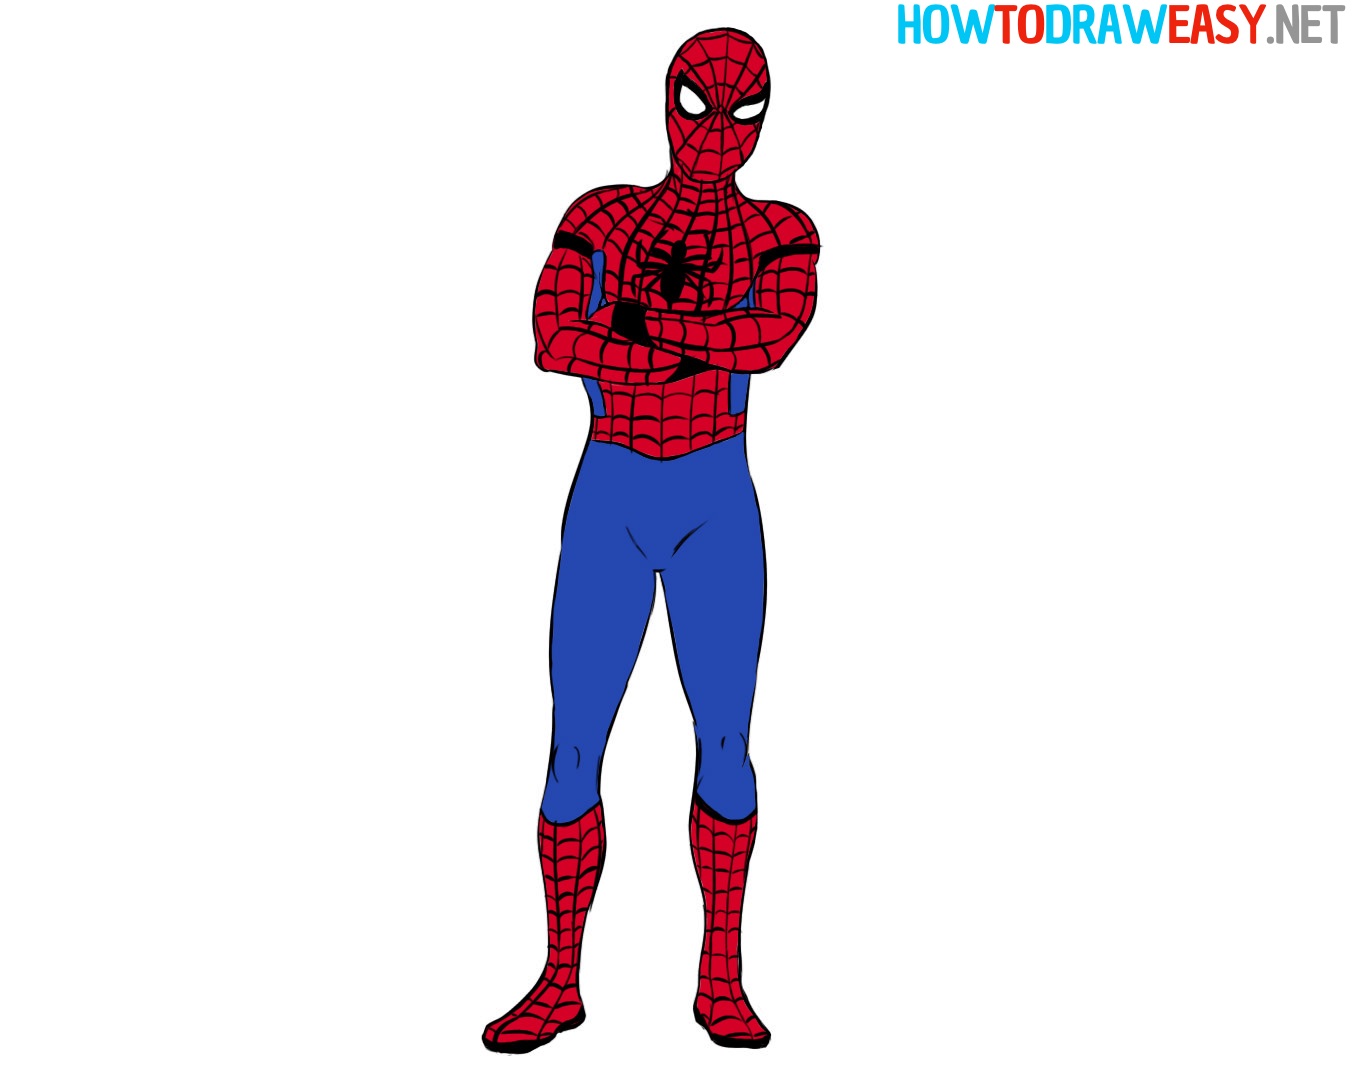
- Shadows.
Now we have come to the end of the drawing of Spider-Man! You can also add shadows to your drawing using a pencil or using darker shades of reds and blues. But this is not necessary and at your discretion, because the main thing is that you have completed this superhero!


We hope we helped you, and you learned how to draw Spider-Man! We are waiting for you again on howtodraweasy.net guides, see you soon, dear friends!