
How to Draw Mickey Mouse
Learn how to draw Mickey Mouse step by step with this easy beginner’s guide. Discover fun facts about his history, friends, and creation, plus essential drawing tools and coloring tips.


Mickey Mouse is one of the most iconic and beloved cartoon characters in the world. Before you start drawing Mickey Mouse, let’s take a look at who Mickey is, how he was created, and what tools you’ll need to bring this classic character to life on paper.
The Story of Mickey Mouse
Mickey Mouse was created by Walt Disney and Ub Iwerks in 1928. He made his first public appearance in the short film Steamboat Willie, which was one of the very first cartoons with synchronized sound. Since then, Mickey has become the cheerful face of The Walt Disney Company and a timeless symbol of joy, optimism, and imagination.
Originally, Mickey was designed as a replacement for another Disney character named Oswald the Lucky Rabbit, whose rights were lost to another studio. Walt Disney and his team needed a new character that would capture the audience’s hearts — and thus Mickey Mouse was born. His early design was simple, with a pear-shaped body, large circular ears, and white gloves, all of which made him easy to animate. Over the years, Mickey’s design evolved into the friendly and polished version we know today.
Mickey’s Friends and Family
Mickey isn’t just famous on his own — he’s surrounded by a cast of equally charming friends and loved ones. His best friend is Donald Duck, known for his fiery temper and loyal heart. Goofy, the tall and kind-hearted dog, often joins Mickey and Donald on their adventures. Mickey’s longtime sweetheart is Minnie Mouse, who first appeared alongside him in Steamboat Willie. Together, Mickey and Minnie represent one of the most classic couples in animation history. Other notable friends include Pluto, Mickey’s pet dog, and Daisy Duck, Minnie’s close companion.
This close-knit group of characters has appeared in countless cartoons, movies, and comic books, teaching lessons about friendship, perseverance, and fun.
Why Mickey Mouse Is So Special
For nearly a century, Mickey Mouse has stood as a symbol of creativity, positivity, and childlike wonder. He reminds audiences that even the smallest character can make a big difference with a smile and a bit of courage. Whether you’ve seen him in old black-and-white shorts or modern 3D animations, Mickey’s charm never fades.
When you draw Mickey Mouse, you’re not just sketching a cartoon — you’re celebrating a piece of animation history that continues to inspire generations.
Tools and Materials You’ll Need to Draw Mickey Mouse
Before you begin drawing Mickey Mouse, make sure you have the right tools prepared. You don’t need much — just the basics to help you sketch, refine, and color your drawing.
Here’s what you’ll need:
- Pencil – for sketching the basic shapes and outlines.
- Eraser – to clean up construction lines after inking.
- Black pen or marker – for outlining the final drawing.
- Colored pencils or markers – for coloring Mickey’s classic look (red shorts, yellow shoes, black body, white gloves).
- Paper – any smooth drawing paper or sketchbook page works well.
Optional:
- Blending stump or tissue for soft shading.
- Fine-tip liner pens for adding clean line details.
With your tools ready, you can follow the step-by-step guide below to draw Mickey Mouse easily, even if you’re a beginner.
Time needed: 25 minutes
How to Draw Mickey Mouse
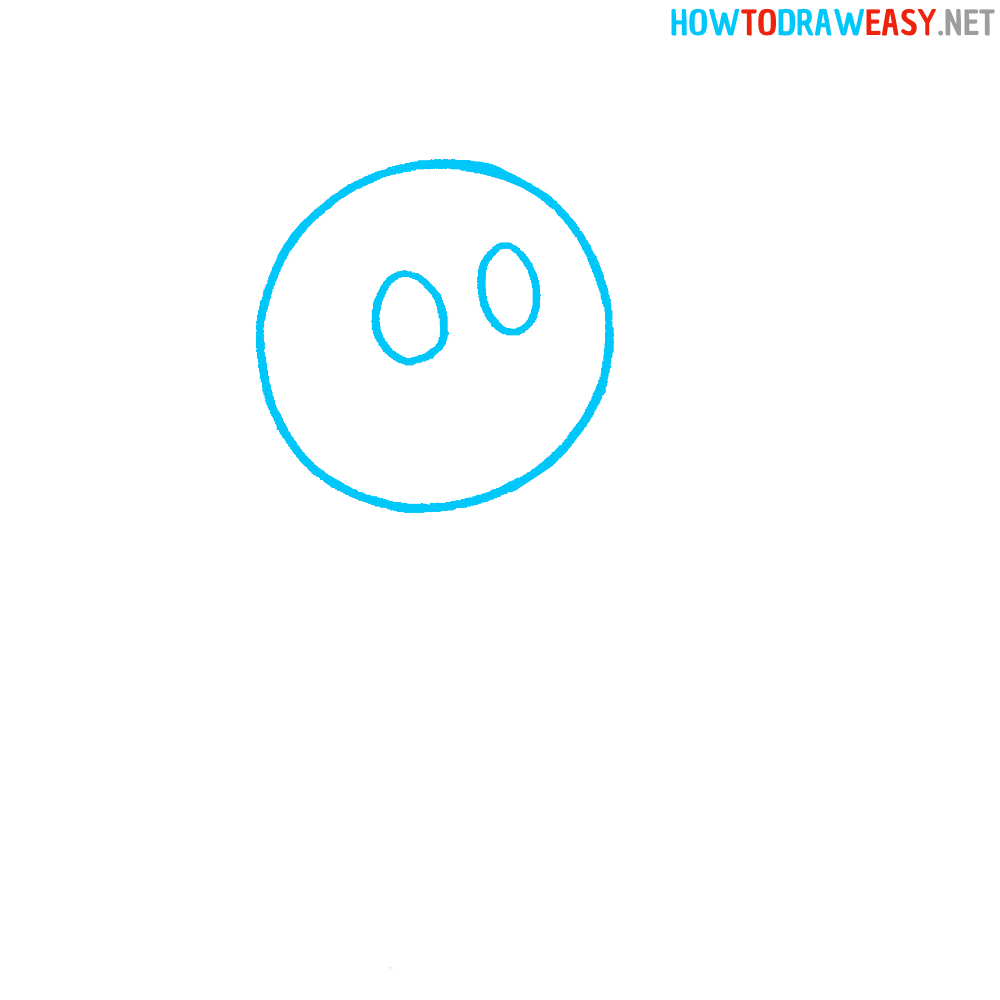
- Draw the Head and Eye Guides
Start with a large circle for Mickey’s head. Inside it, lightly draw two small vertical ovals for the eye guides, placed near the center of the face.
- Add the Ears and Eye Pupils, plus the Nose
Add two perfect circles for the ears, one on each side of the top of the head. Inside the eye ovals, draw smaller filled ovals (pupils) and place a small horizontal oval just below the eyes for the nose.

- Block in the Muzzle and Mouth Shape
Draw the rounded muzzle shape that frames the lower half of the face (a heart-like curve meeting under the nose). Inside the muzzle, sketch an open smiling mouth and add the tongue shape at the bottom of the mouth.
Refine the top of the head where the face color meets the ears: draw the distinctive curved “hairline” shape that creates Mickey’s pale face within the black head. Clean up the eye and mouth lines, so the facial features look crisp.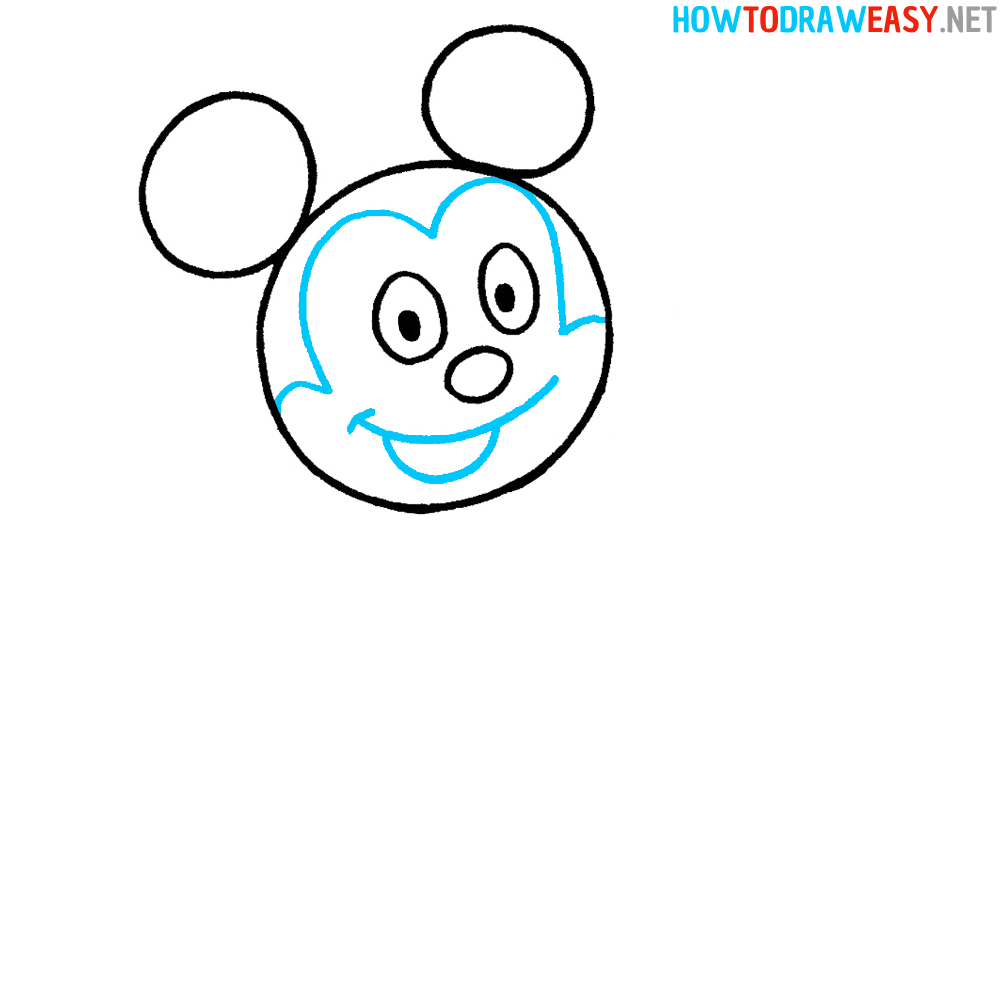
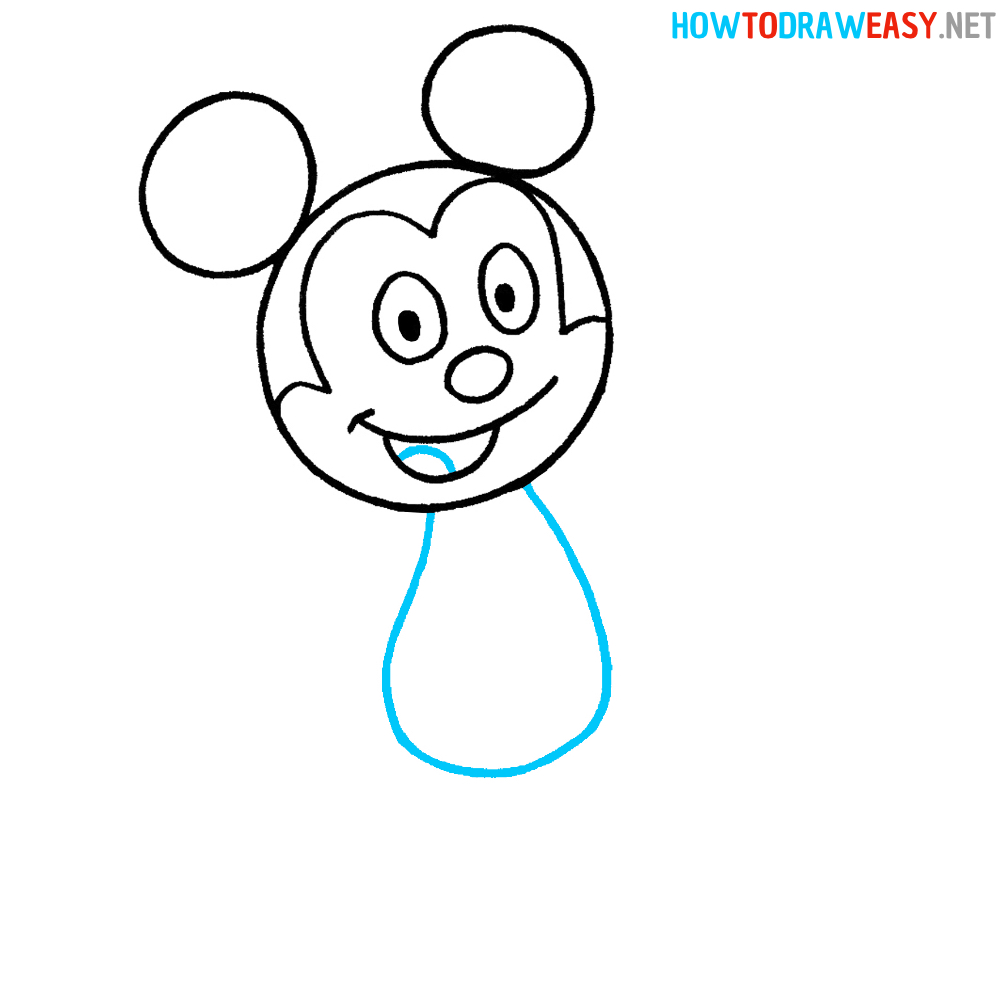
- Sketch the Torso
Under the head draw a rounded, pear-shaped torso — narrower at the top, wider at the bottom. This is the construction shape for Mickey’s body. Refine the tongue detail inside the mouth so it reads clearly — the tongue should sit against the lower curve of the open mouth. Clean up any overlapping construction lines between head and torso.
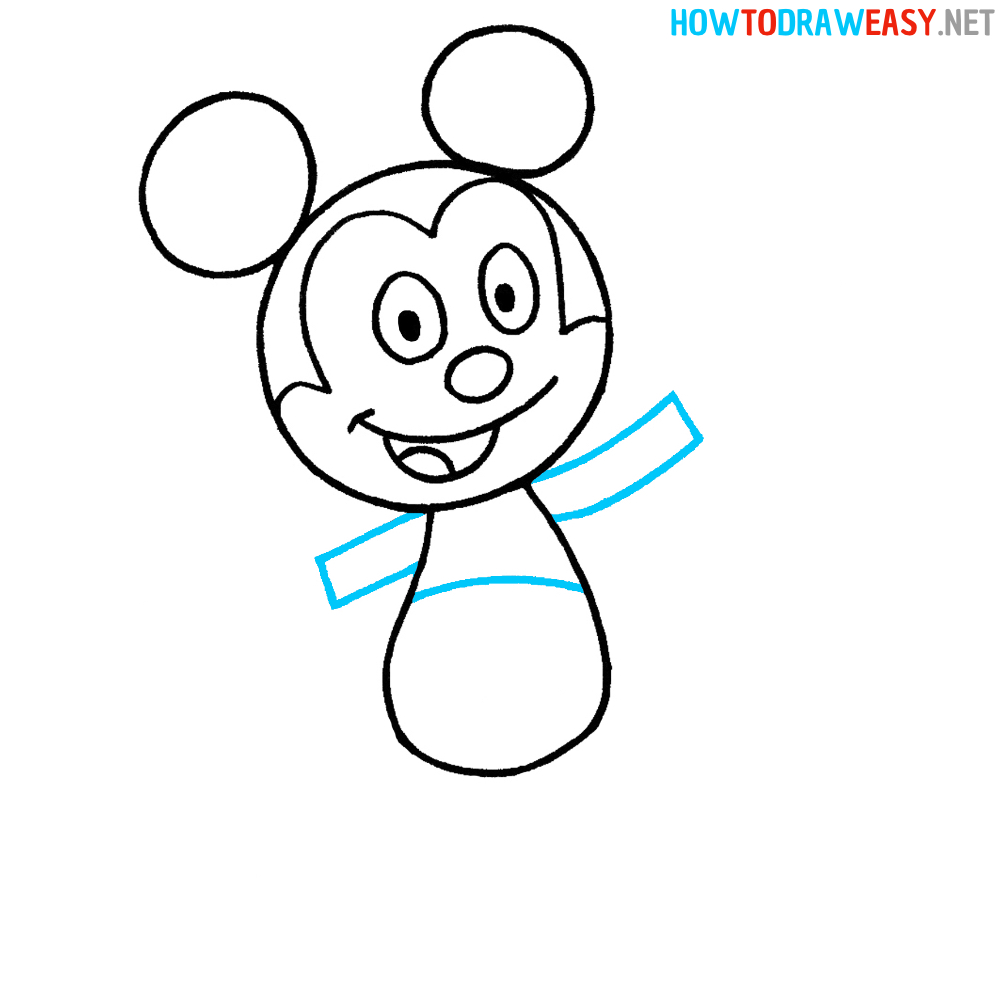
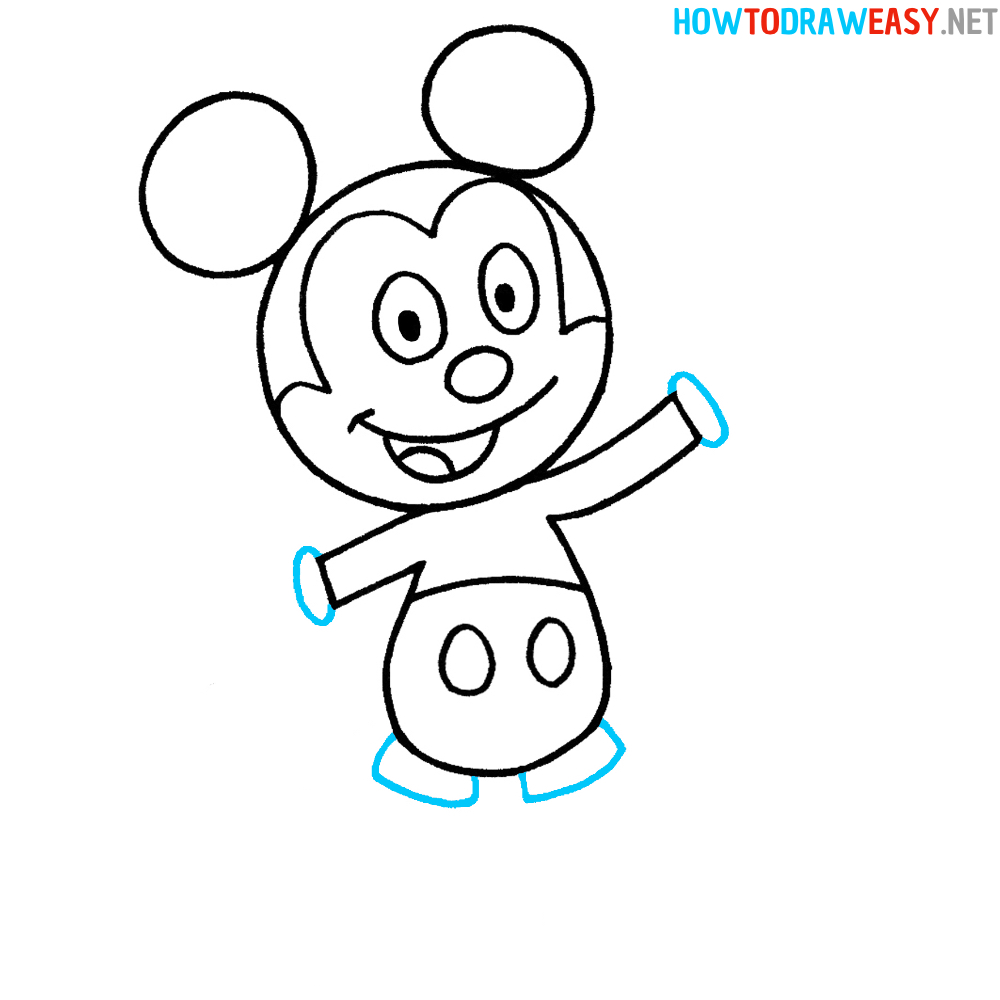
- Add Arms and Waist Band
Add the two arms as simple tubes/rectangles extending from the torso — one arm raised, the other lowered — but do not draw the glove hands yet. Draw a curved horizontal line across the torso to mark the top edge of Mickey’s shorts (the waistline/belt area).
- Add the Cuffs, Shorts, and Buttons
Draw the glove cuffs (manchettes) where the hands will attach — short rounded rings at the end of each sleeve. Sketch the shorts shape around the lower torso so it connects with the waistline. On the front of the shorts, add two oval buttons.
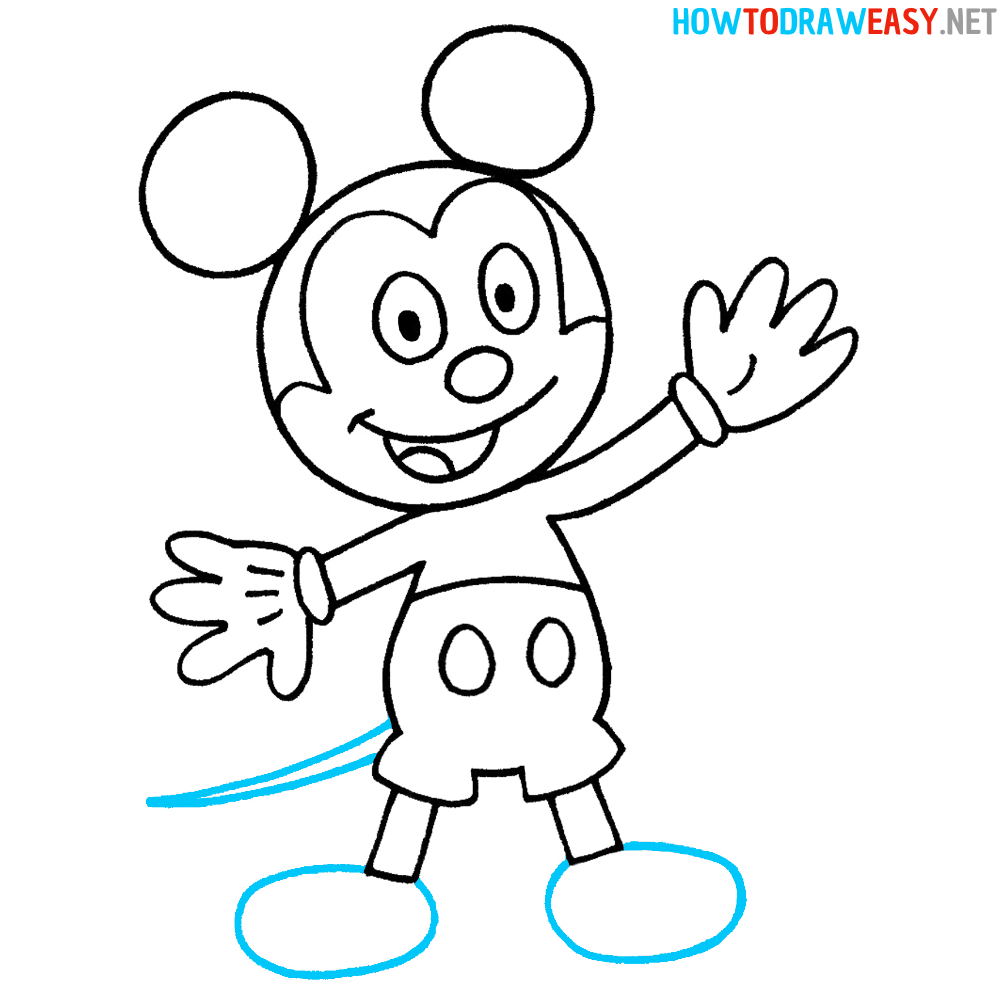
- Gloved Hands and Legs
Now draw the gloved hands attached to the cuffs — include the classic cartoon mitten look with three finger separations. Add two short rectangular legs extending down from the shorts. Make sure hand sizes remain slightly exaggerated compared to the arms.

- Sketch the Shoes and Tail
Draw the large rounded shoes (oval/oblong shapes) at the ends of the legs; they should be oversized and slightly flattened at the bottom. Add the thin curved tail extending from the back of the shorts, curving naturally to one side.
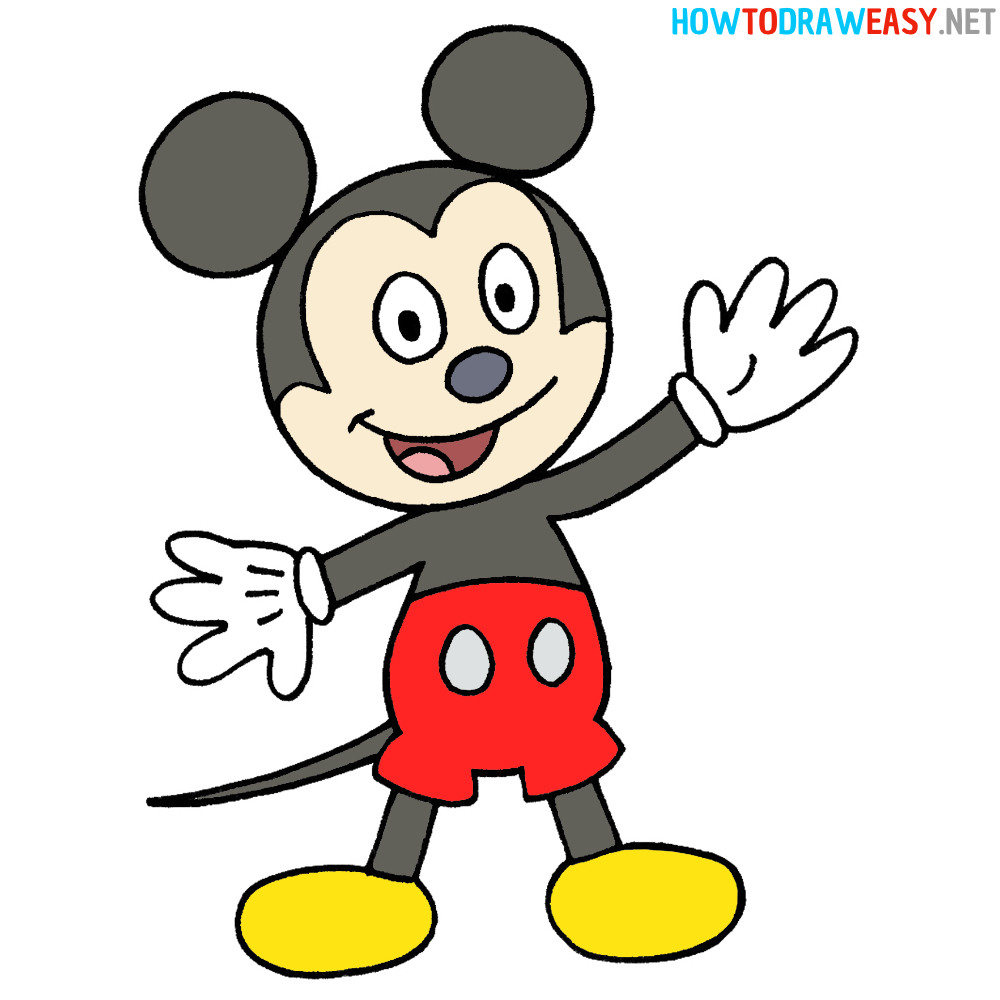
- Final lines, Inking and Color
Ink the final outlines and erase all pencil construction marks. Add final facial details (pupil highlights, nose shading) and any small linework. Color Mickey: black for head/ears/body/arms/tail, light skin/beige for the face/muzzle, red shorts with white buttons, white gloves, and yellow shoes. Add simple shading if desired and a dark interior for the mouth with a pink/red tongue.


Drawing Mickey Mouse is more than just an art exercise — it’s a journey into animation history and a chance to feel connected to one of the most beloved characters ever created. Whether this was your first time sketching him or you’re a seasoned artist refining your skills, each line you drew helped bring a little piece of Disney magic to life.
Reflecting on What You’ve Learned
By following the nine steps, you learned how to build Mickey’s form using simple shapes, refine his signature facial features, and complete his classic outfit. This process teaches more than technique — it’s about observation, patience, and the joy of transforming circles and curves into a recognizable character filled with personality.
You also practiced proportion, expression, and composition — key skills for any artist. Remember, every great drawing begins with basic shapes, and Mickey Mouse is a perfect example of how simplicity can lead to something timeless.
Tips for Improving Your Cartoon Drawing Skills
If you enjoyed this tutorial, keep practicing! Here are a few tips to continue growing your artistic confidence:
- Experiment with poses: Try drawing Mickey walking, laughing, or waving from different angles.
- Practice shading and lighting: Add shadows to give depth and make your Mickey look more three-dimensional.
- Study other Disney characters: Learn to draw Minnie, Donald, and Goofy to build your own cartoon scenes.
- Observe classic animation: Watching early Mickey cartoons helps you understand his movement, proportions, and expressions.
The more you draw, the more natural the shapes and proportions will become.
Keep the Magic Going
Mickey Mouse is more than just a cartoon — he represents creativity, optimism, and the belief that “if you can dream it, you can do it.” Walt Disney himself started with a simple sketch, and that small drawing grew into a global symbol of happiness.
So every time you pick up your pencil, remember that great things can come from simple beginnings. Keep sketching, keep imagining, and keep creating your own magic — just like Mickey.
Final Thought
Art is about expression and joy, and Mickey Mouse embodies both perfectly. Whether you hang your finished drawing on a wall or gift it to someone special, let it remind you that creativity lives in everyone — and sometimes, all it takes is a smile and a pencil to bring it out.