How to Draw Iron Man
When you need to learn how to draw Iron Man easy enough for beginners, start a sketch with this guide. Simple step-by-step tutorial to help you draw Tony Stark.
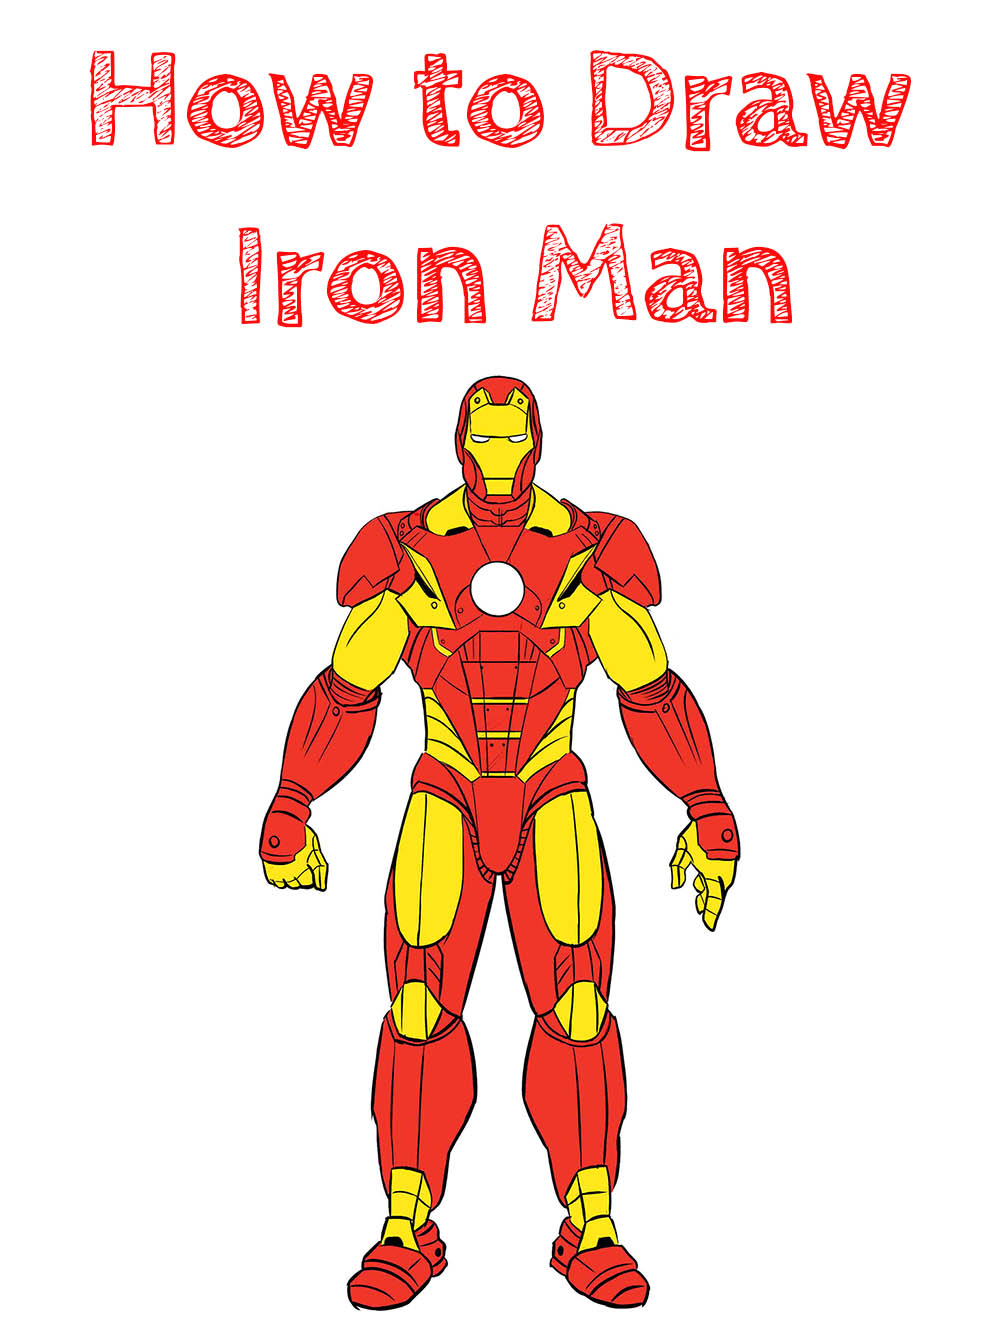
We present a drawing guide in which you can learn how to draw Iron Man according to step-by-step instructions. Previously, you might have seen a lesson in drawing Spider-Man or other comic book characters from the Marvel or DC universes. Iron Man is one of the main and important characters in the MCU, which began with the first film about Tony Stark, who is a very smart billionaire and philanthropist, who one day decided that he had to help humanity. Iron Avenger, like Batman, does not have any superhuman abilities that could help him in battles with foreign guests, or with other super-powerful characters, but thanks to his ingenious mind, Tony Stark created an armored flying suit, with the help of which he became so strong and popular superhero.
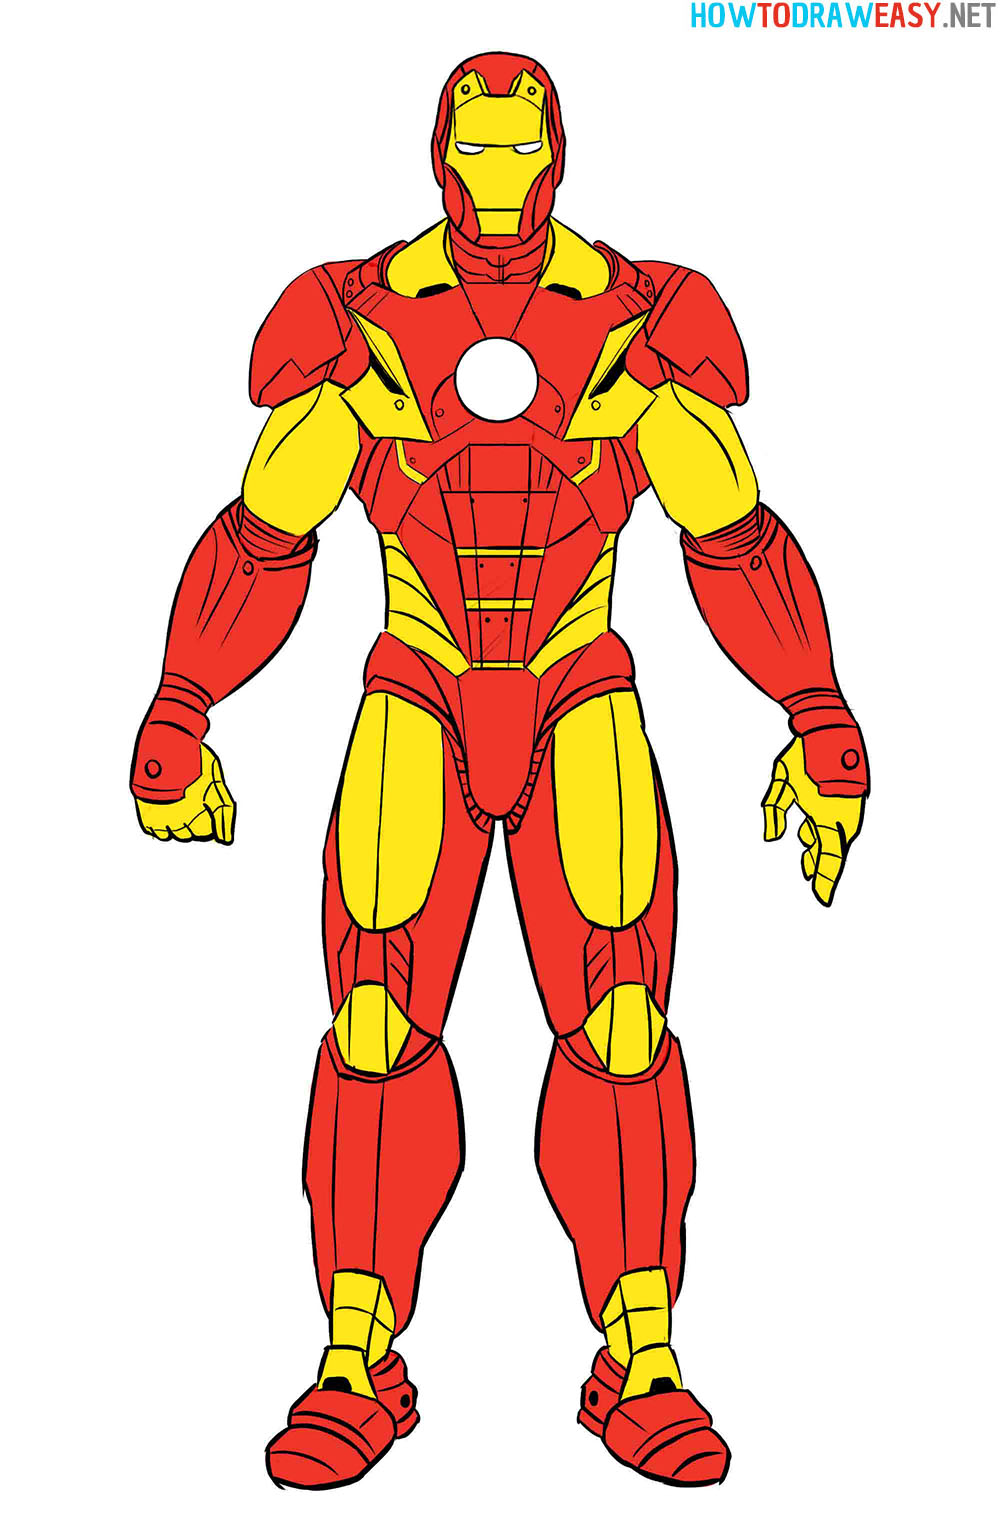
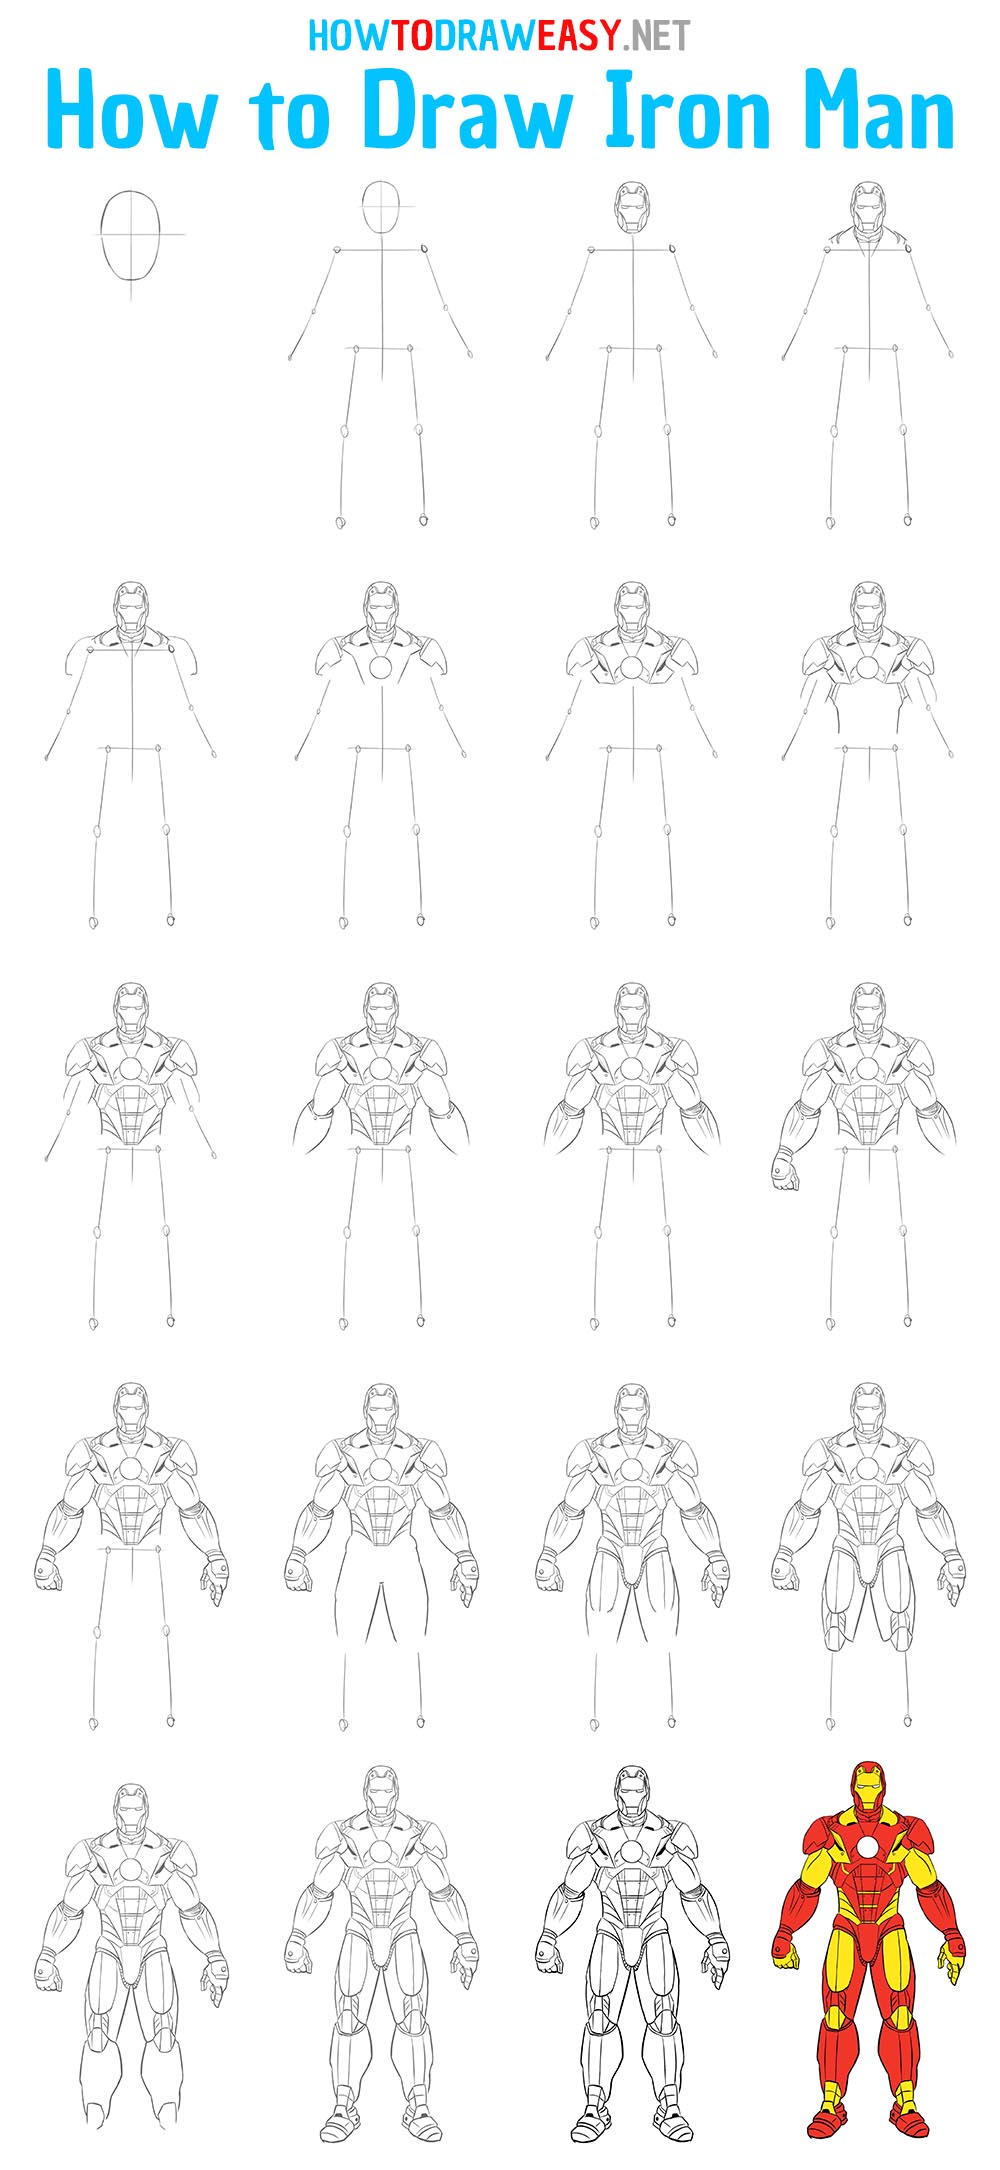
In our step-by-step guide, we took as an example the classic look of the Tony Stark suit, as well as the classic color scheme that combines red and yellow colors. The whole lesson is quite detailed, and you can draw such a realistic character if you try very hard and carefully repeat all the details following the steps.
Time needed: 1 hour
How to Draw Iron Man
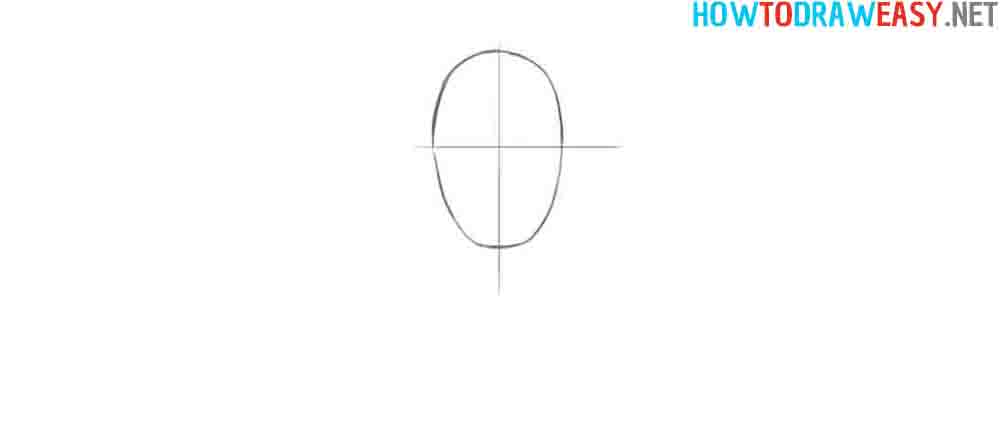
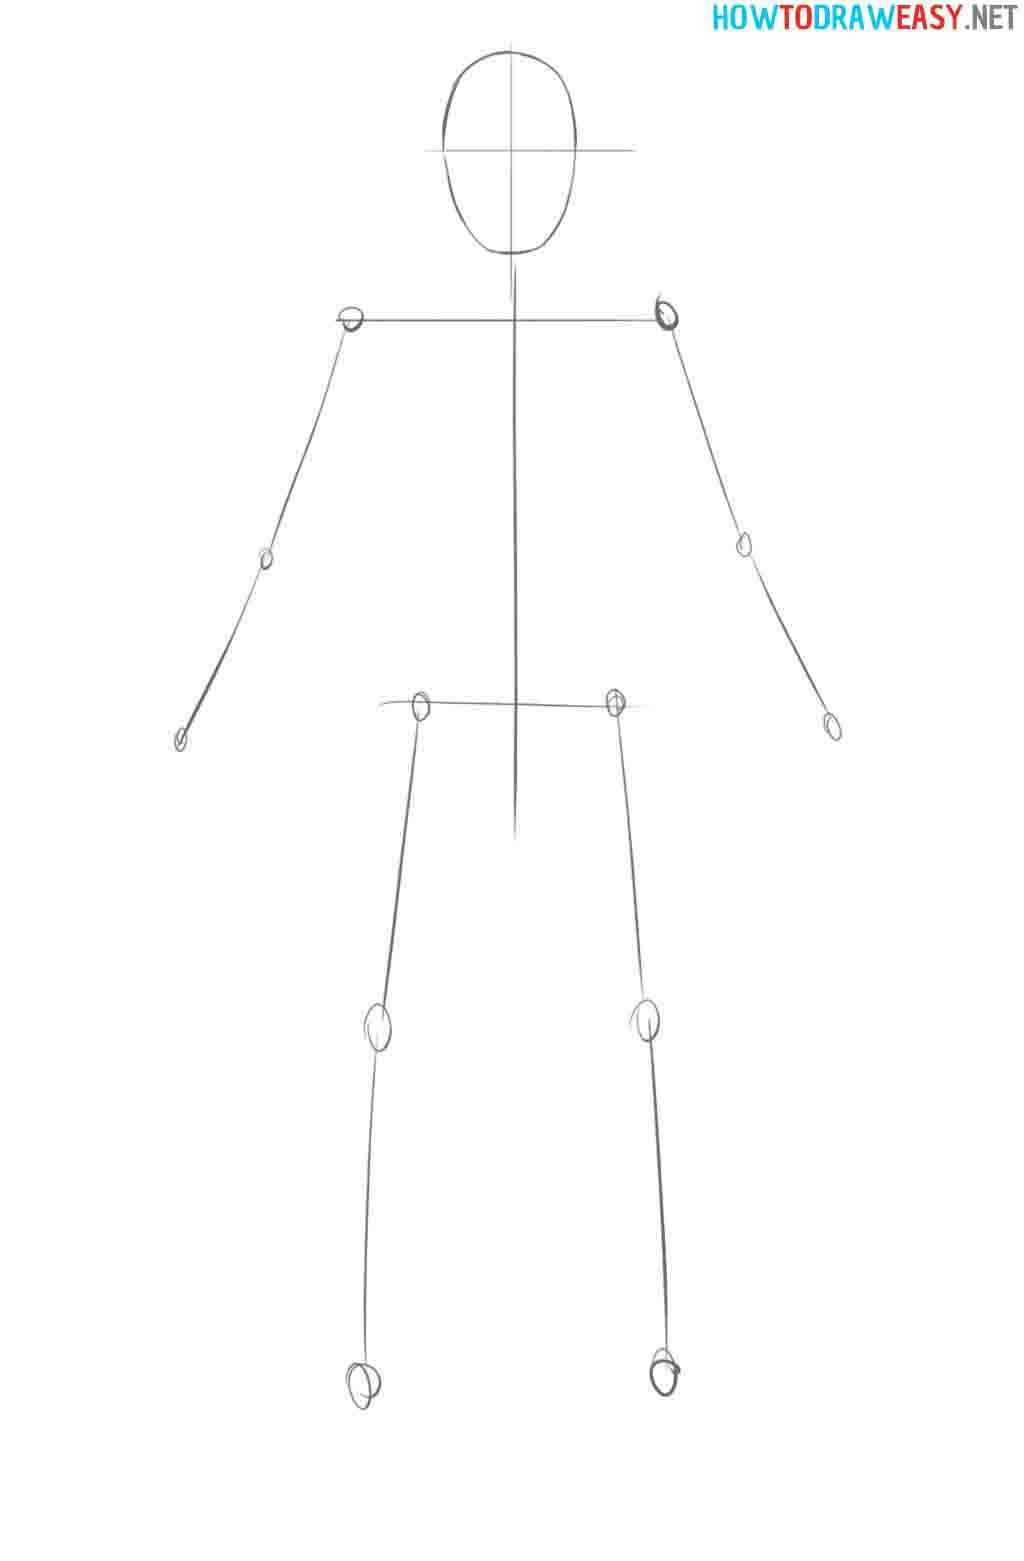
- Draw the shape of the head.
Let’s start the guide with a sketch of the shape of the head, or more precisely, the shape of the helmet. You need to draw guidelines to help draw the head.
- Draw the lines of the body.
The head shape is ready, so now we need to draw the basic guidelines for the body. You need to draw lines as well as where the joints are.
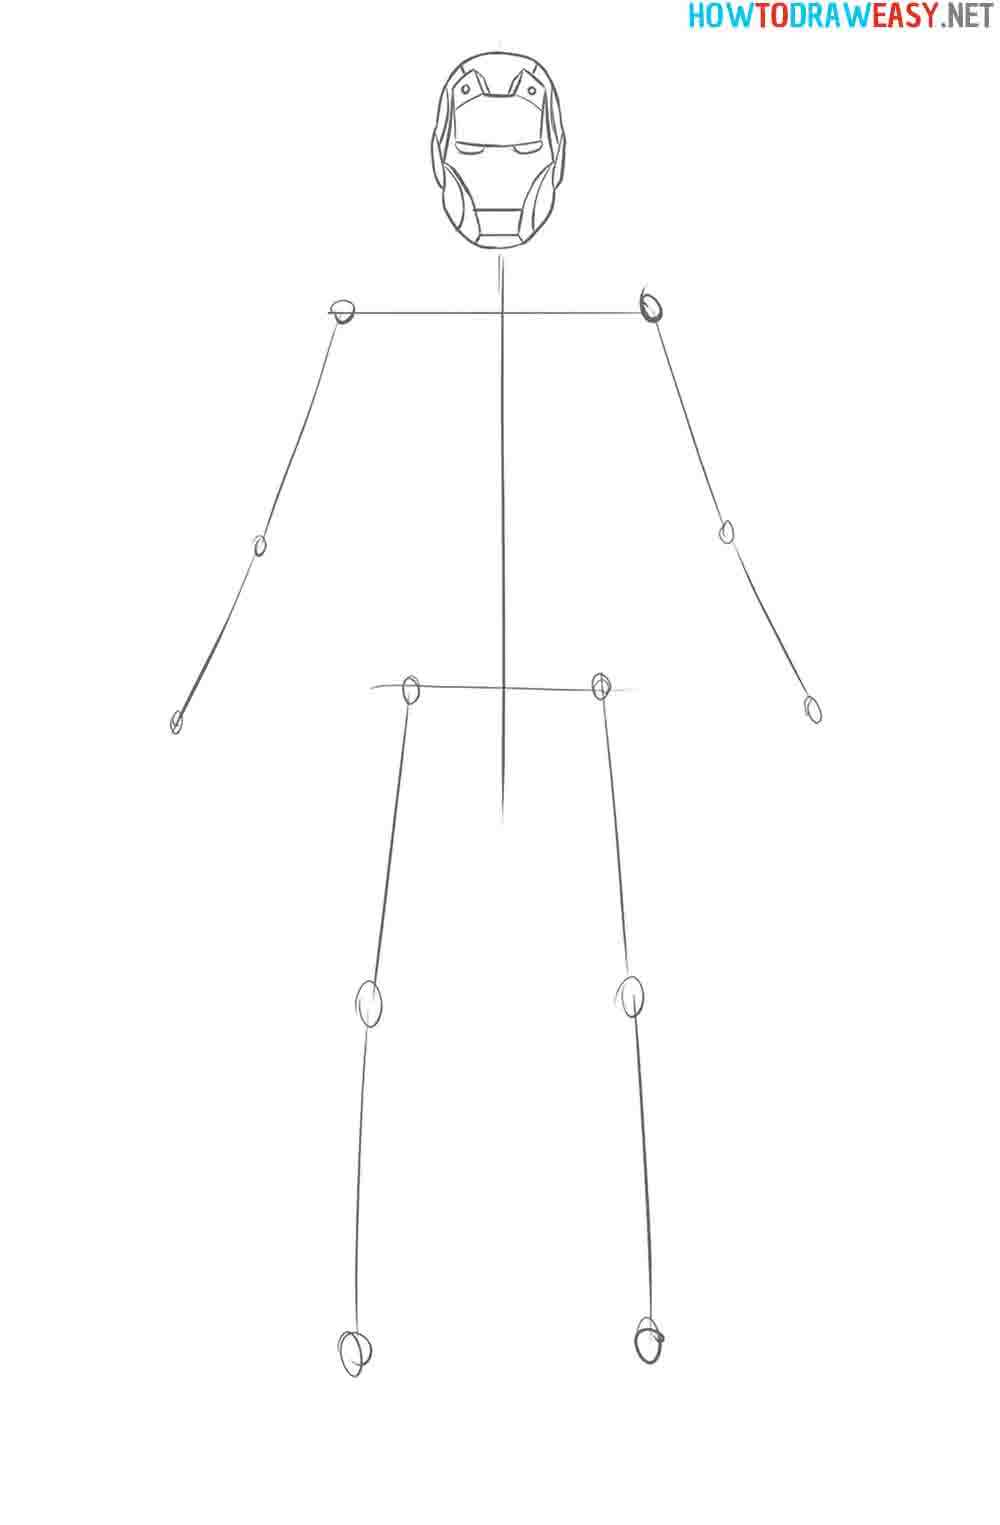
- Draw the helmet.
Draw the details of the helmet following the example from this step. You need to carefully and clearly repeat all the lines and details that are on the Iron Man helmet.
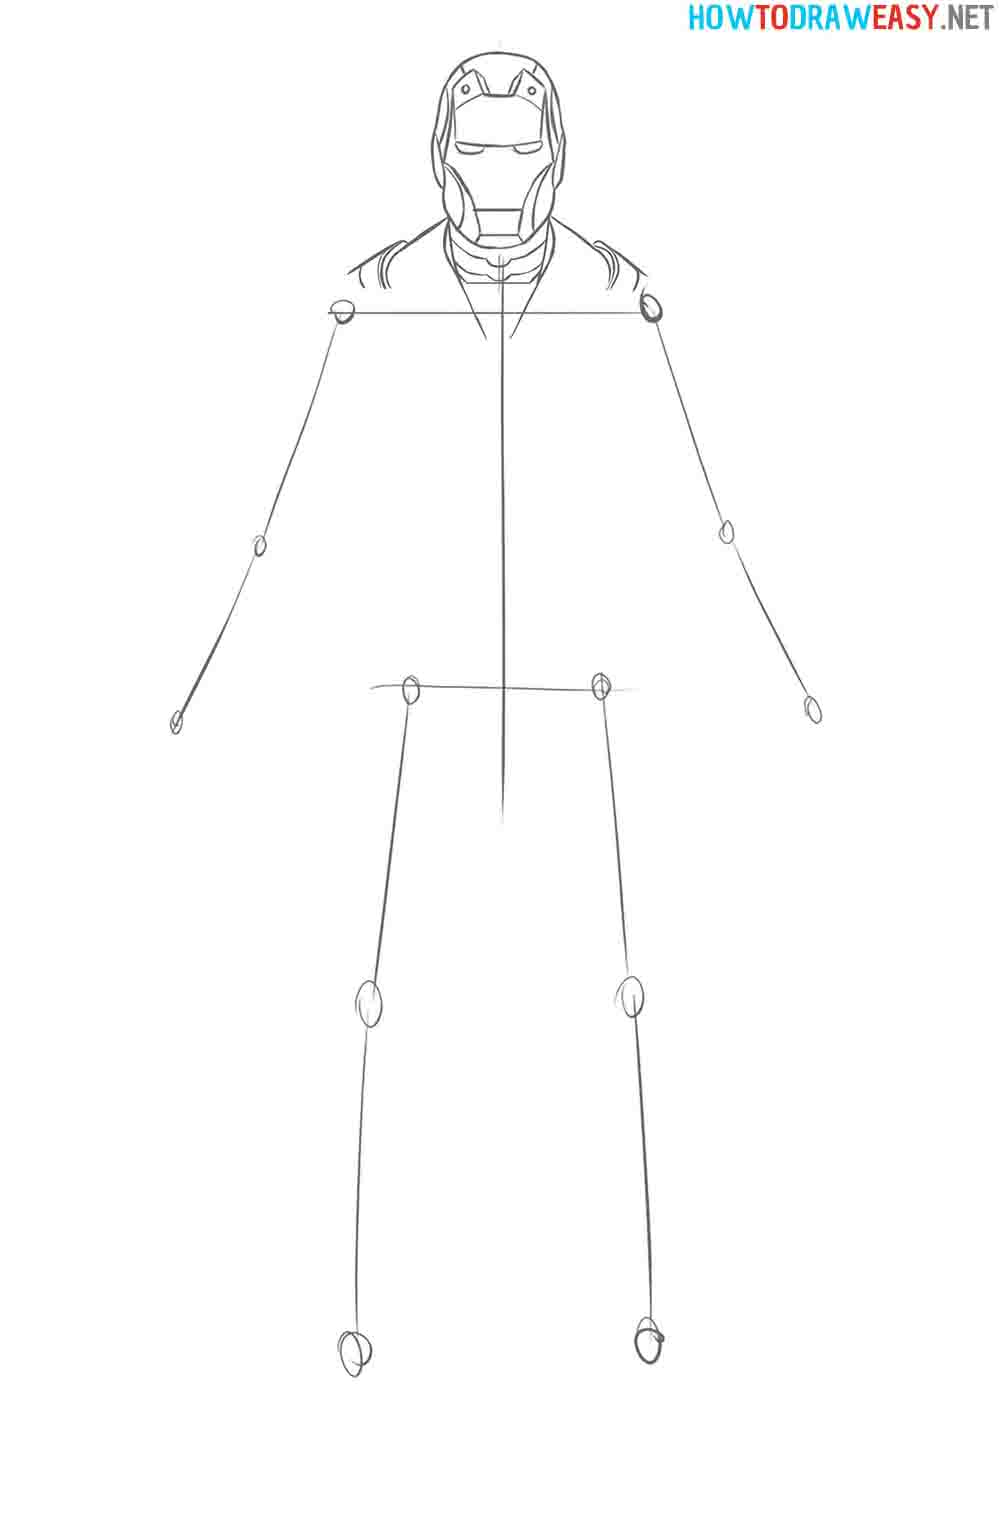
- Draw the neck.
Draw the suit’s armored neck as well as the beginning of the shoulders.
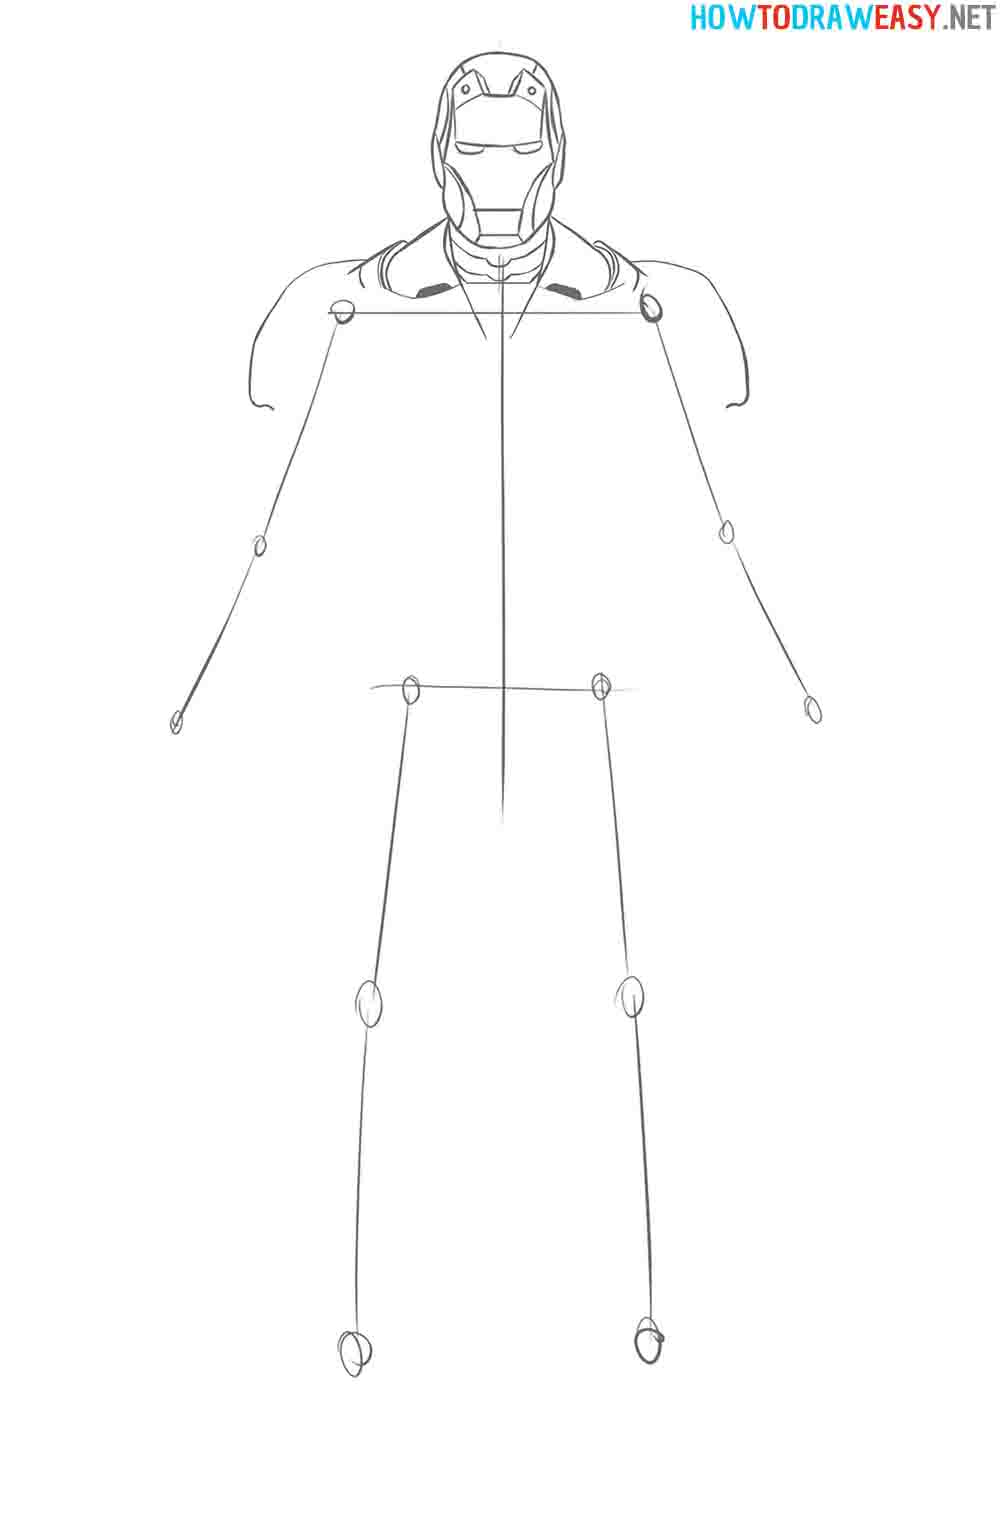
- Draw the shoulders.
Draw the lines for the shoulders of the suit. They should be large visually and very powerful in appearance.
- Draw the chest.
Draw the details of the chest part of the suit, as well as the round reactor, which is always in the chest of Tony Stark.
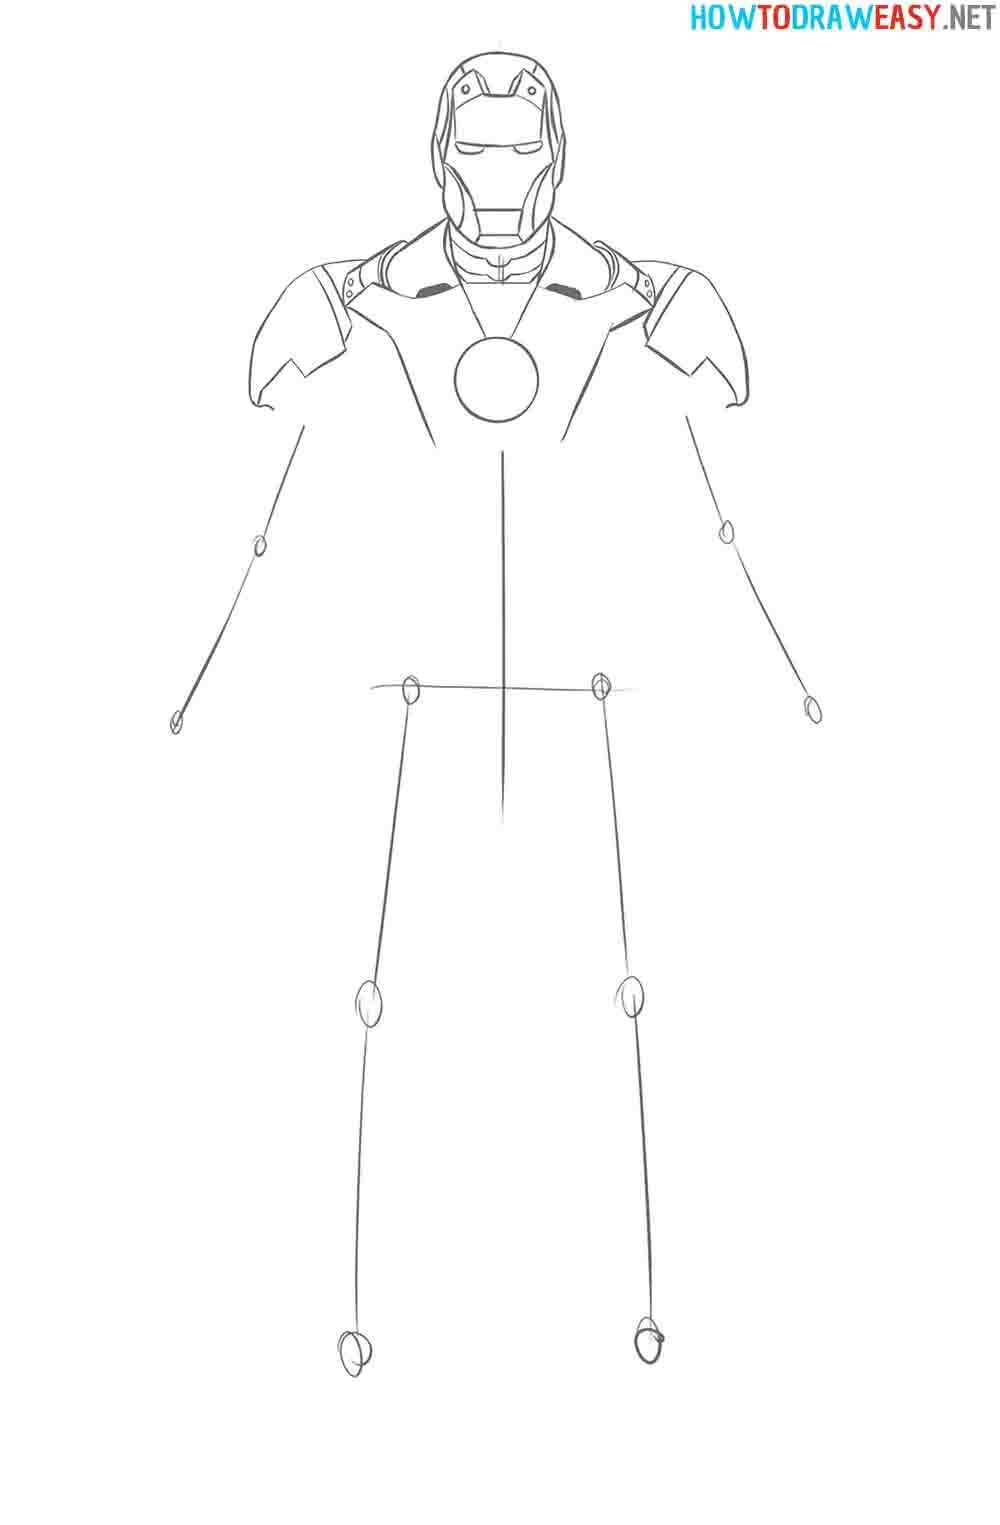
- Suit armor details.
Draw the details of the lower chest in the Iron Man suit. Try to repeat every detail to keep your sketch detailed.
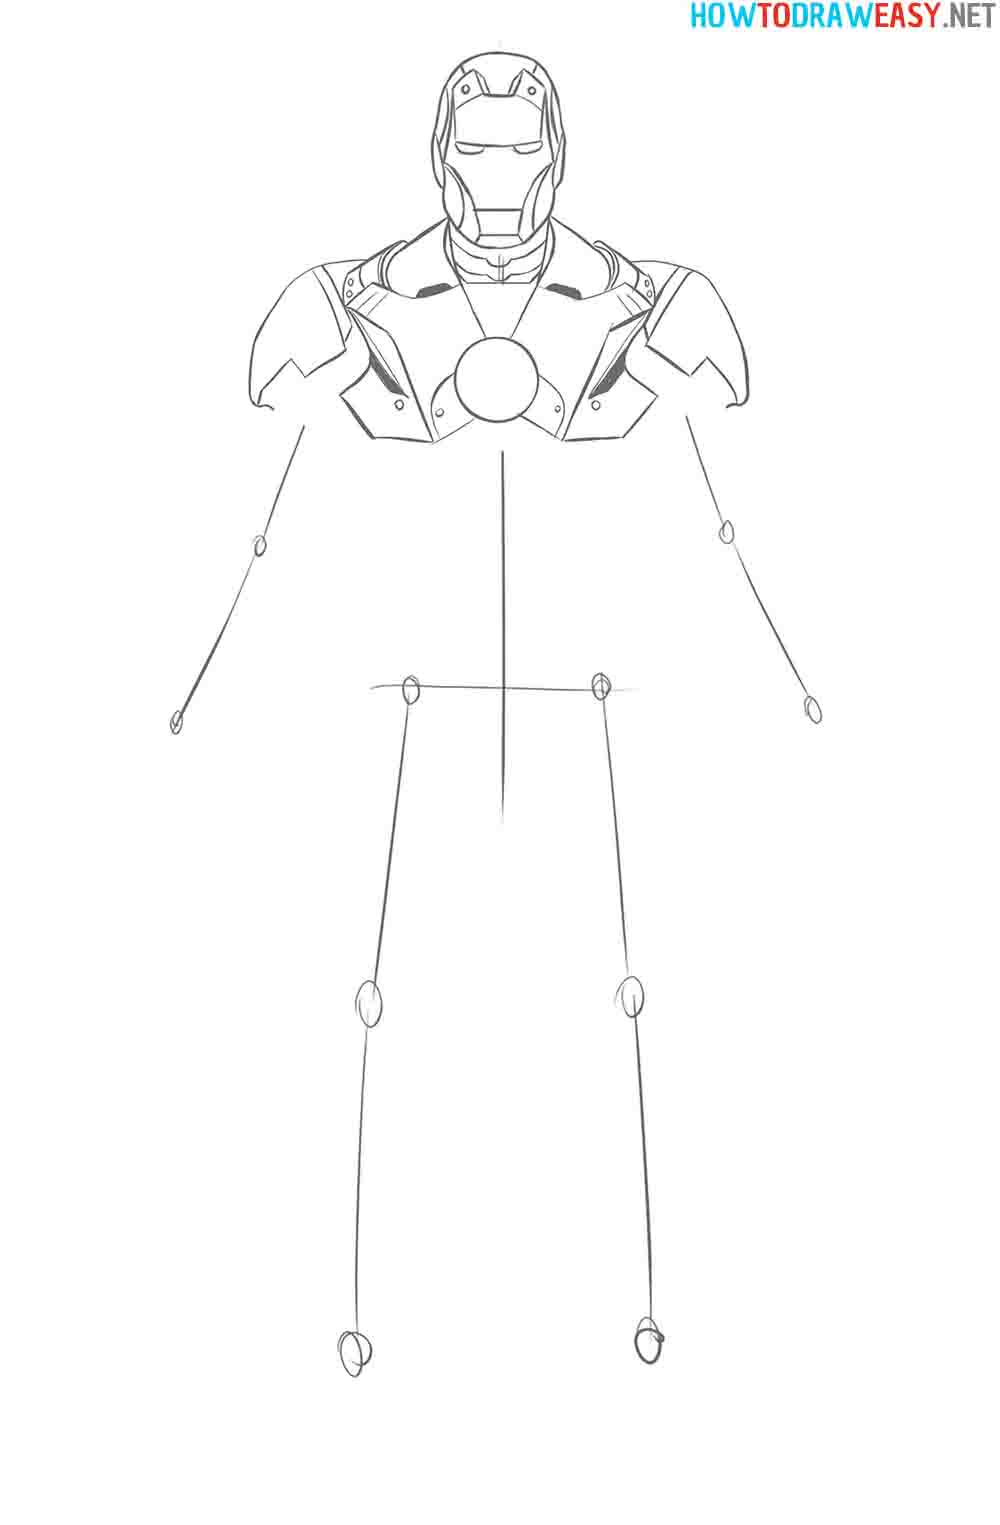
- Suit biceps.
Draw the lines for the reinforced biceps of the suit, as well as the oblique muscles on the suit.
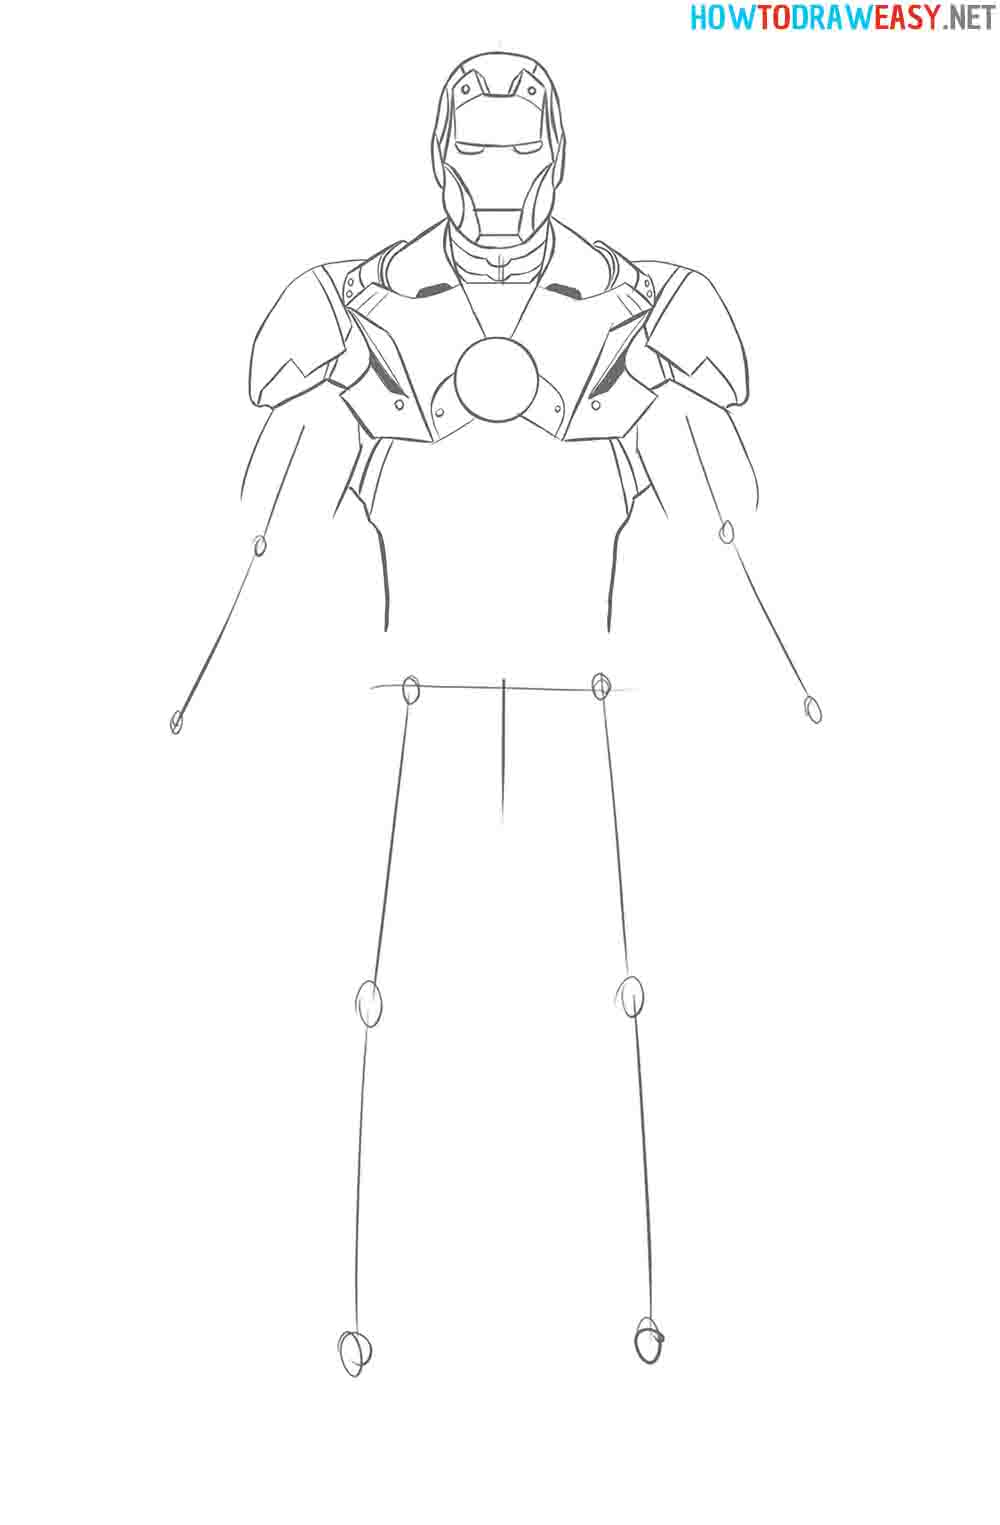
- Draw the torso.
Draw to the end of the torso of the suit, as well as all the armor that is in the abdominal section in the Tony Stark suit.
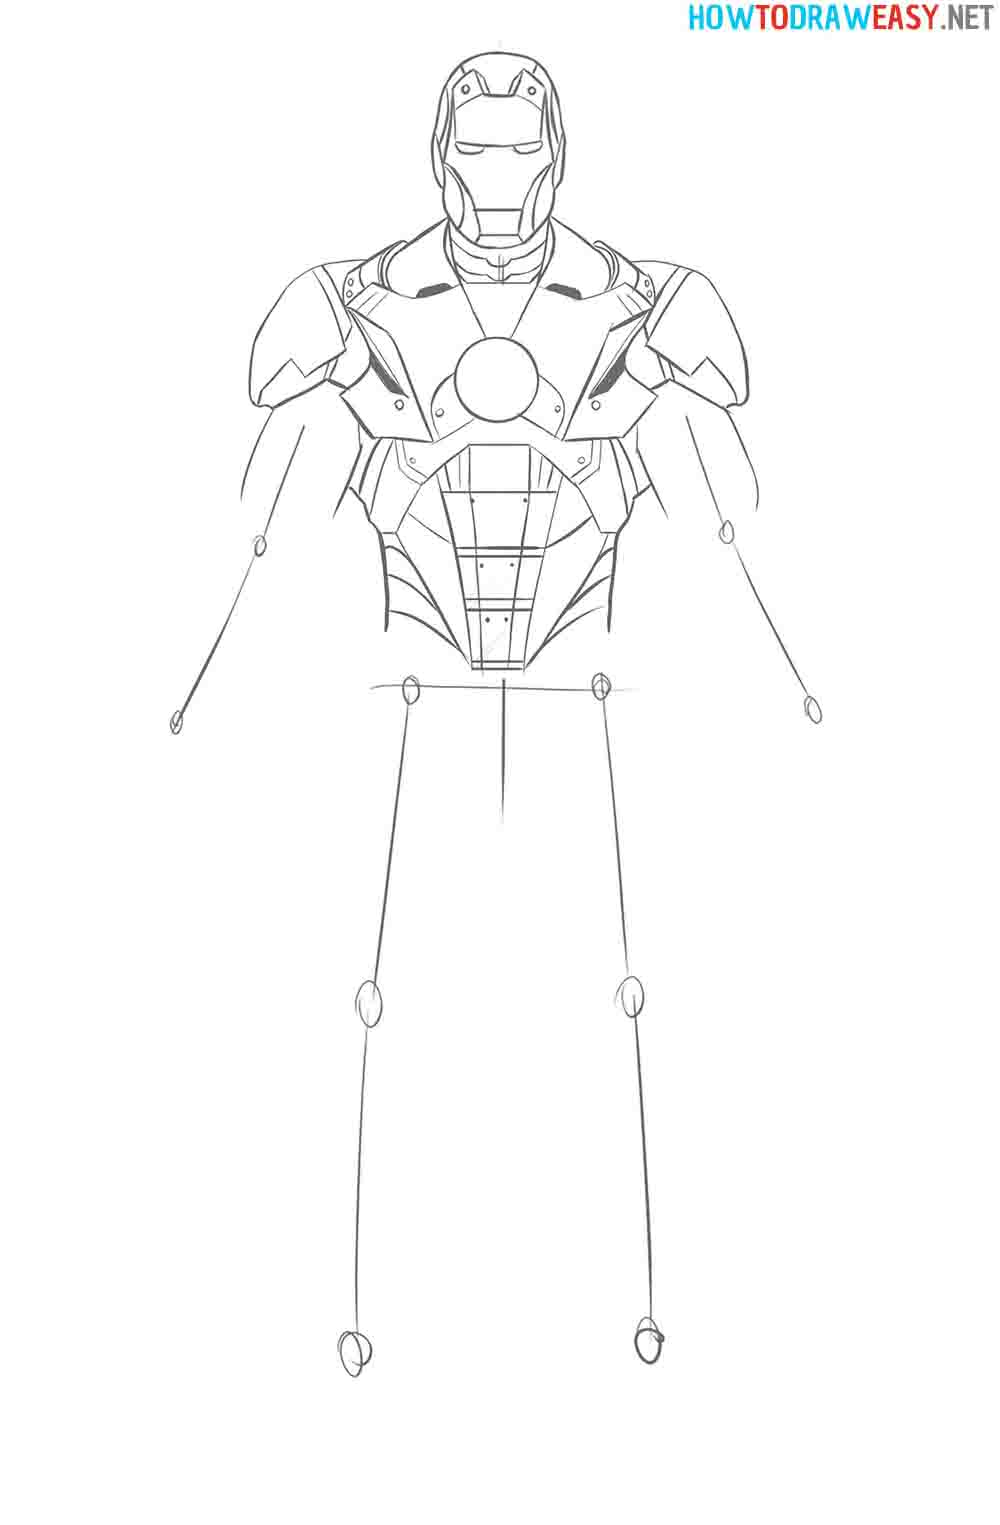
- Draw the arms.
You need to draw the forearms. Consider all the proportions of the torso so that the arms look natural next to the torso.
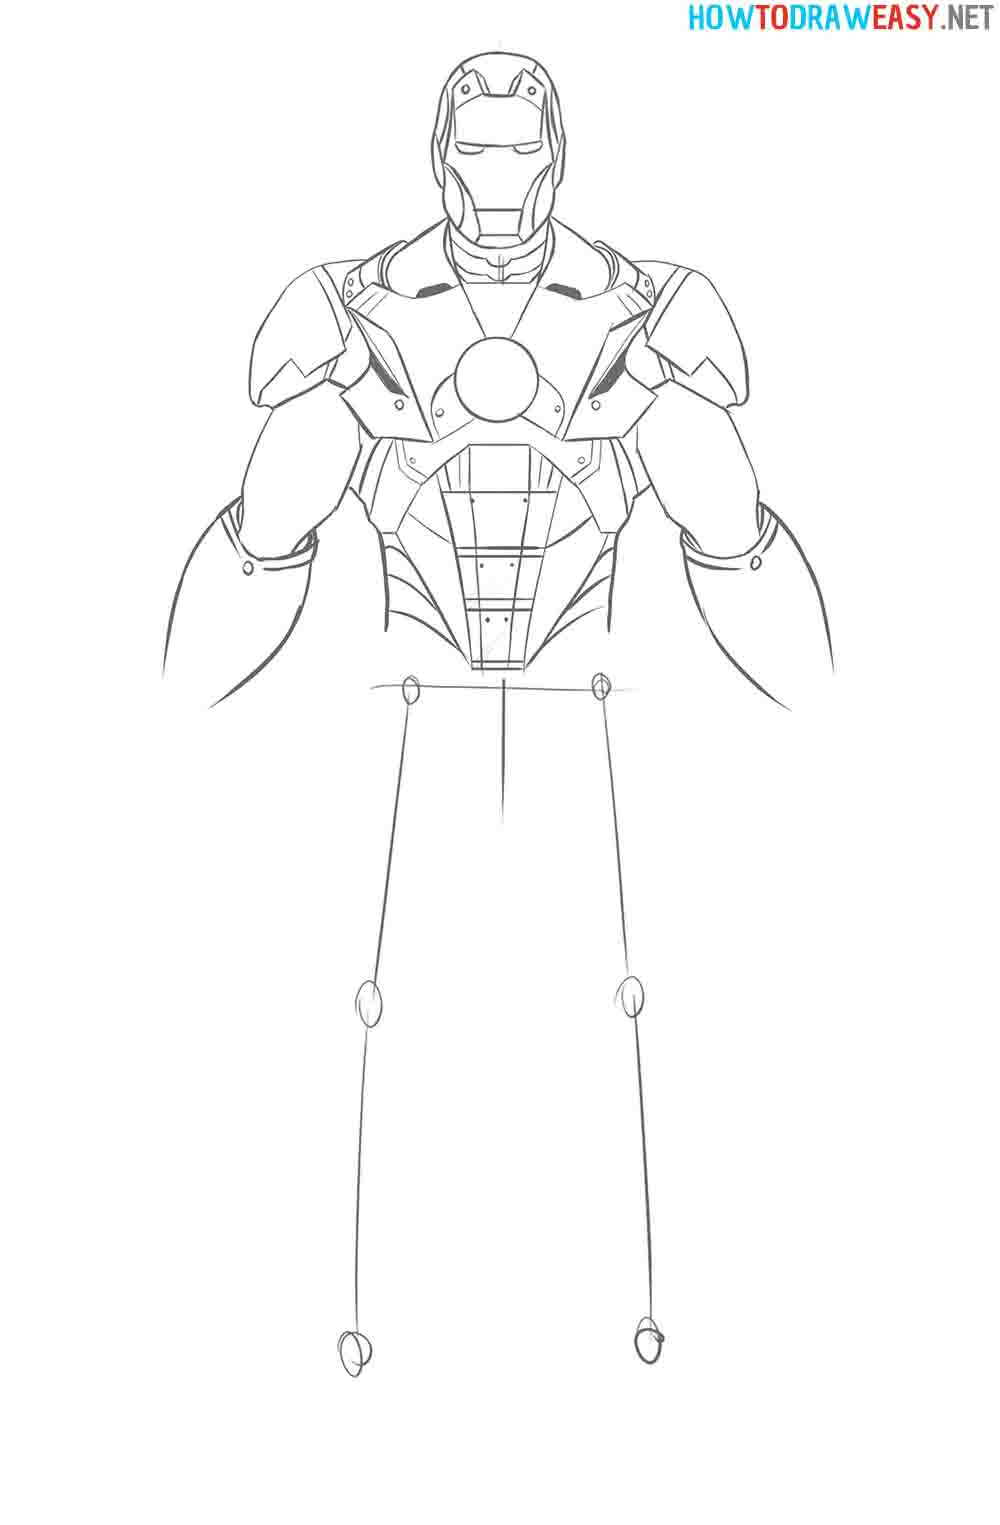
- Armor details on the arms.
Draw the lines that are shown in the example and are on the arms of the suit. These are primarily the places where the arms fold.
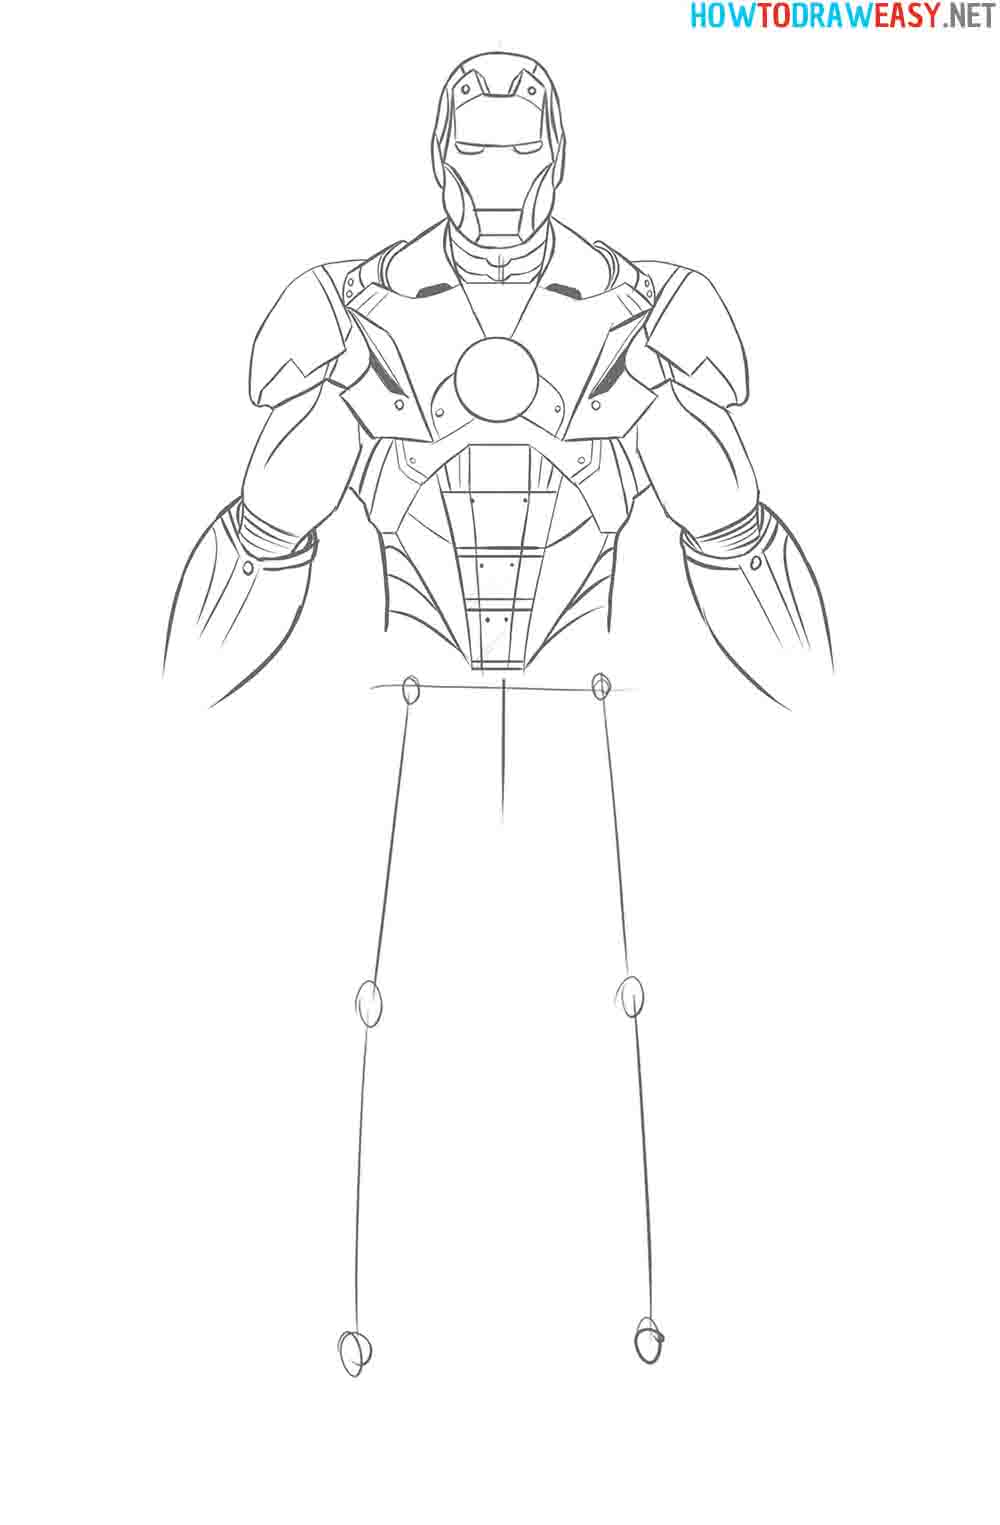
- Draw the right arm.
Draw the right hand, which is clenched into a fist.
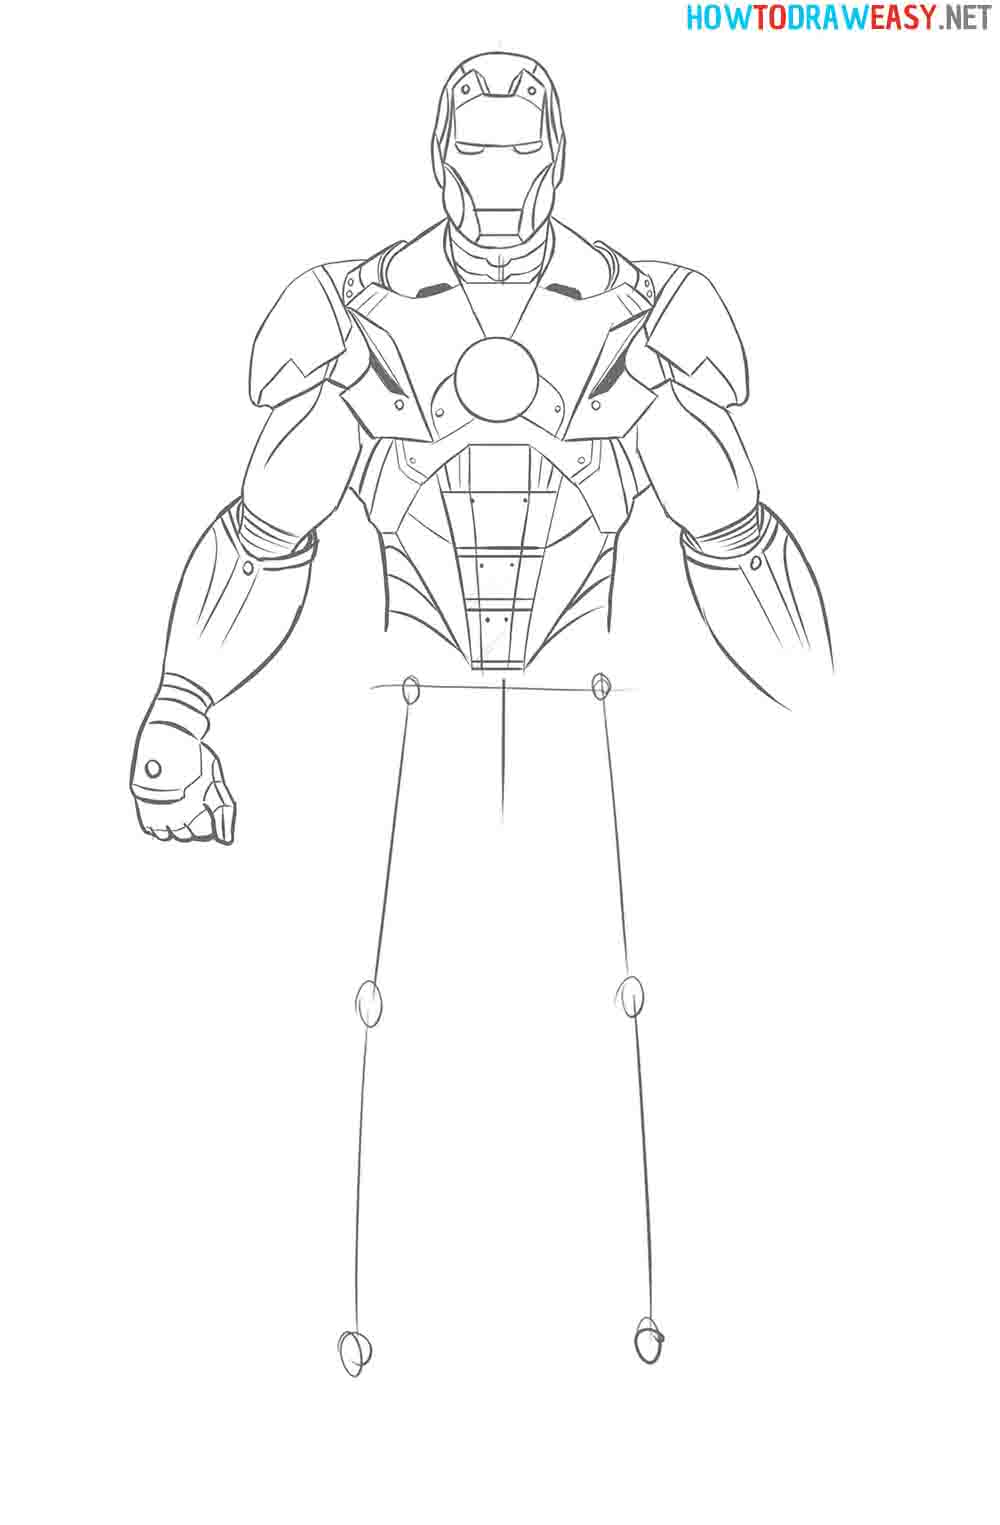
- Draw the left arm.
Now draw Tony Stark’s left hand, unlike the right hand, it is not clenched into a fist. Here you need to draw the fingers of the hands.
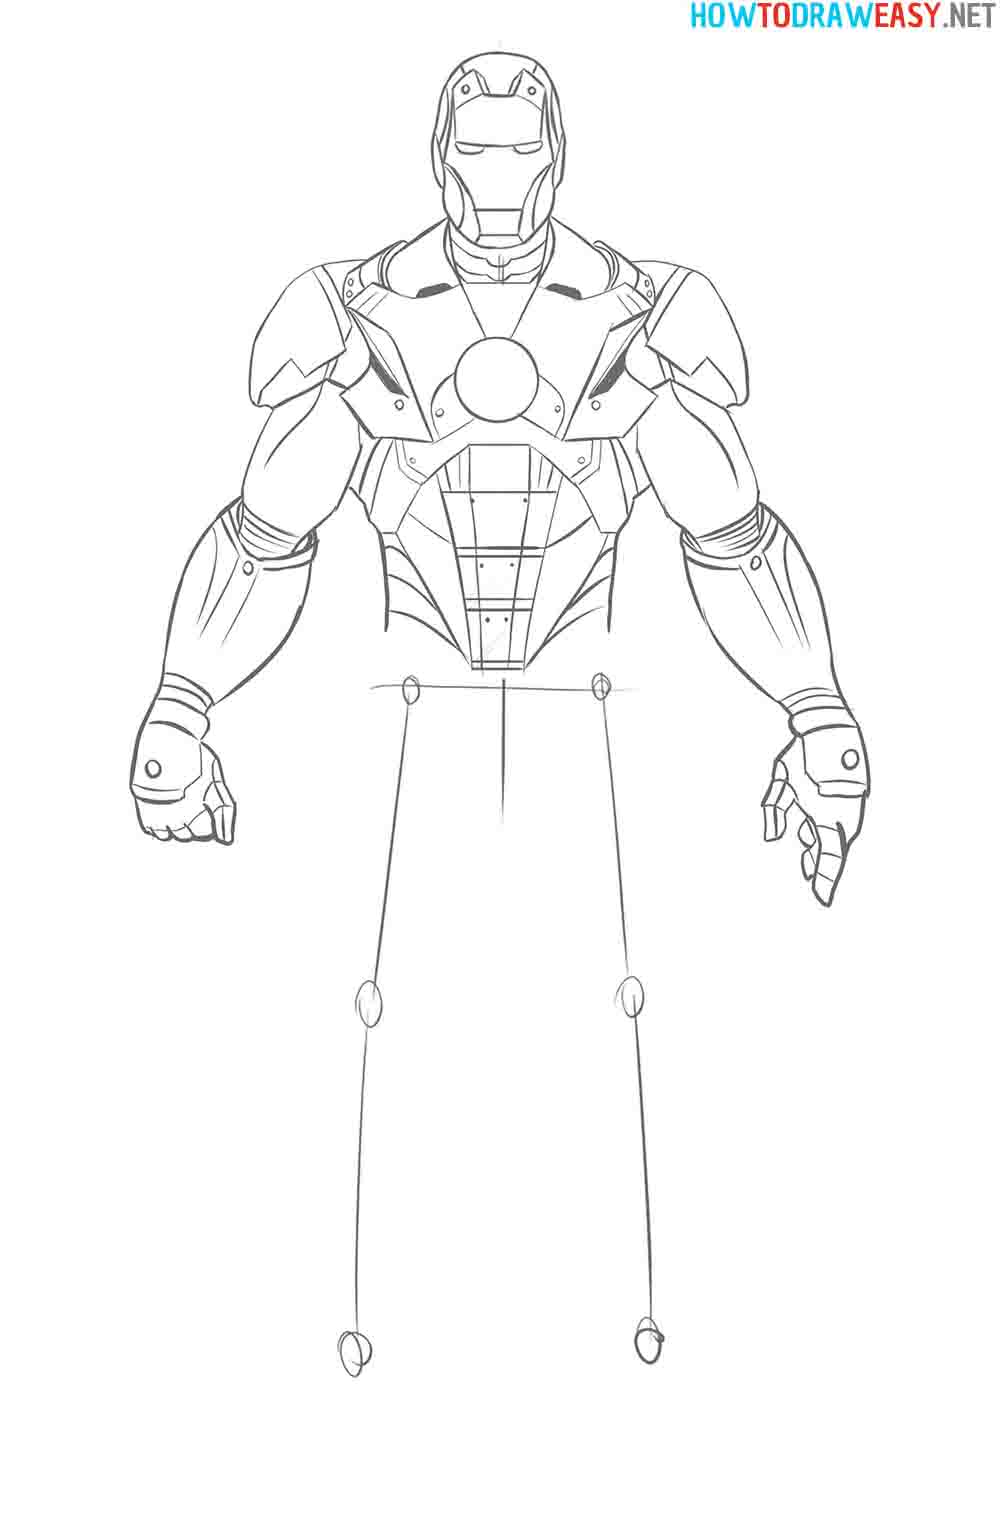
- Leg lines.
Draw the lines for the top of the legs.
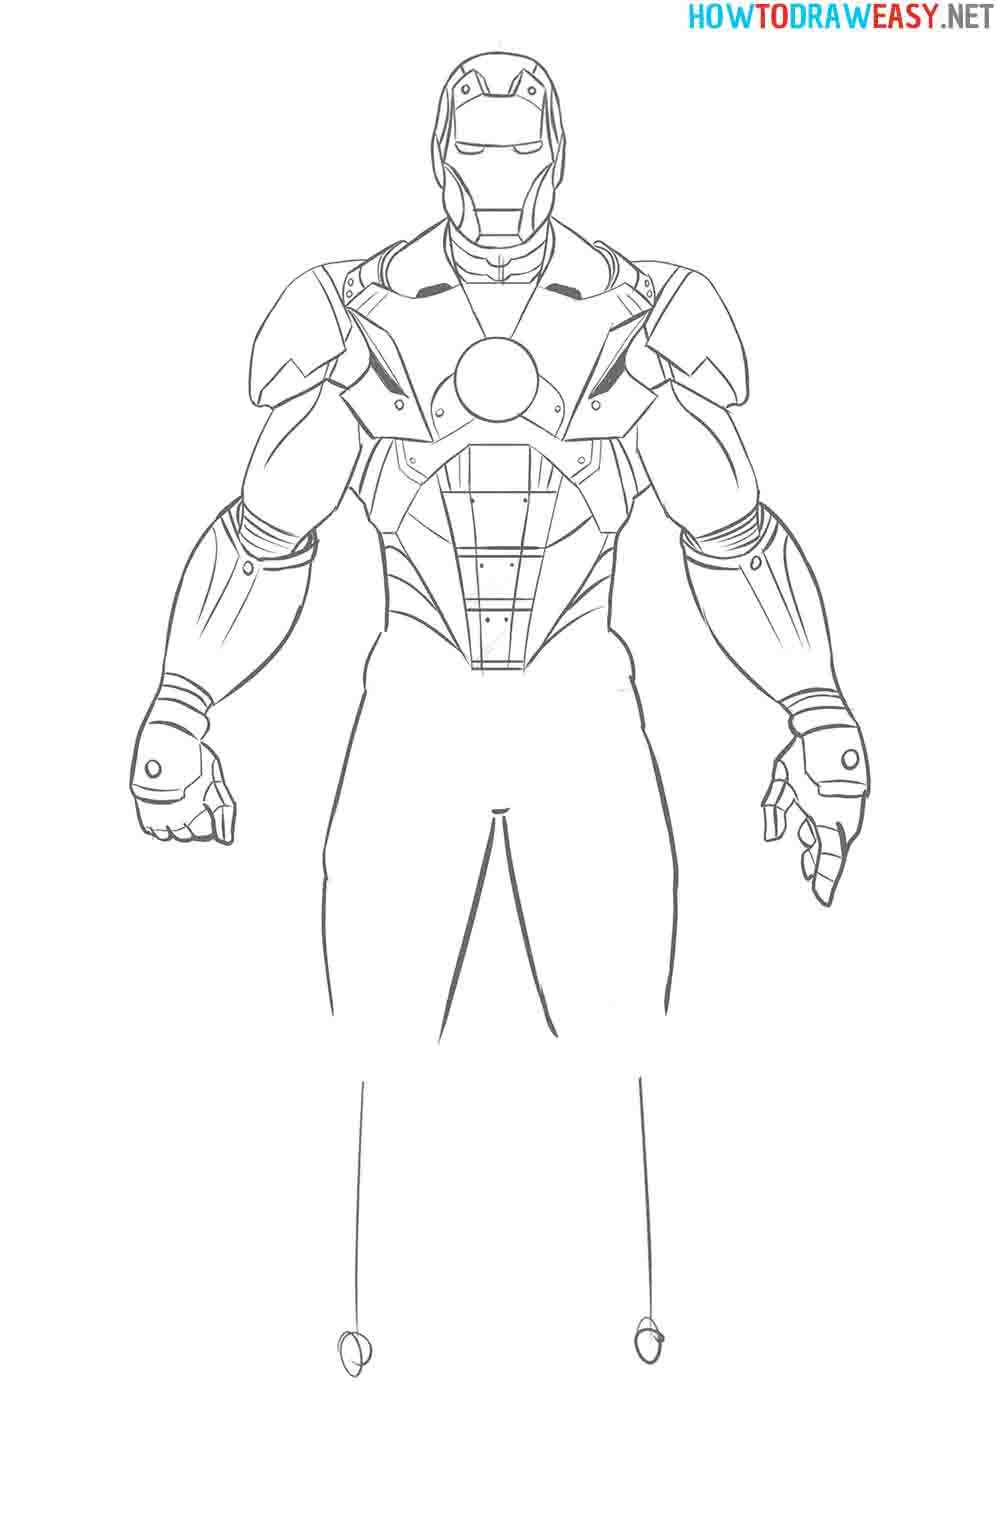
- Details.
Draw the details of the upper legs, all the armor lines that are in the example.
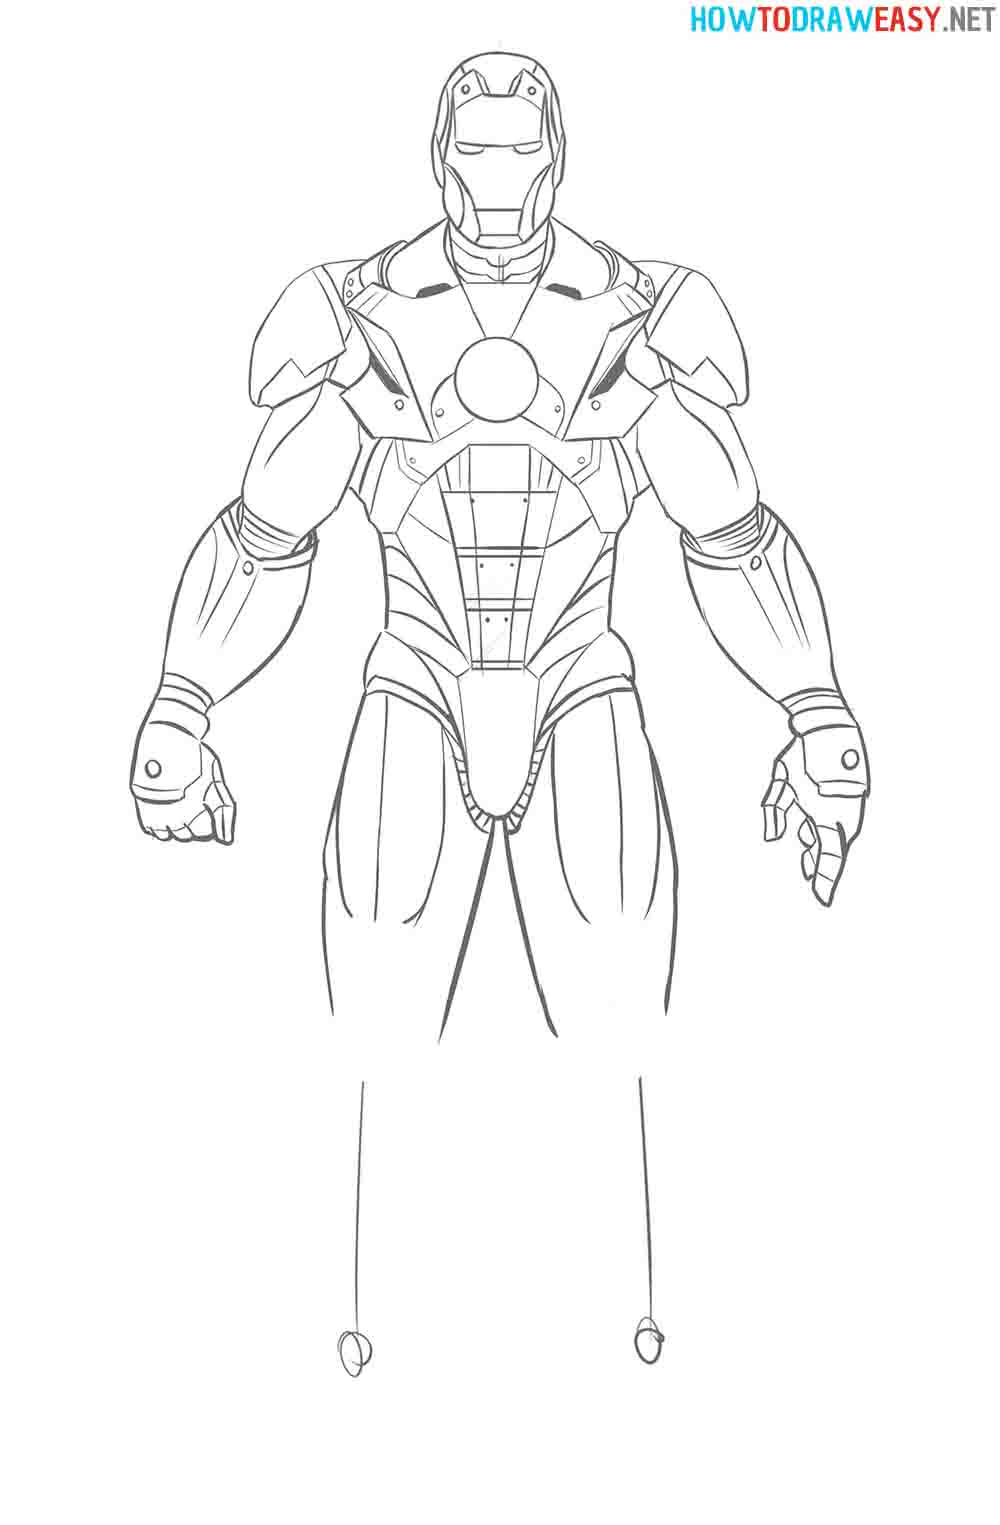
- Draw the knees.
Draw the connecting part of the legs as well as the armored knees.
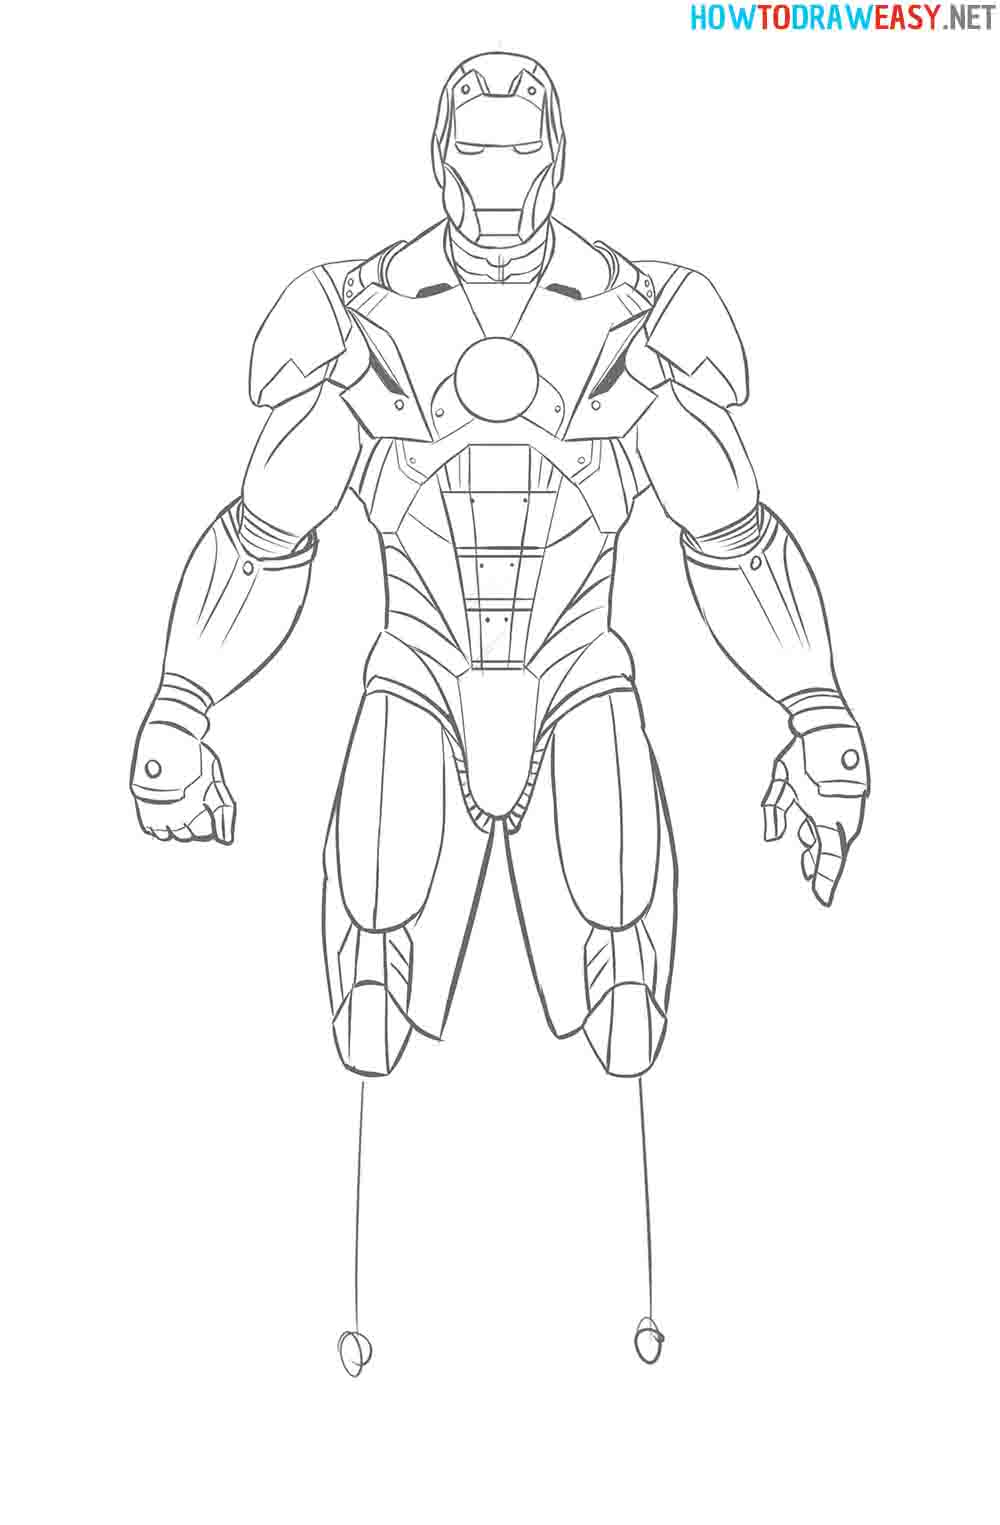
- Draw the bottom of the legs.
Draw the lower legs in the calf area.
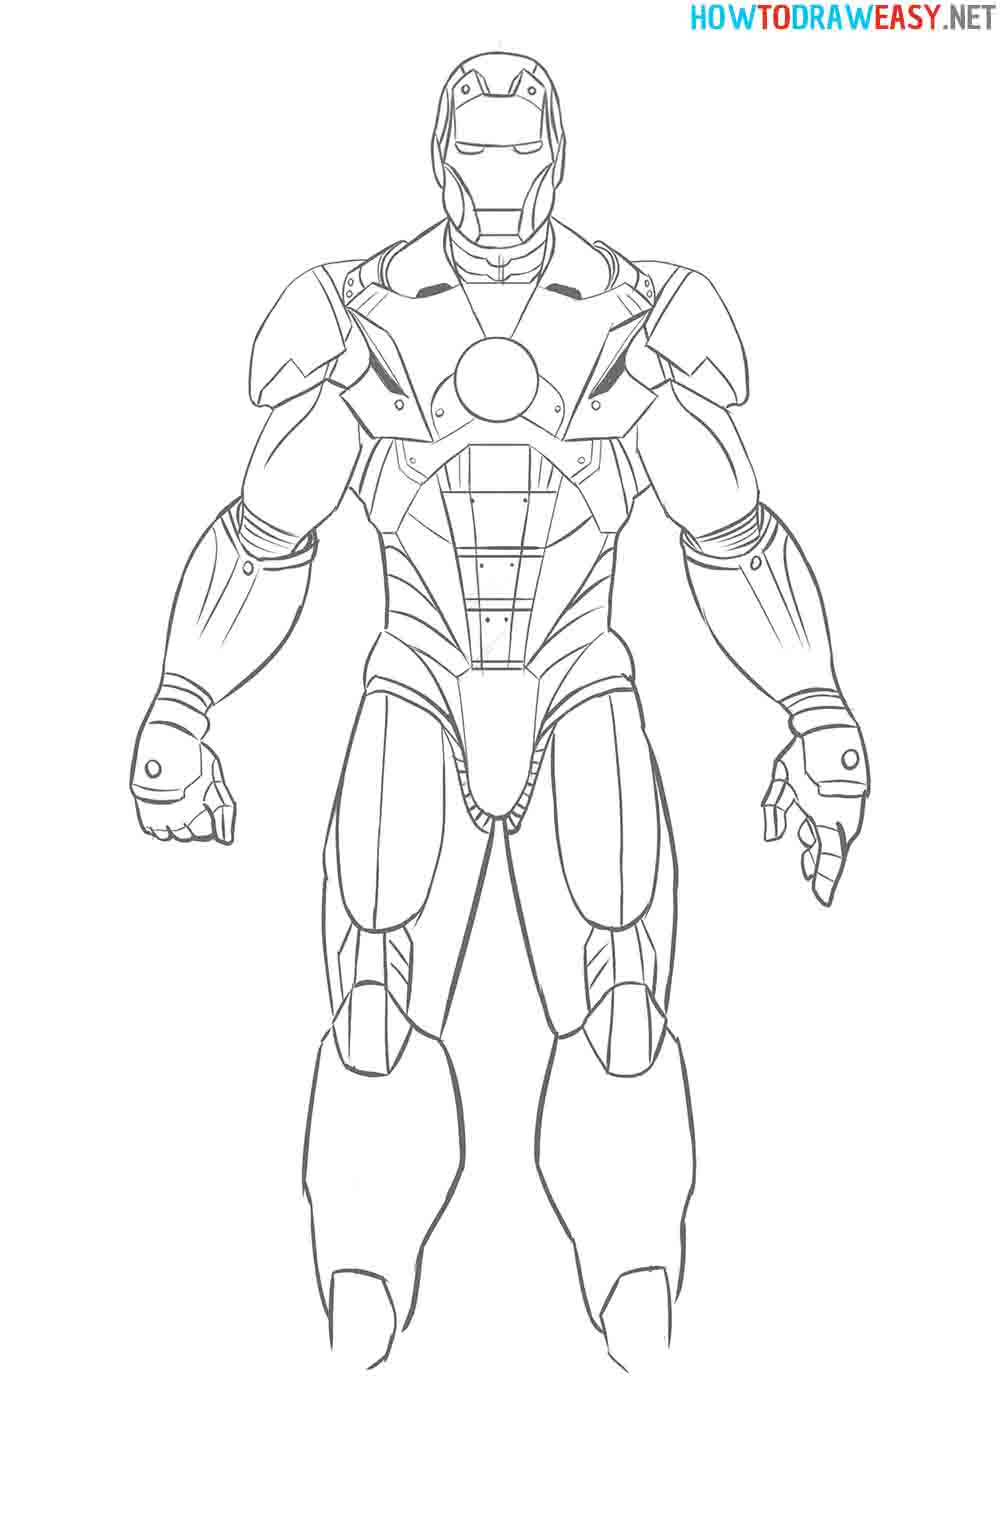
- Draw the feet.
Draw the armored feet of Iron Man, and try to do it in detail and as shown in the example.
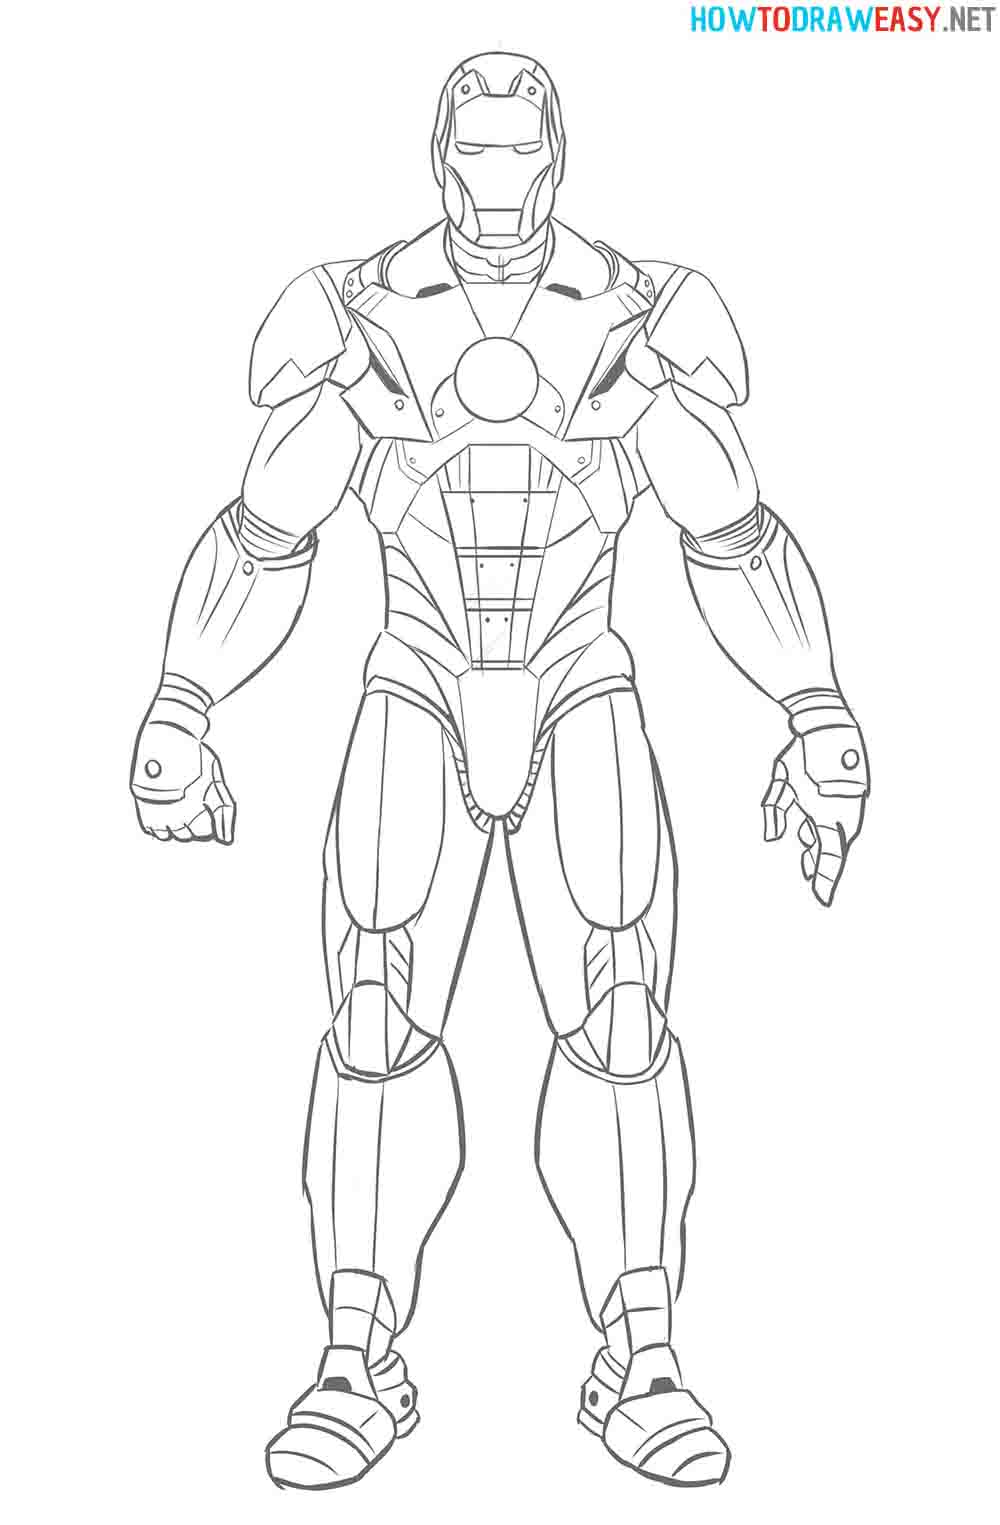
- Trace the sketch.
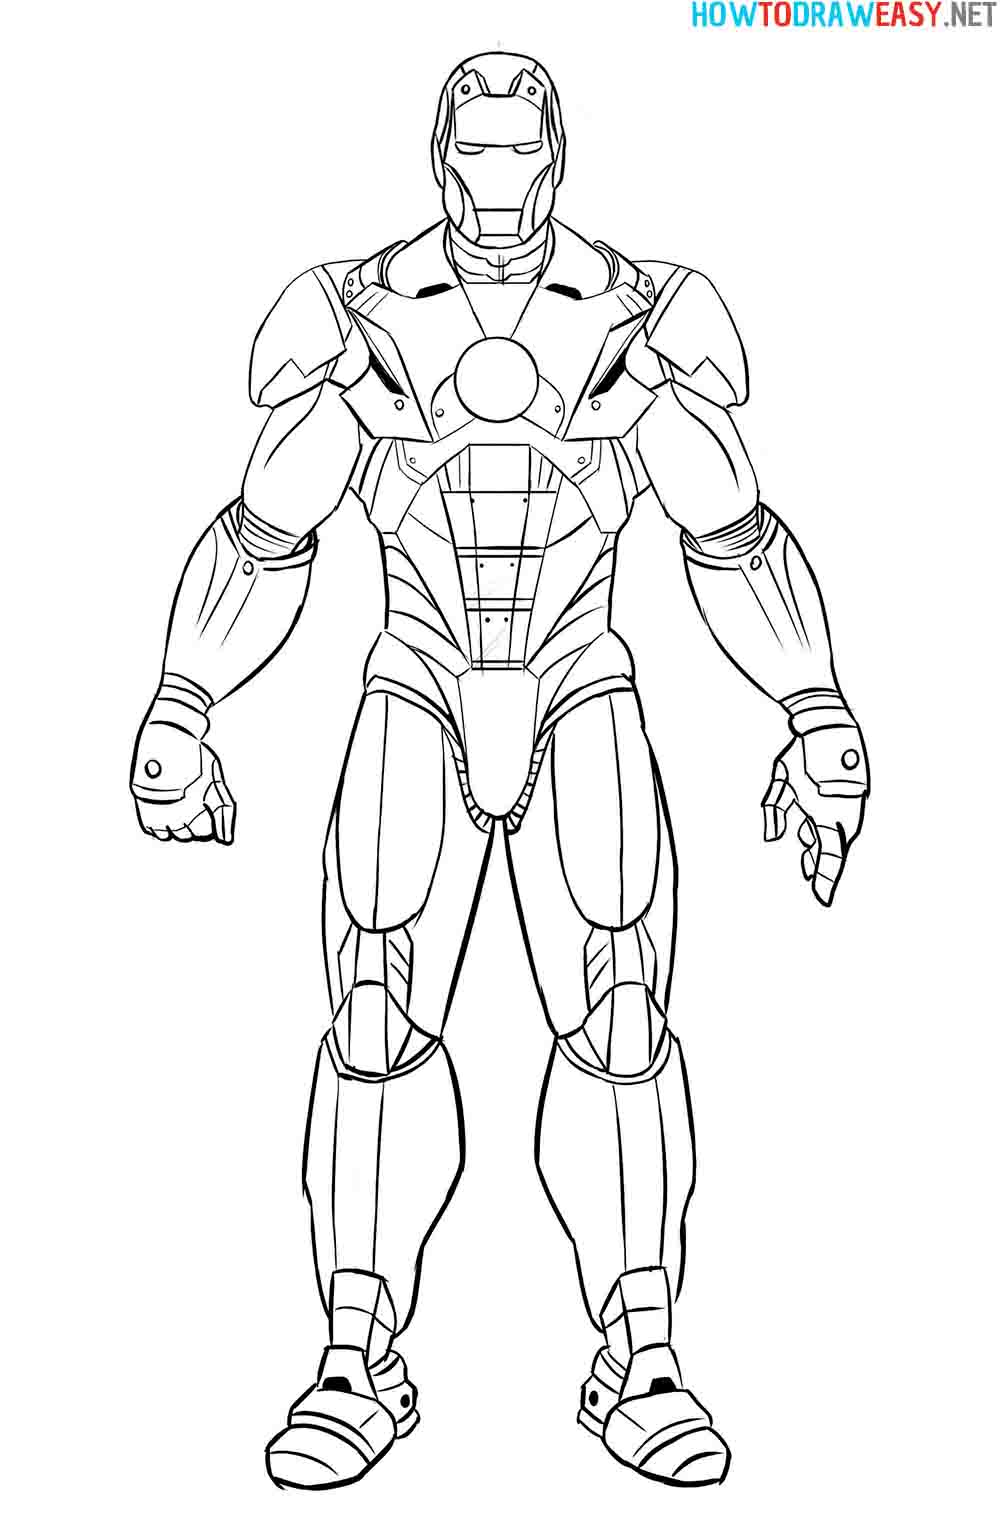
The pencil sketch is ready, now you need to trace the pencil sketch using a marker or ink.
- Color Iron Man.
Your sketch is ready, now you can color your work. We showed the classic suit colors in the example, but you can use whatever you want. You can paint it gray, which just looks like a metallic color.
