
How to Draw Hercules for Kids
Here, you will learn how to draw Hercules for kids using our easy step by step drawing lesson. This level of drawing is suitable even for kindergarteners!


Good day everyone! In this tutorial, we will show you how to draw Hercules for kids. Hercules is one of the heroes of ancient Greek myths with extraordinary power. In his youth, he mastered archery, various types of wrestling. This mythological character became famous thanks to the twelve feats he accomplished. For example, he dispersed the Stymphalian birds that harm people and animals, cleared the Augean stables, and received the legendary belt of Hippolyta.
Hercules became so famous that his name spread beyond the borders of Greece. Greek colonists brought the cult of Hercules with them to Italy, where people began to honor the hero under the name of Hercules. And in the Northern Hemisphere, during the period of the most favorable conditions, you can find the constellation Hercules. Let’s move on to the phased drawing of Hercules. Read the step-by-step instructions carefully and get started.
Time needed: 30 minutes
How to Draw Hercules for Kids
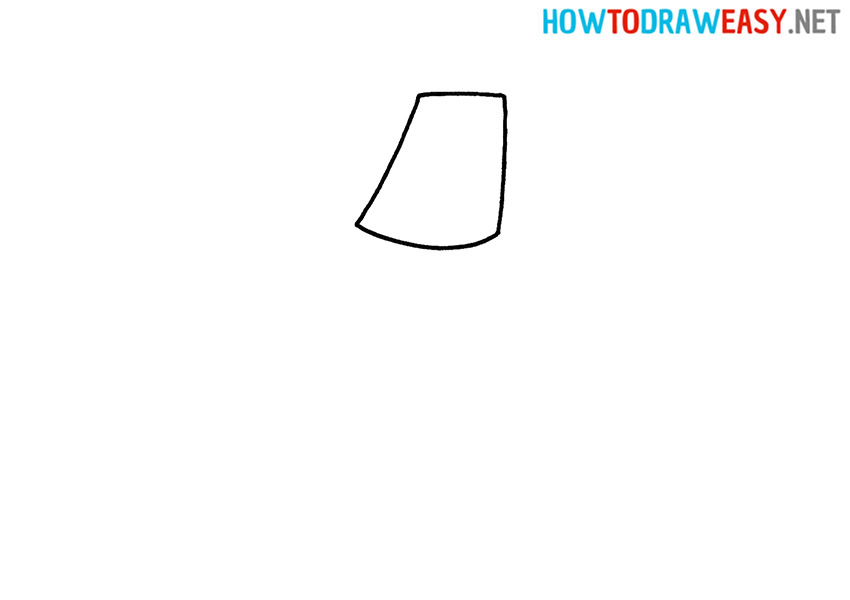
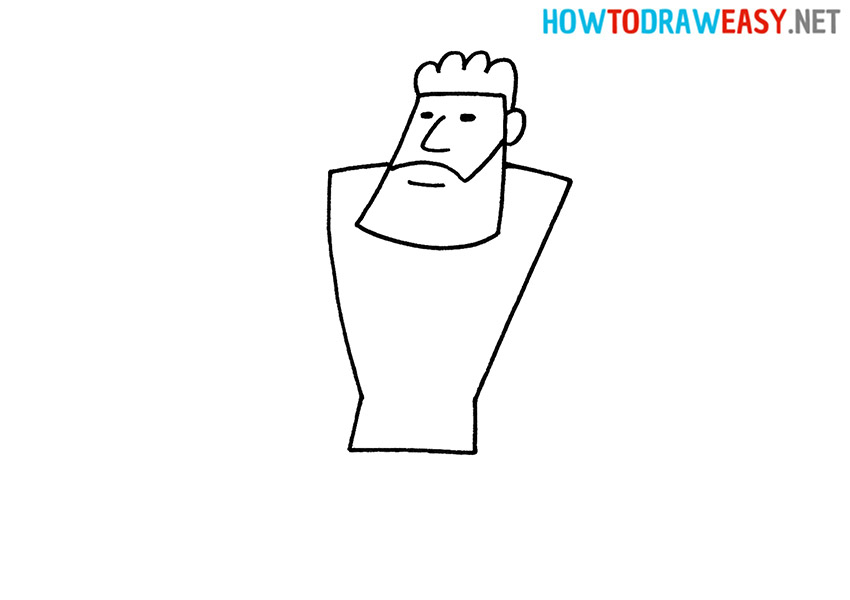
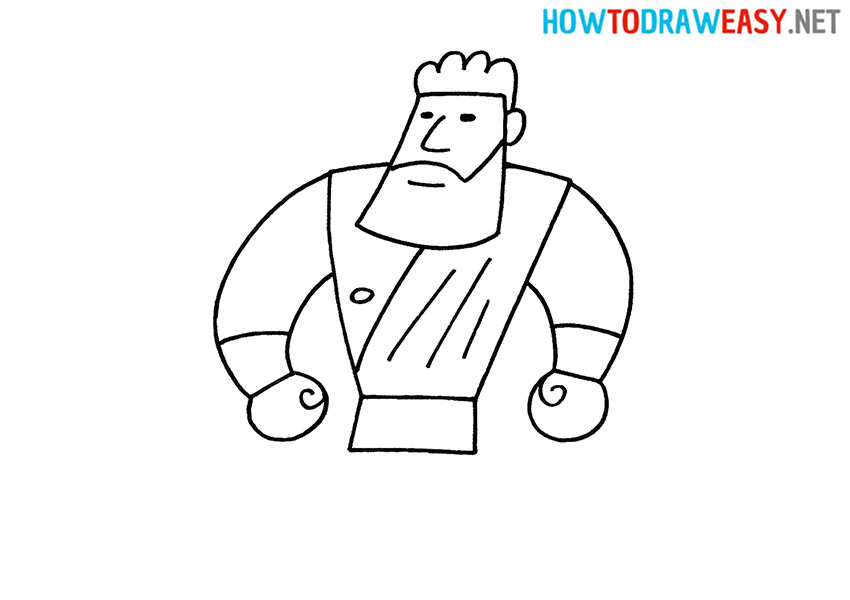
- Draw the head shape.
The head of Hercules is a quadrangle. Curved lines act as sides. Draw a shape at the top of the sheet.
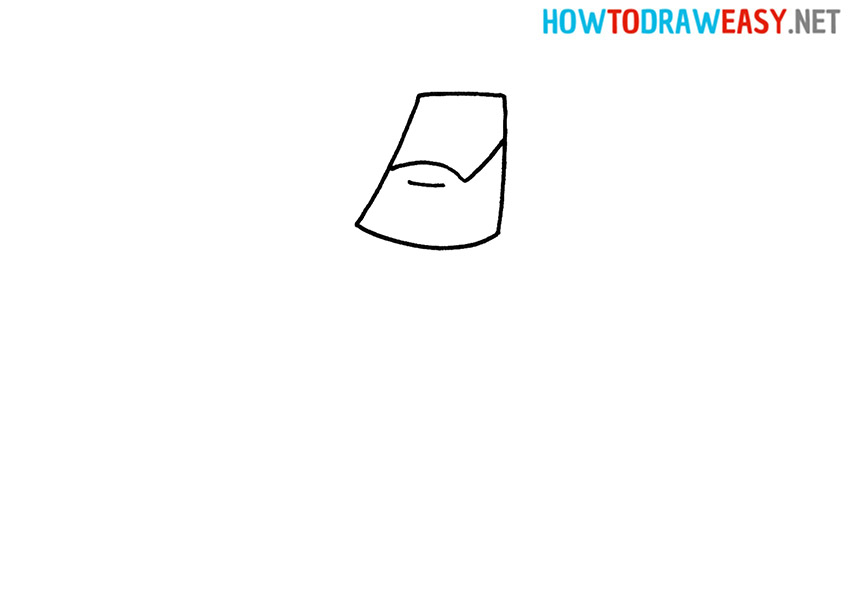
- Add the line for the beard and mouth.
In the rectangle, draw a curved line, and then, forming an angle, continue with a short line to the hero’s cheekbone. This will create the beard line. Draw the short line below it to represent the mouth.
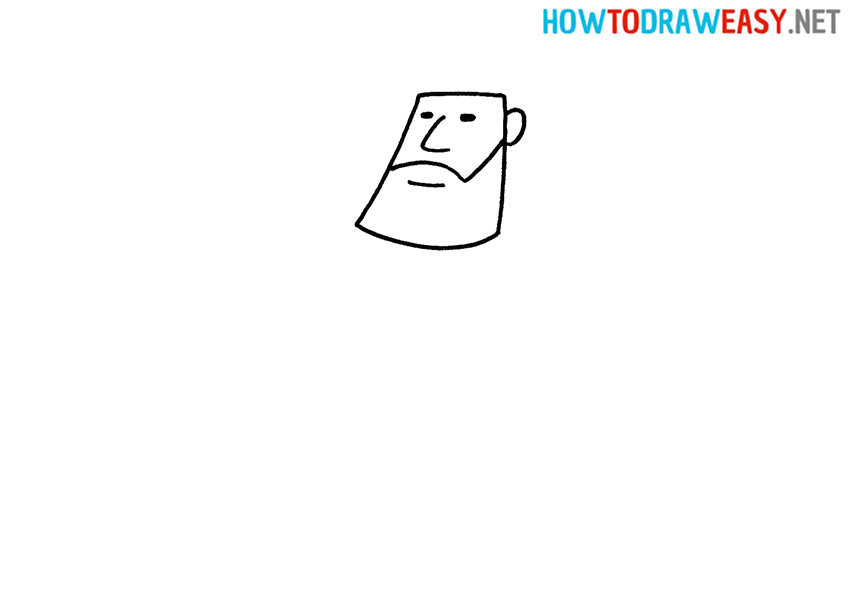
- Draw the eyes, nose, and ear.
Draw the eyes with small black dots. Then a curved line should outline the nose between the eyes. Next, draw the ear in the form of a small semi-oval on one side of the head.
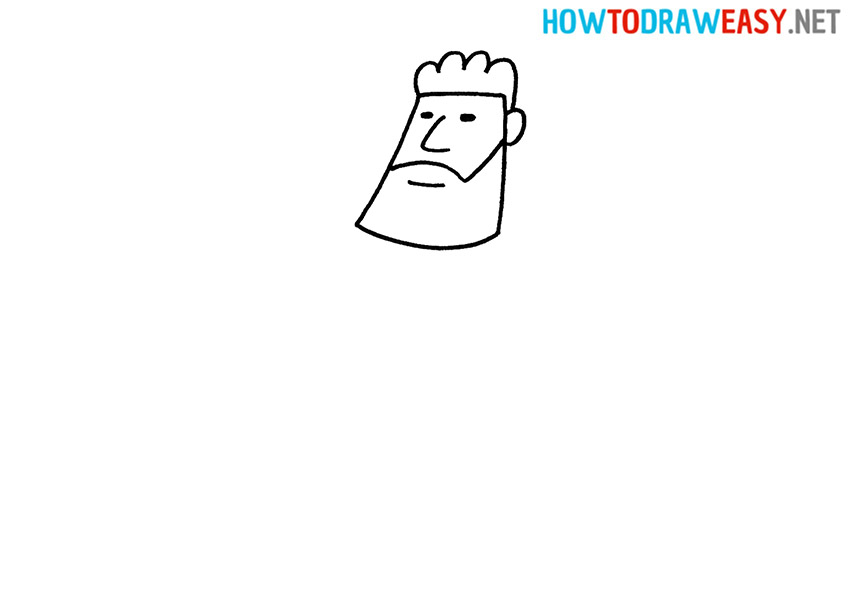
- Draw the hair.
The hair resembles half a cloud. At the top of the head, draw several arcs connected to each other.
- Draw the torso.
Think of the upper torso as an inverted trapezoid and the lower torso as a small rectangle. Please note that Hercules’ body is quite massive, so the body must be large.
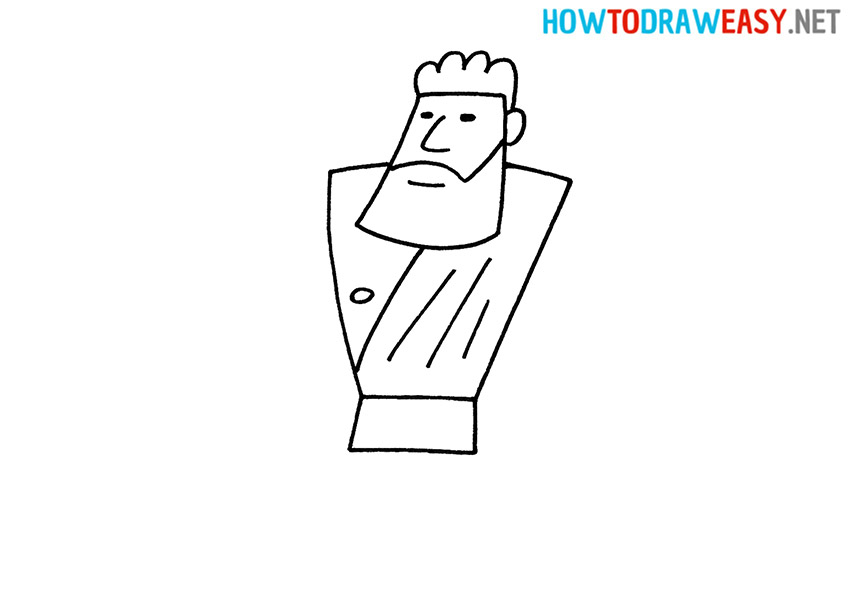
- Draw the clothes.
Use a slightly curved, diagonal line to mark the edge of the fabric. Add folds with several straight lines. Also, detail the hero’s body.
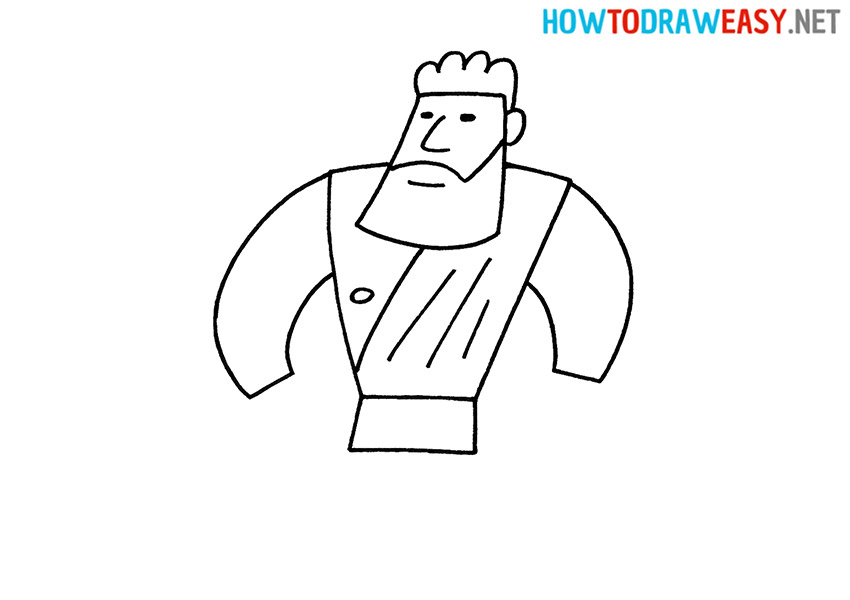
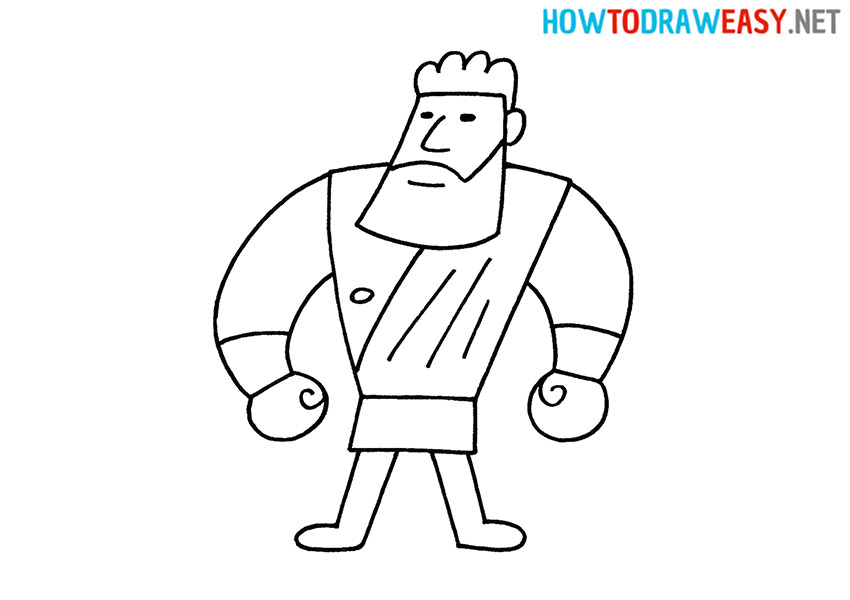
- Depict the arms.
The character is very strong, so the arms are big.
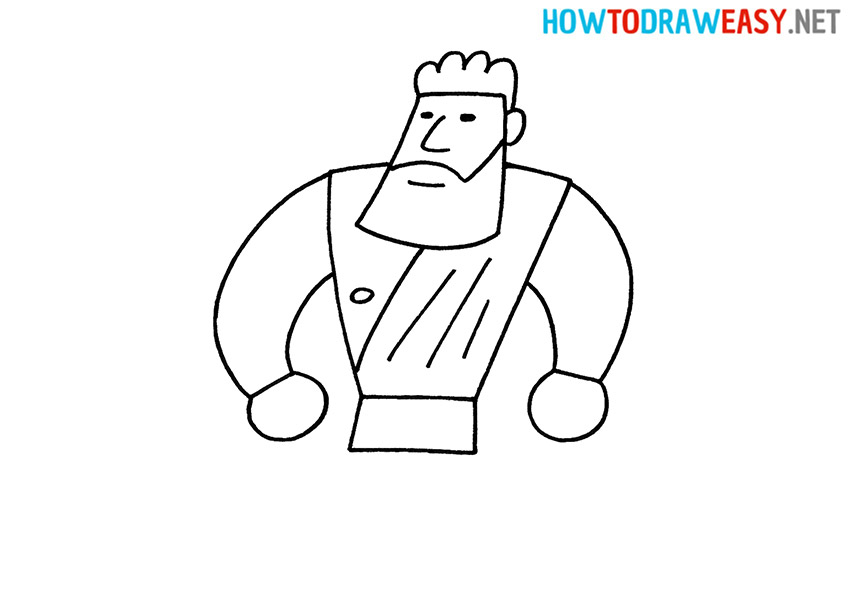
- Draw the hands.
Under the armpits, draw two arcs forming small circles. This is what the hands will look like.
- Details.
On each brush, draw a curl to represent the line of the fingers. Also, add a bracelet to each arm with a curved line.
- Draw the legs.
Sketch the legs of the hero as shown in the instructions.
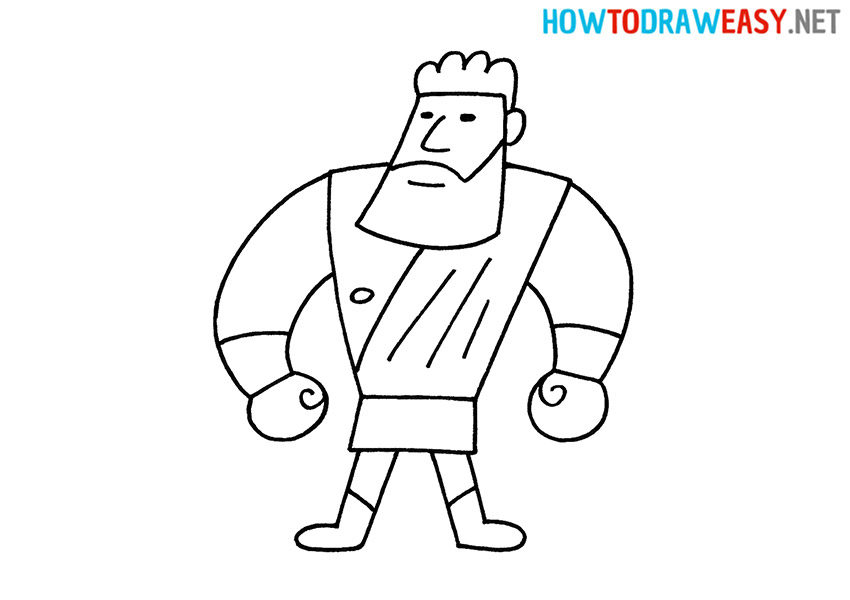
- Detail the boots.
Draw two slanted lines inside the legs.
- Color your drawing.
If you drew your Hercules with a pencil, then before coloring, trace the outlines of the sketch using a black marker or fountain pen. Then take the coloring tools and color.
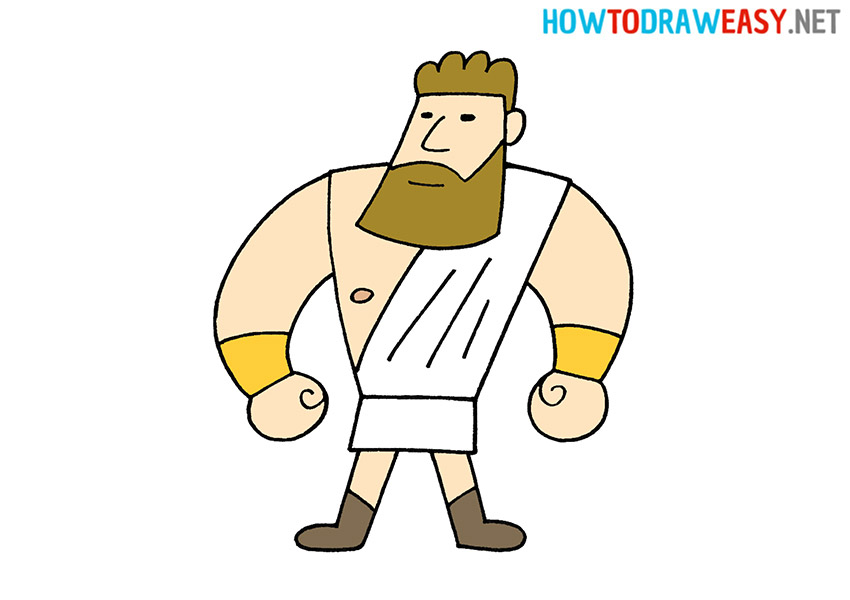


Your Greek mythology character is drawn, and we congratulate you on this! We hope that our drawing lesson has become a start for you in drawing or just an interesting activity. We are waiting for you for another drawing lesson!