
How to Draw a Hand
Looking for how to draw a hand? Here you will learn how to do it, and you can find other drawing lessons that will be very useful for you!


Good day! This new drawing lesson is about how to draw a hand? Human hands are capable of many things. It is they who help artists to transfer the amazing beauty of the world onto canvases. Our hands are capable of doing both rough physical work and painstaking processes.
But the hands need careful care. You should protect them from adverse external factors, using gloves in the winter cold and creams with a special composition – in sunny weather. Cleansing and nutrition are also important items on the hand care list. Drawing a hand is a simple and interesting activity. Let’s start!
Time needed: 20 minutes
How to Draw a Hand
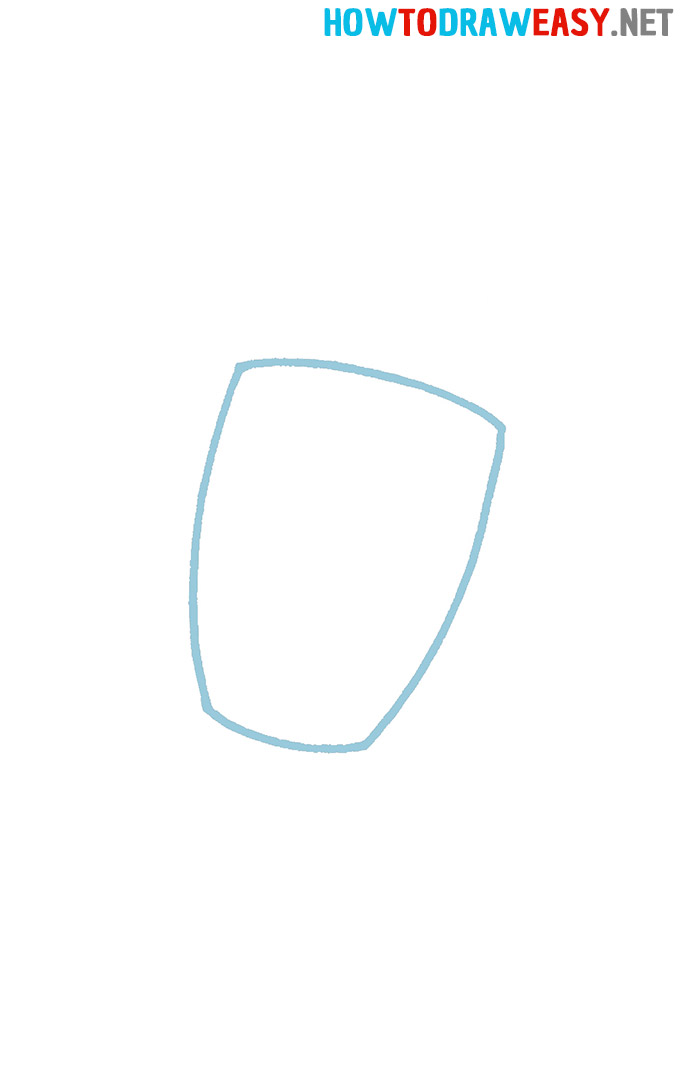
- Draw the outline of the wrist.
Using curved lines, depict a figure that looks like an inverted isosceles trapezoid.
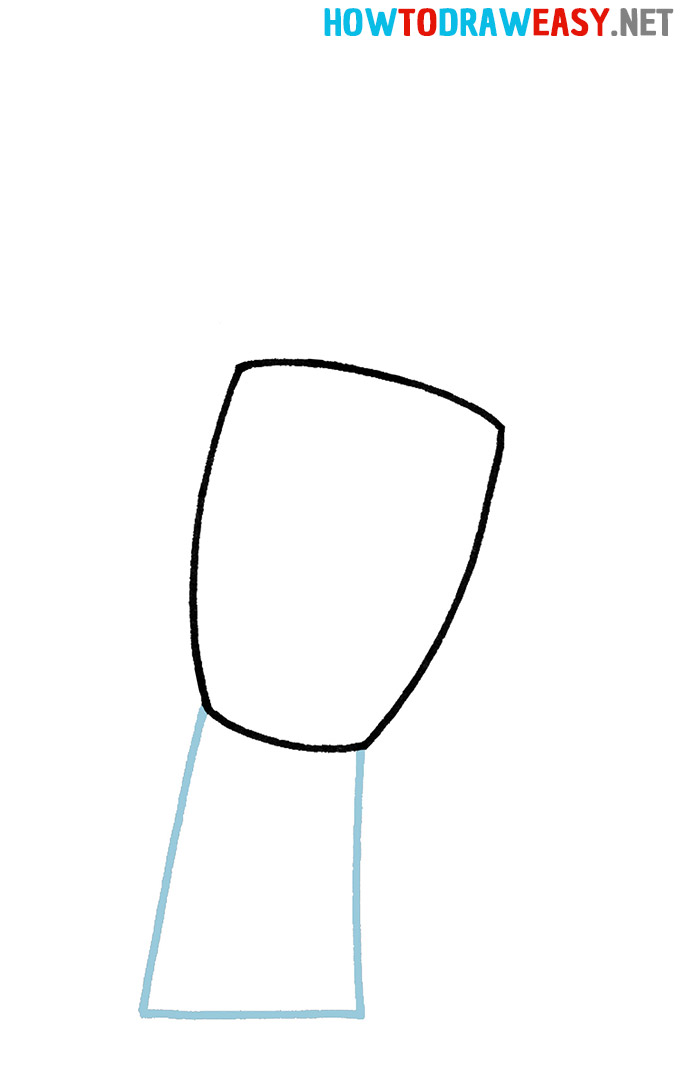
- Draw the continuation of the hand.
Draw two oblique lines down from the wrist, and then connect them with a straight line.
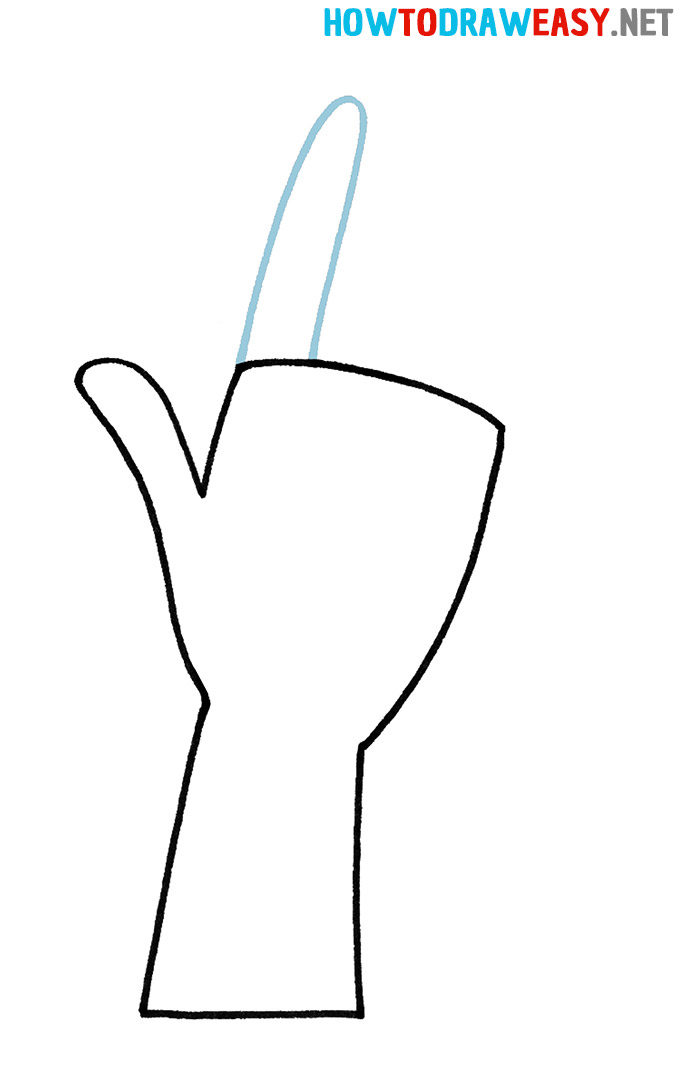
- Draw the thumb.
At the junction of the wrist and the extension of the hand, draw a smooth curved line.

- Draw the index finger.
Draw two vertical, slightly curved lines and connect them at the top.
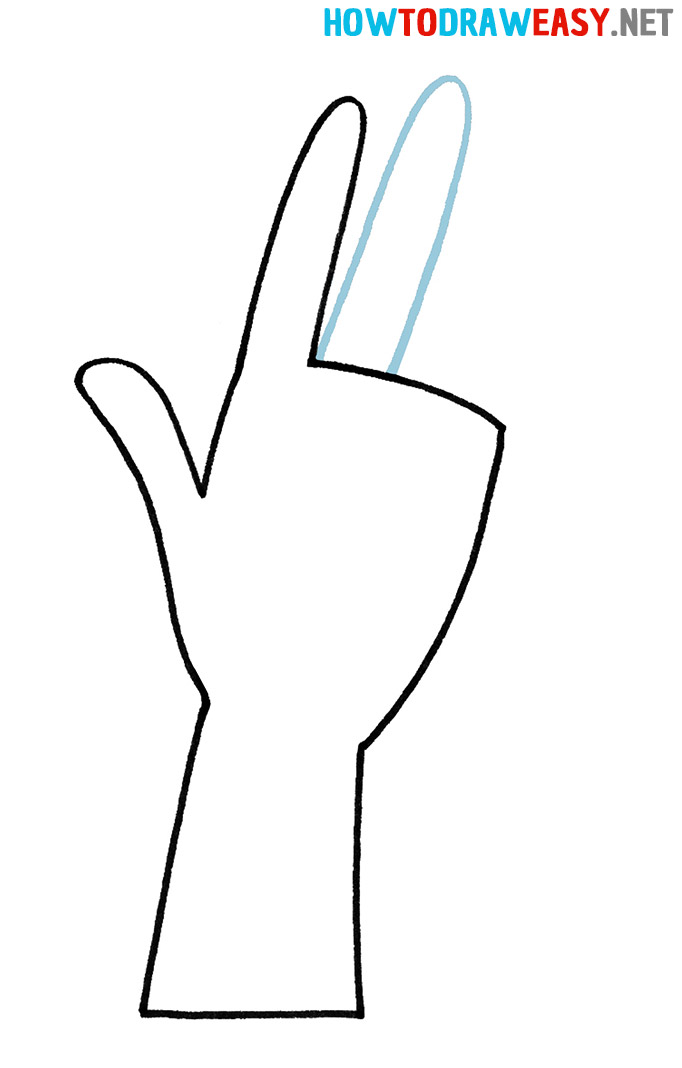
- Draw the middle finger.
Draw the middle finger in the same way. However, it should be noted that the middle finger is larger and longer than the index finger.
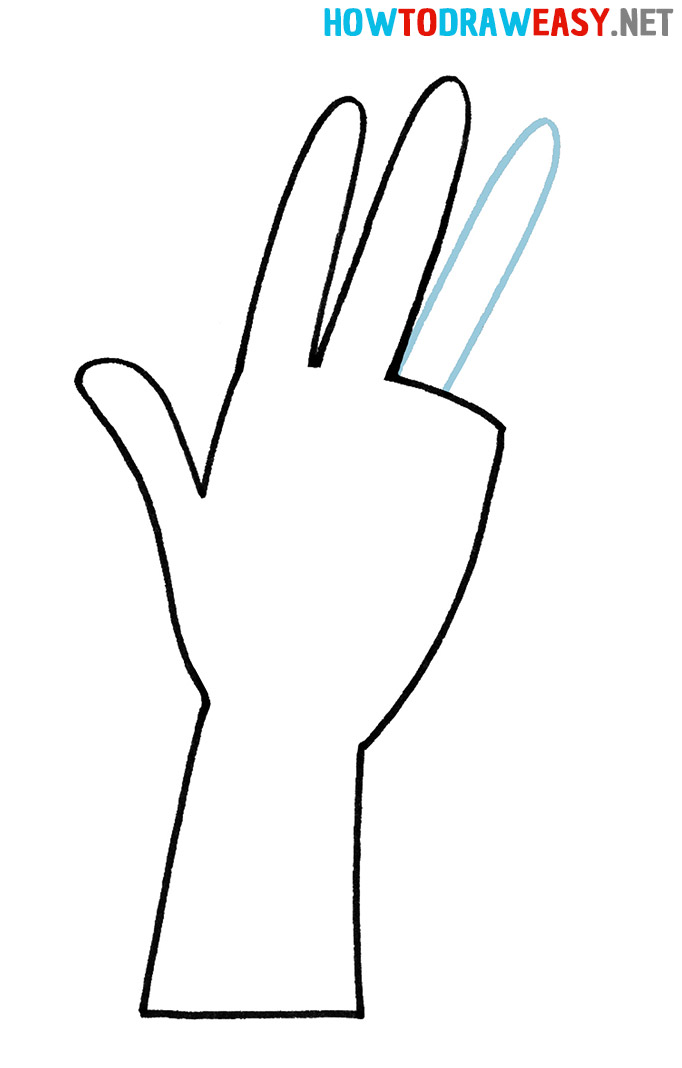
- Draw the ring finger.
In size, it is approximately equal to the index finger.
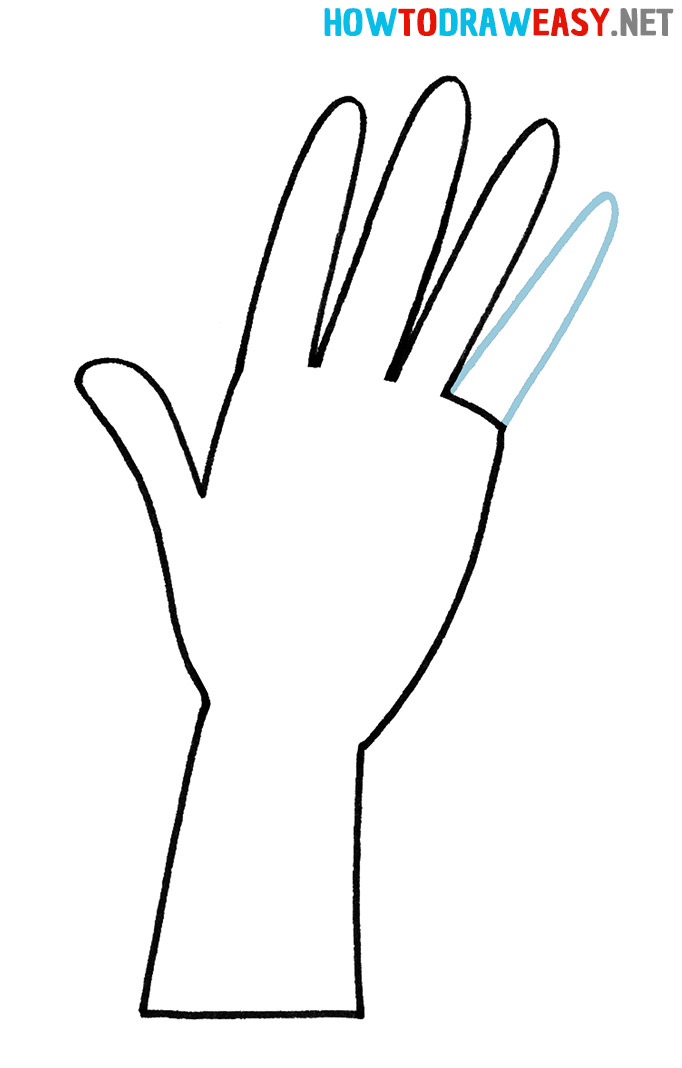
- Draw the little finger.
The last step is to draw the last finger – the little finger.
- Color your artwork.
In the last step, you need to remove the extra lines in the drawing and colorize the artwork.


This concludes our lesson, but we recommend that you visit our drawing tutorials on basic drawing lessons for beginners. See you soon, dear friends!