
How to Draw Genie for Kids
Do you like a cartoon about Aladdin? Here, you will learn how to draw Genie for kids—a popular character from cartoons about Aladdin.


In this drawing tutorial, we have prepared a tutorial on how to draw Genie for kids. We are going to draw Genie—a cheerful and cheerful spirit from the cartoon “Aladdin”. Interestingly, Genie has amazing abilities. It is not difficult for him to change his height, change his appearance or create a new object.
How to draw Genie step by step? To answer the question, read the instructions below! Drawing a Genie is a fun activity that will help you get the experience of drawing different lines, which is essential for any artist!
Time needed: 30 minutes
How to Draw Genie for Kids
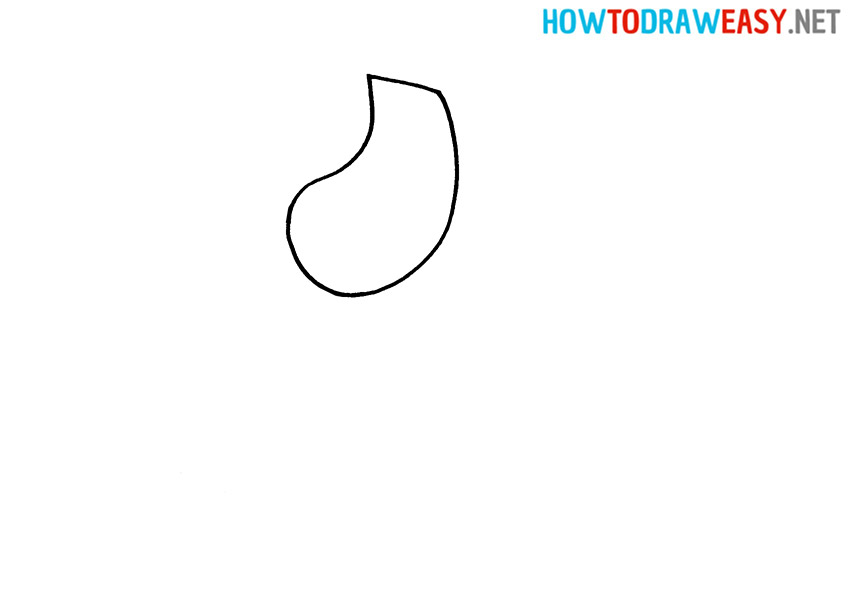
- Draw the head.
The Genie’s head has an unusual shape. Draw a horizontal slash and draw a curved line from start to finish so that the shape resembles a raindrop. The convex area forms the chin.
- Draw eyebrows and hair tie.
At the top of the head, draw two small semi-ovals—these are the eyebrows. On the right side of your head, next to your eyebrows, place a small semicircle that is a hair rubber.
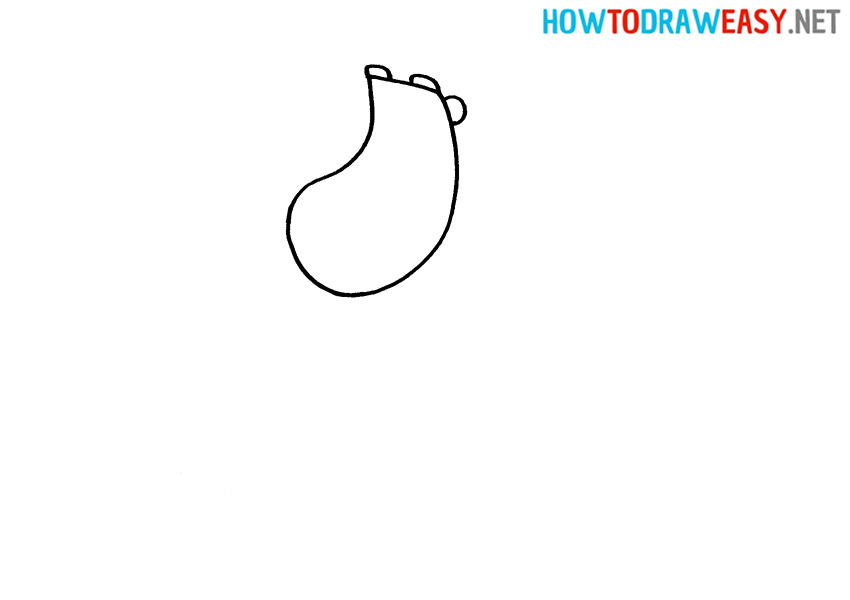
- Draw the bun of hair and an ear.
Starting with the hair tie, draw a pair of curved lines from one point. Finish them with a zigzag line with several vertices. The character’s ear is shaped like a leaf of a tree. In the middle of the ear, draw a line to indicate the crease on the inside.
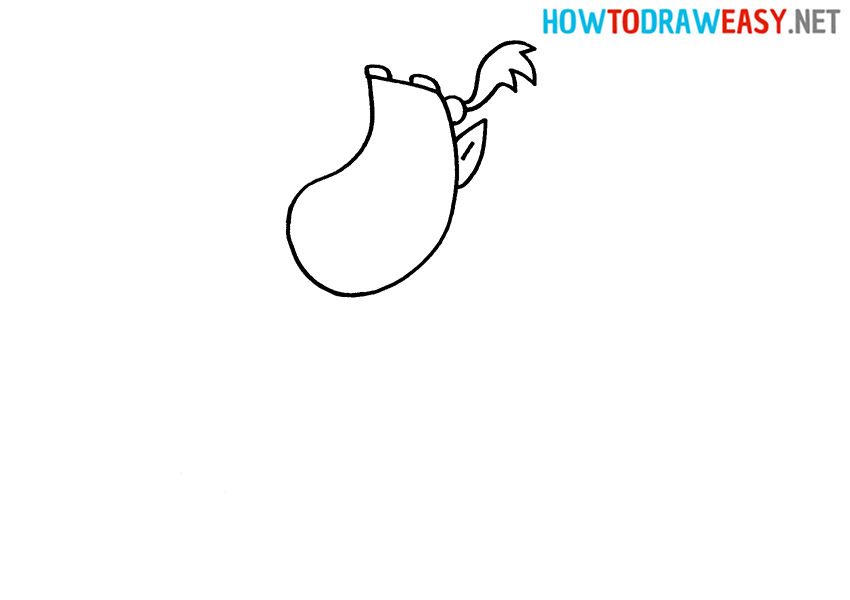
- Draw the eyes and nose.
Draw two small ovals for the eyes. Add black pupils in the middle. Draw a curved line for the nose.
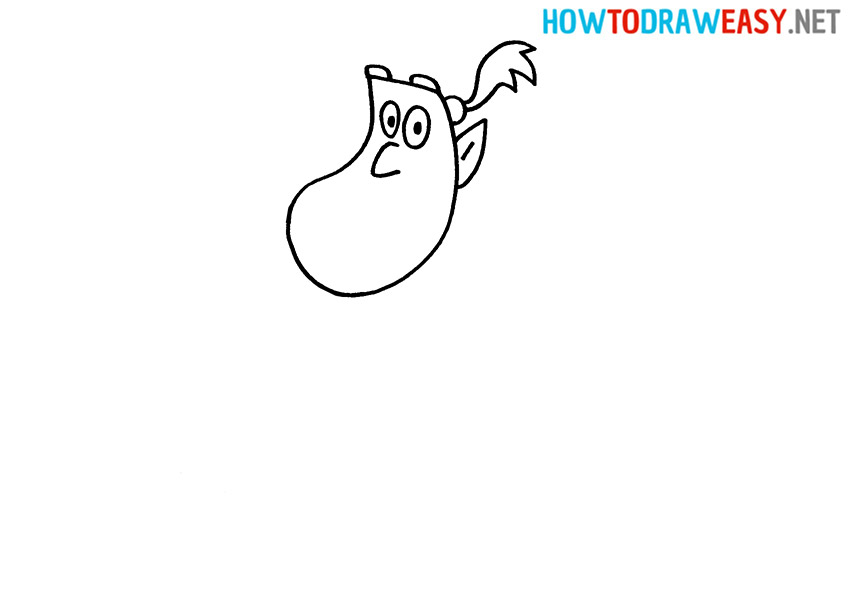
- Draw the beard and the smile.
At the bottom of the chin, draw a thin beard that is shaped like a thin curl. Now you can draw a smile as shown in the instructions.

- Draw the arm.
Genie has a large, muscular arm bent at the elbow.
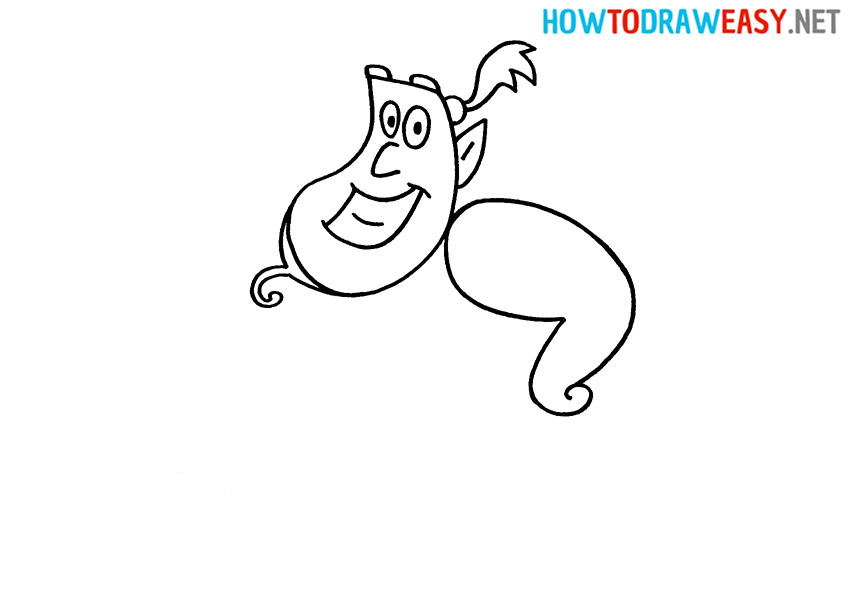
- Draw the body.
Draw a curve from a point on the chin. Then draw another curve, starting at the arm. Connect the curves shown to form a narrow tail.

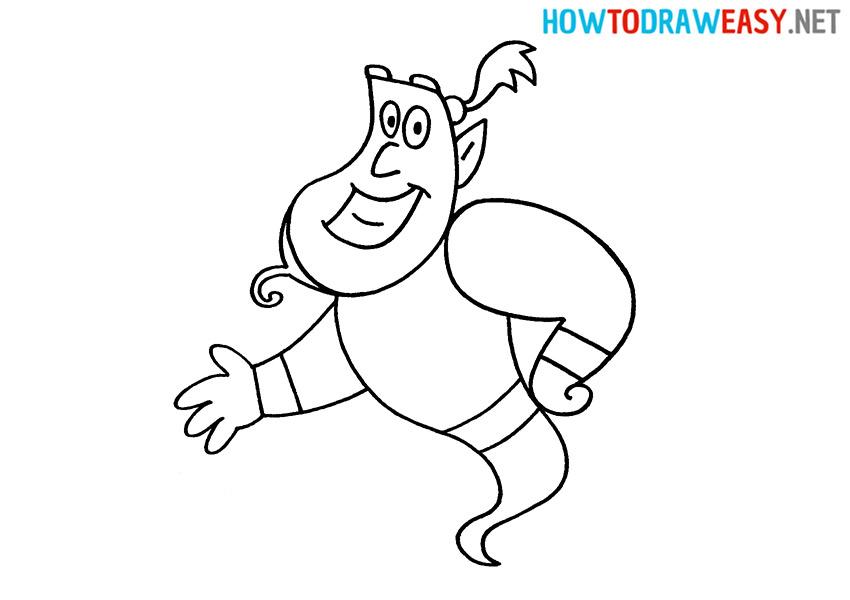
- Draw the second arm.
Start drawing this part of the character at the junction of the head and torso, and finish at chest level. Also, draw the bracelets on the arms and belt.
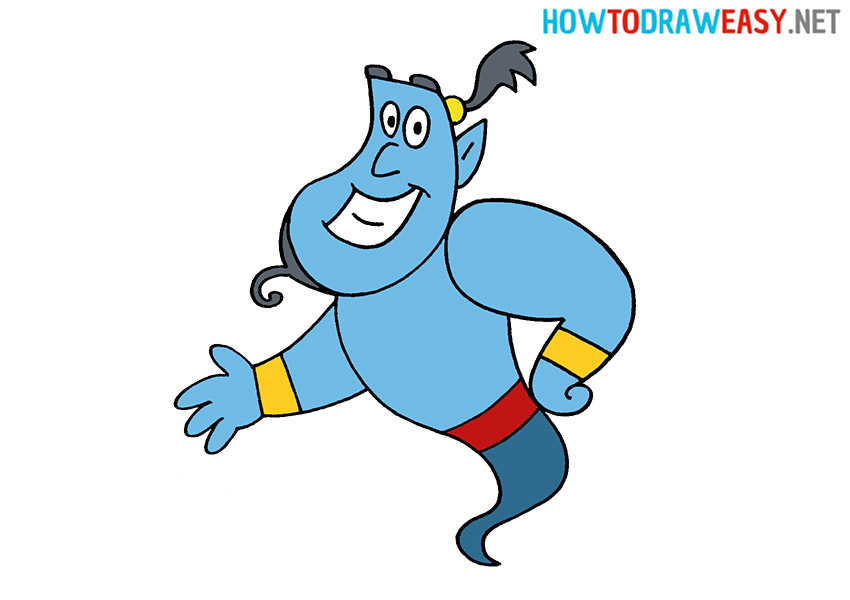
- Color the drawing.
Coloring tools nearby? Then grab them in your hand and start adding color to your Gene drawing!


Draw different characters using our step-by-step drawing tutorials for beginners! We hope you enjoy our drawing lessons and use them to improve your skills as an artist.