How to Draw Christmas Presents for Kids
Learn how to draw Christmas presents for kids step by step with this elementary drawing tutorial for all.
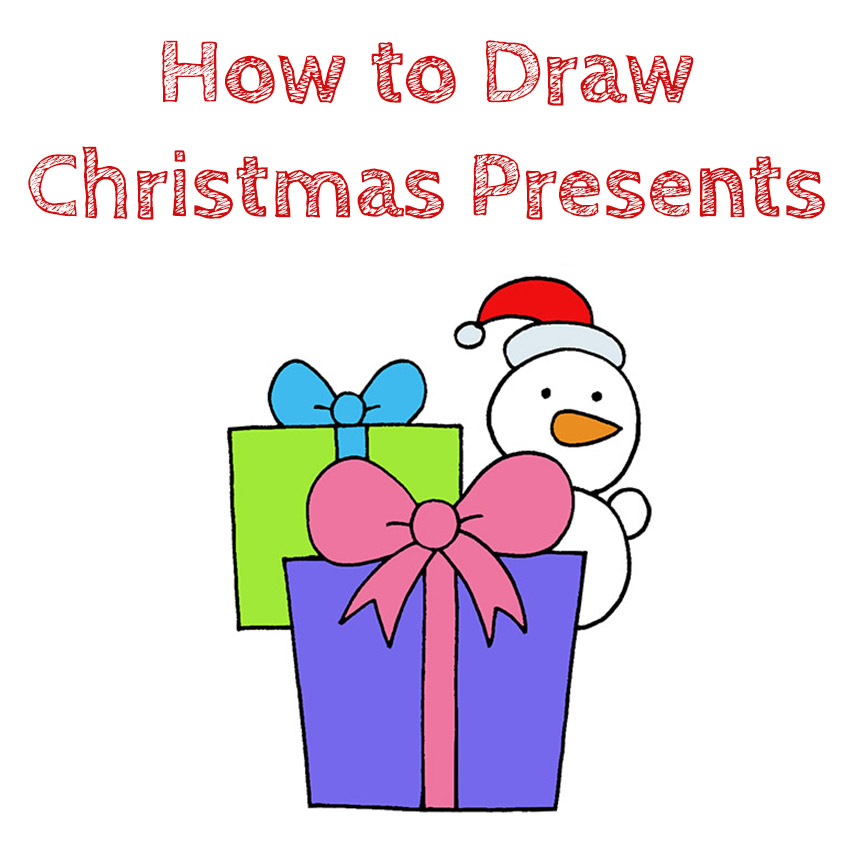
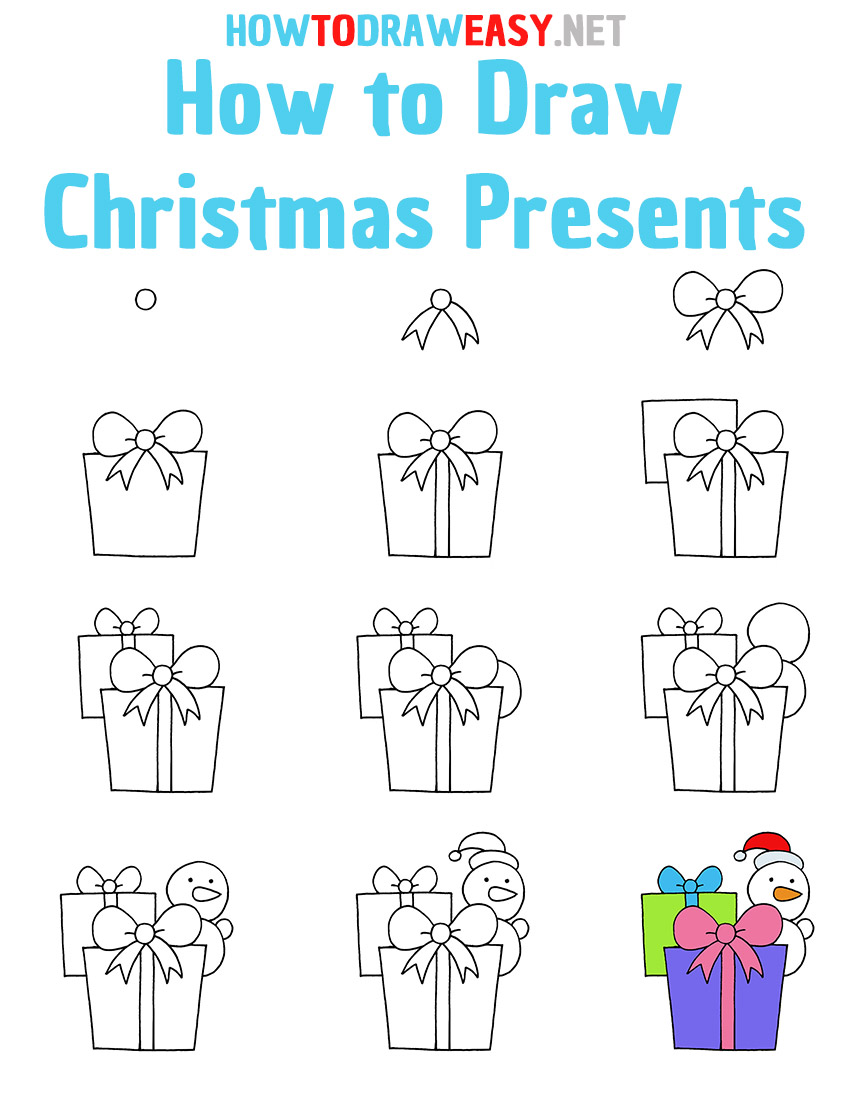
Hey! Welcome to our new tutorial on how to draw Christmas presents for kids! Let’s draw one of the most wonderful objects on the planet—a gift. A person gives another person a surprise when he wants to demonstrate his benevolent character, to thank or support something in difficult times, and also, following the tradition, to give for a holiday. How to draw a New Year’s gift step by step? You will find the answer to the question in our instructions, suitable for both beginners and experienced amateurs!
There are a huge number of Christmas present ideas out there now. In a beautifully designed box, you can put knitted warm mittens or a sweater, sweets, multifunctional gadgets, a set of dishes, and much more. However, the most important part of the presentation is this: the recipient will be pleased with the gift made with love and attention from the giver. Drawing a Christmas gift is an activity that will cheer you up and help develop the skills of drawing rounded shapes, various geometric shapes, and symmetrical elements. Let’s start!
Time needed: 30 minutes
How to Draw Christmas Presents for Kids
- Depict the bow knot.
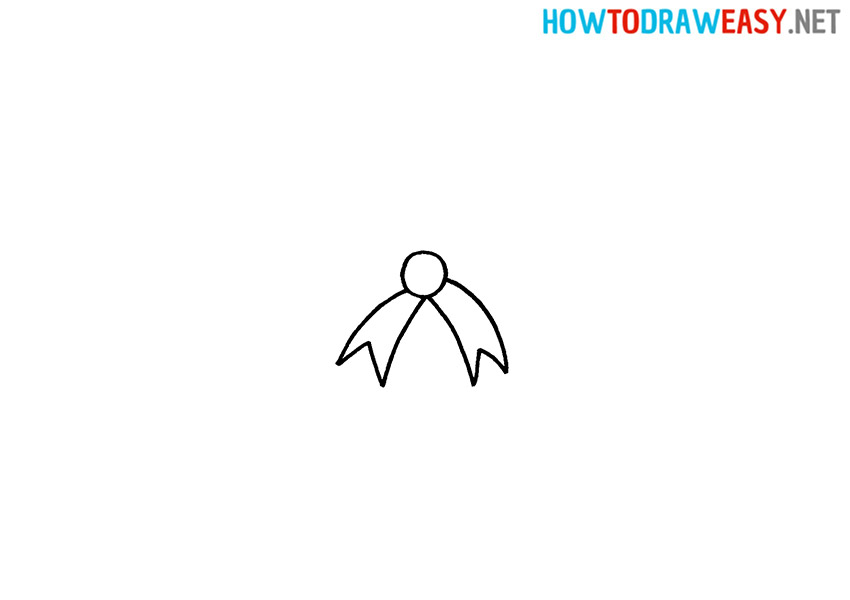
Draw the small circle for the knot of the future bow.

- Draw the ends.
The end of the bow should be drawn as follows: from one point on the bow knot, draw two lines downward. The distance between them gradually increases. Join them at the end using a sharp corner.
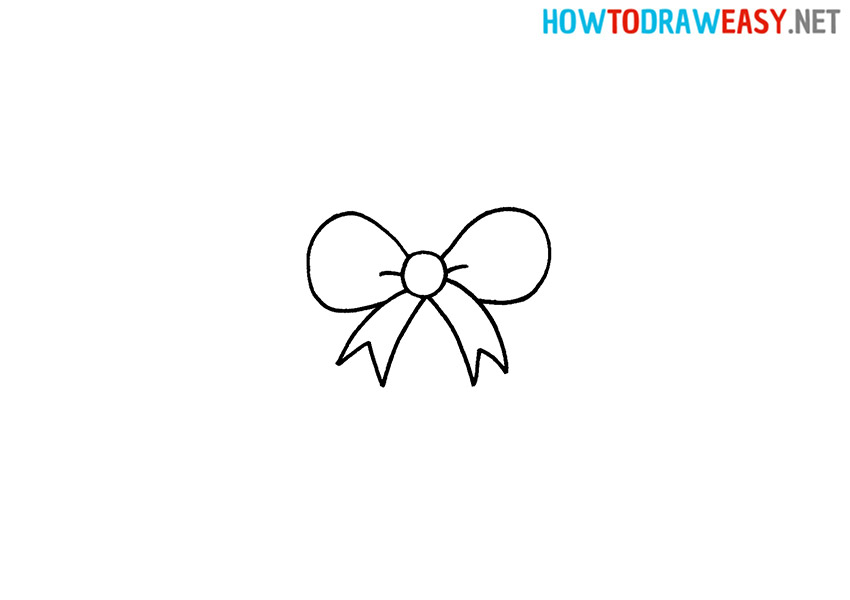
- Draw loops and folds in them.
The “ears” of the bow are two symmetrical unfinished ovals, horizontal and extended towards the knot. Draw small lines from the knot—soft folds on the hinges.
- Draw the gift box.
Christmas gift box should be presented in the form of a quadrangle.
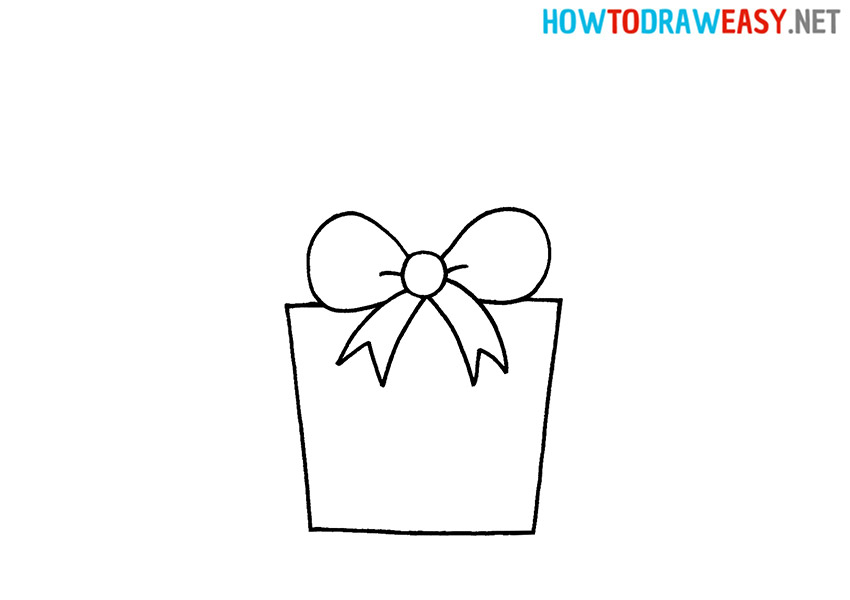
- Draw the ribbon.
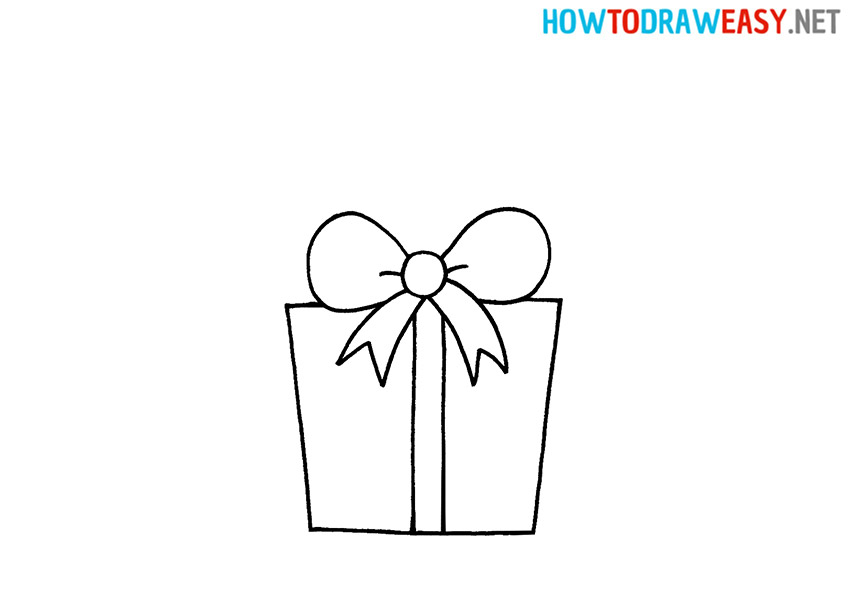
The artist can see the portion of the ribbon that surrounds the gift box. Draw two vertical, straight lines from the bow to the bottom of the gift, leaving a narrow space between them.
- Draw the second gift box.
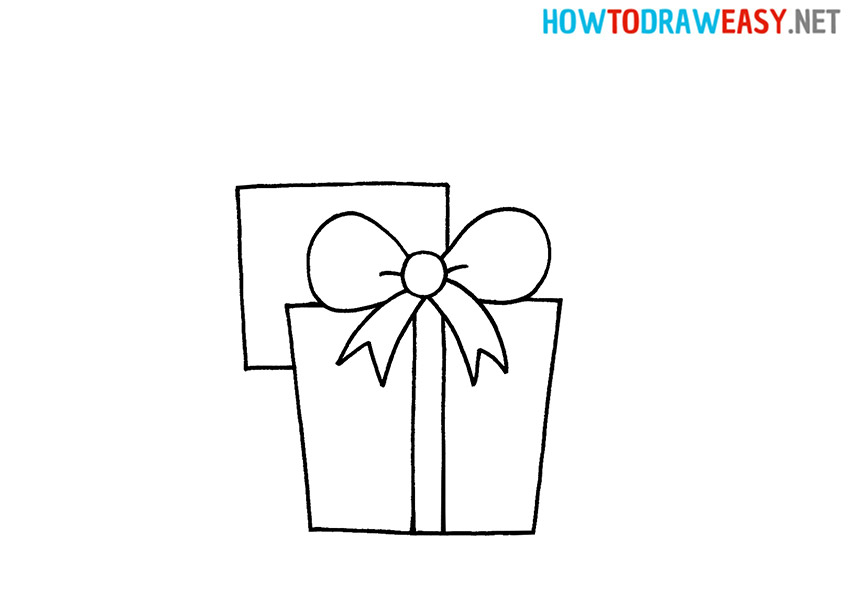
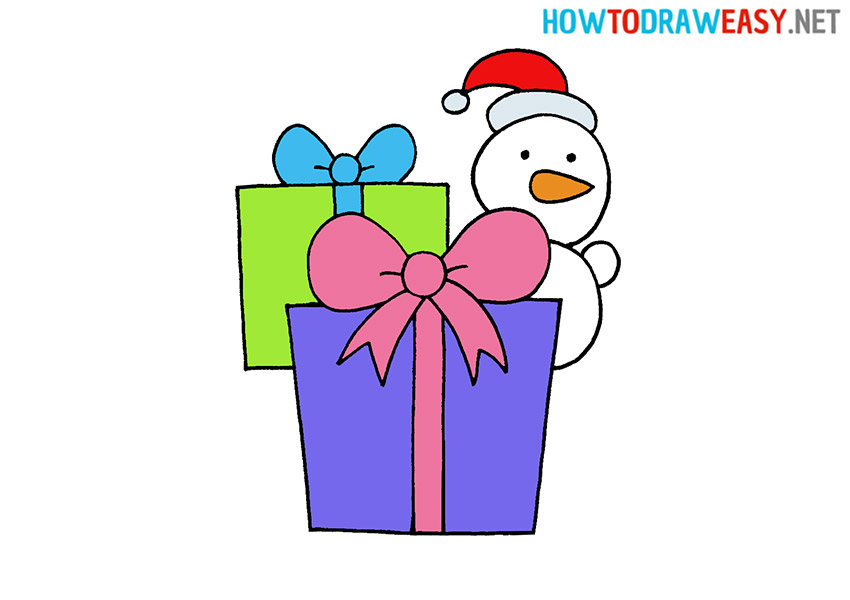
When there are twice as many gifts, the amount of joy increases significantly! Draw the second holiday wrapper in the form of a square, part of which is hidden in front of the gift.
- On the second gift box, draw a ribbon and a bow.
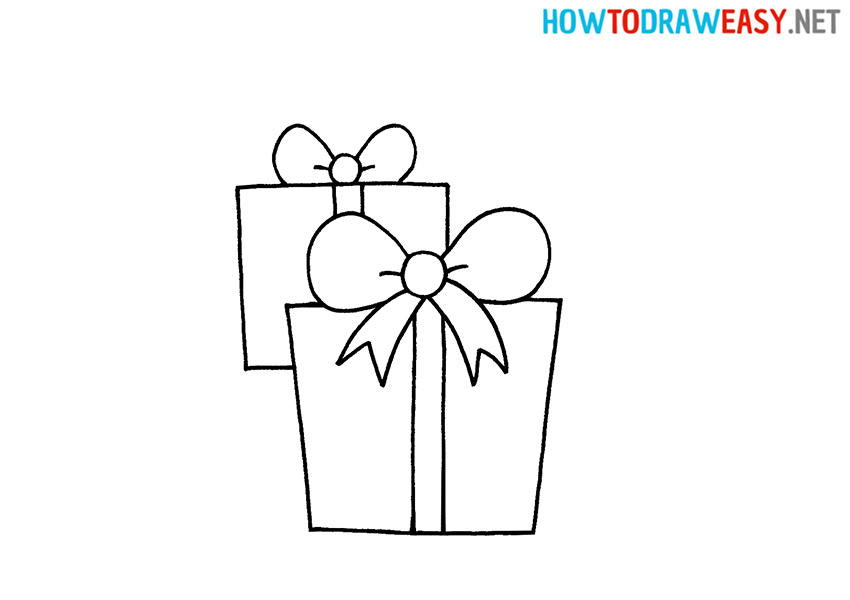
Draw the bow and ribbon in the same way as you did earlier.
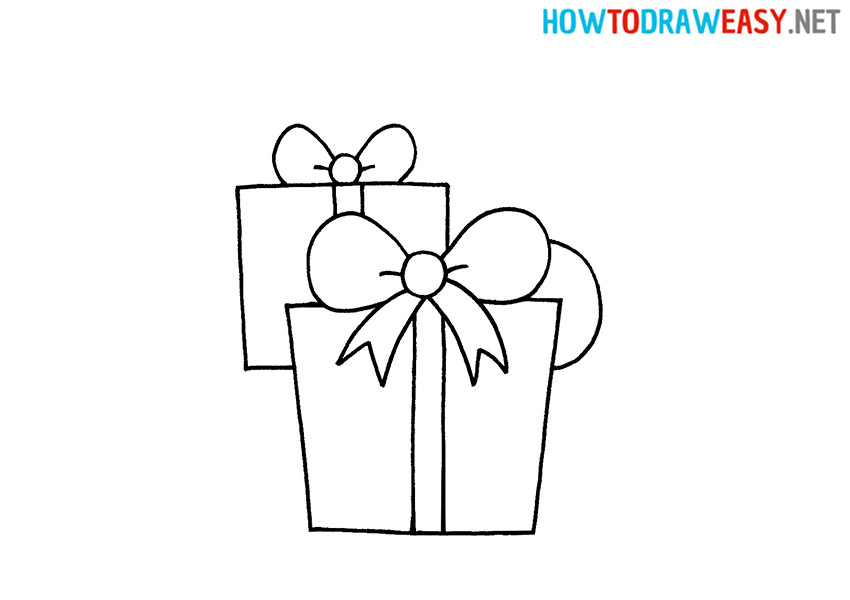
- Draw the body of the snowman.
A snowman peeps out from behind the gifts. Draw his torso with an arc (or in the form of a semicircle): start a line from the bow of the large gift and finish it on the box itself.
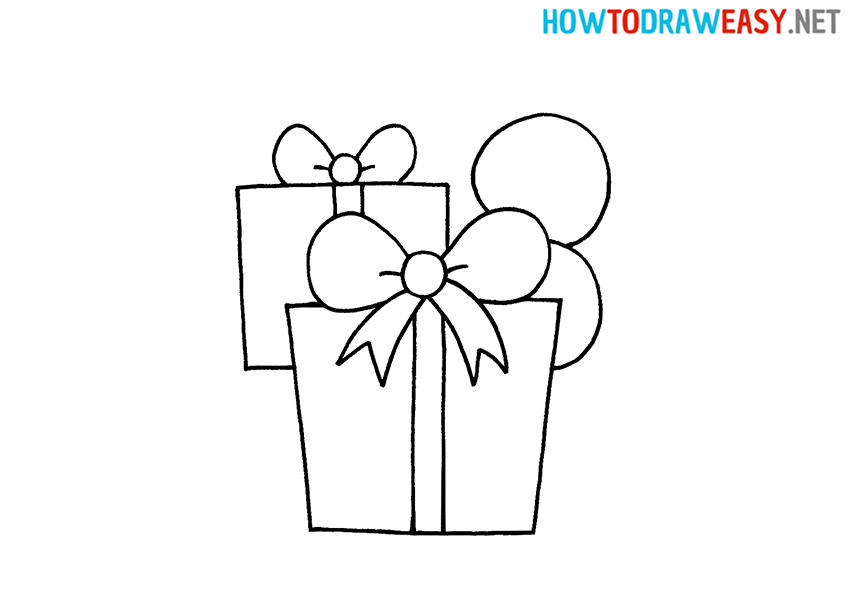
- Draw the head of the snowman.
The head of the snow figure is a circle.
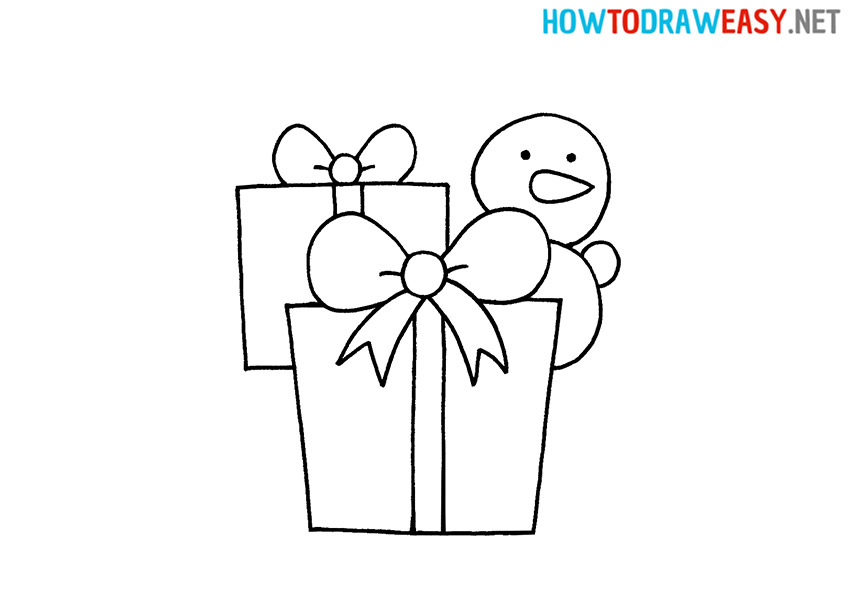
- Draw the eyes and nose.
Place black paired dots in the head—you get eyes. The nose of the carrot is like a horizontal raindrop. And the arm is a small arc located closer to the junction of the head and body of the snowman.
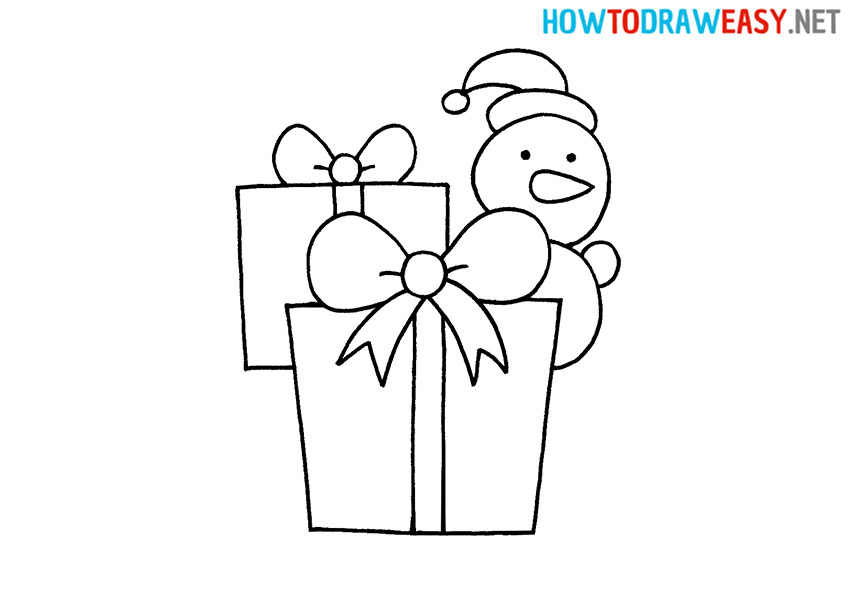
- Draw the hat and the pom-pom on it.
A curved line with a strong bend at the top of the head will indicate the edge of the hat. From the edge of the fur, draw two lines of different lengths and degrees of curvature to the left and connect them at the end. In the same place, on the top of the cap, draw a tiny circle—her pompom.
- Color the drawing.
Color your Christmas drawing using your favorite coloring tools!
Draw more often so that your drawing skills get better every day. We hope that we help you with this with our drawing ideas. Draw a Christmas tree to create a complete art for Christmas!
