How to Draw an Airplane for Kids
Learn how to draw an airplane for kids step by step with this easy drawing tutorial. Draw according to the instructions below.
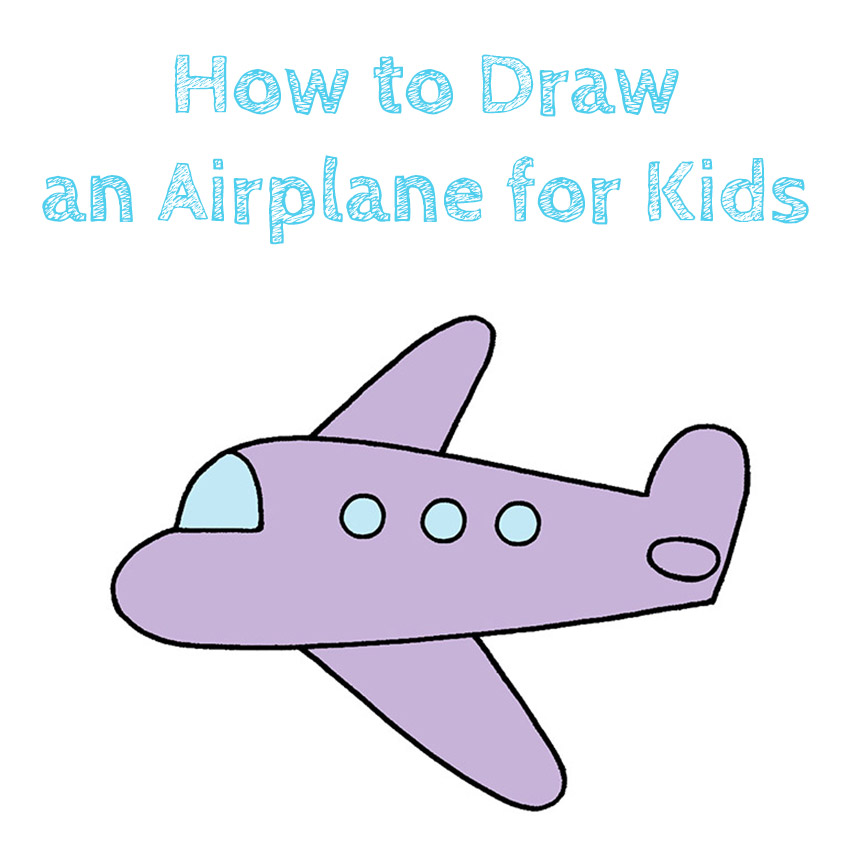
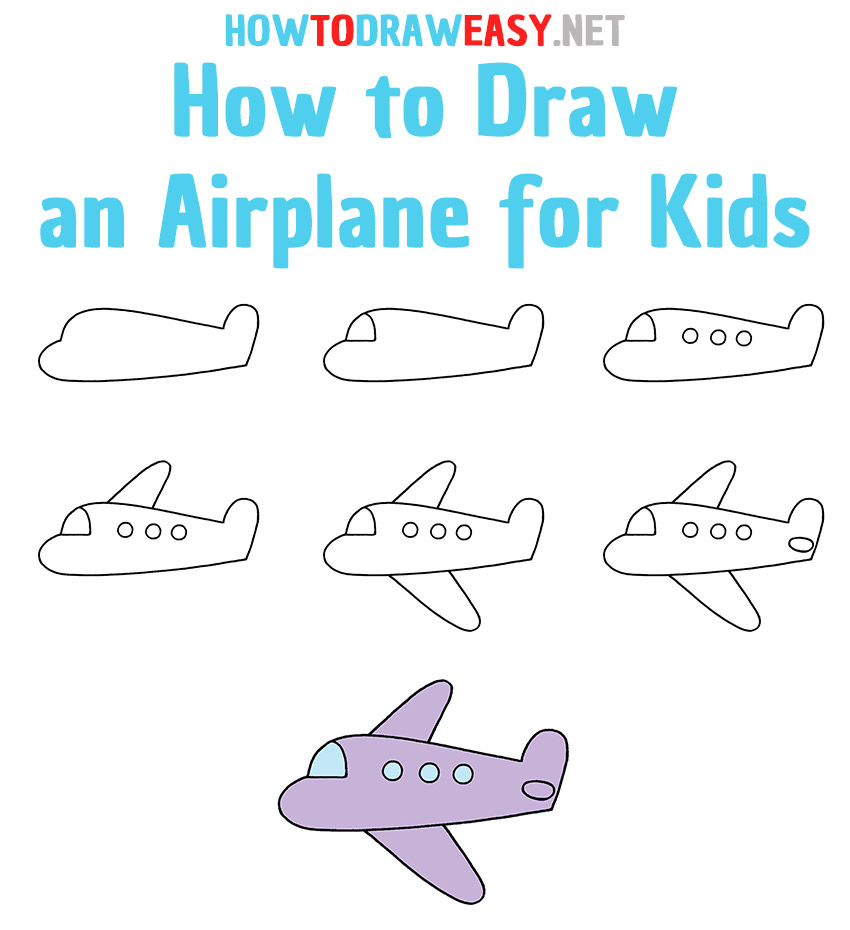
Hello young pilots! We suggest you familiarize yourself with a step-by-step lesson on how to draw an airplane for kids. The drawing will not be difficult and will definitely appeal to kids who are fond of air transport. Drawing an airplane step by step is the most convenient way to get a beautiful hand-drawn picture. Therefore, in the process of drawing, be careful and follow the recommendations of the instructions.
A plane is a popular form of transportation used by many people. Thanks to the plane, you can quickly reach your desired destination anywhere in the world. This air transport can have different shapes of individual parts, sizes, and colors. We have depicted the plane in a very simple form, so anyone with different skill levels can draw this drawing.
Time needed: 20 minutes
How to Draw an Airplane for Kids
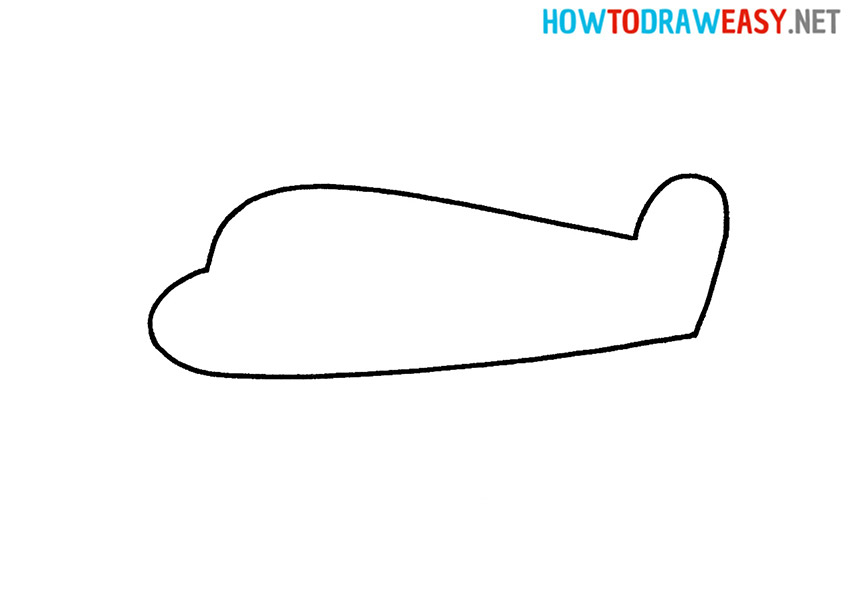
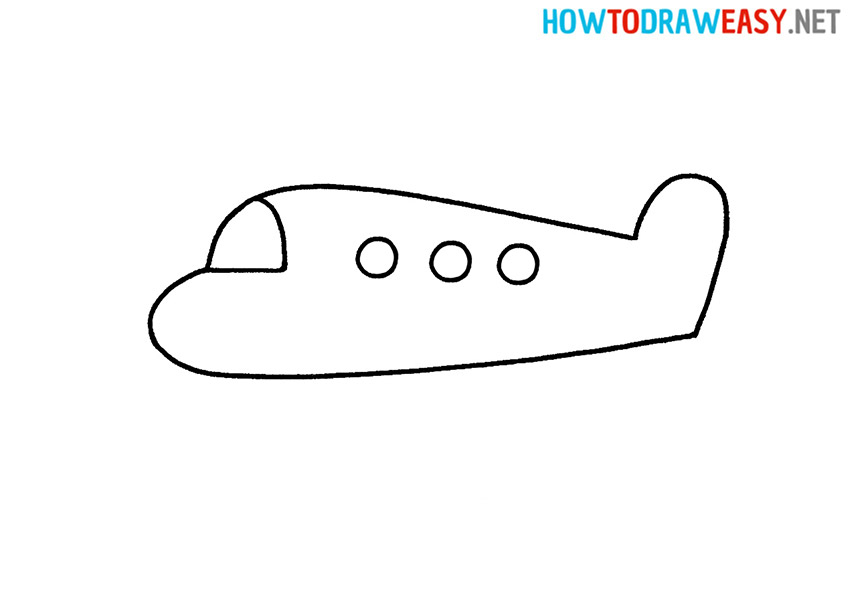
- Draw the outline of the plane.
First, draw the outlines of an airplane, which looks a bit like a fish in its outlines. The lines should be smooth and neat. Make the tail of the plane protrude slightly.
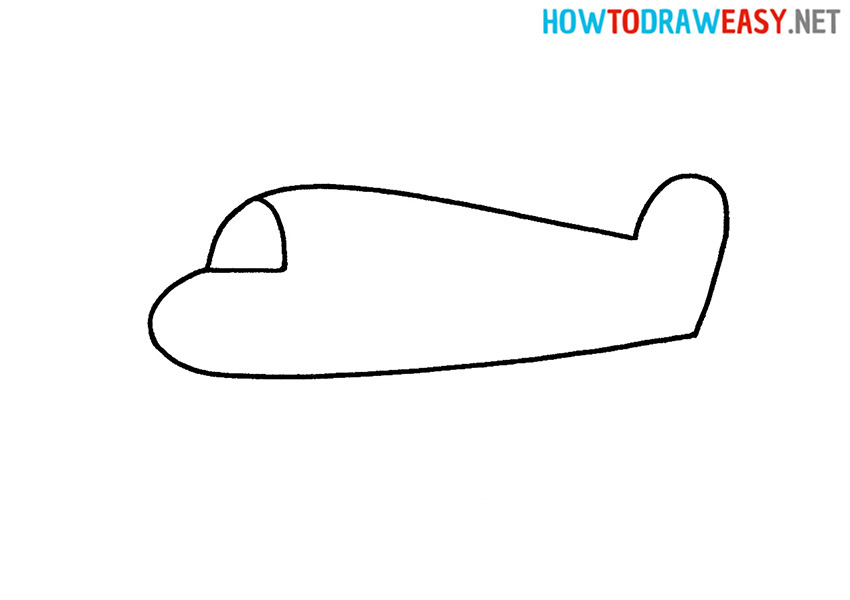
- Front window.
At the front of the plane, draw an arched windshield.
- Add windows.
Draw the rest of the passenger windows in the form of a circle on the airplane body.
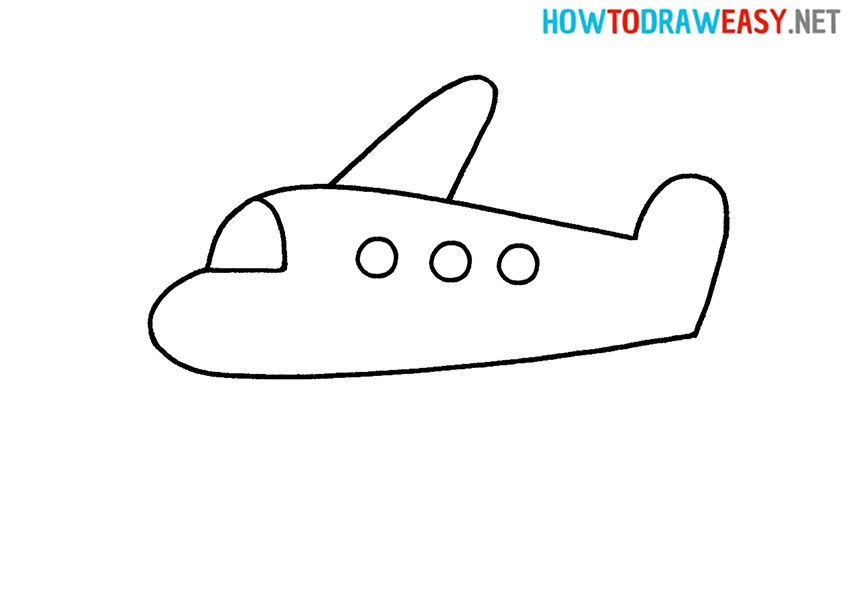
- Draw the wing.
One wing behind the airplane body is partially covered, so draw a part of it.
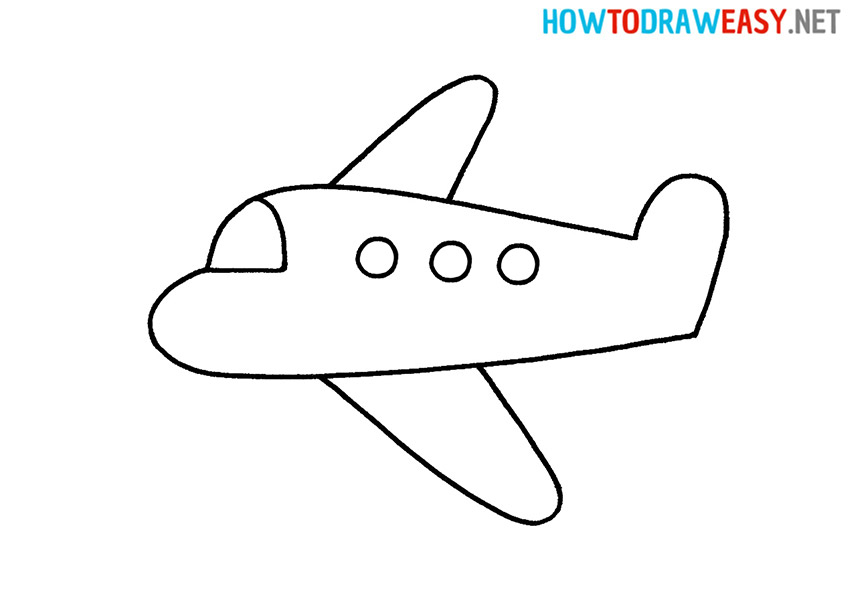
- Add another wing.
Draw the second wing of the plane in the same way.
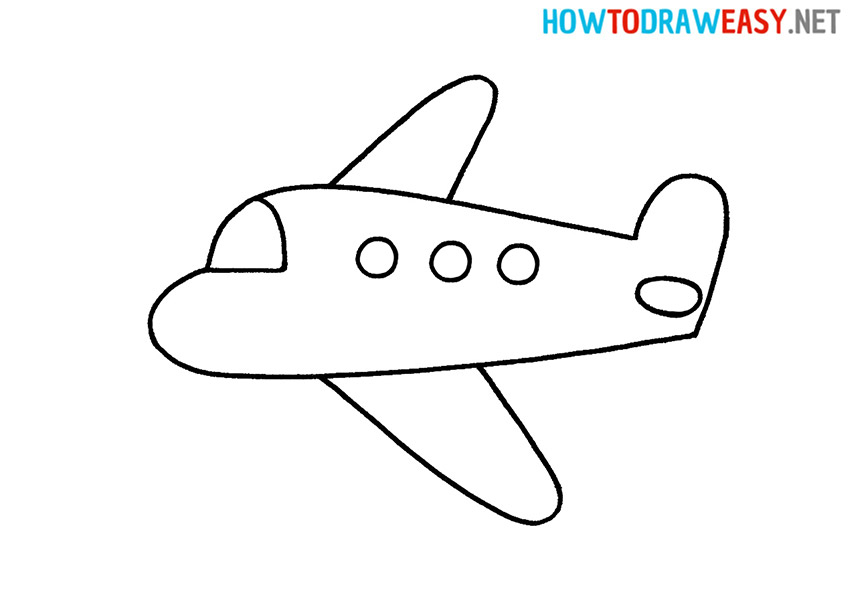
- Draw the horizontal section of the tail.
At the back of the plane, draw a small tail element.
- Color the drawing.
It was in this color that we decided to paint the plane. However, you can choose any other color. You can color the airplane blue, green, yellow, or any other color.
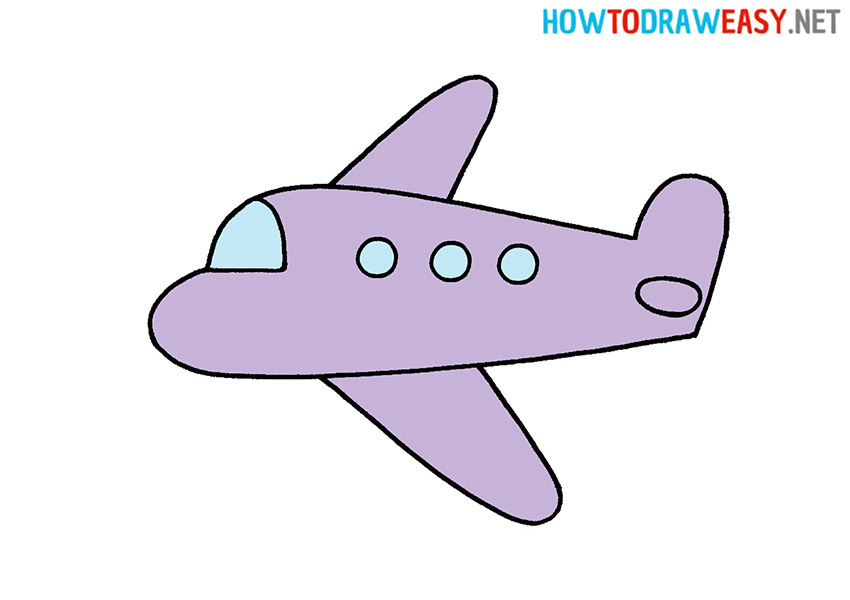
Great job! Now you have learned how to draw a cartoon airplane. We hope that this lesson helped you improve your drawing techniques and gave you new creative ideas.

HELLO TIME TO DRAW
Kids only draw okay