
How to Draw a Window for Kids
Learn how to draw a window for kids in this easy step-by-step guide. Below, you will see a step-by-step collage and instructions.


Hello everyone! In this guide, you will learn how to draw a window for kids. A window is an oldest and most natural way to receive light in a home. Previously, it was something of a genius, but now humanity is developing and there are more ways to lighten the rooms in the house. But even in spite of this, windows are still used today, because people really need natural daylight. In addition, windows are one of the important design details of buildings and houses. Panoramic windows in modern cities appear more and more often, and allow you to create magnificent views of the city or other views outside the window.
This tutorial will show you how to draw a standard window with a wooden frame. The drawing has a fairly easy level of difficulty, so this drawing instruction will be simple even for kindergarteners. Enjoy drawing!
Time needed: 20 minutes
How to Draw a Window for Kids
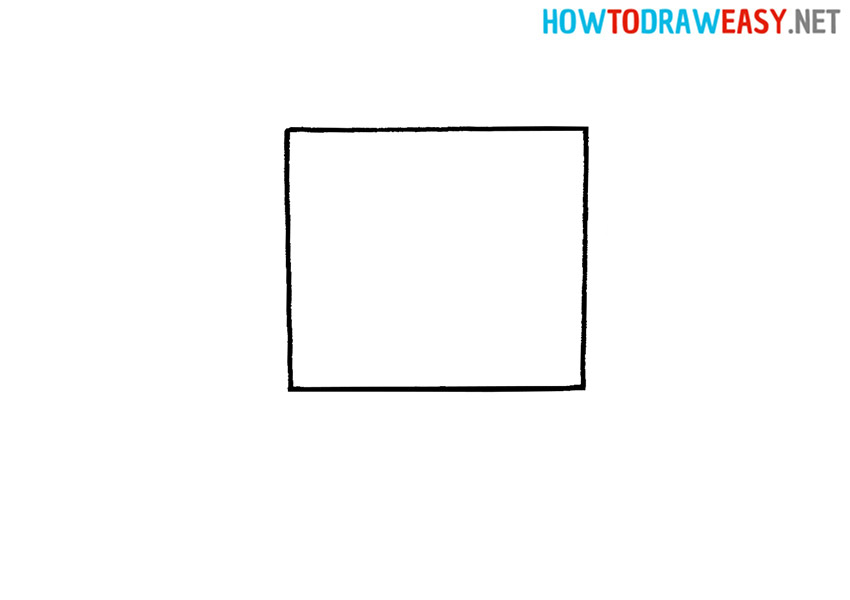
- Draw the shape.
Begin by drawing a basic square window shape.
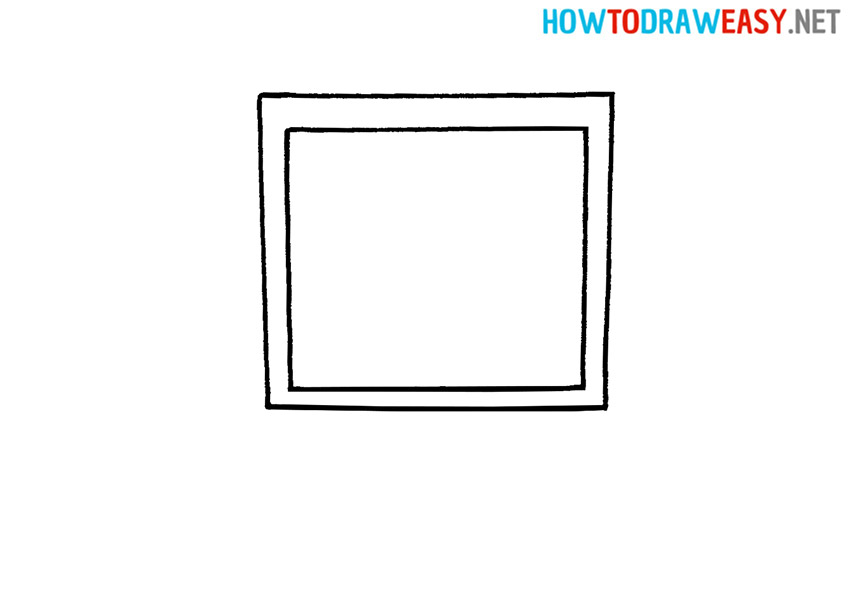
- Draw the frame.
Now you need to draw a square, but larger than the first one, since this step involves drawing the window frame. Try to draw straight lines to keep the drawing greatly.
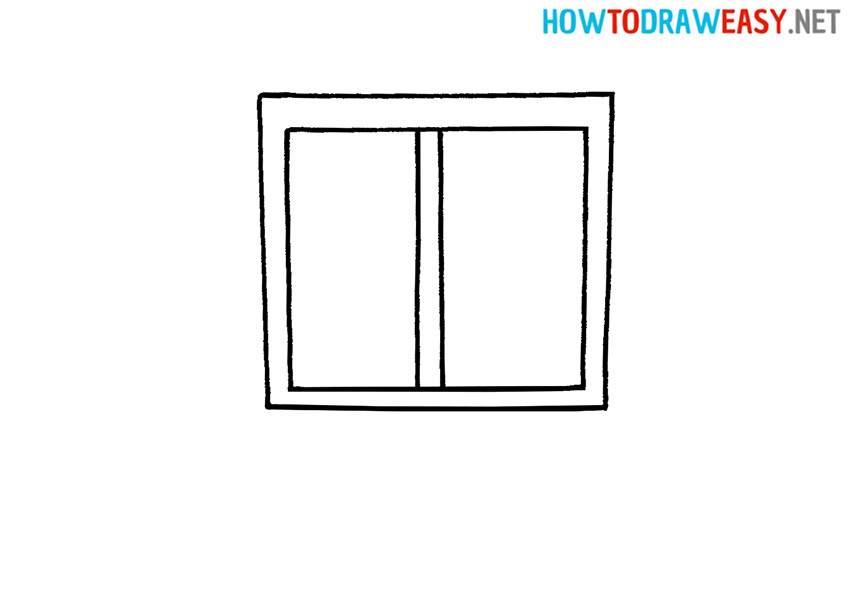
- Add the sash.
Now you need to draw the center window divider using two parallel straight lines.
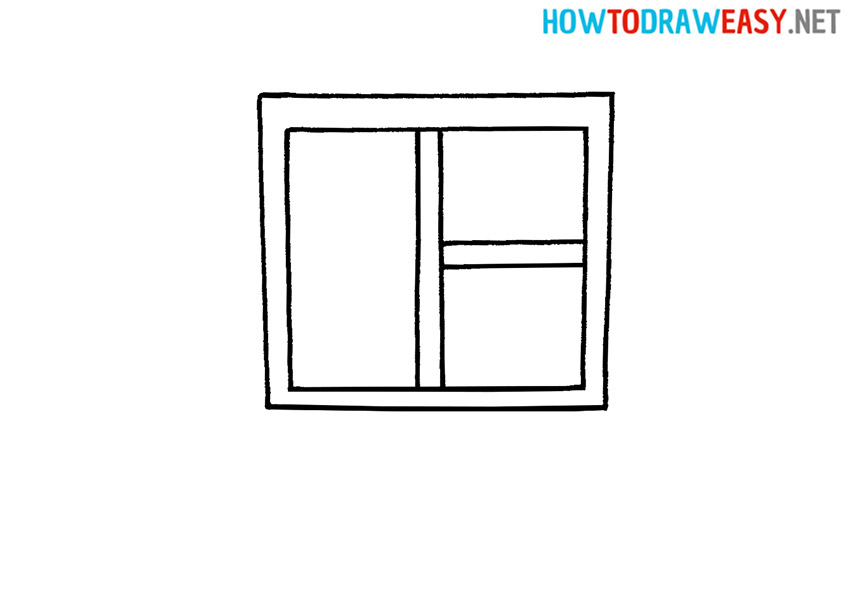
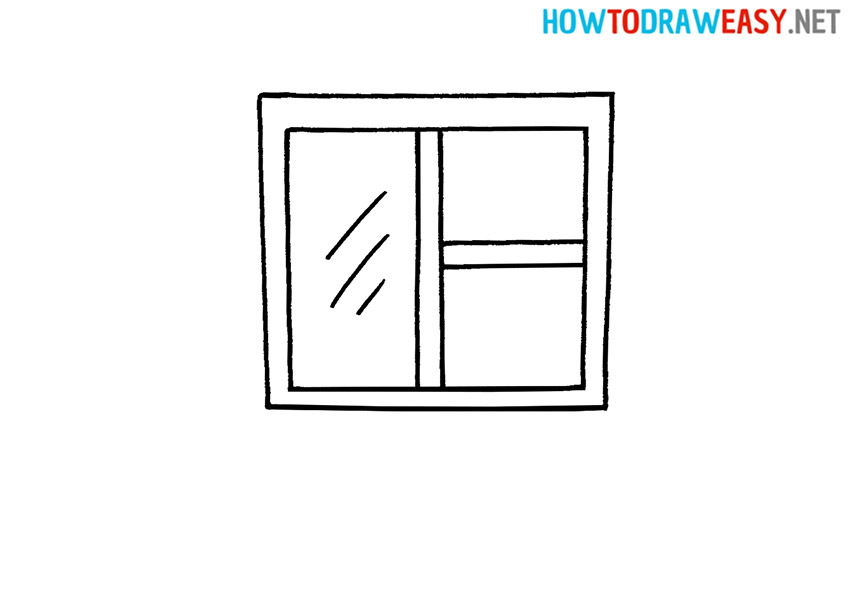
- Add detail.
Detail the window by adding more sashes of the windows that divide the right side into sections.
- Detail the window.
Add some thin straight lines to the window, which will make the glass look more realistic in the sketch.
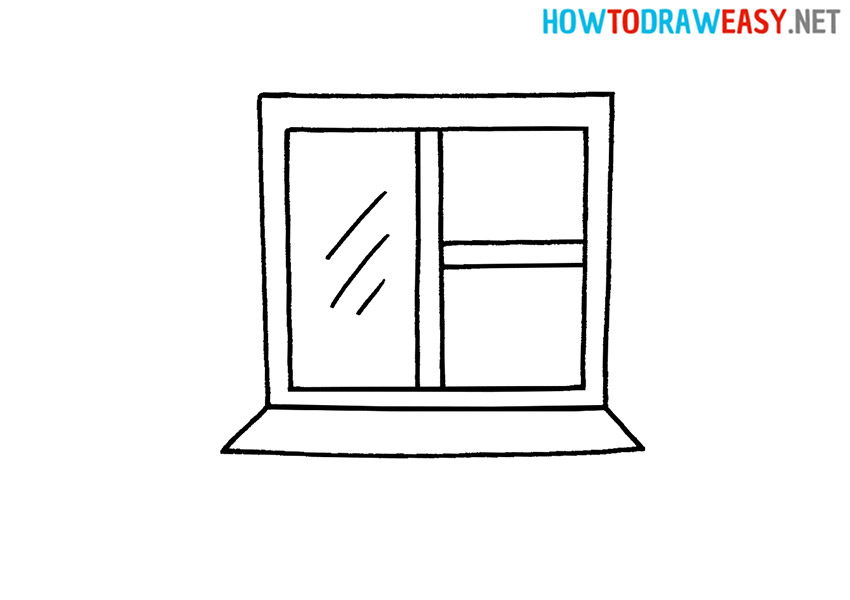
- Draw the window sill.
Draw the basic shape of the window sill as shown.
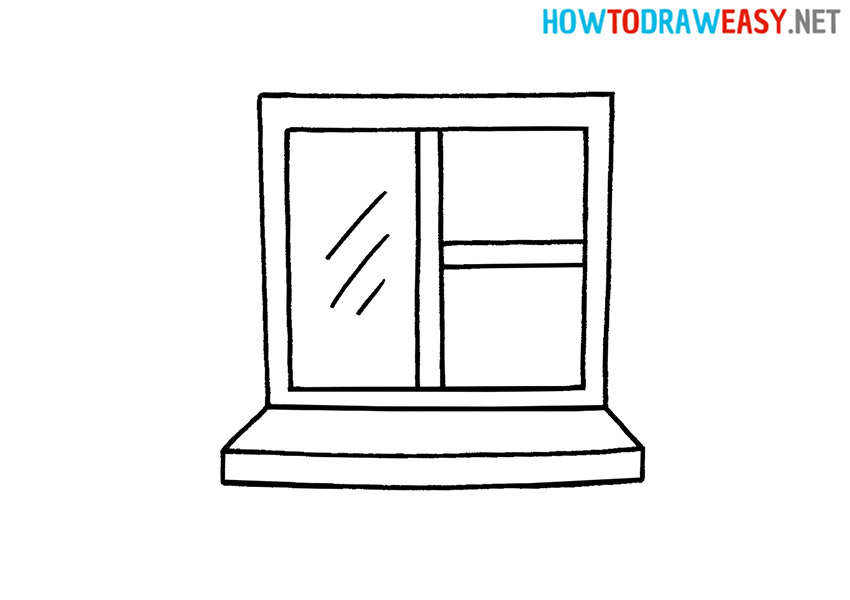
- Add details.
Detail the window sill by making the shape more realistic, as in the example.
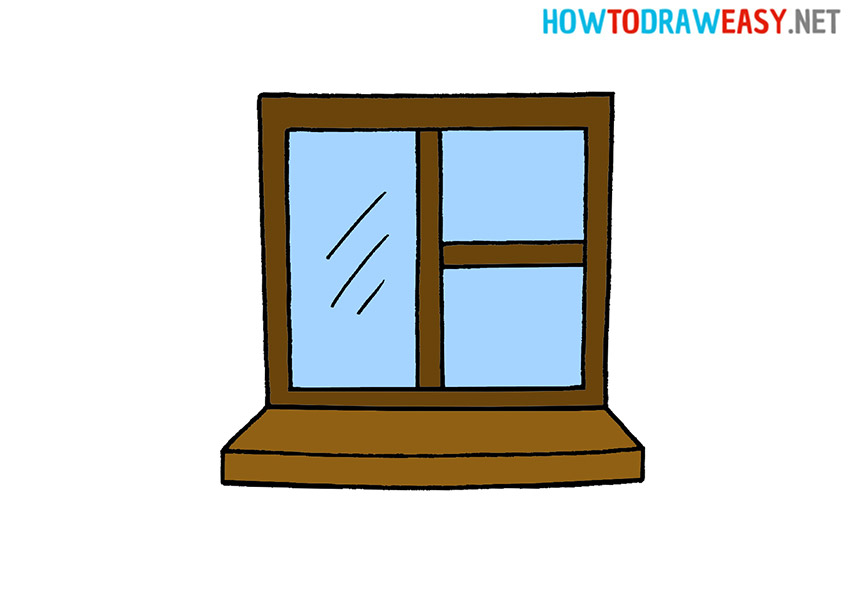
- Color your artwork.
The window sketch is ready! Now you need to color your amazing artwork, but before coloring, you can trace the outline of the sketch using ink, fountain pen, or black marker.


We hope that your window drawing turned out great, and you will share your drawing with your friends! We are waiting for you at other drawing lessons, for example, at a step-by-step drawing lesson on how to draw a book.