How to Draw a Spider
In this easy and step by step drawing lesson, you will learn how to draw a spider. Below, you will see a collage that will help you understand what you will need to draw following the steps.
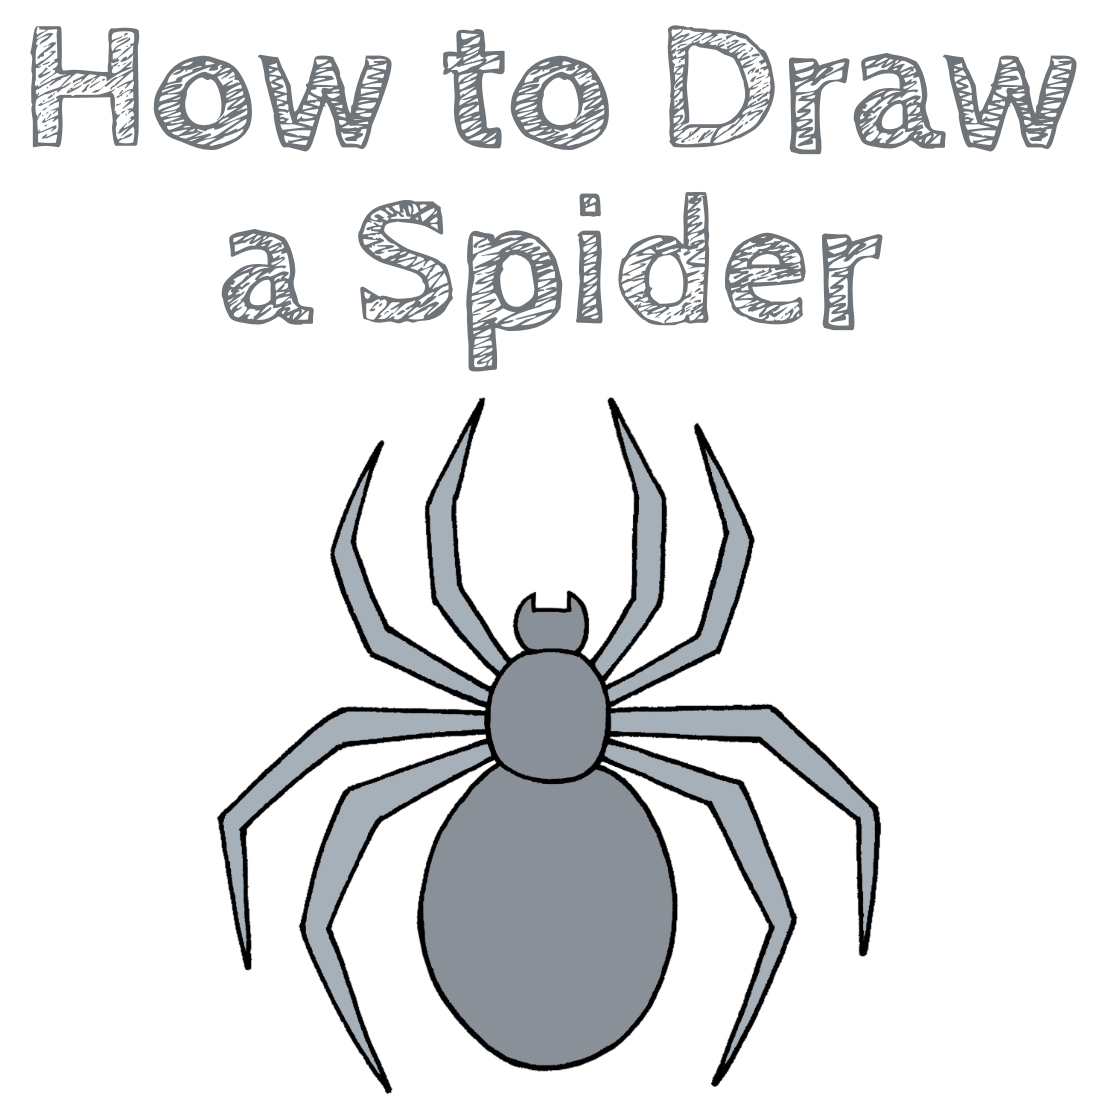
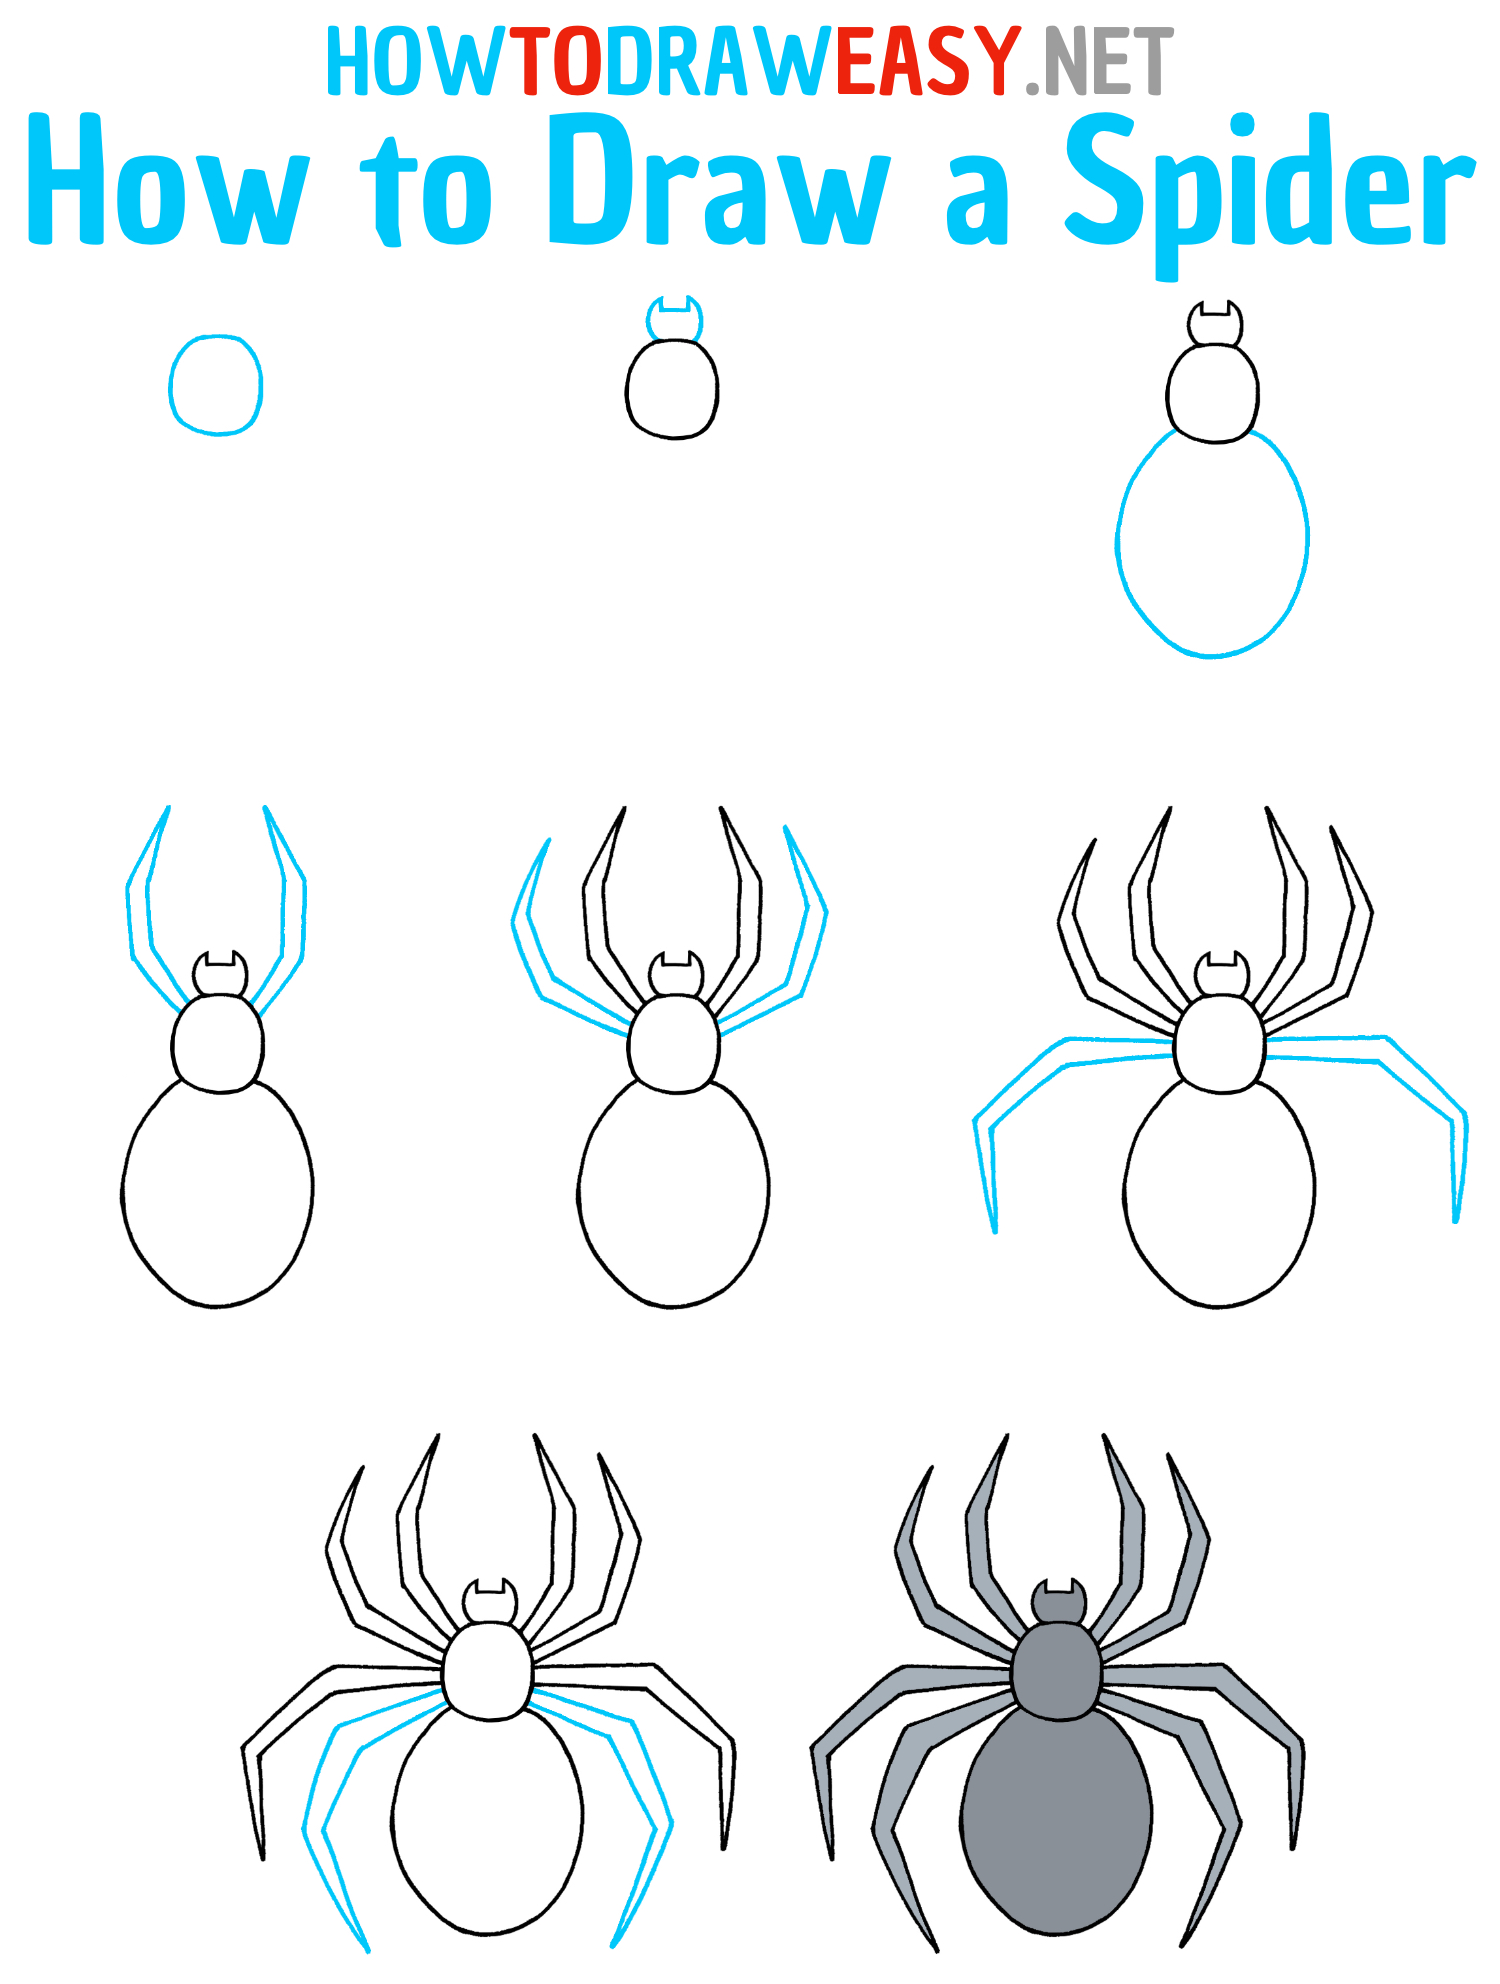
Spiders are amazing creatures in the world of nature. With their vibrant colors and unique spider webs, they have been attracting attention for many years. In this step-by-step drawing lesson, you will learn how to draw a spider with ease!
Spiders are members of the class Arachnids, which includes over 50,000 species. They inhabit almost every corner of our planet—from swampy jungles to desert areas. Some spider species prefer warm and humid climates, while others easily adapt to harsh and cold environments.
The most well-known aspect of spider life is their incredible ability to spin webs. Webs serve as traps for capturing prey and also for locomotion. Different spider species create various types of web structures, from simple circles to intricate triangles and spirals. These webs can be not only beautiful but also part of a complex communication system among spiders.
Spiders are also known for their diversity in shapes and sizes. They can be tiny or huge, capable of intimidating anyone with their impressive appearance. Most spiders have eight legs and eight eyes, which help them catch prey and navigate their surroundings.
Let’s dive into the world of drawing together and create a beautiful spider. Fasten your seat belts, as we embark on an exciting and captivating journey into the world of drawing spiders!
Time needed: 25 minutes
How to Draw a Spider
- Outline the head.
Start by drawing the circular head for your spider. Simply draw the small circle at the top of the paper.

- Add the pedipalps.
On the upper part of your spider’s head, depict the pedipalps as shown in the example.

- Outline the body.
Now, beneath the spider’s head, draw the oval-shaped large body for your spider.

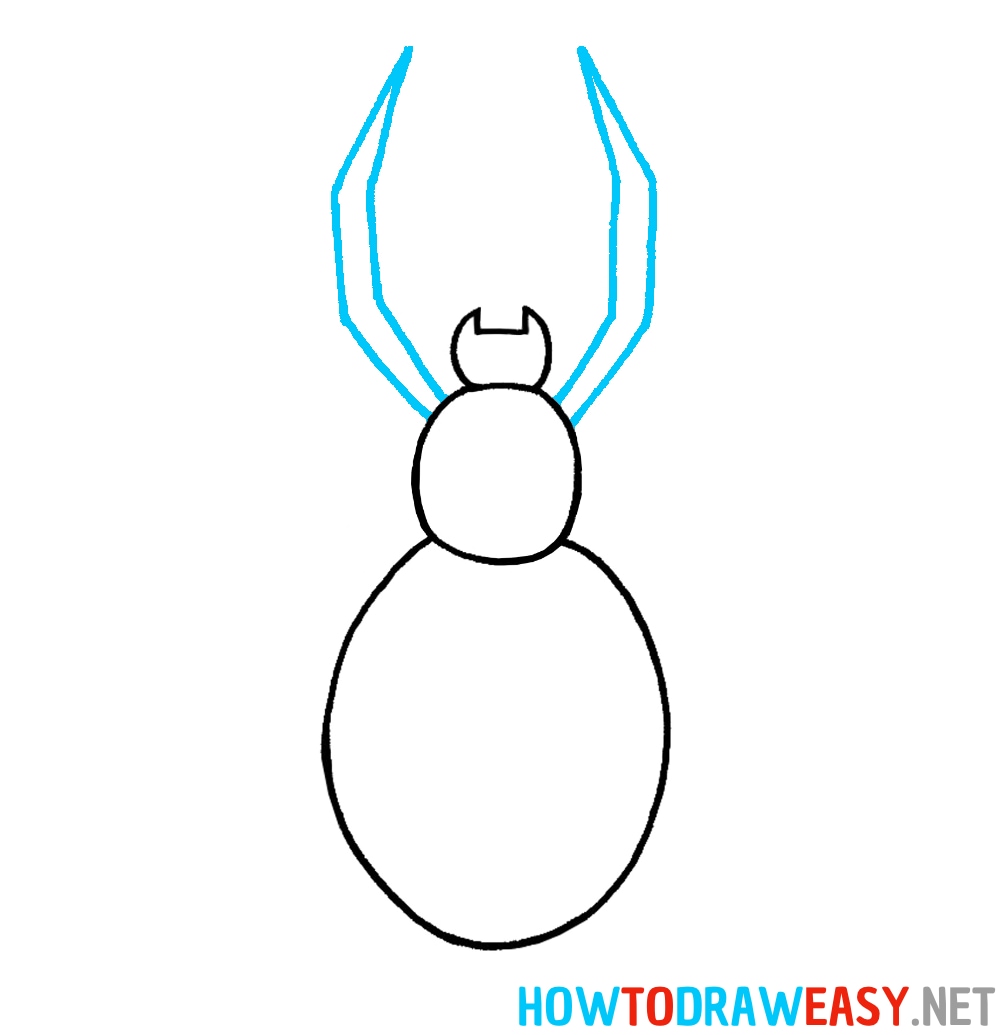
- Begin to draw the legs.
Begin drawing the spider’s legs with the two upper ones. Use straight lines for this.
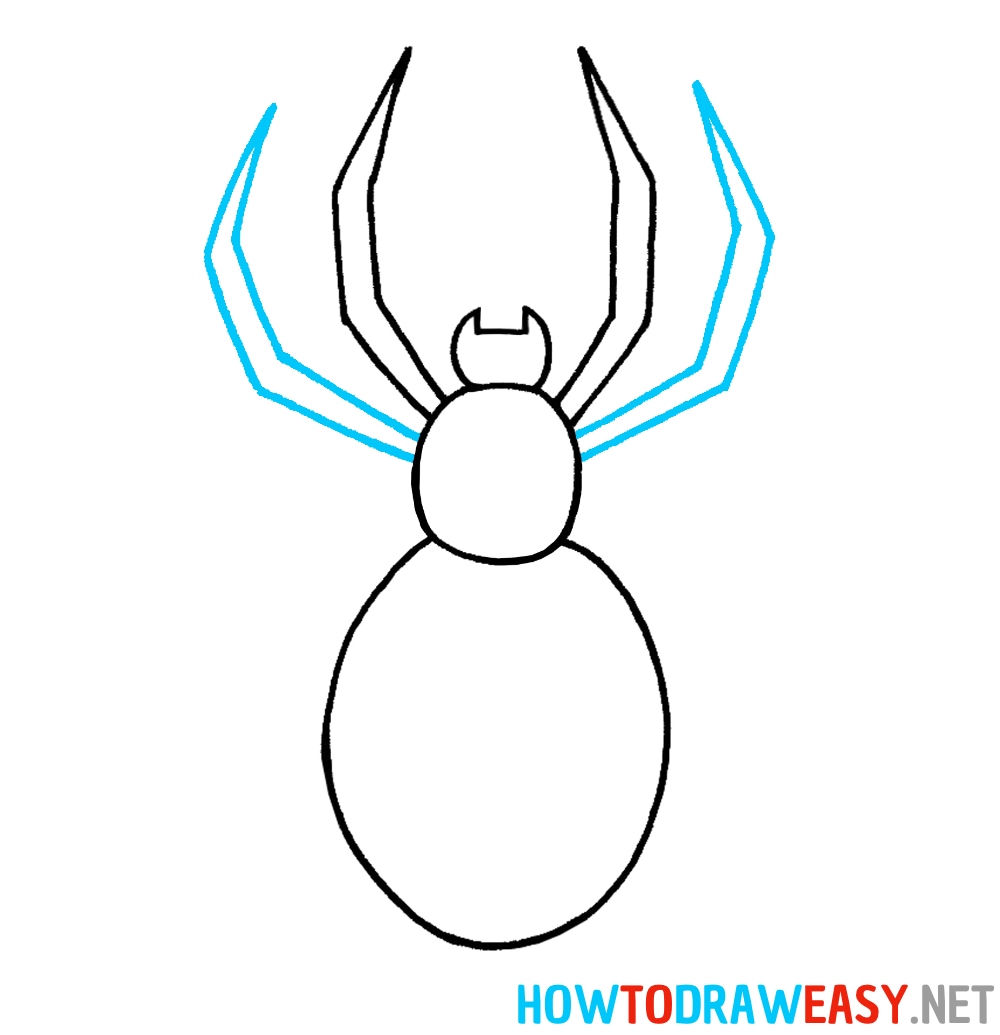
- Add the second row.
Now, move on to drawing the second row of the upper pair of legs for your spider.
- Draw the middle part.
From the central part of the abdomen, extend lines and draw the large hind legs of your spider.
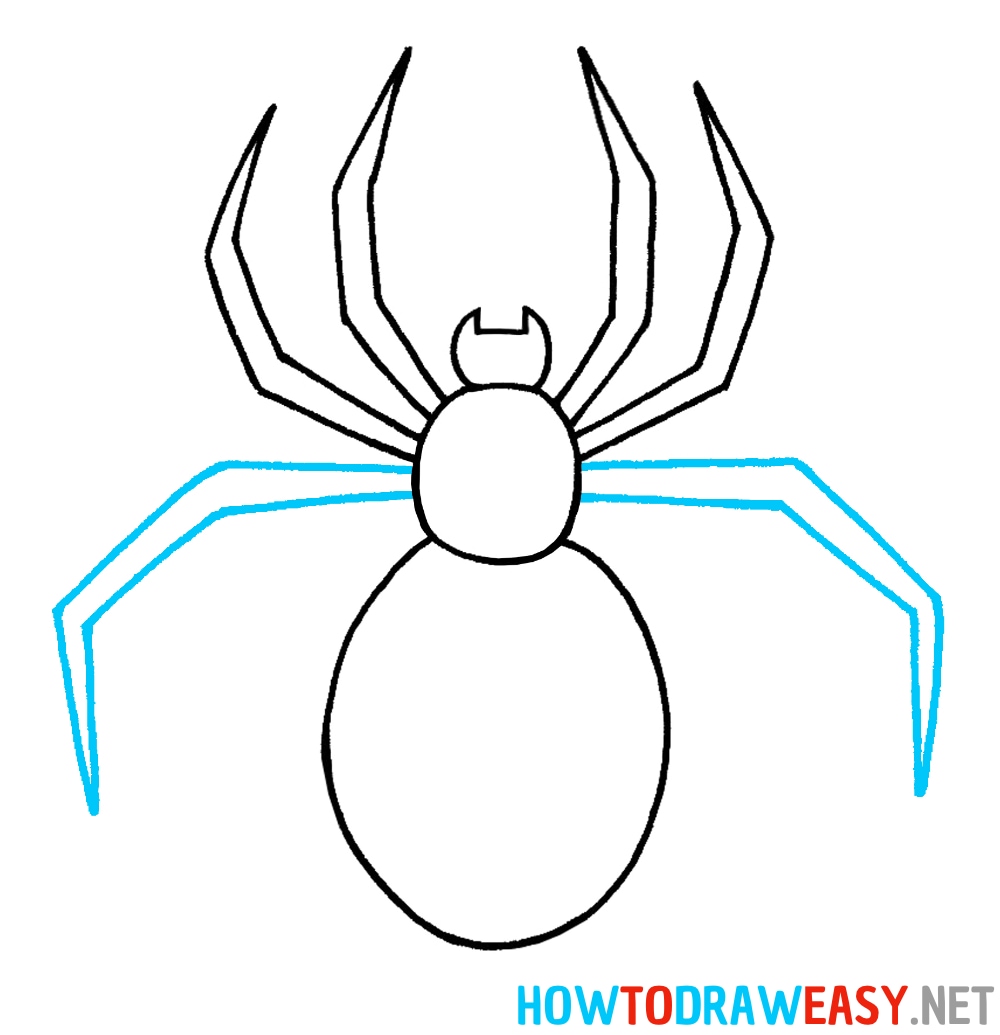
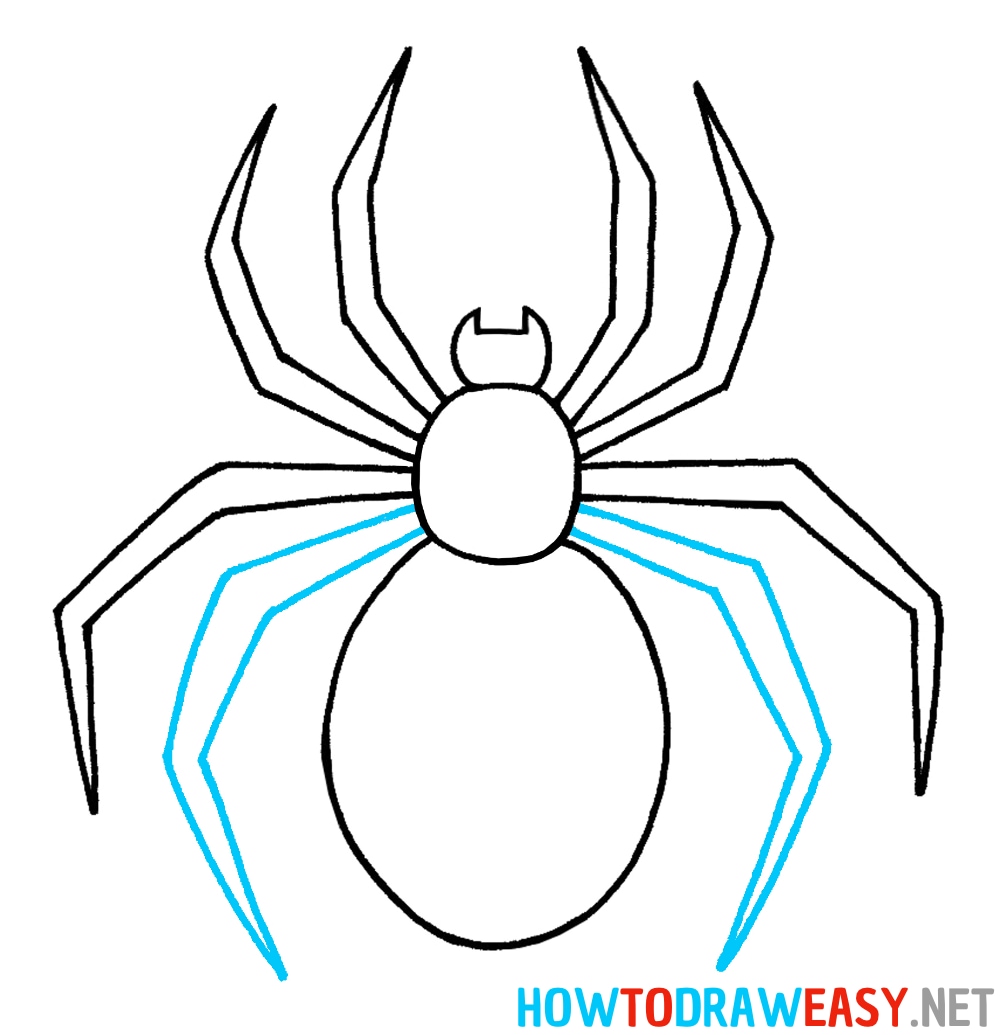
- Add the hind legs.
To complete the drawing of the legs, you need to depict the hind legs of your spider, as shown in the example. Once you have sketched the spider using pencils, trace the sketch with a marker.
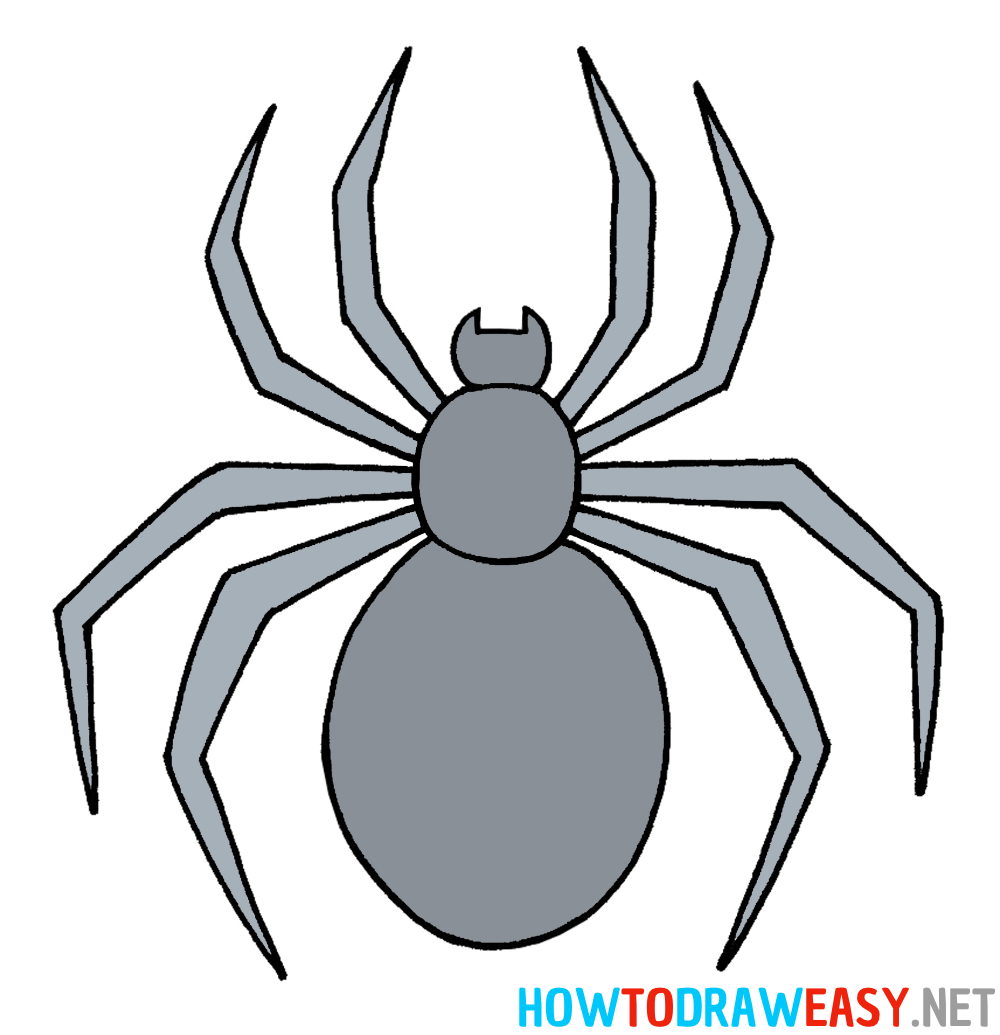
- Color the spider.
Using coloring tools, color your spider drawing in gray, black, or dark brown. You can also add various details such as short hairs or other specific spider coloration features.
We hope that this spider drawing lesson has helped you acquire the skill of drawing spiders. Additionally, this lesson can be useful for those who would like to draw the symbol of Spider-Man on the chest of his costume.
Drawing spiders can serve as an excellent way to develop creative skills and observation. It also helps us better understand and appreciate the natural world, in which spiders play their important role.
Thank you for joining us in this exciting spider drawing lesson. We hope you have gained satisfaction and inspiration, and we look forward to seeing your creative works. Good luck with your artistic endeavors, and don’t forget to admire the beauty of nature around us!
