
How to Draw a Sofa for Kids
Learn how to draw a sofa for kids step by step with this elementary drawing tutorial for beginners. Start a sketch with our guides.


Welcome everyone to our lesson! In this drawing guide, we will show you how to draw a sofa for kids. A sofa is an indispensable item in any home. This is a piece of furniture in the house that does not replace a bed but can become a comfortable haven when you just want to lie down. Sofas come in a variety of designs and designs, but we’ll draw a regular one.
If you follow the steps and recommendations of our instruction, you will easily learn how to correctly depict furniture. Even a child can cope with the task. We have compiled simple instructions so that you can quickly and beautifully depict a sofa. Do not hesitate, let’s get started!
Time needed: 20 minutes
How to Draw a Sofa for Kids
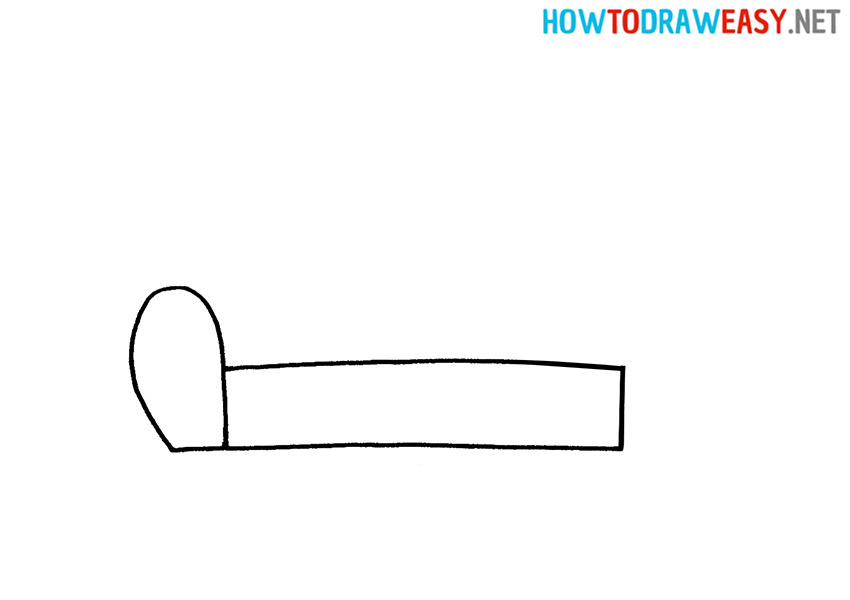
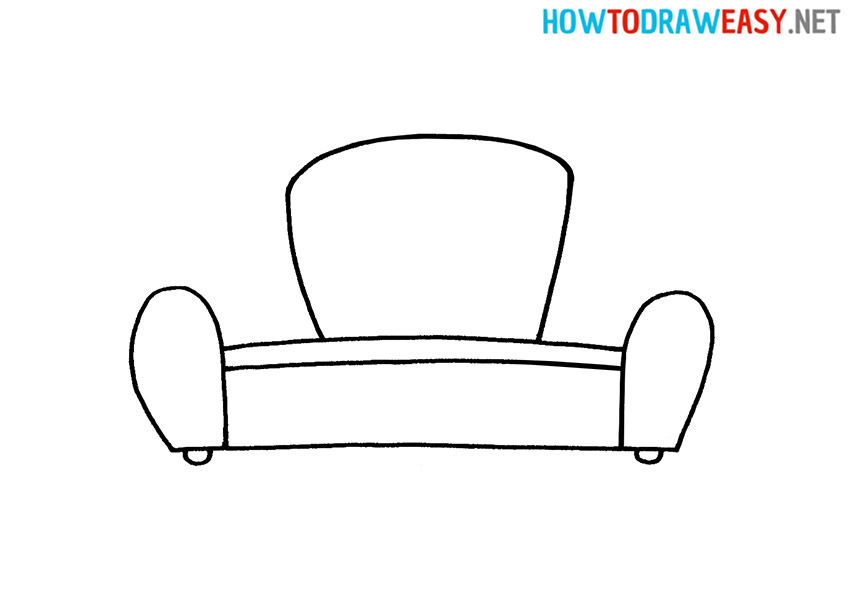
- Draw the bottom of the sofa.
The lower part of the sofa is rectangular.

- Draw the left armrest.
On the left side, draw a large oval, the bottom of which is even and flush with the bottom of the sofa.
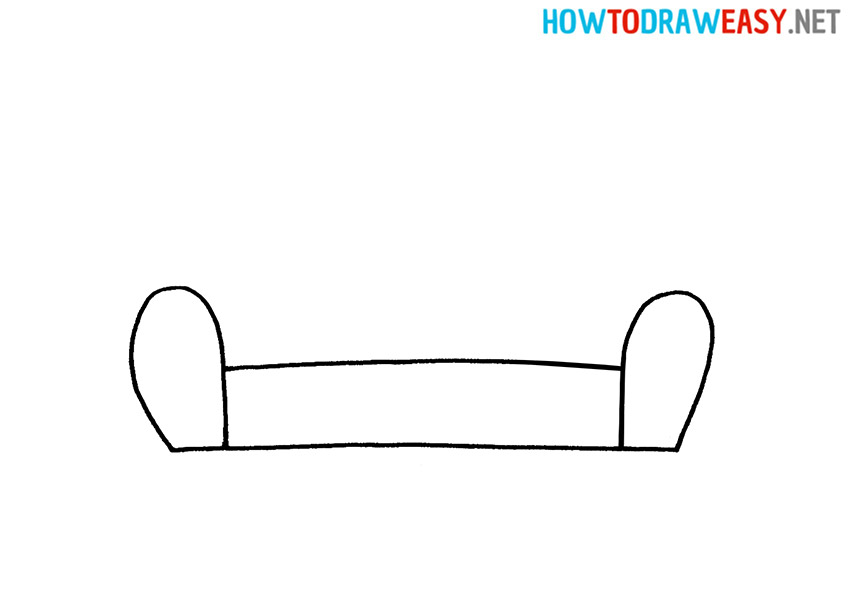
- Draw the right armrest.
In the same way, draw a similar shape on the right side.
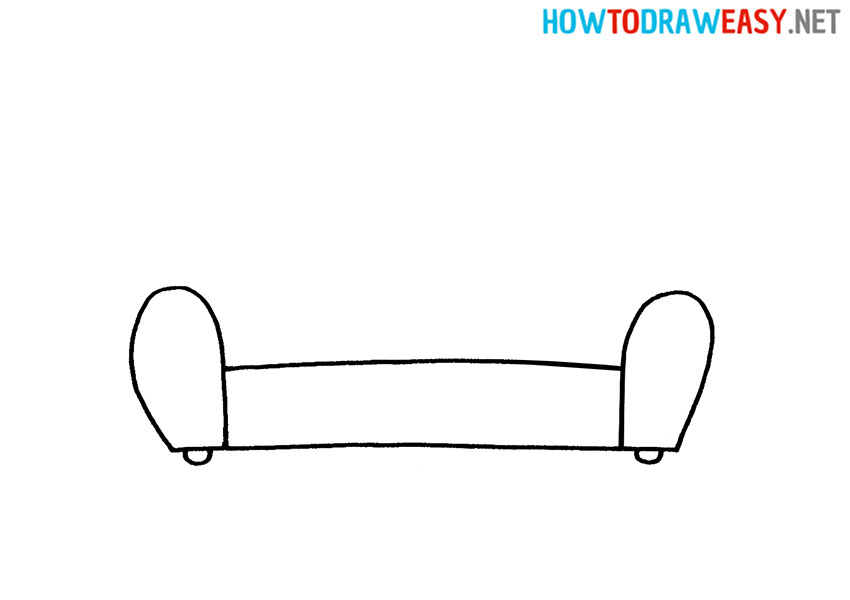
- Add legs.
Draw small semicircular legs under the right and left armrests.
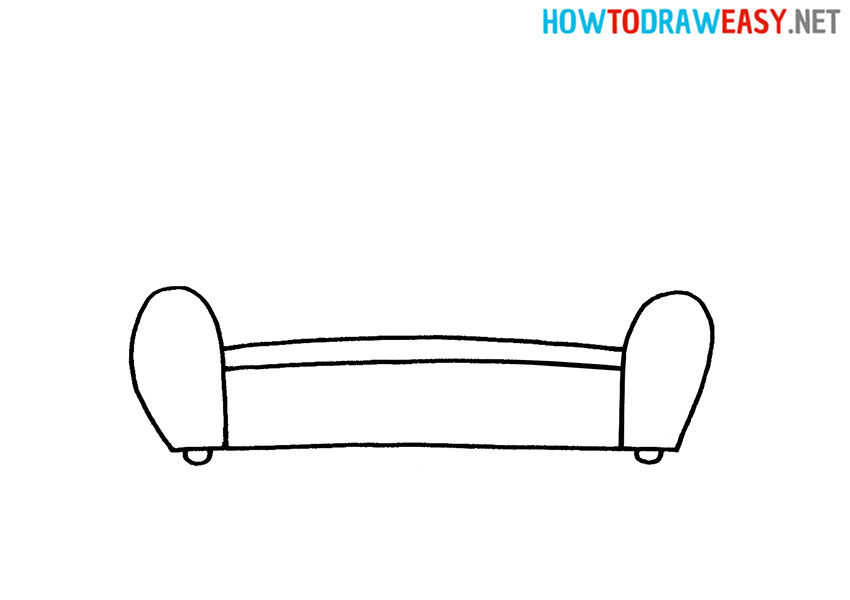
- Draw the seat.
Draw a horizontal line between the armrests.
- Start drawing the back of the sofa.
Next, you need to draw a soft back in the shape of a square, but the corners should be rounded.
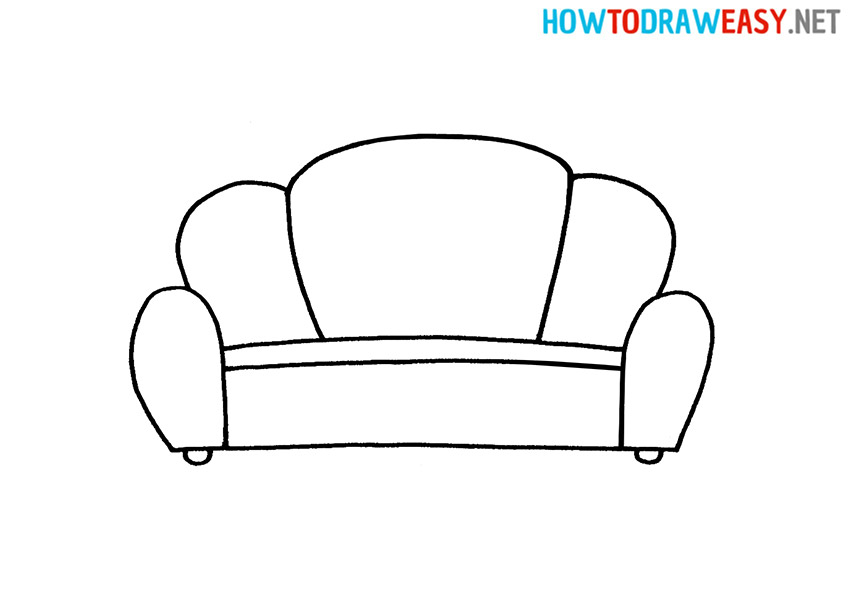
- Finish the back of the sofa.
Draw two small rounded shapes on the right and left. Try to do everything exactly as indicated in the instructions.
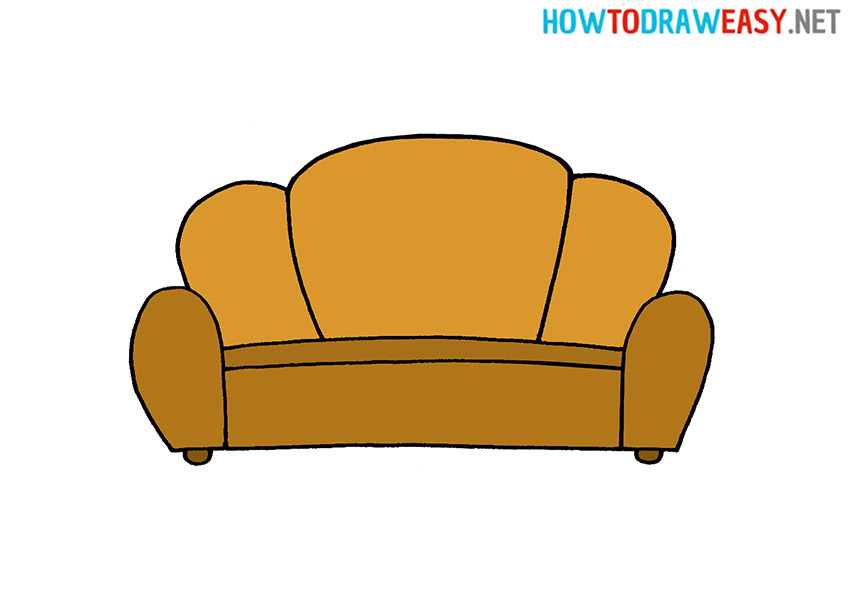
- Color the drawing.
We shaded our sofa in brown, but you can use a different color. For example, beige, green, or blue.


We showed you how to draw a sofa easily! We hope that our lessons are useful for you, and you are happy to draw using our instructions. Try also to draw other furniture—an armchair!