
How to Draw an Armchair for Kids
Learn how to draw an armchair for kids in this easy step-by-step tutorial. Scroll down below for more detailed instructions and a step-by-step collage of this drawing.


Hello everyone and welcome to the tutorial on how to draw an armchair for kids. An armchair is a piece of furniture that can be found in almost every home. How nice it is to come back from school or work and fall into an armchair, isn’t it? There are chairs that vary in design, material, and even comfort. We’re going to draw a simple armchair.
This tutorial is ideal for aspiring artists, as the drawing consists of simple geometric shapes. The main thing is not to rush and follow our step-by-step instructions, and you will definitely be able to draw upholstered furniture.
Time needed: 20 minutes
How to Draw an Armchair for Kids
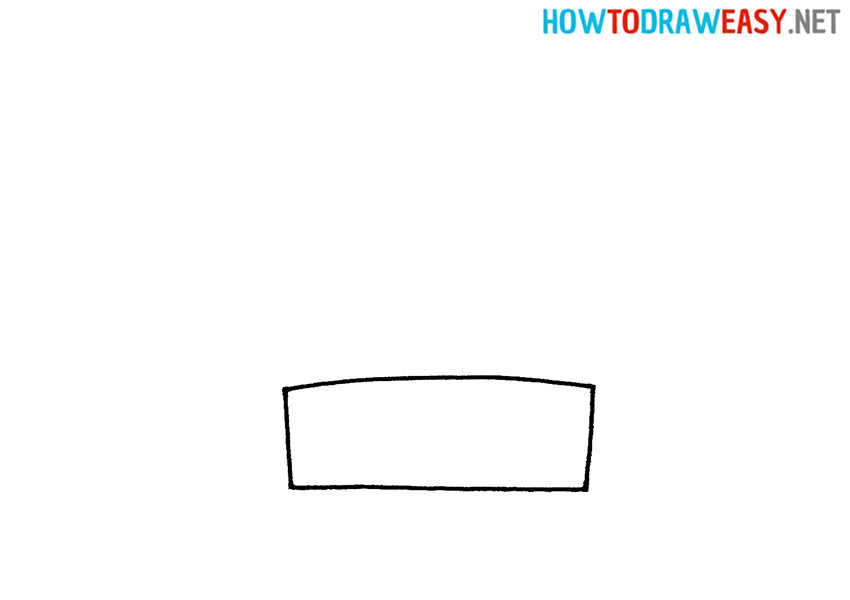
- Draw the seat.
Draw a rectangle with a slightly convex top side. This should show all the softness and comfort of this chair.
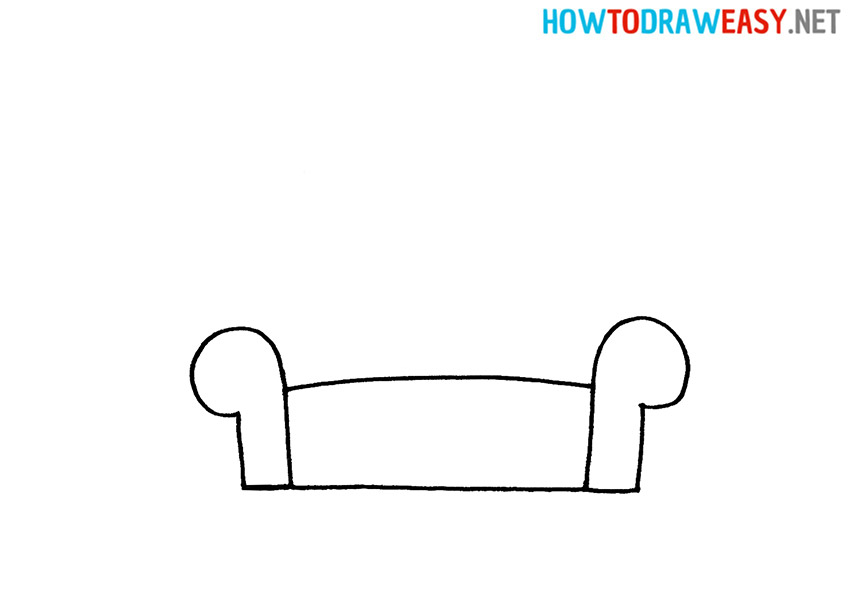
- Draw the sidewalls.
One of the most difficult elements. In its shape, it is q-shaped on the left and p-shaped on the right. They must be applied to the seat so that the side of the seat is an extension of the sidewall.
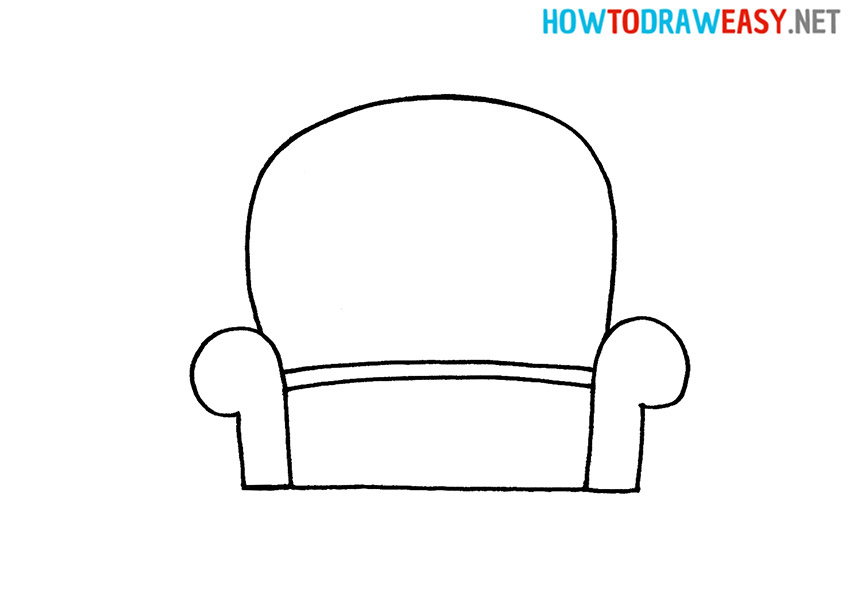
- Draw a pillow.
It’s simple, for this draw a line above the seat, which will be the pillow.

- Draw the back.
The back of the armchair has a semi-oval shape.
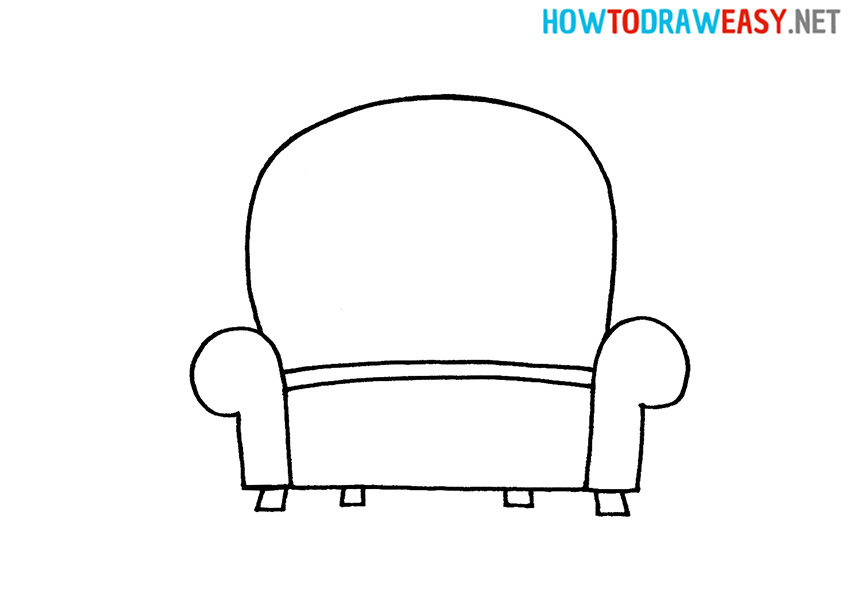
- Draw the legs.
The legs are drawn as 4 slightly slanted rectangles.
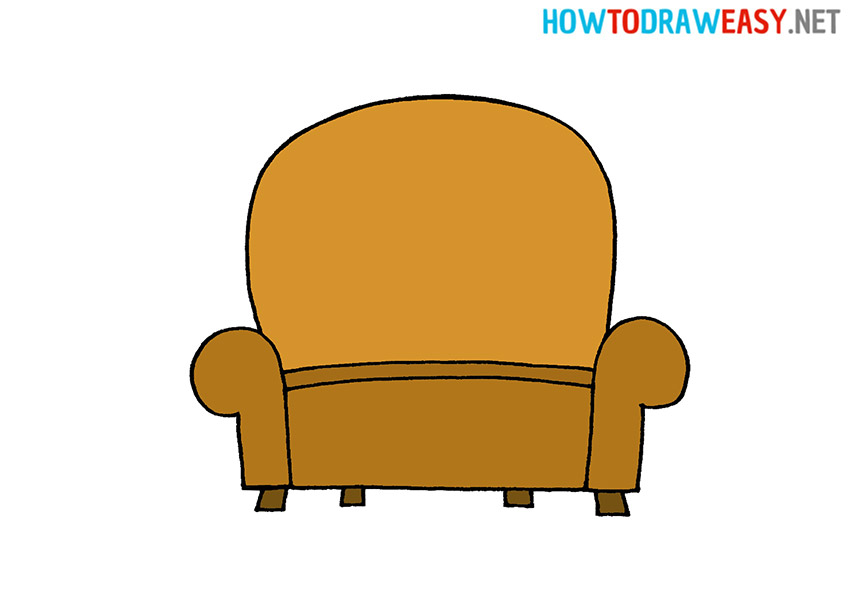
- Color the drawing.
We’ve shaded our drawing of the armchair using shades of brown, but you can color your drawing in a different color. Use your favorite coloring tools for this.


Congratulations, the chair is drawn! We hope that you have a wonderful drawing of a chair, and you will share it on your social networks. Draw more, practice and don’t stop at it!
Draw a table if you want to try drawing with straight lines.