
How to Draw a Shirt Step by Step
In this step-by-step tutorial, we will show you some basic steps to help you learn how to draw a shirt. Join us and let’s start our creative journey!


Let’s start our shirt drawing lesson! Shirts are not only a necessary element of the wardrobe, but also an interesting object for artistic creativity. In this lesson, we will learn how to draw a shirt step by step, starting with its basic elements and ending with the details.
Shirts are one of the most popular elements of men’s and women’s clothing that have been around for several centuries. Despite the fact that shirts are considered a common wardrobe item today, they have a rather interesting history.
The first shirts appeared in Europe in the 16th century and were initially worn only by men. They were quite simple, but over time, they began to serve not only as protection from the cold and sun, but also as a symbol of status. In the 19th century, women began to wear shirts, and by the beginning of the 20th century, they became a mandatory clothing item.
The most common materials used to make shirts are cotton and linen. They are popular due to their strength, softness, and elasticity, which provide comfort when wearing. However, other fabrics are also used, such as silk, polyester, viscose, and even denim.
Shirts can come in different colors, with various patterns and prints, as well as have different collar and cuff shapes. Shirts can be classic or fashionable, in line with the latest fashion trends.
Now that we have explored the history and variety of shirts, let’s move on to our drawing lesson. You will learn how to draw a shirt step by step, starting with its basic elements and finishing with details. Let’s get started!
Time needed: 25 minutes
How to Draw a Shirt Step by Step
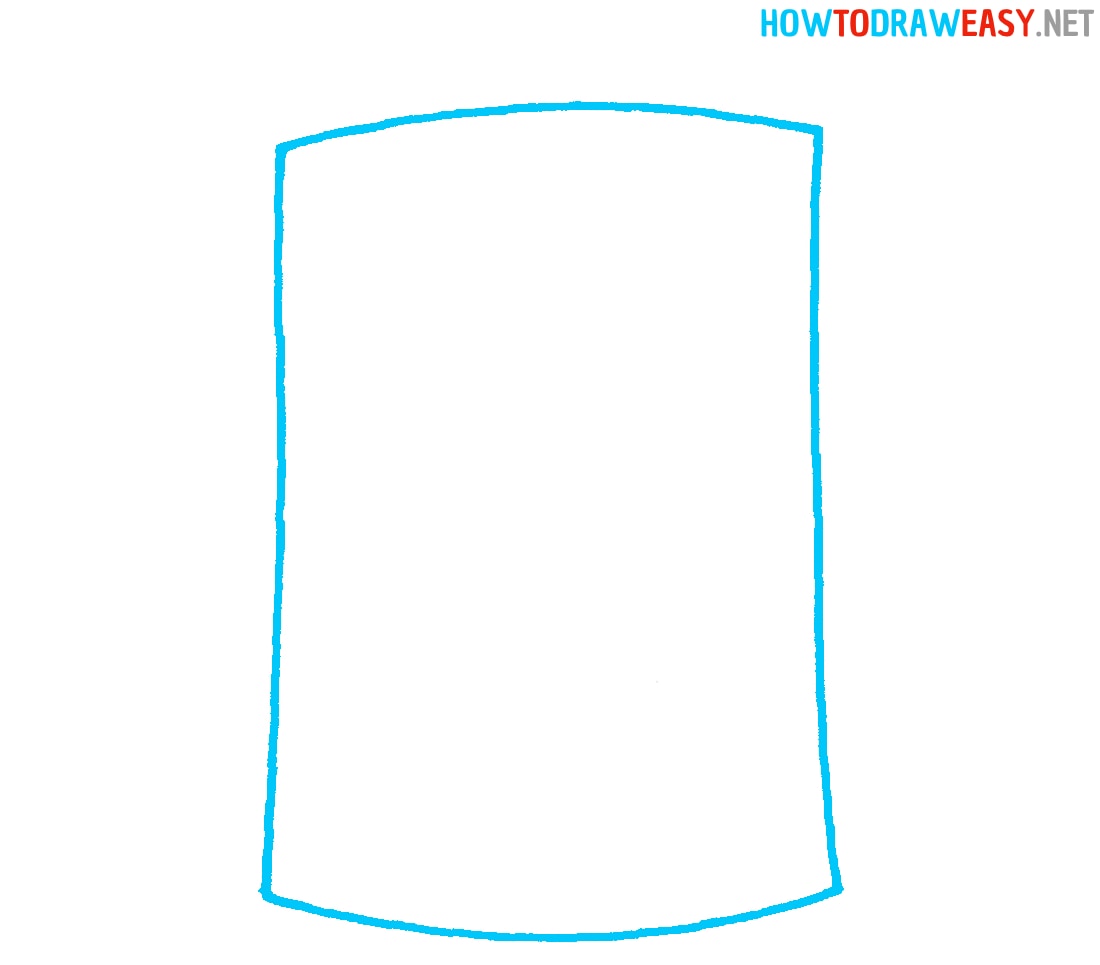
- Prepare the base.
Start by drawing the basic shirt form for the torso. Draw this part in the form of a vertical rectangle, as shown in the example.
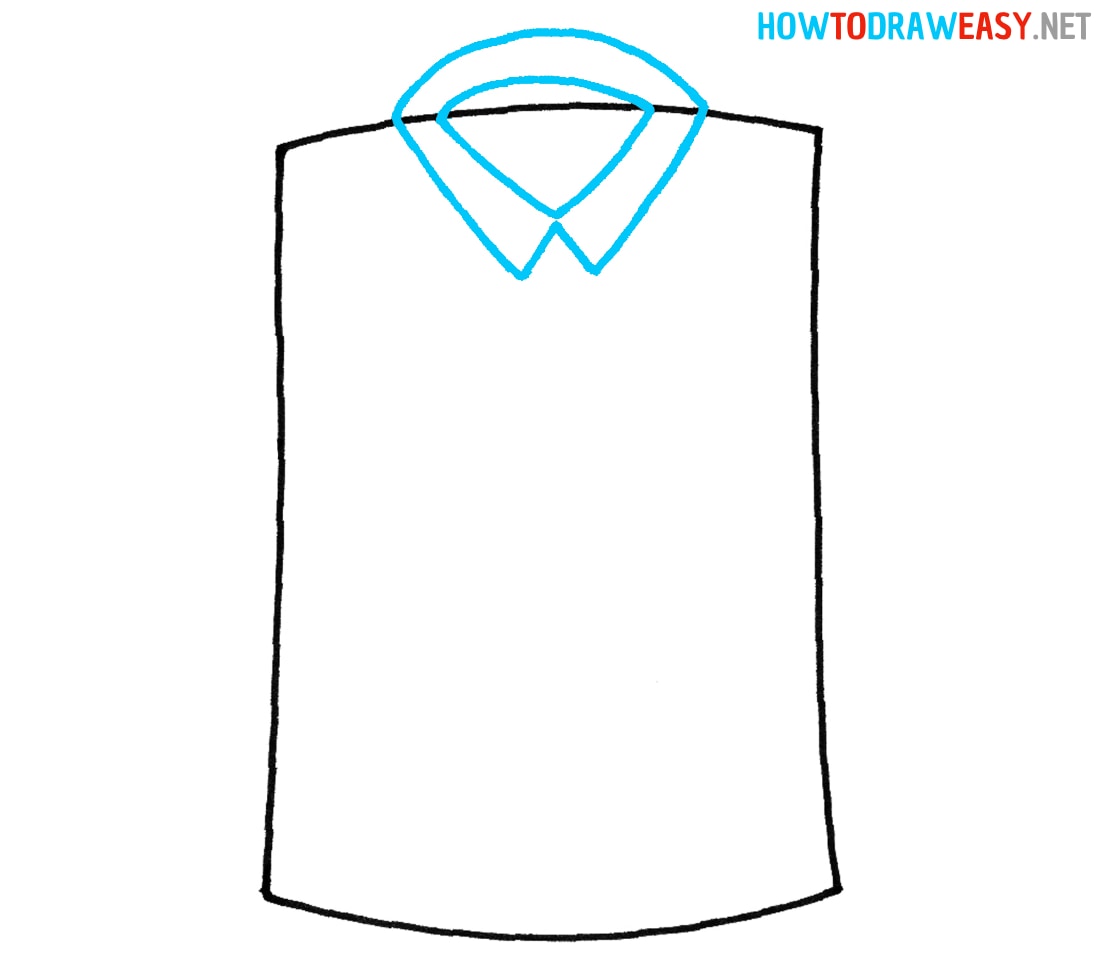
- Add the collar.
Now draw the collar for your shirt using curved lines at the top and straight lines at the bottom.
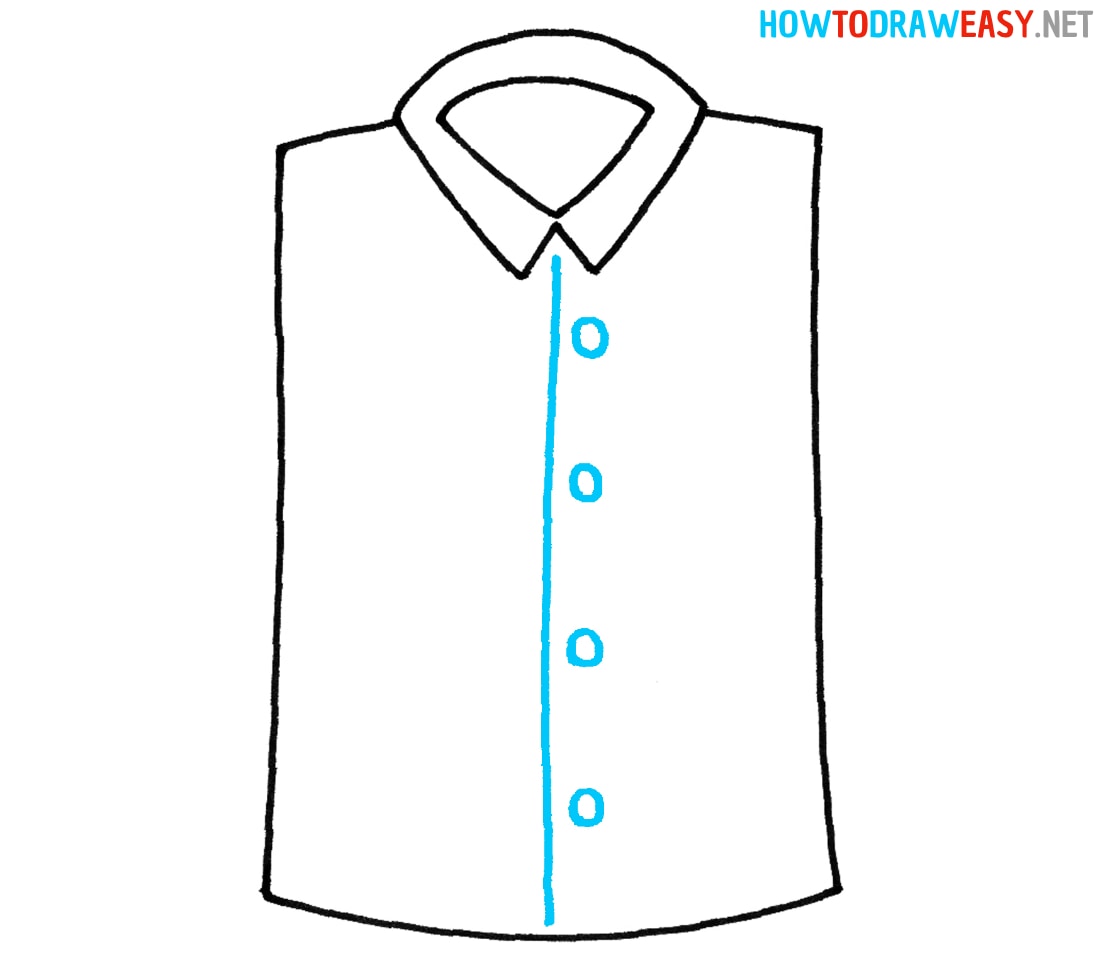
- Add buttons.
You now need to draw the straight line for the button placket, as well as small circles for the buttons.
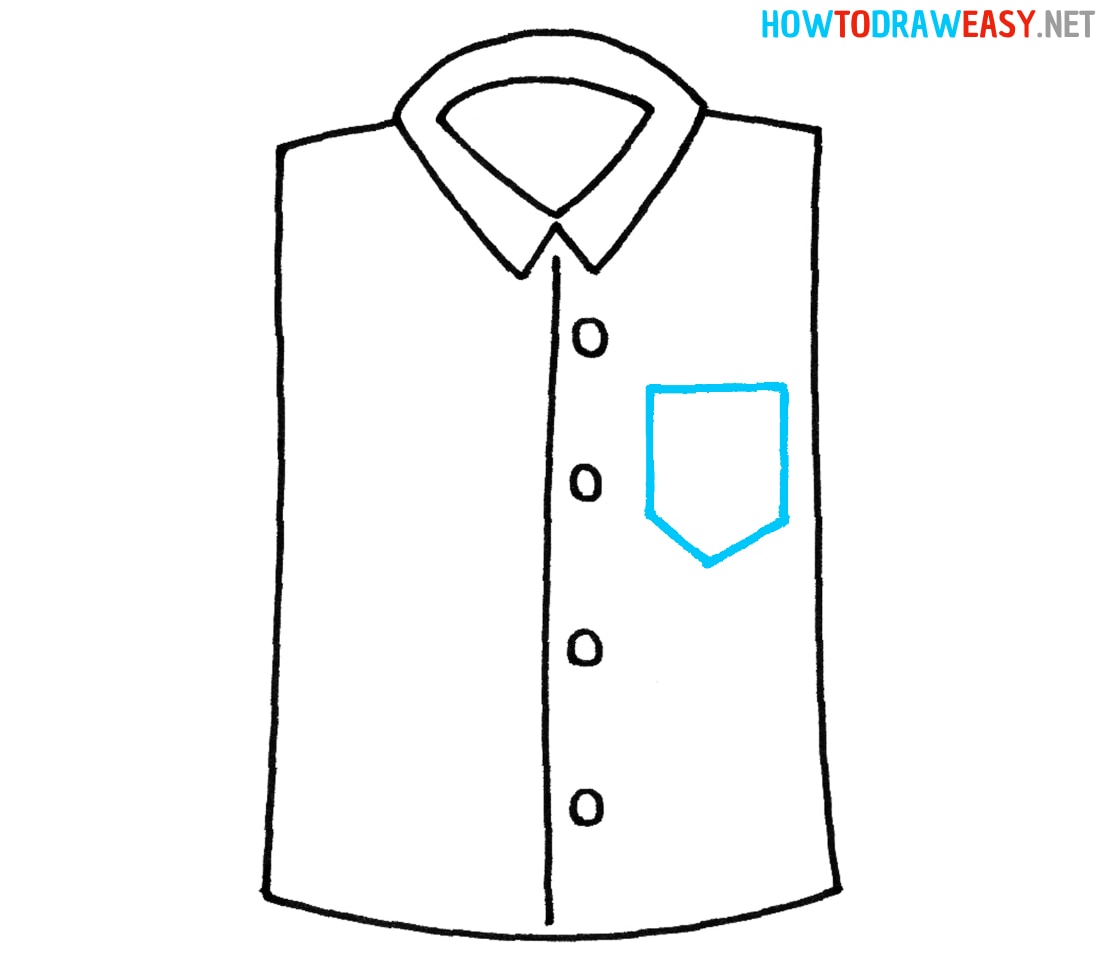
- Draw the pocket.
Using the example from the step, draw the pocket on the chest of your shirt.
- Outline the sleeves.
From the shoulder parts of the shirt, extend curved lines to form the sleeves for the shirt.

- Draw cuffs.
Use straight lines to form the cuffs at the bottom of the shirt sleeves.
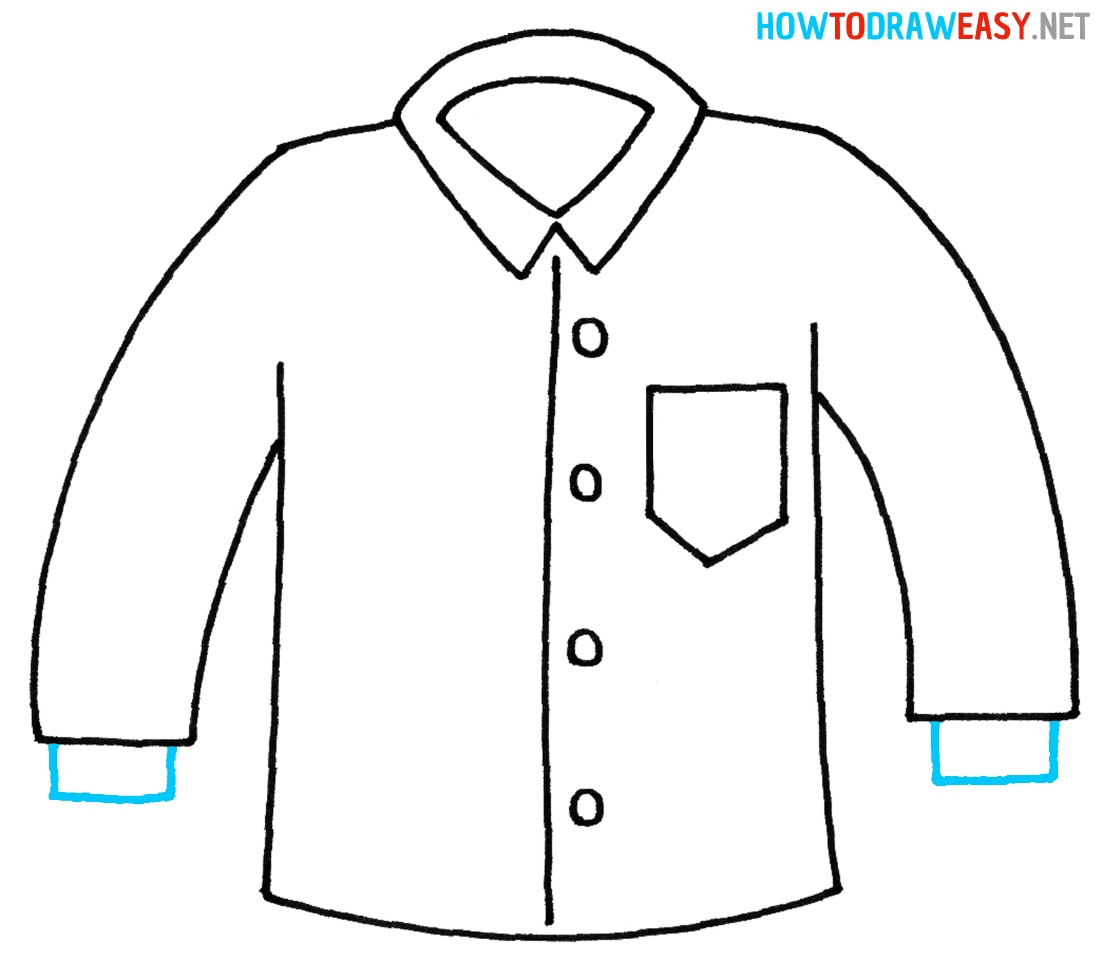
- Color your drawing.
Trace your sketch with a black marker, then color your shirt drawing with the colors of your choice.
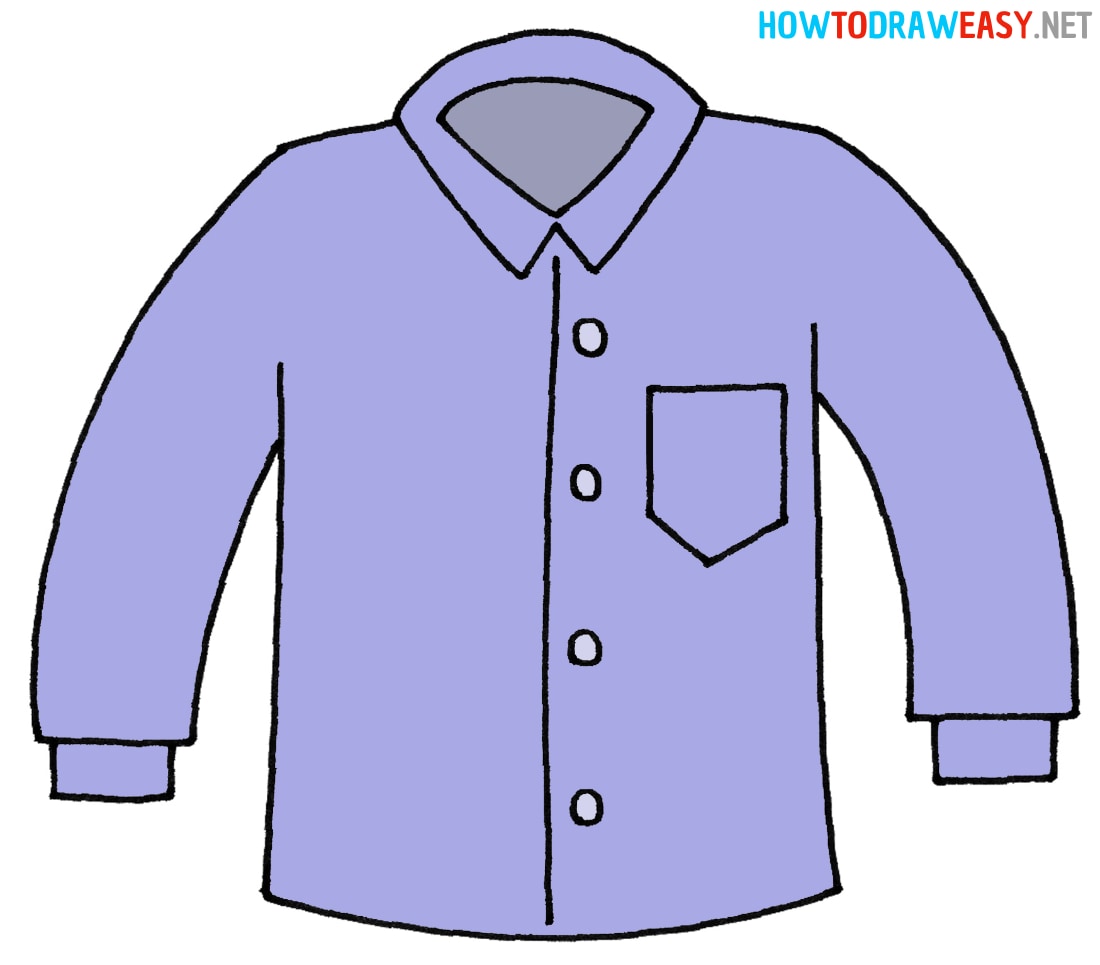


Congratulations on completing our shirt drawing tutorial! We hope you have gained a lot of useful information on how to draw a shirt in a simple style for beginners.
We are confident that you have completed all the steps and drawn your shirt with ease. It may seem like a simple exercise, but drawing basic clothing elements is an important step in developing your artistic skills, and it will allow you to create more complex and interesting works of art.
Thank you for joining our lesson! We hope you enjoyed the process and look forward to drawing more artworks with you in the future.