
How to Draw a Samurai for Kids
Here you will learn how to draw a samurai for kids using step by step simple instructions. Scroll down below to see the collage and drawing steps.


Hello everyone and welcome to the tutorial on how to draw a samurai for kids. In the era of feudalism, the samurai faithfully served his master daimyo. The warrior was obliged to protect the daimyo from any danger. Samurai possessed rare fighting techniques and developed such qualities as endurance, attentiveness, self-discipline, and others.
What kind of clothes did the Japanese fighter wear? Firstly, it has been designed to provide ease and speed of movement. Samurai wore hakama and kimono pants. Also, part of his clothing could be a special vest with closed shoulder pads. In the event of an unexpected attack, the warrior could throw it off himself. The shoes are fairly basic—usually wooden shoes or sandals. Drawing a samurai will help you plunge into the atmosphere of ancient Japan and practice drawing various lines. Let’s start!
Time needed: 30 minutes
How to Draw a Samurai for Kids
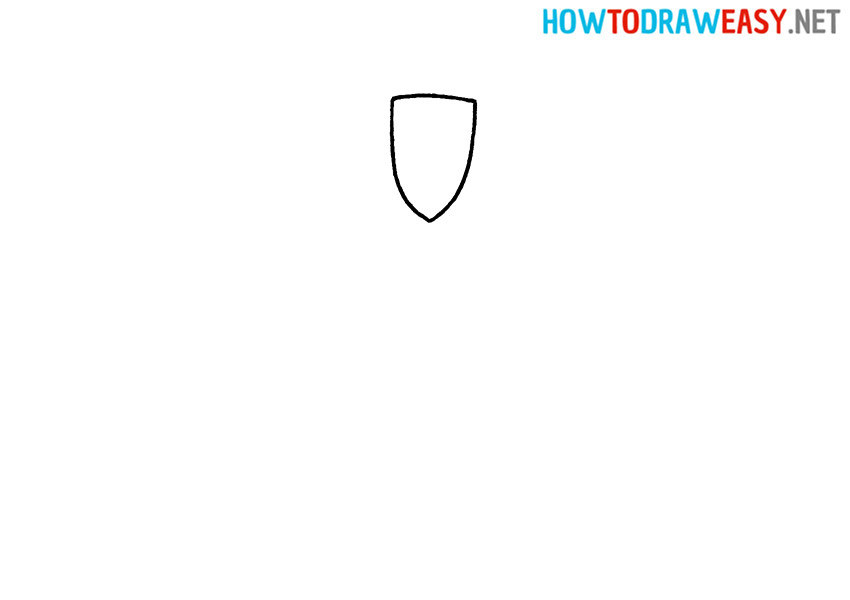
- Draw the head.
The shape of a samurai’s head is similar to a shield. Draw an imaginary object at the top of the sheet.
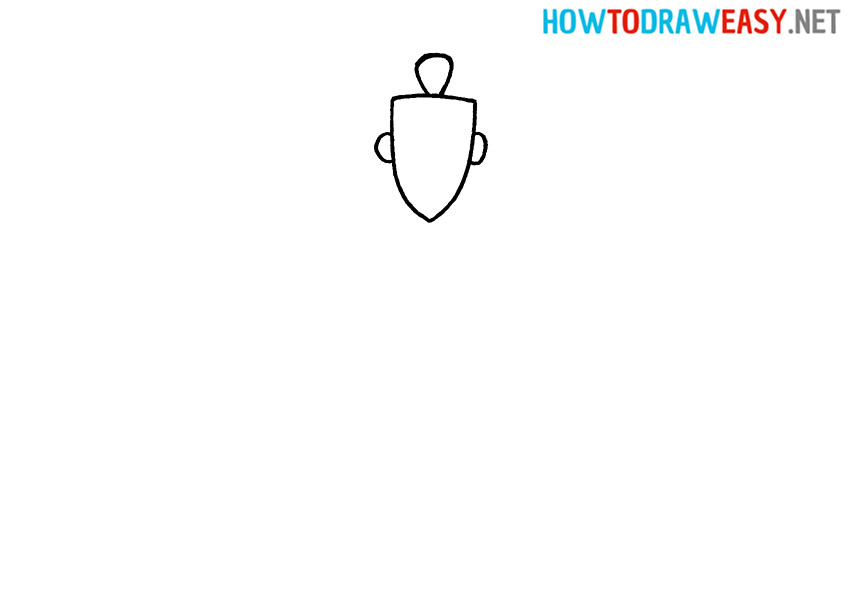
- Draw the bun of hair and ears.
The tuft of hair resembles an inverted triangle with rounded edges. Draw it in the middle of the head. Don’t forget about the ears: draw arcs on both sides of the face.
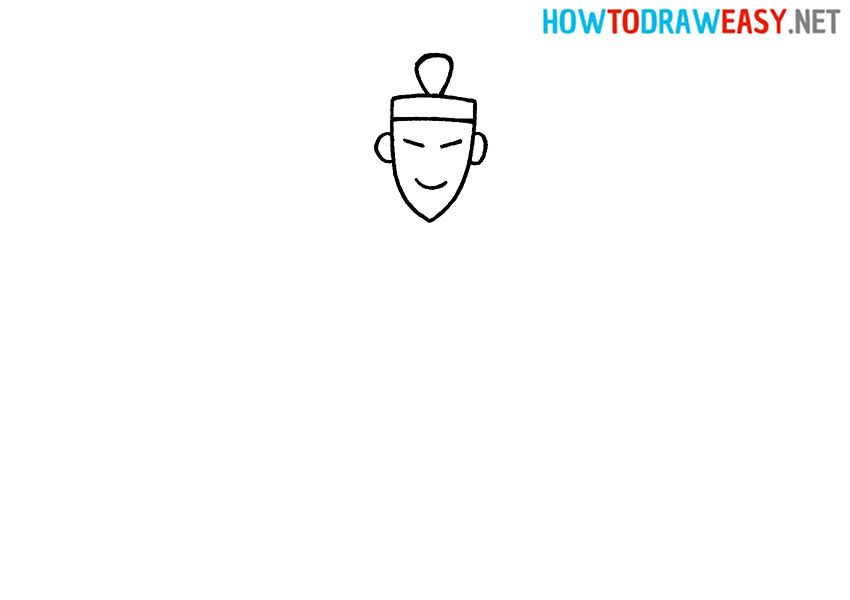
- Draw a line of hair on the forehead, eyes, and mouth.
The hair on the forehead is a straight line running from one side of the head to the opposite. Draw the same lines for the eyes. Add the mouth in a small arc under the eyes.
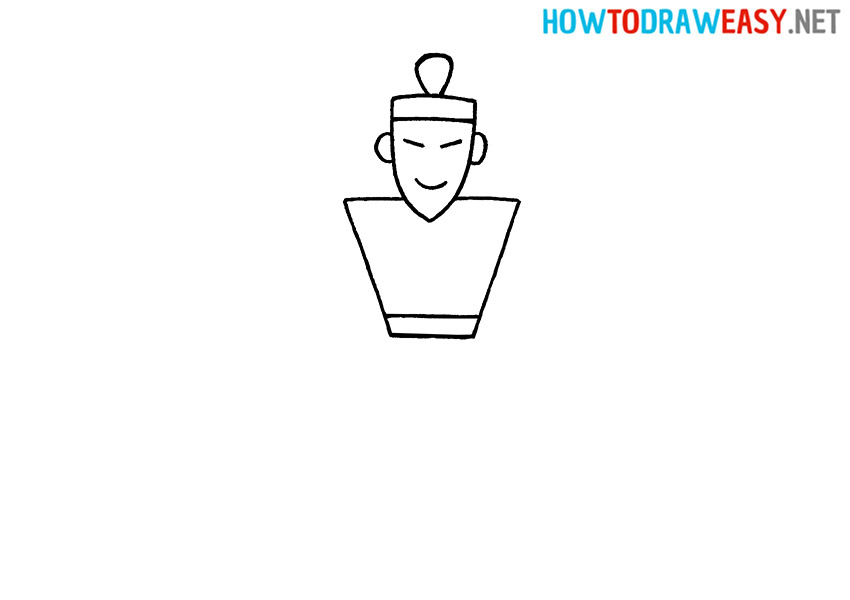
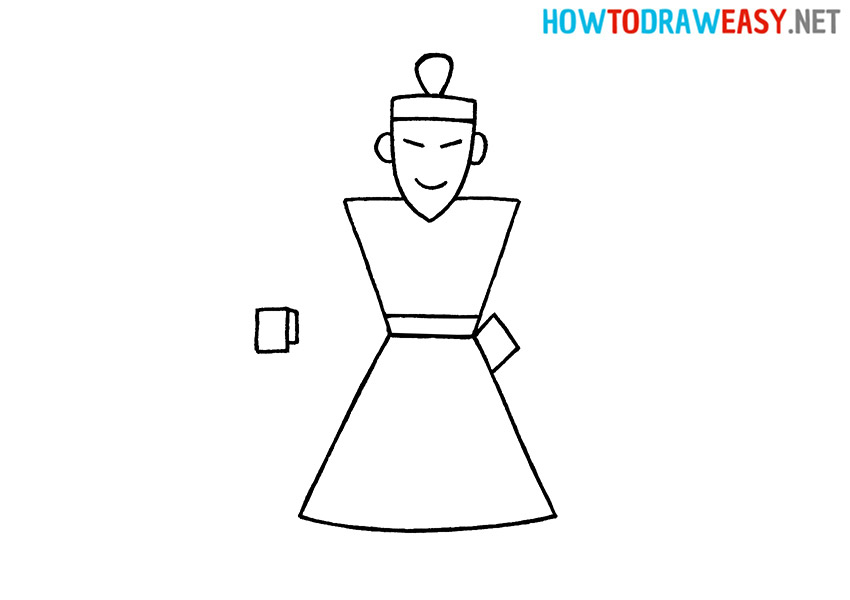
- Draw the top of the kimono and the belt.
The upper part of the kimono (respectively, the upper part of the body) is a large inverted trapezoid. Please note: at the top, its base is slightly covered by the chin, and at the bottom – the belt.
- Draw the lower part of the kimono.
This part of the figure is also represented by a trapezoid. Moreover, its lower base is not straight, but arched.

- Draw the hands.
With the help of rectangles, it is necessary to depict the hands: place one rectangle near the belt (the hand rests on the side), the second—at a distance from the body. Draw another small rectangle next to the last shape.
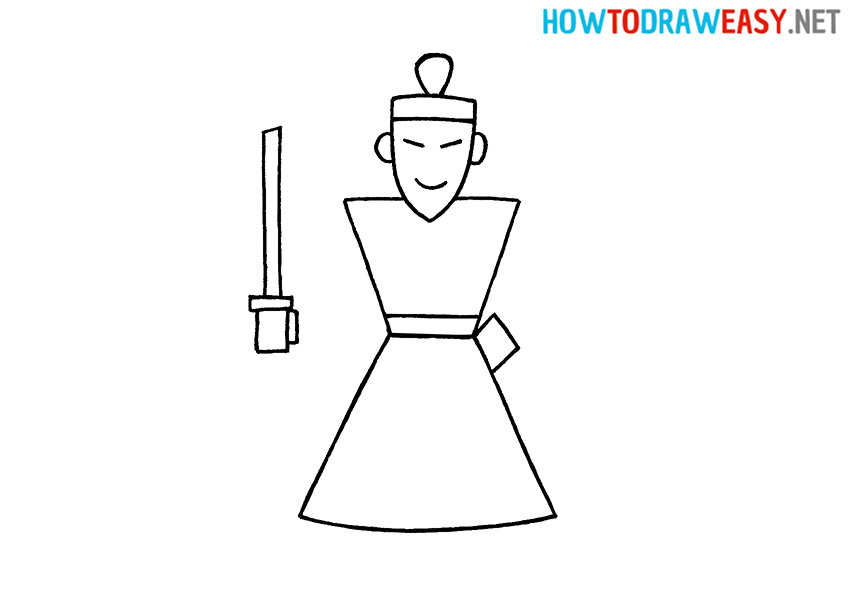
- Depict the sword.
The upper part of the sword hilt is a rectangle horizontally located in the space on the wrist. The razor blade itself is a long column.
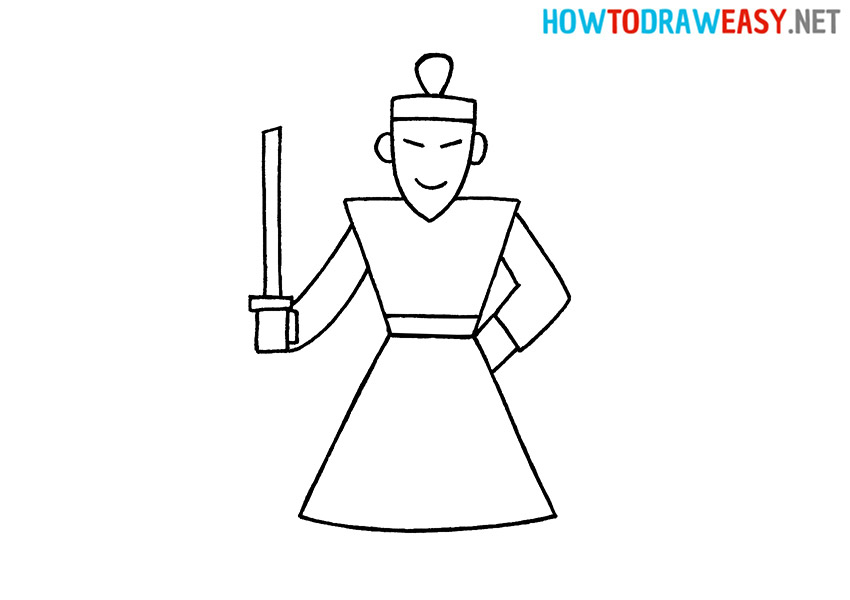
- Draw the sleeves.
Connect the hands to the body using lines.
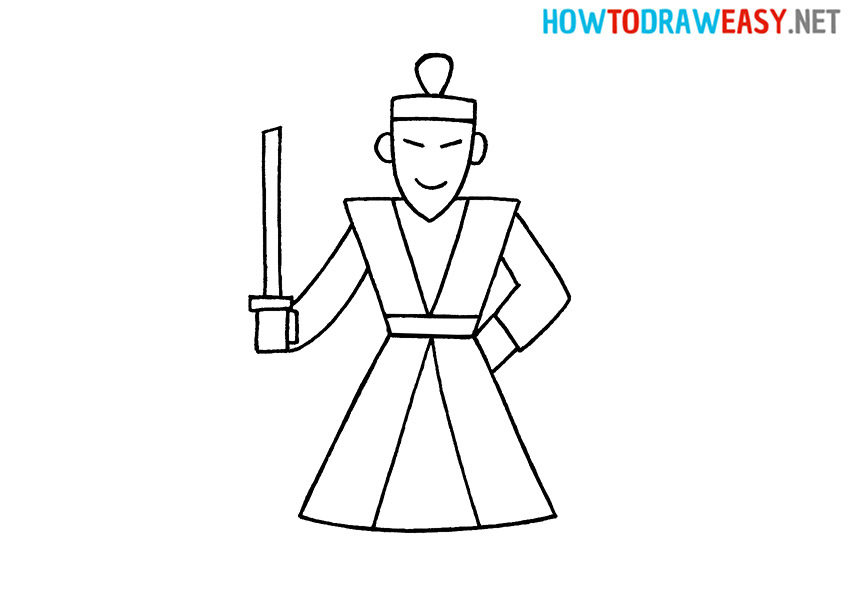
- Detail the kimono.
In the upper part of the body, draw straight lines, tapering and converging at one point—the edges of the clothing. Also, sketch out the edges of the garment at the bottom.
- Draw the scabbard for the sword.
The sword scabbard is two stripes that are folded back.
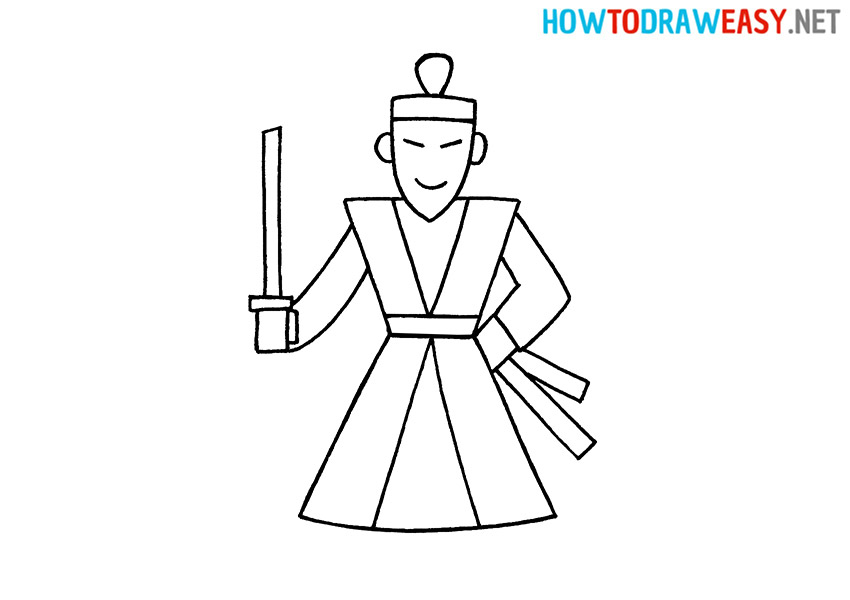
- Draw shoes.
Draw small arcs at the bottom of the kimono.
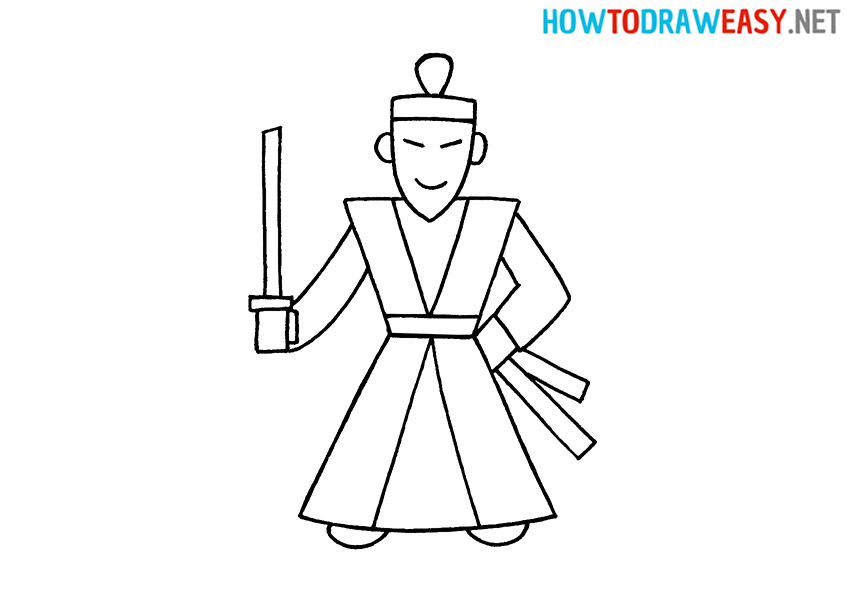
- Color your drawing.
Grab some crayons or coloring pencils to add color to your Samurai drawing!


We hope that we are useful for you, and you learn to draw cool art with us! Don’t stop there, and keep practicing.