
How to Draw a Rose for Kids
In this easy drawing lesson for kids, you will learn how to draw a rose step by step. In this guide, you will see detailed steps with instructions and the step-by-step collage.


Hello boys and girls! In this lesson, we will teach you how to draw a rose for kids step by step. At first glance, it seems that the drawing of a rose is complex, but look carefully, the flower consists of simple shapes and lines. Draw following the step-by-step instructions and you will have a wonderful flower.
As you probably know, drawing a rose is one of the essential lessons for artists, so put in your best effort and care. Let’s start with the flower. Rose is a woody perennial plant, often armed with sharp thorns. There are over tens of thousands of varieties that vary in size and shape, usually large and showy, ranging from white to yellow and red. Also, this flower is a symbol of crust, as it has delicate petals that harmoniously combine with sharp thorns.
It is easy to draw a rose even for the smallest children, the main thing is to do it in stages. Take a pencil, prepare a blank sheet and follow our detailed instructions.
Time needed: 20 minutes
How to Draw a Rose for Kids
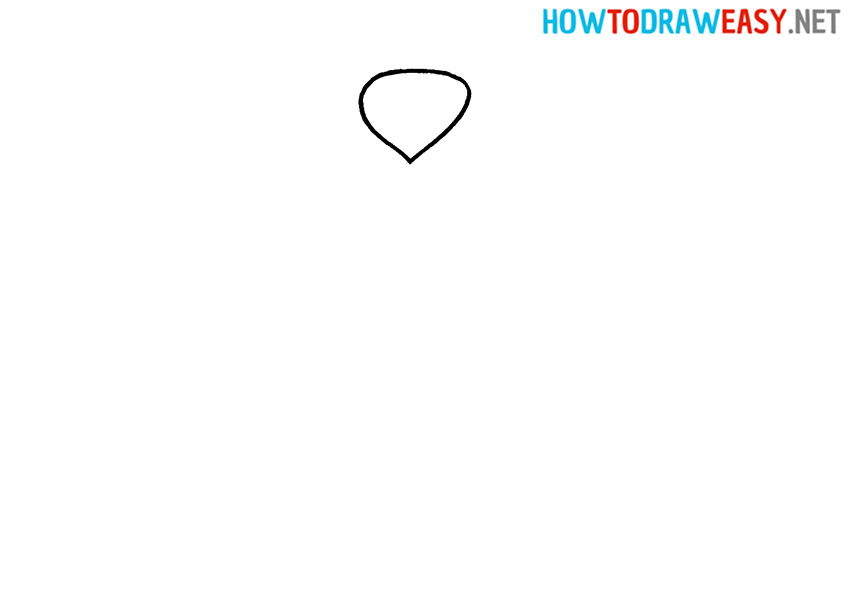
- The base of the bud.
First, draw the drop-shaped outline of the middle of the bud with an elongated bottom.
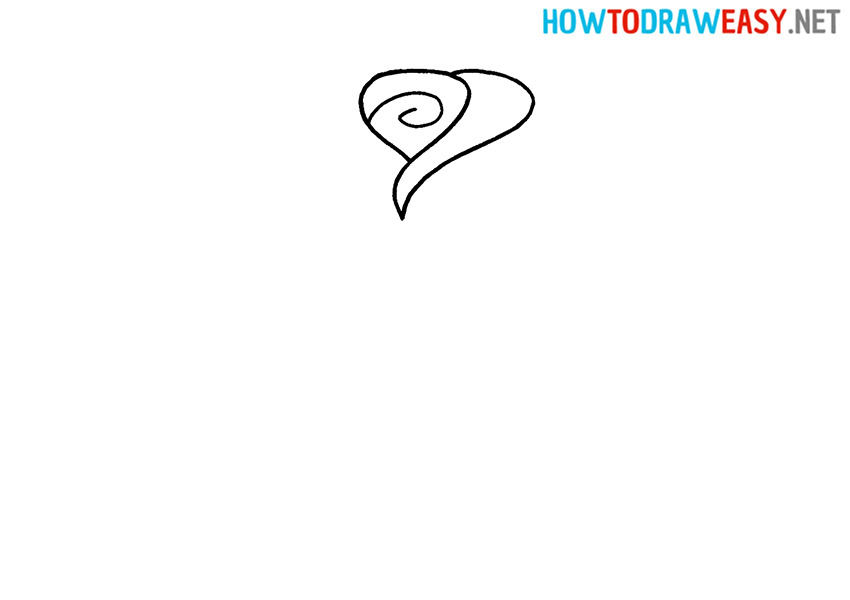
- Sketch the spiral.
Next, you need to draw the middle in the center of the bud in the form of an arbitrary spiral.

- Draw the rose petal.
At this stage, we begin to give the bud a more voluminous look. Therefore, start drawing the wavy petal, as shown in our example.
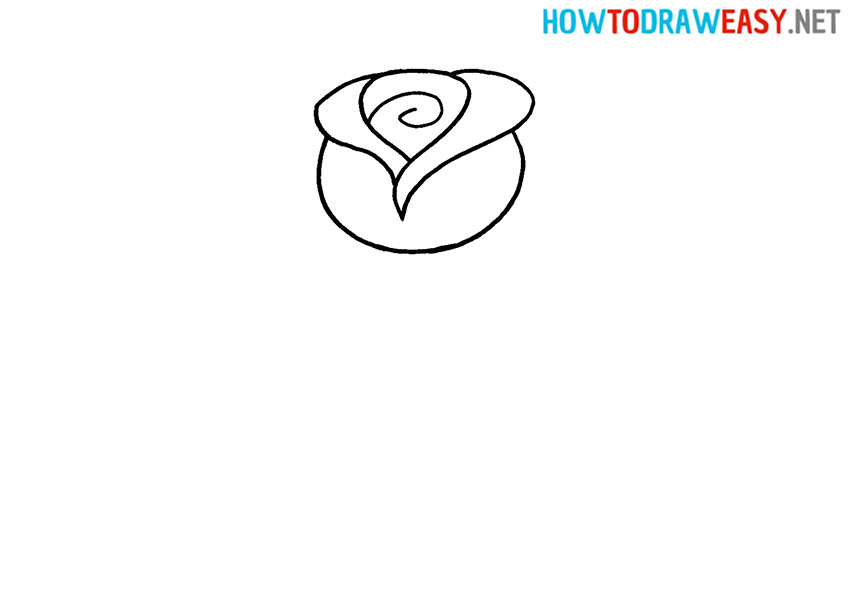
- Continue drawing the petals.
Draw the similarly shaped petal on the other side of the rosebud.

- The outline of the bottom of the bud.
Draw the bottom of the bud in the shape of an oval. Note that the petals extend beyond the borders of the oval.
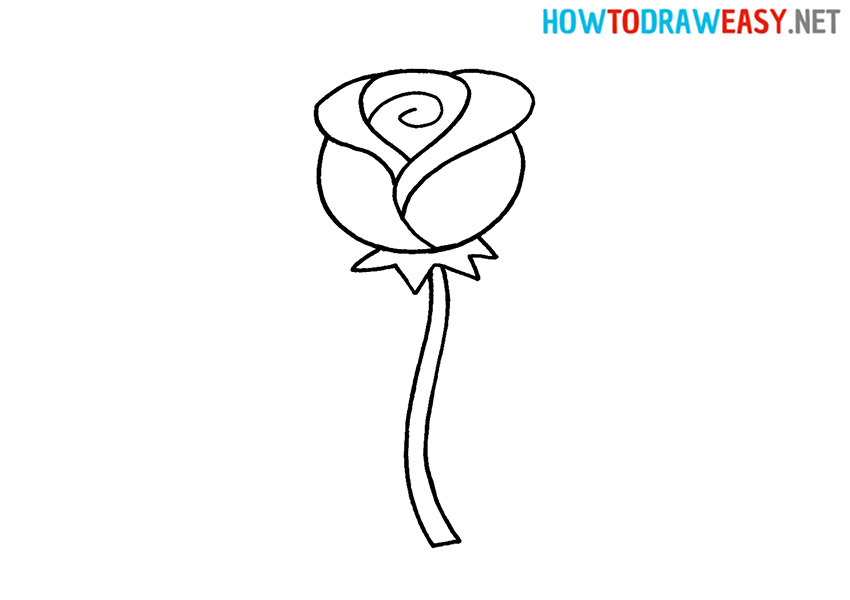
- Draw the sepal.
At this stage, you need to draw a sepal under the bud. It is not difficult to do this, it is enough to draw a zigzag line.

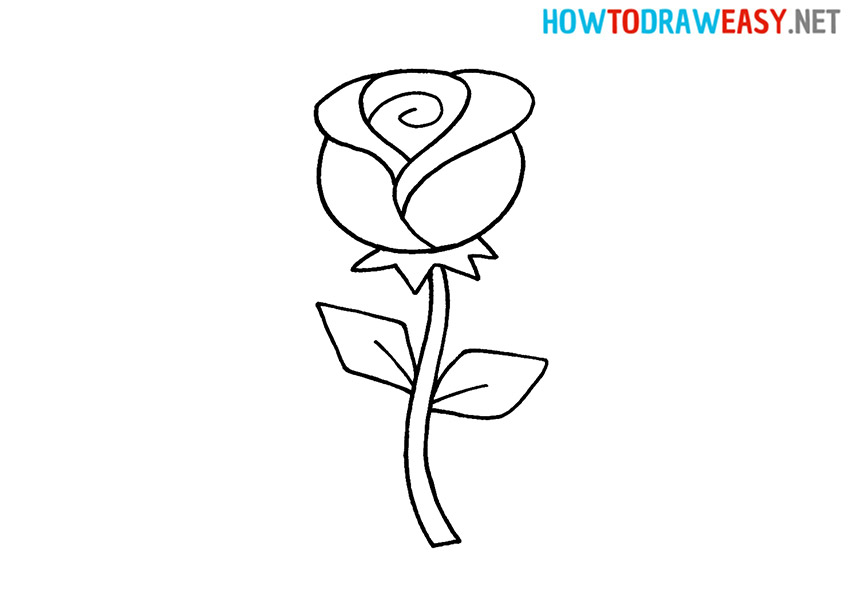
- Sketch the stem.
The next step is to draw the stem of the rose. The stem has a slightly wavy, elongated line.
- Draw the leaves.
At this stage, draw leaves on both sides of the stem. Look as shown in our example, and draw the leaves in a diamond shape (with rounded edges).
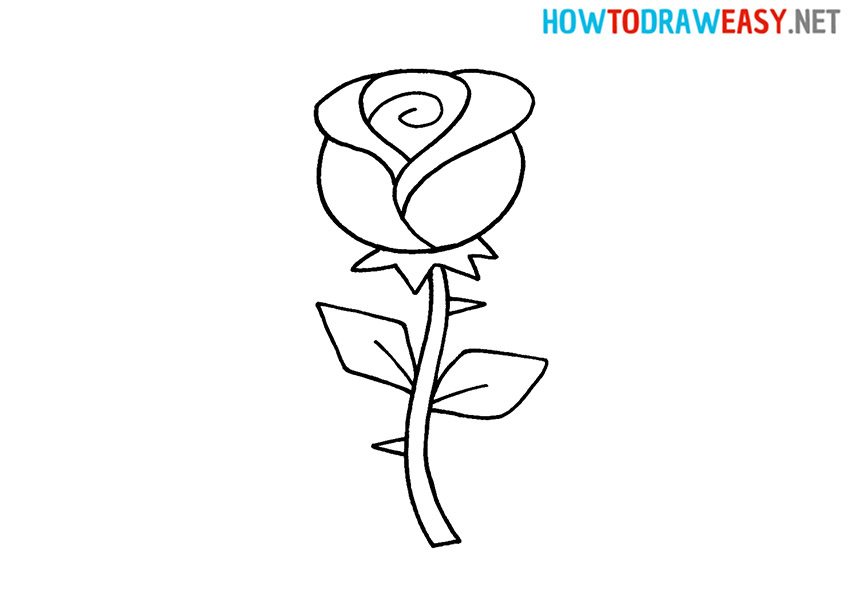
- Draw thorns.
What is a rose without thorns? Also draw thorns in the form of sharp triangles on both sides of the stem.
- Color the drawing of the rose.
The drawing is almost ready. It remains to erase the extra extras, circle the contour and paint the flower. We chose a classic red color. But as we said earlier, roses come in completely different colors, so you can come up with your own stylish rose in a different shade.
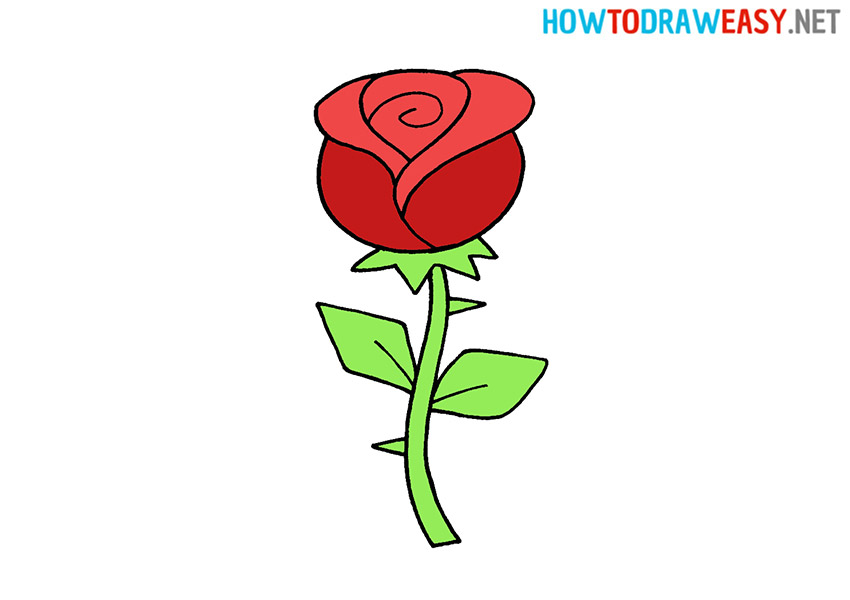


An interesting fact: the diameter of the largest flower is just over 80 centimeters, and the smallest is only a few millimeters. Whoa!
Guys, drawing tutorial has come to an end. I am sure you have a beautiful picture. If you liked the lesson, you can share it with your friends on social networks. You can also look at other lessons for kids.
thanks