
How to Draw a Robot for Kids
Today we will learn how to draw a robot for kids. This lesson is very easy for all ages, even for kindergartners. Drawing a robot is a fun activity that will help develop creativity and imagination. Let’s start!


Hello everyone! In this step-by-step drawing instruction, you will learn how to draw a robot for kids. A robot is a developed mechanical creature that is capable of doing any commands thanks to a pre-programmed mechanism and processor. Thanks to robots, you can do a lot of operations and greatly simplify your life.
We decided to depict a typical version of the robot, which is extremely easy to draw for both beginners and children of school and preschool age. Anyone can draw a robot subject to all the steps outlined in our instructions. We hope this guide helps you portray this mechanical friend of humans. Enjoy drawing, friends!
Time needed: 25 minutes
How to Draw a Robot for Kids
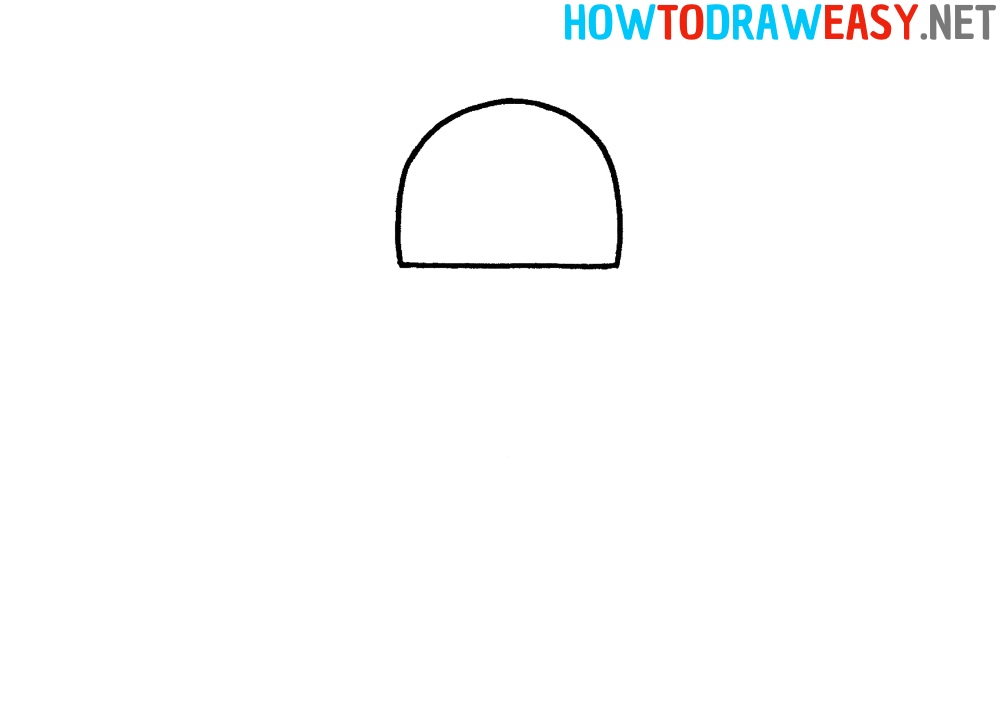
- Shape the head.
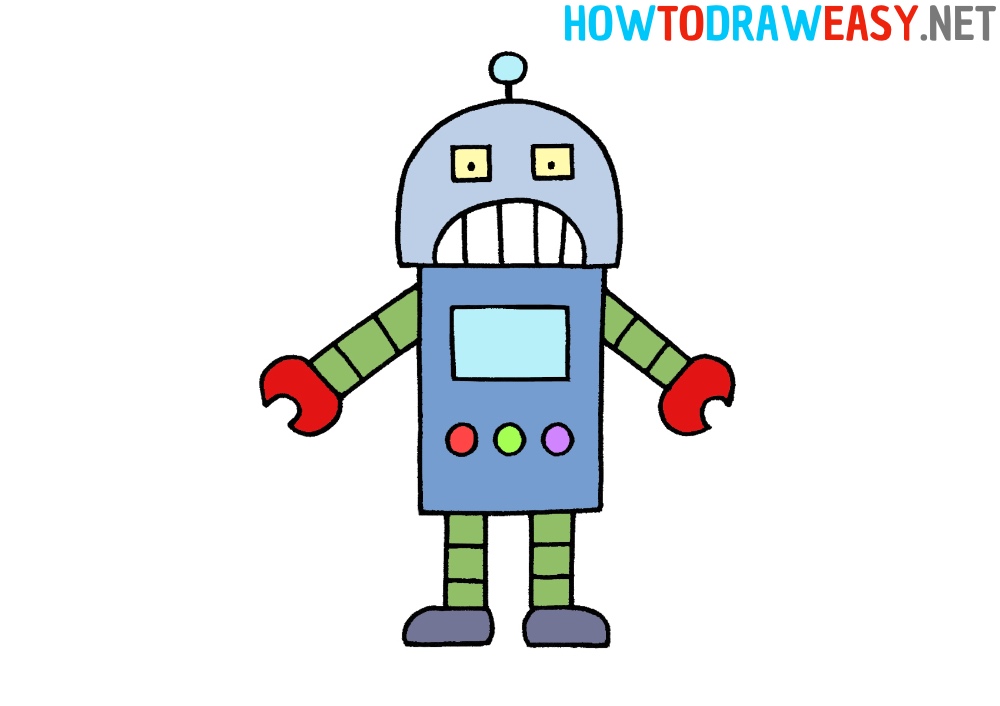
Begin by drawing the shape of the robot’s head, which consists of a straight horizontal line and a curved semicircular top.
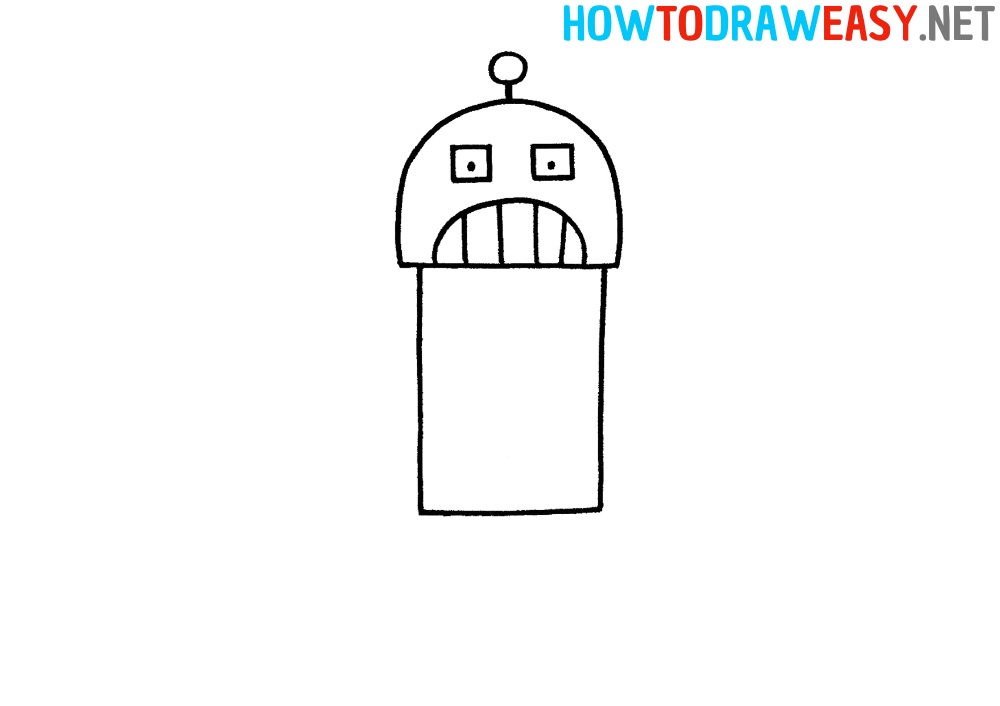
- Draw the eyes and antenna.
Draw two squares with small pupils inside. Draw a line above the head with a small circle at the end.

- Draw the mouth.
Draw a large semicircle at the bottom of the robot’s face. Inside, add some vertical lines to texture the robot’s mouth.

- Shape the body.
Sketch a large vertical rectangle for the shape of the body.
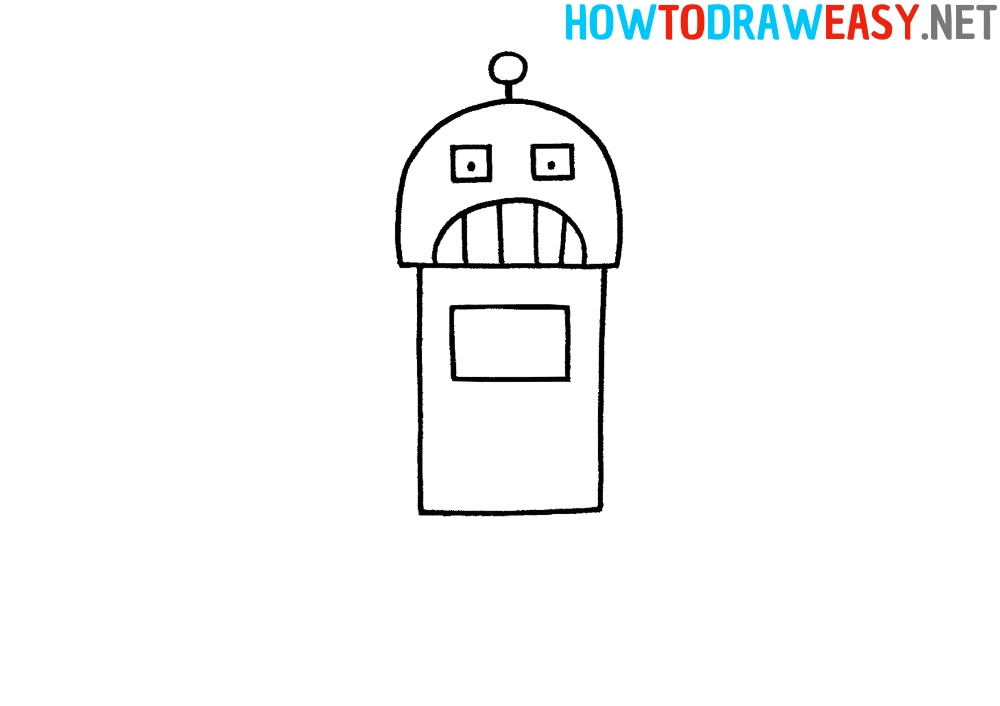
- Add the screen.
Inside, draw the small horizontal rectangle that is the screen on the robot’s body.
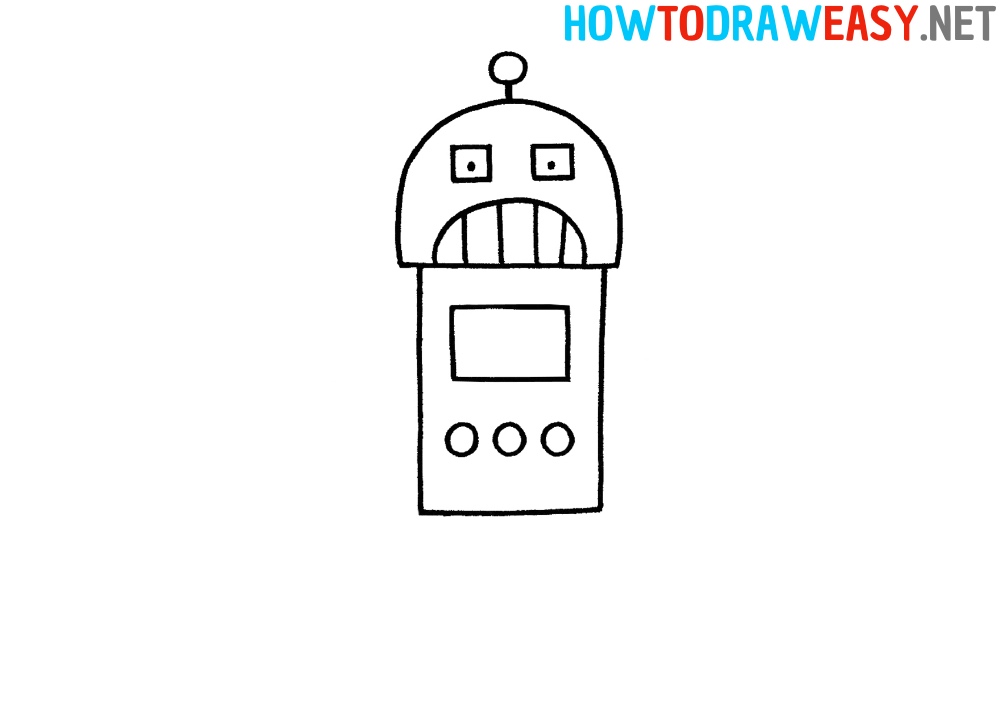
- Add buttons.
Under the screen on the body, add buttons that turn on the robot and control its functions.
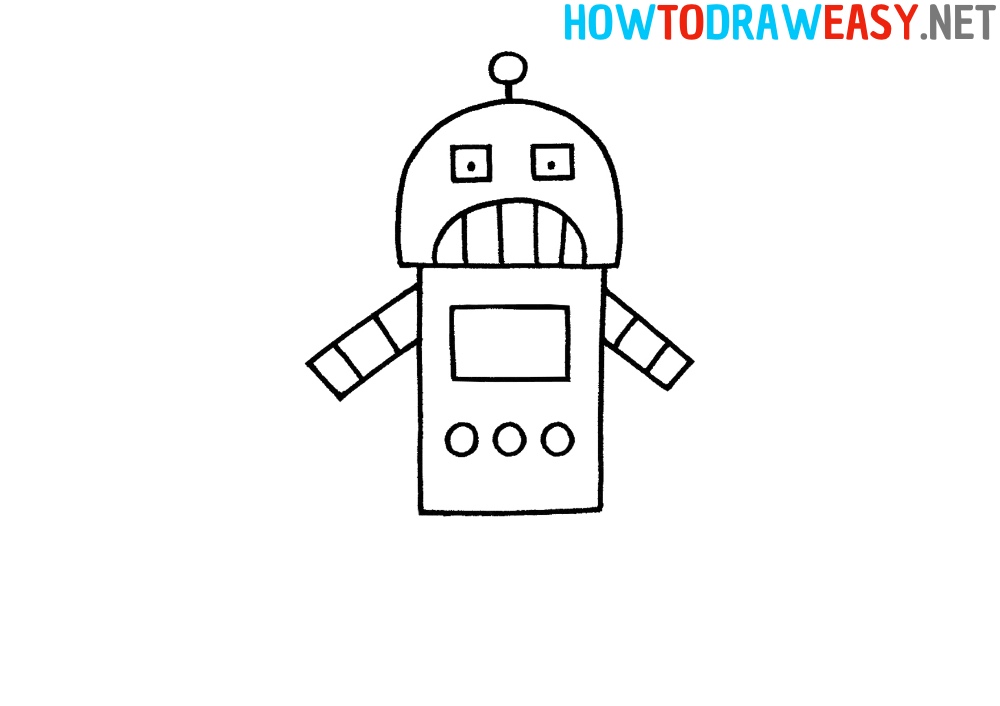
- Start drawing the arms.
Now draw the main parts of the robot arms as shown in the example.
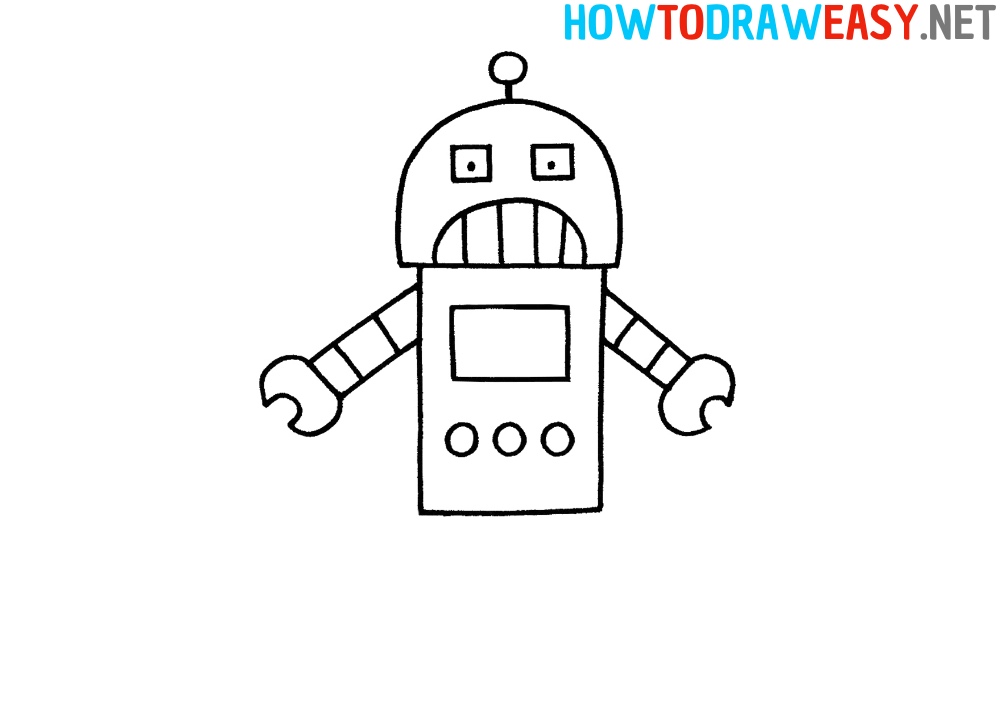
- Draw the hands.
Draw the hands of the robot, which look like open-ended wrenches.
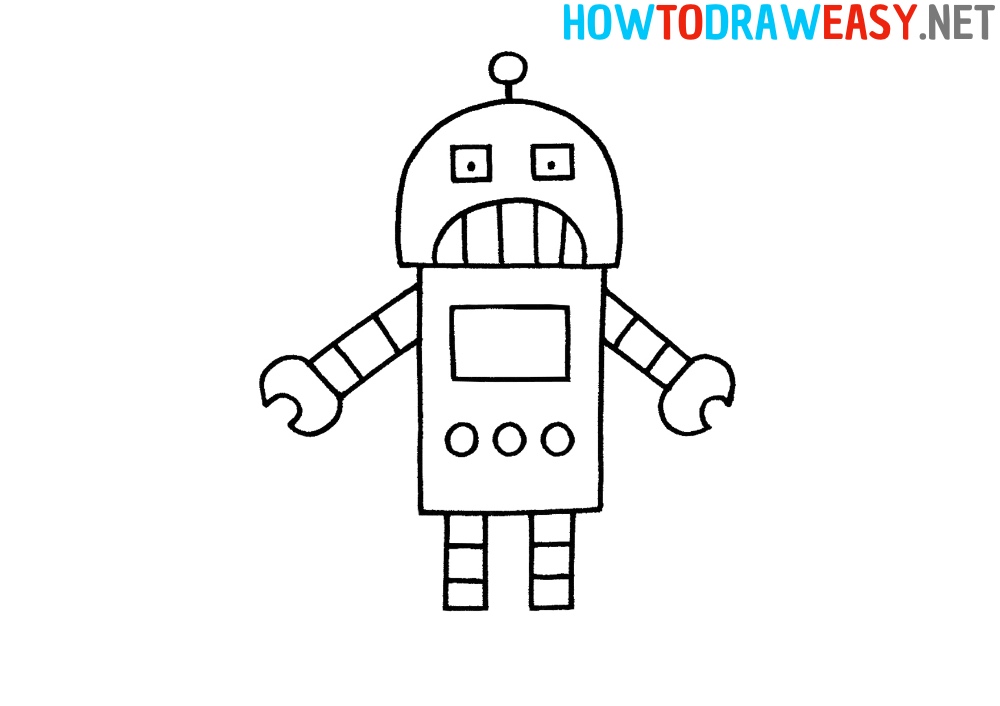
- Draw the legs.
Now draw four lines under the robot’s body as shown. After that, detail the legs of the robot with short lines.
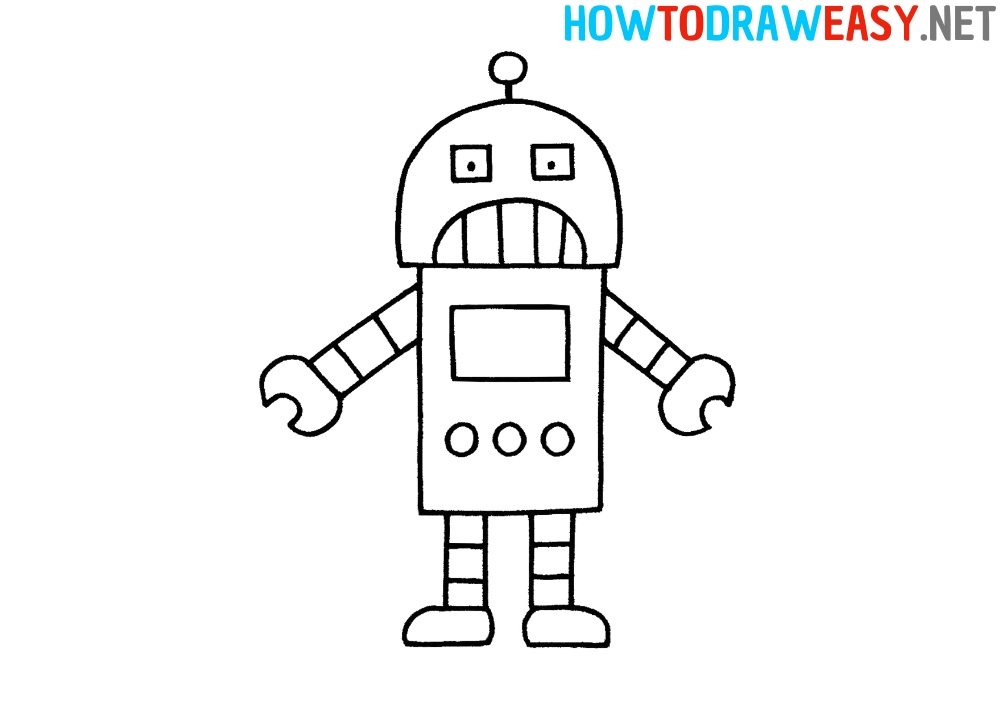
- Draw the feet.
Draw two horizontal ovals for the lower parts of the legs.
- Color the robot.
Now you need to add color to your drawing using your favorite coloring tools.


Your cartoon robot is ready! We hope you had a great time while drawing this robot. Drawing is cool and fun! Keep practicing with other drawing lessons, such as drawing an alien or his spaceship.