
How to Draw a Rhino for Kids
Learn how to draw a rhino for kids step by step with this easy drawing tutorial. This lesson is simple and clear even for kindergarteners and beginners.


Hello everybody! In this drawing tutorial, you will learn how to draw a rhino for kids step by step. The rhino drawing lesson is ideal for children of all drawing levels, as simple geometric shapes will be used in the drawing process.
Rhinos are one of the most famous animals in Africa, along with the lion and giraffe.
This is a very powerful and large animal, which distinguishes the great horn from other inhabitants of Africa. We tried to make the step-by-step instructions as simple and understandable as possible so that the drawing process was interesting and informative. The main thing is not to rush and follow our advice, and you will definitely be able to draw a rhino.
Time needed: 25 minutes
How to Draw a Rhino for Kids
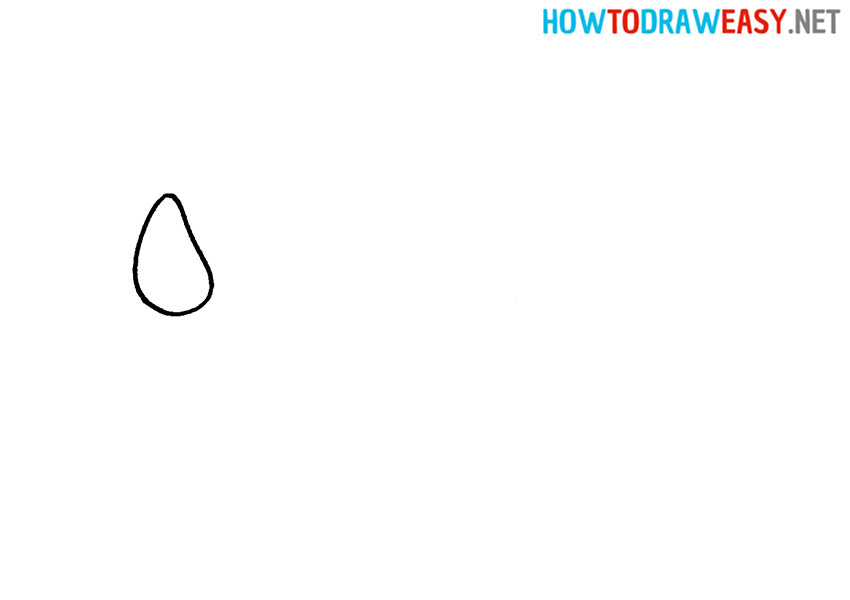
- Draw the horn.
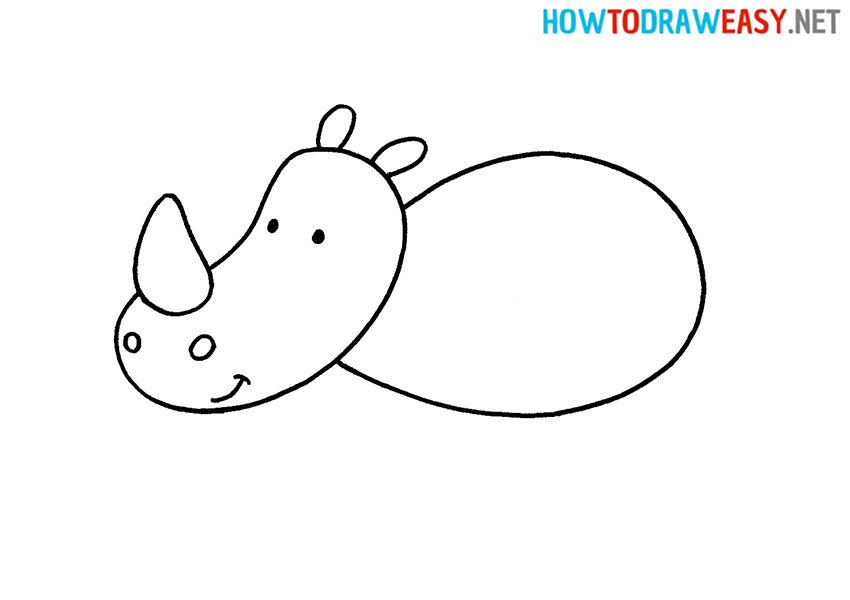
Let’s start with the most remarkable detail of the rhinoceros—the horns. Draw it in a tapering drop shape.
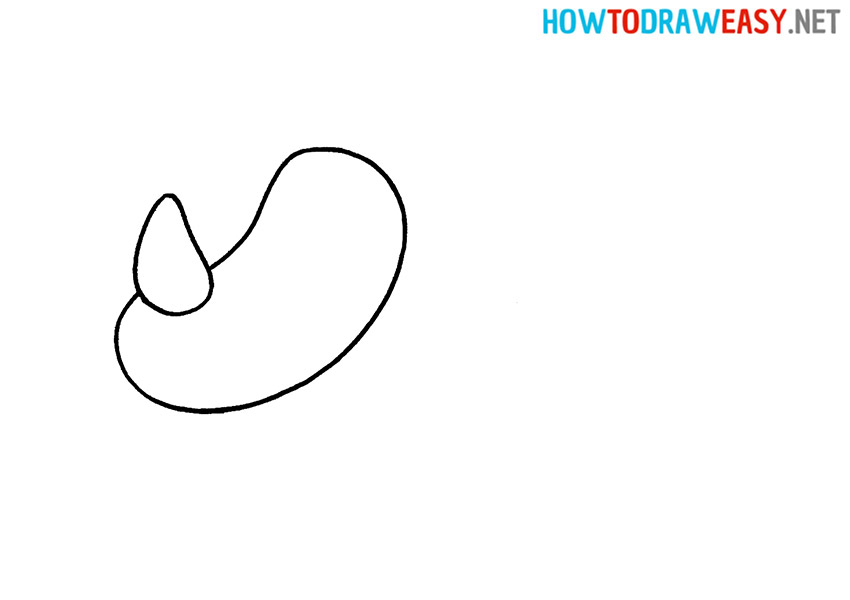
- Draw the head.
Draw the head of the rhinoceros in the form of an oblong oval, slightly tapering in the middle. The horn should be on the edge of the head.
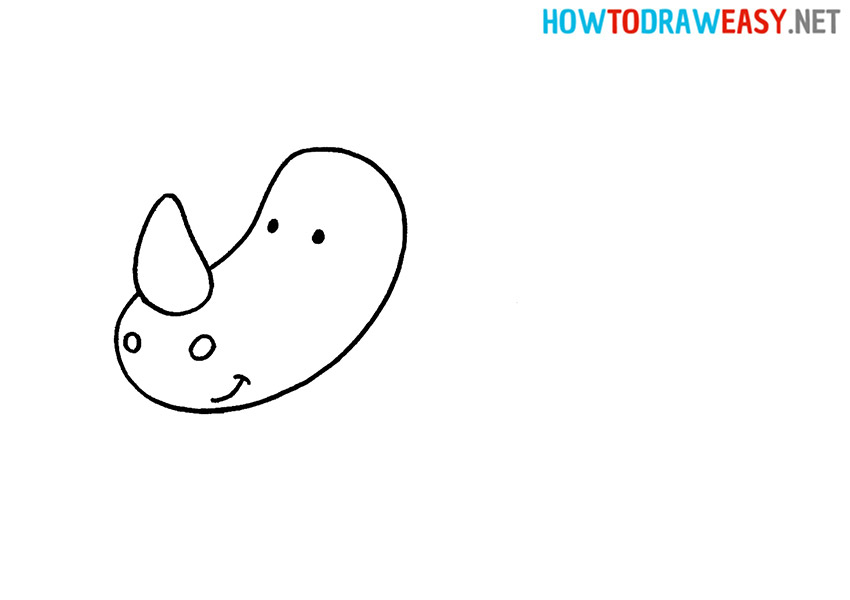
- Draw the face.
Draw the eyes as two small dots. Sketch two small circles for the nostrils under the horn. Draw the smile under your nostrils.
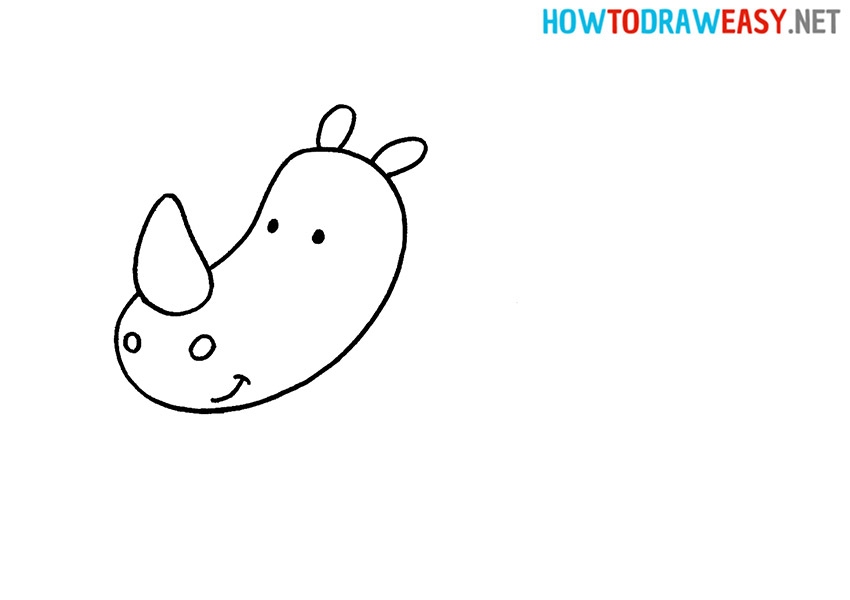
- Add ears.
Draw two small ears on top. They should be oval.
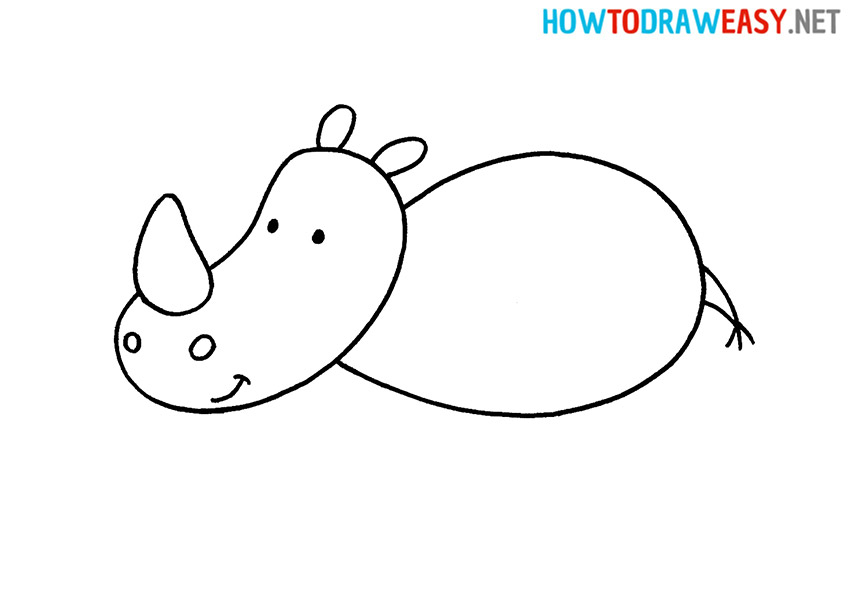
- Draw the body.
Next, you need to depict the body of the rhinoceros in the form of a large oval.
- Add the tail.
Draw the small tail on the right side of the body.
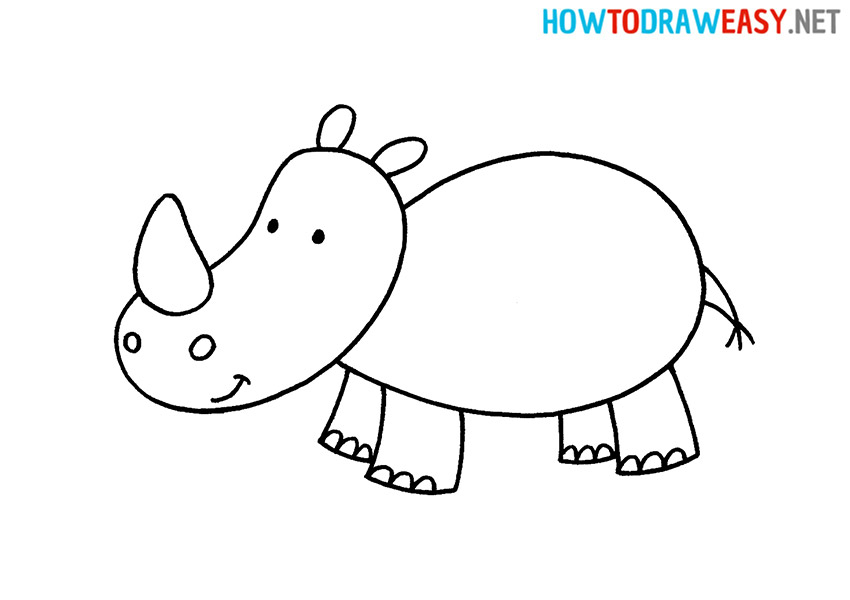
- Draw the legs.
Draw 4 large rhino legs that are rectangular.

- Finish the legs.
Draw 3 small claws on each leg.
- Color your drawing.
We shaded our rhinoceros drawing using shades of purple, but you can use gray or sandy colors.
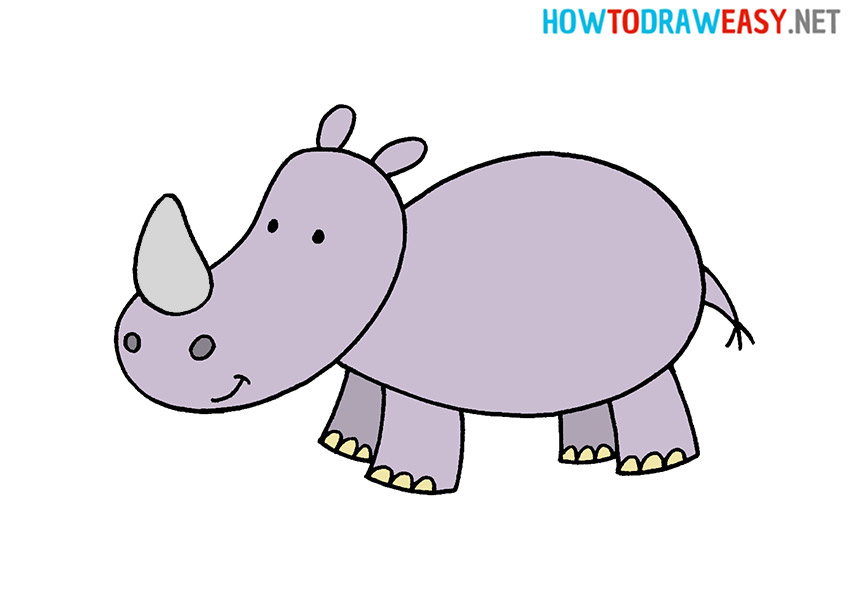


Congratulations! Your drawing of a cartoon rhino is ready. We hope that you do not stop at drawing a rhinoceros and continue drawing various animals using our lessons for beginners.
Hello. And Bye.