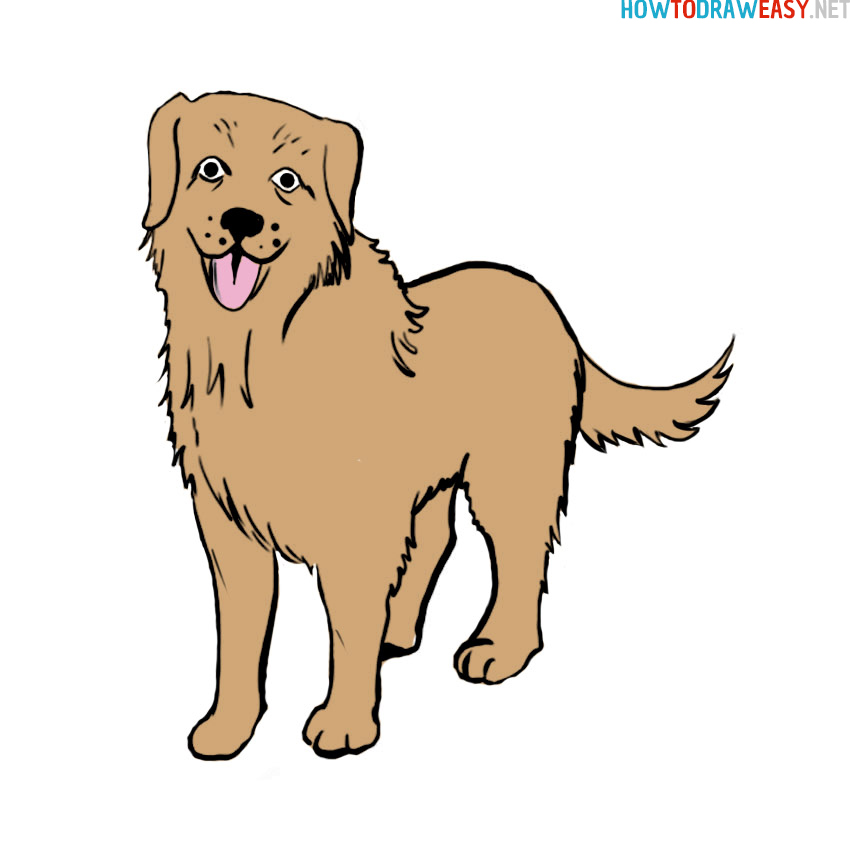
How to Draw a Realistic Dog
Learn how to draw a realistic dog step by step with this easy drawing tutorial for kids and beginners.
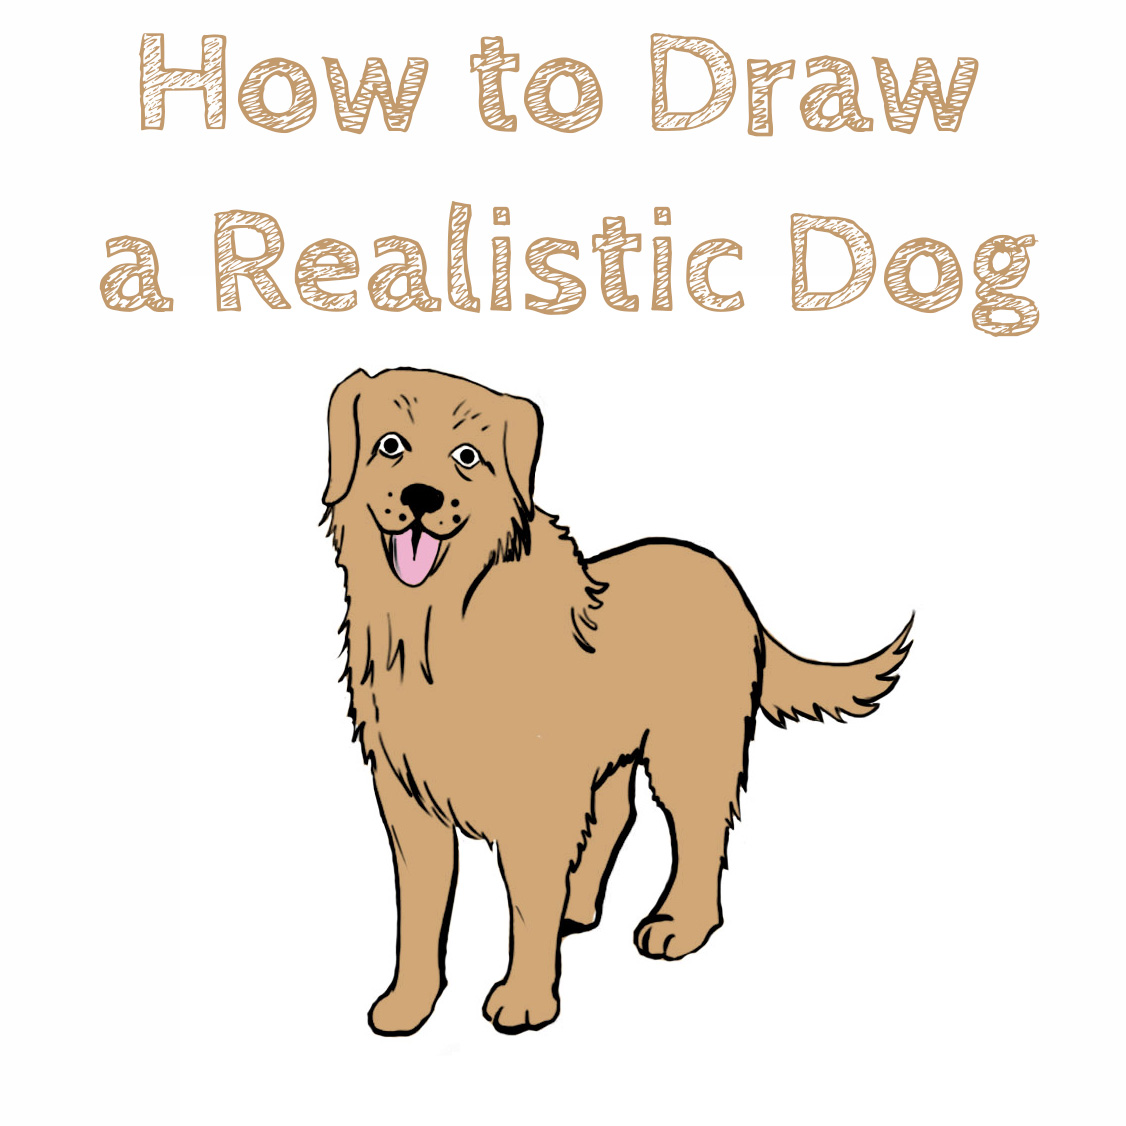
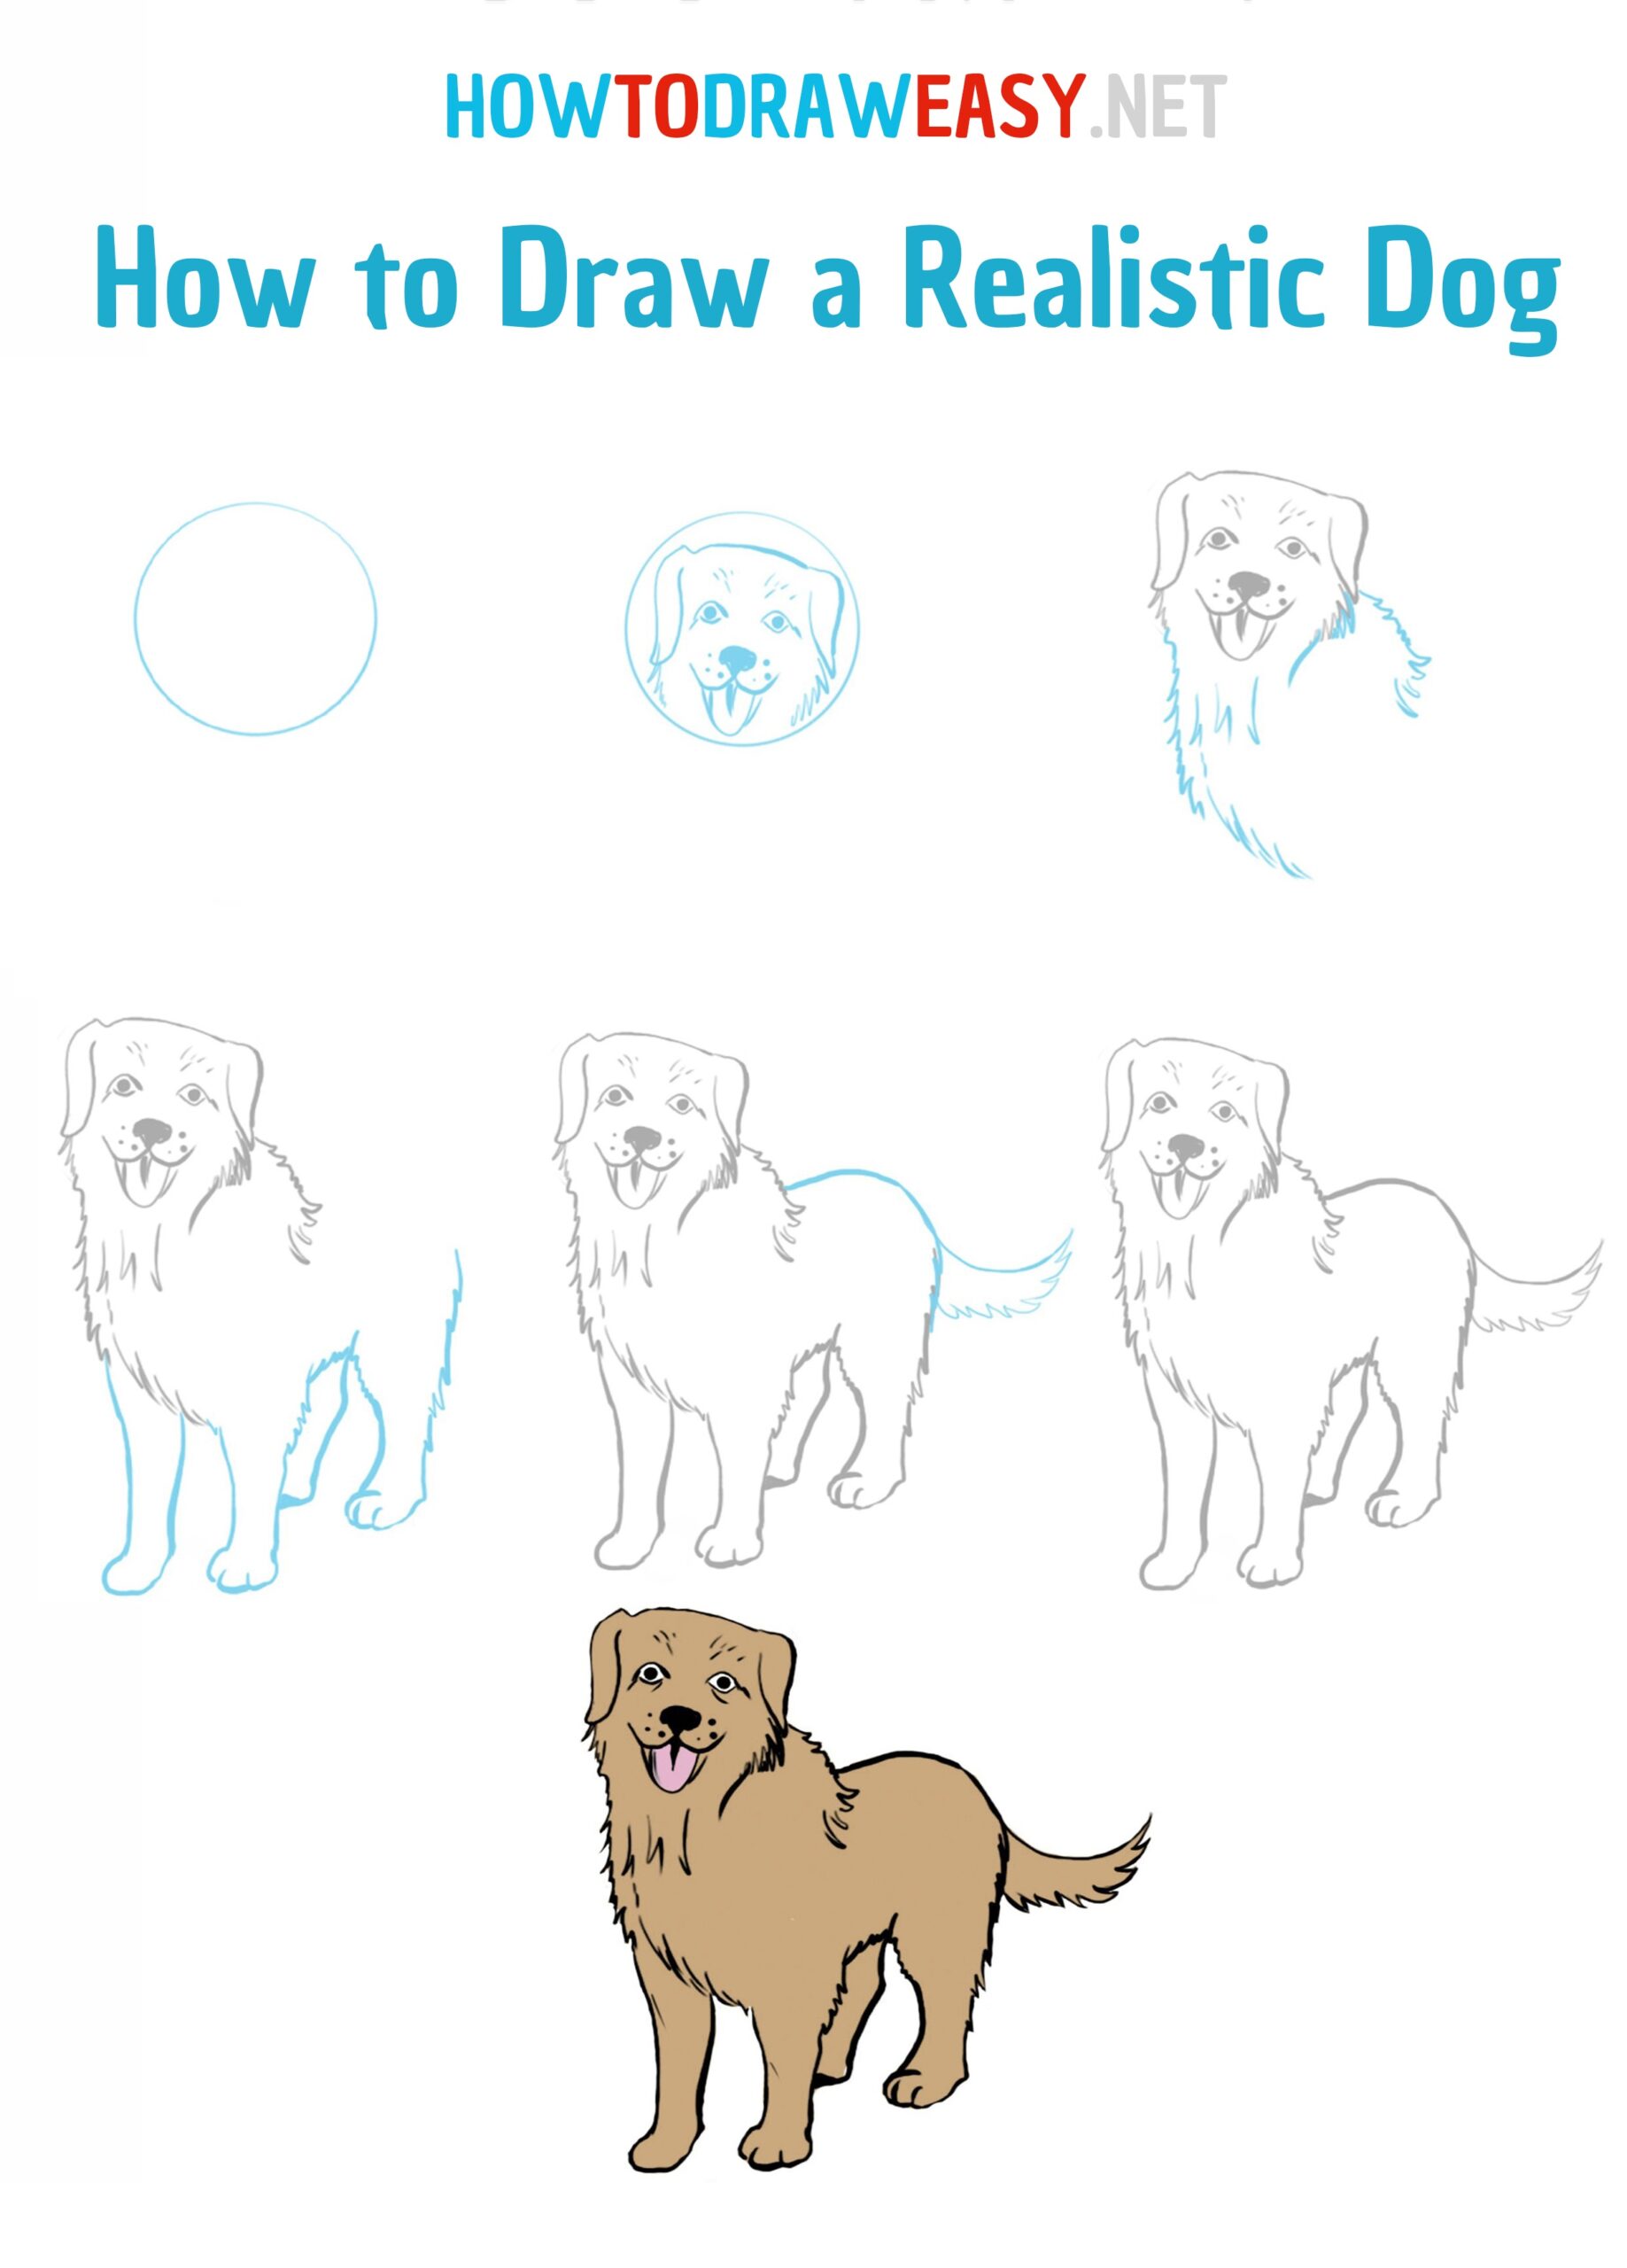
This tutorial is about how to draw a realistic dog easily. These tutorials will help you get to a basic level of drawing if you are a beginner. There are a huge number of dog drawing lessons on the Internet, which are written in a large number of steps but do not really help beginners.
On our site for drawing lessons already has one drawing lesson of a sitting dog. Also, you can see other steps by step drawing tutorials.
We present you with a step-by-step easy drawing lesson on how to draw a realistic dog quite quickly and easily. Suitable for both children and beginners. Welcome!
Time needed: 40 minutes
How to Draw a Realistic Dog
- Draw the guiding line.
A circle can be drawn using a compass, or some small round object. For example, use a large bottle cap. This step is done to further define where your drawing will be.

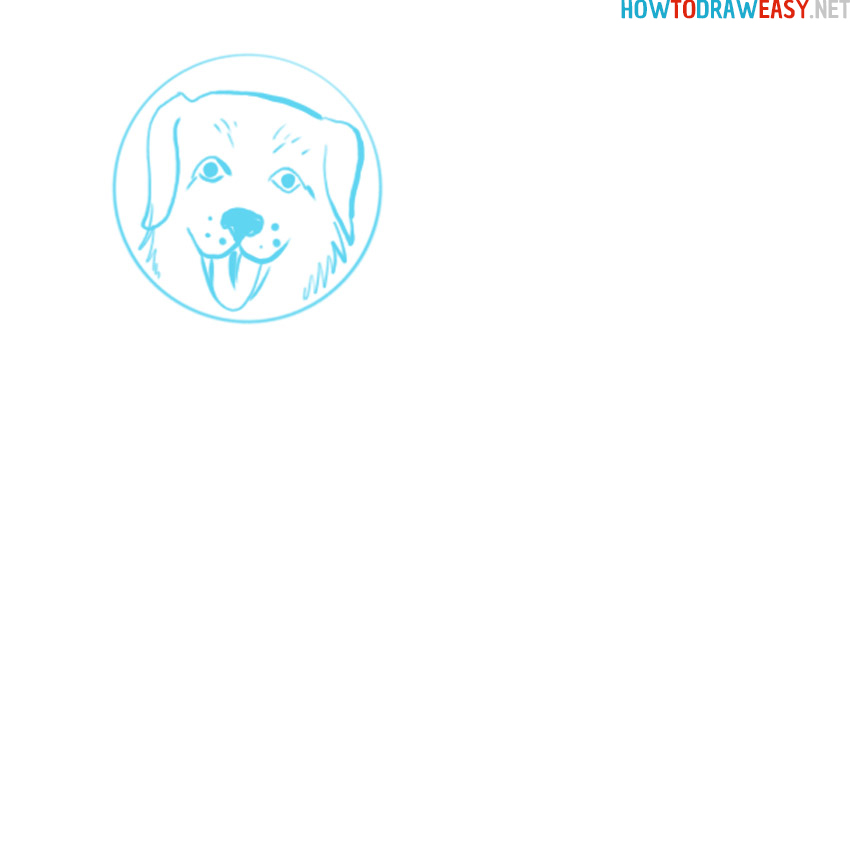
- Draw the dog’s face.
First draw the eyes, start with the outline of the eyes and finish with the pupils of the dog. Then draw the dog’s nose and from it draw in both sides of his mouth. After that, sketch out the top of the head and ears. Draw a tongue sticking out, add details of the dog’s face.
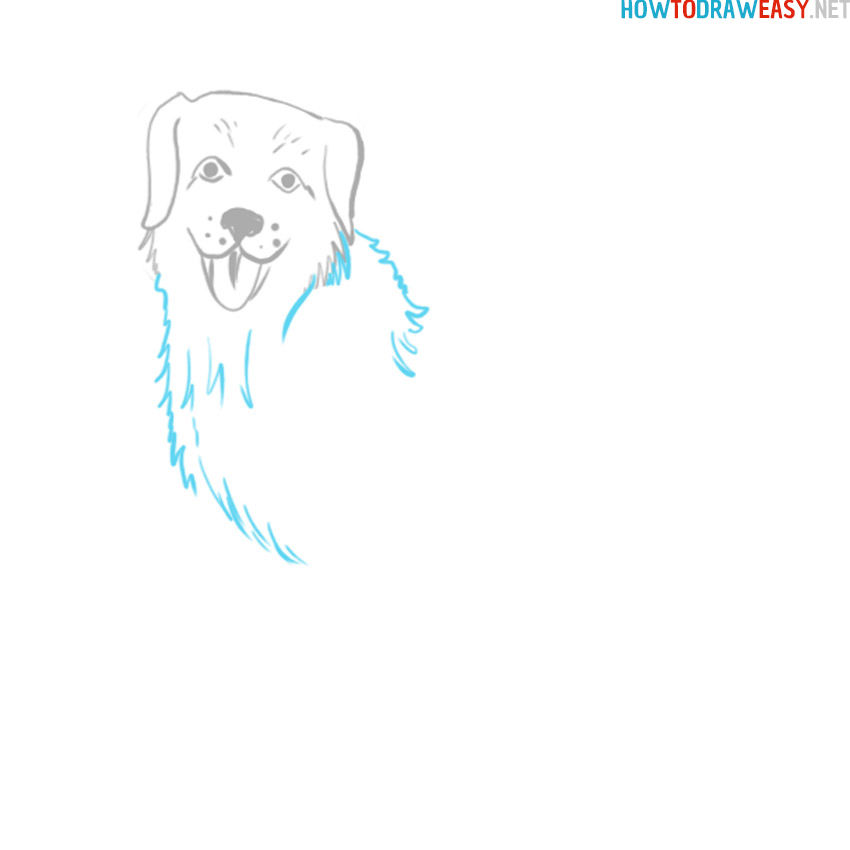
- Draw the body of the dog.
So, now we erase the circle since it is already superfluous and start drawing the dog’s body. Step by step, we come to the fact that the dog comes out more realistic, so you can draw the body with just lines, and add dog hair on top. After that, you can erase the lines, and leave the dog hair.
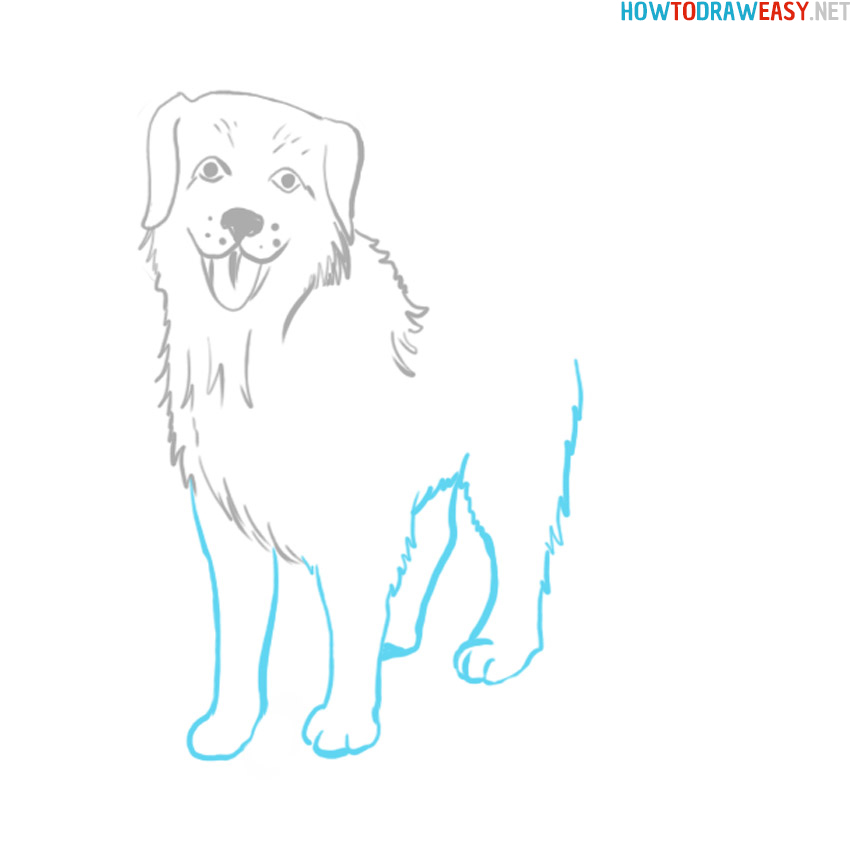
- Draw legs.
The next step in drawing a dog is his furry, cute legs. The step is shown in bright blue in the illustration so that you can better understand what needs to be done. Start by drawing a leg along a line that connects the new step to the previous one. This will be the closest leg visually. After that, sketch out the second front leg. Then, in the same order, draw the hind legs exactly as shown in the picture.
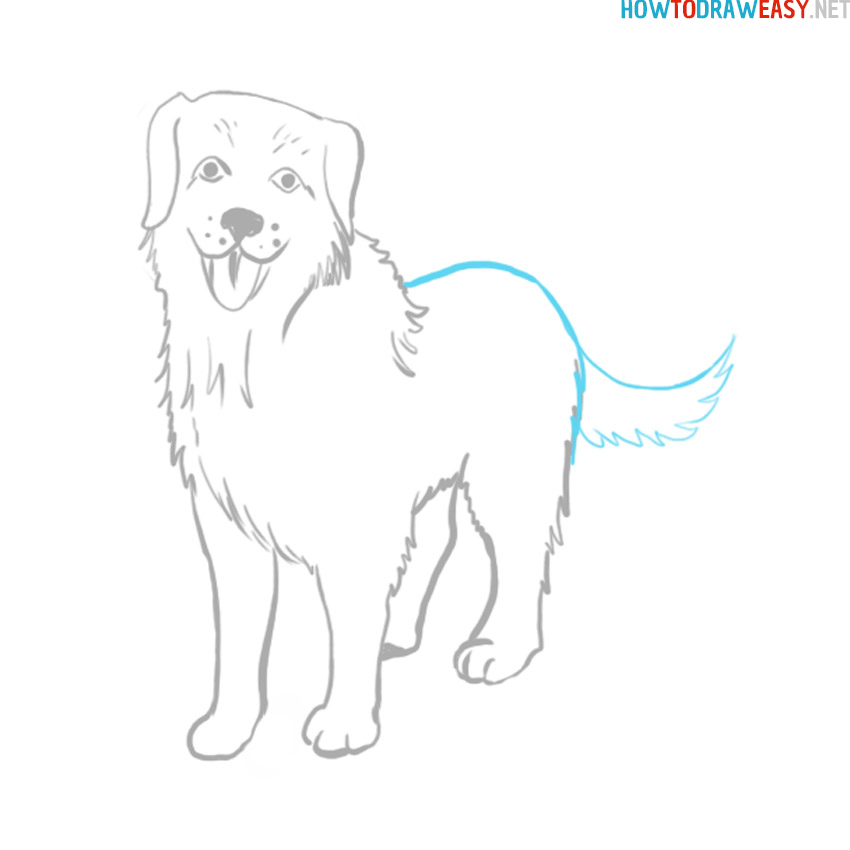
- Draw the dog’s tail.
The last step, which will complete the outline line drawing of the dog. Begin this step by drawing the back of the dog, the back, and the back near the tail. Here you just need to draw a line symmetrically to the legs, which will go to the hind legs from the back. After that, draw the tail. Draw a folded line to begin with. Have you drawn? Now sketch out the furry bottom of the dog’s tail.
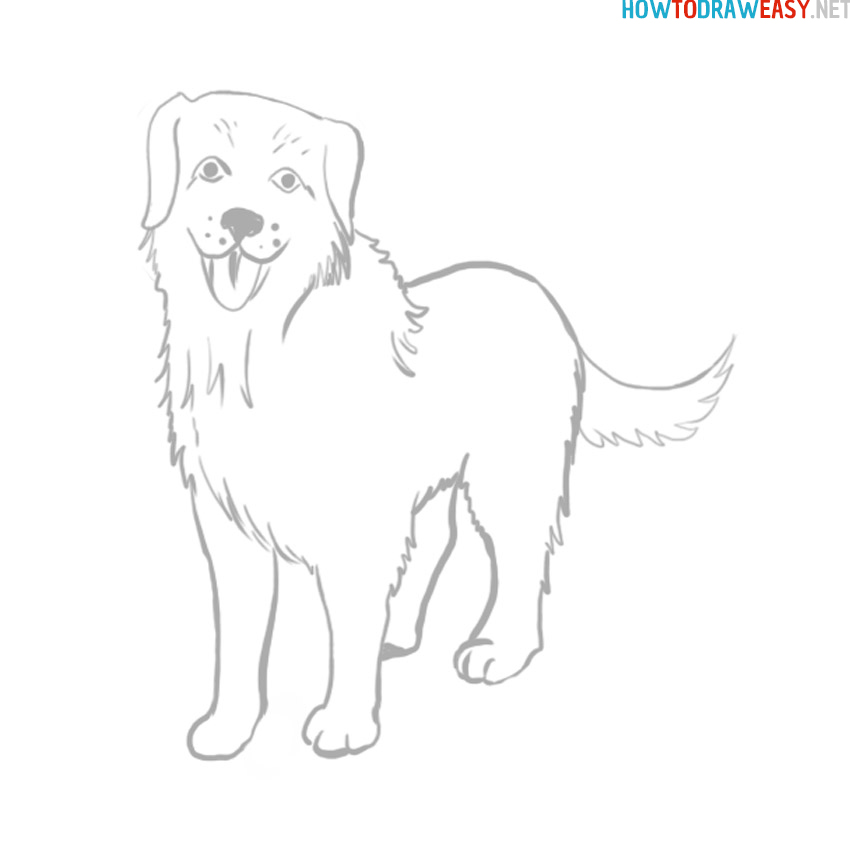
- Check your drawing.
The last step before coloring the picture. Check if everything worked out for you, erase extra lines, the rest of the pencil and so on. All is well? Then go to the coloring step.
- Coloring the drawing.
The final process is coloring. If you use applications, or for example Photoshop, you can simply copy the color from our drawing. If you paint with felt-tip pens, crayons, or paints, use whatever color you like. You can paint the dog in any color.
