
How to Draw a Monster
Learn how to draw a monster step by step! This fun and easy drawing tutorial will help you create spooky, cute, or fierce monsters with simple guides.


Monsters have fascinated people for centuries. From terrifying creatures in myths to lovable animated monsters in movies, they come in all shapes, sizes, and personalities. In this tutorial, you’ll learn how to draw a fun and friendly cartoon monster step by step. Whether you’re a beginner or an experienced artist, this guide will help you bring your own monster to life with simple shapes and creative details.
What Are Monsters? A Look at Their Cultural History!
Monsters have been part of human stories for thousands of years. In ancient myths, they often represented fears or unknown forces—like the fire-breathing dragon in European folklore or the many-headed Hydra from Greek mythology. Some cultures saw monsters as guardians, while others used them in cautionary tales.
In modern times, monsters have taken on a whole new role. Instead of just being scary, they can also be funny, cute, or even misunderstood—think of friendly monsters like Sulley from Monsters, Inc. or the goofy Minions from Despicable Me. The beauty of drawing monsters is that you get to decide what kind of personality they have!
Fun Facts About Monsters
- The world record for the largest monster drawing was created in Italy in 2022, covering over 1,500 square feet!
- The word “monster” comes from the Latin monstrum, which means “omen” or “warning.”
- Some of the earliest monster drawings come from ancient cave paintings over 30,000 years old!
- Frankenstein’s monster, one of the most famous literary monsters, was actually nameless in Mary Shelley’s original book.
- Not all monsters are scary—many cultures have friendly monsters, like Japan’s Totoro or Scotland’s Loch Ness Monster.
What You’ll Need to Draw Your Monster
Before we start, make sure you have the right tools. You don’t need anything fancy—just a few basic supplies:
- Pencil – For sketching your monster’s basic shapes.
- Eraser – To correct mistakes and refine your drawing.
- Black Pen or Marker – To outline the final drawing.
- Colored Pencils, Markers, or Crayons – To bring your monster to life with colors.
- Paper or Sketchbook – A blank page ready for your creativity!
Feel free to experiment with different tools—some artists prefer digital drawing tablets, while others love traditional pencil and ink. There’s no wrong way to create a monster!
Time to Get Creative!
Now that you know a bit about monster history, fun facts, and the tools you’ll need, it’s time to start drawing! Follow the step-by-step instructions, and don’t be afraid to add your own creative twists—maybe your monster has three eyes, five arms, or rainbow-colored fur! Let’s begin!
Time needed: 15 minutes
How to Draw a Monster Step by Step
- Draw the Head and Eyes
Start by drawing a large circle for the monster’s head. Inside the circle, sketch two evenly spaced smaller circles for the eyes. These will form the base of the monster’s facial features.

- Add Pupils and Hair
Inside each eye, draw a smaller circle to create the pupils. To give the monster some character, add a few curved lines on top of its head to form small tufts of hair.

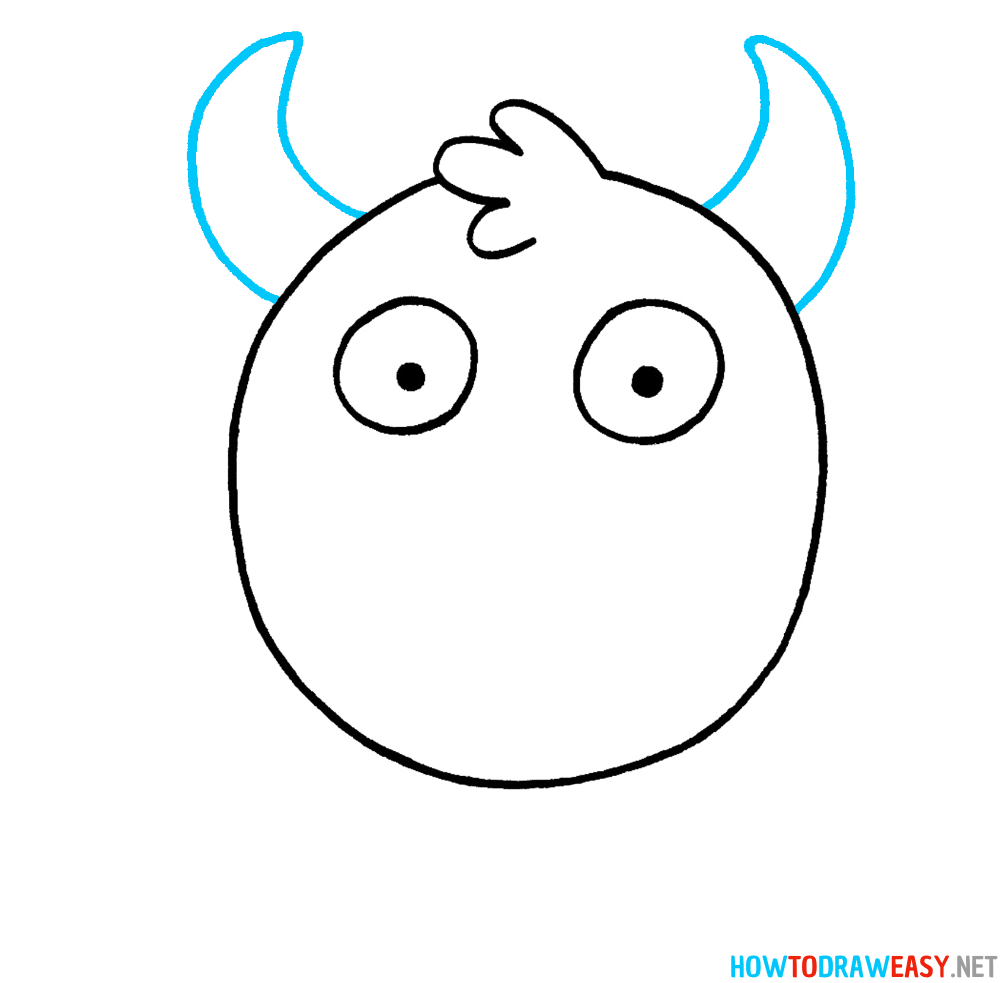
- Draw the Horns
On either side of the monster’s head, sketch two curved horns pointing slightly outward. The horns should have a smooth, rounded shape, giving the monster a friendly yet wild appearance.
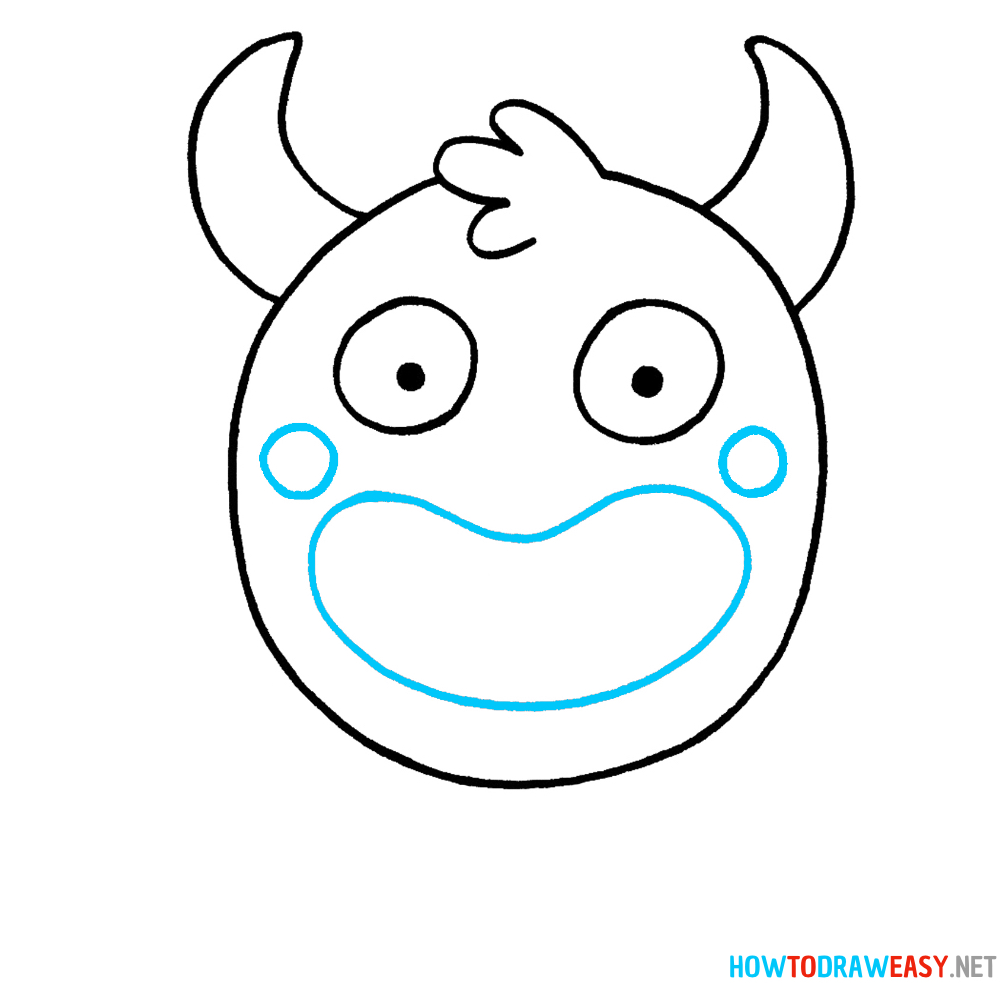
- Add Facial Details
Now, let’s bring more life to the face! Draw two small circles on each cheek to create cute spots. Then, outline the mouth by drawing a large, wide oval shape, which will later contain the monster’s teeth and tongue.
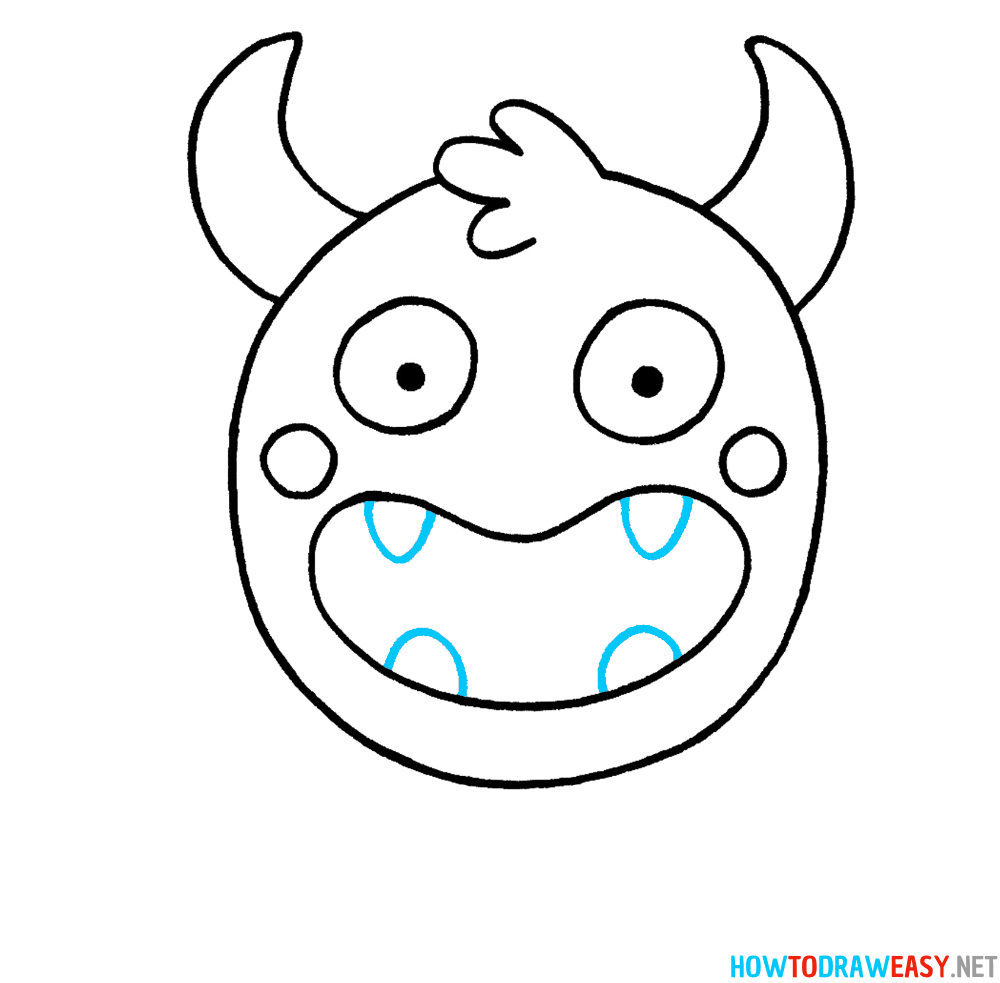
- Draw the Teeth and Inner Mouth
Inside the mouth, add sharp, triangular teeth on both the upper and lower sides. Make sure they are evenly spaced.
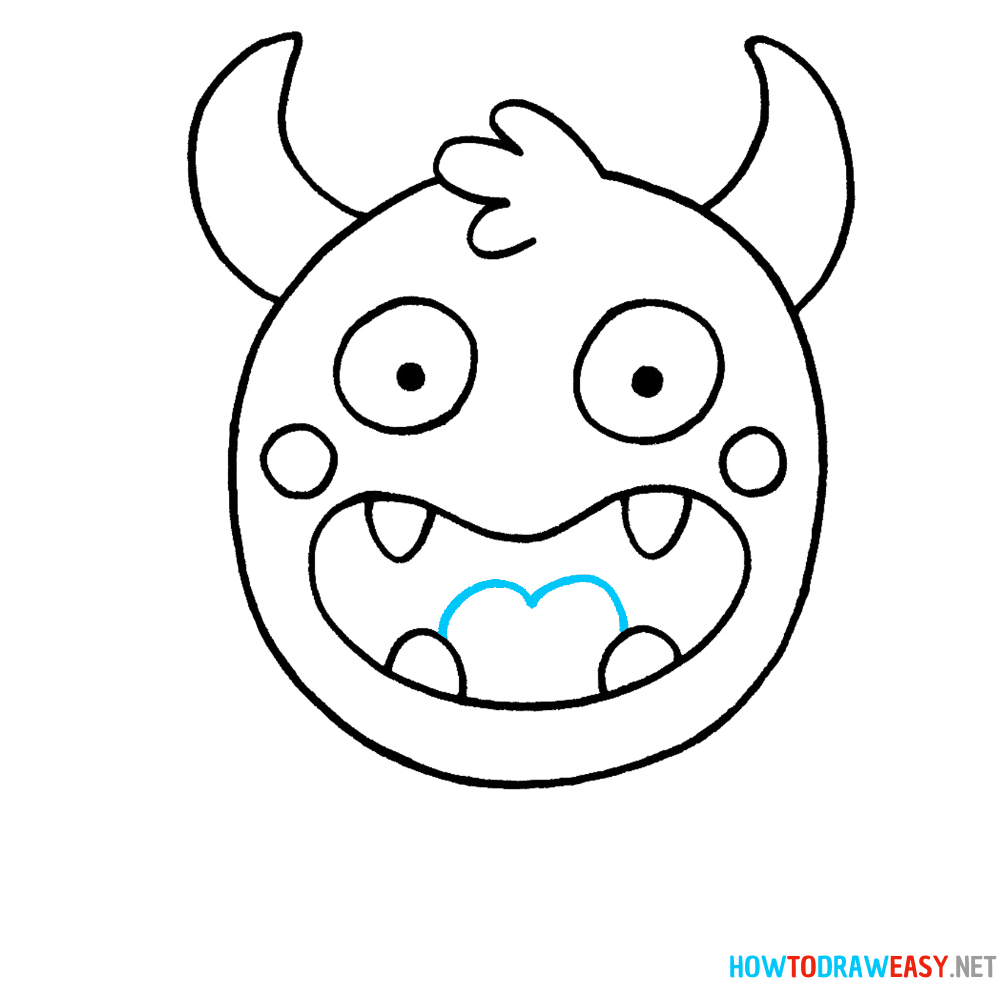
- Add the Tongue
Then, sketch a wavy line inside the mouth to separate the tongue from the rest of the mouth.
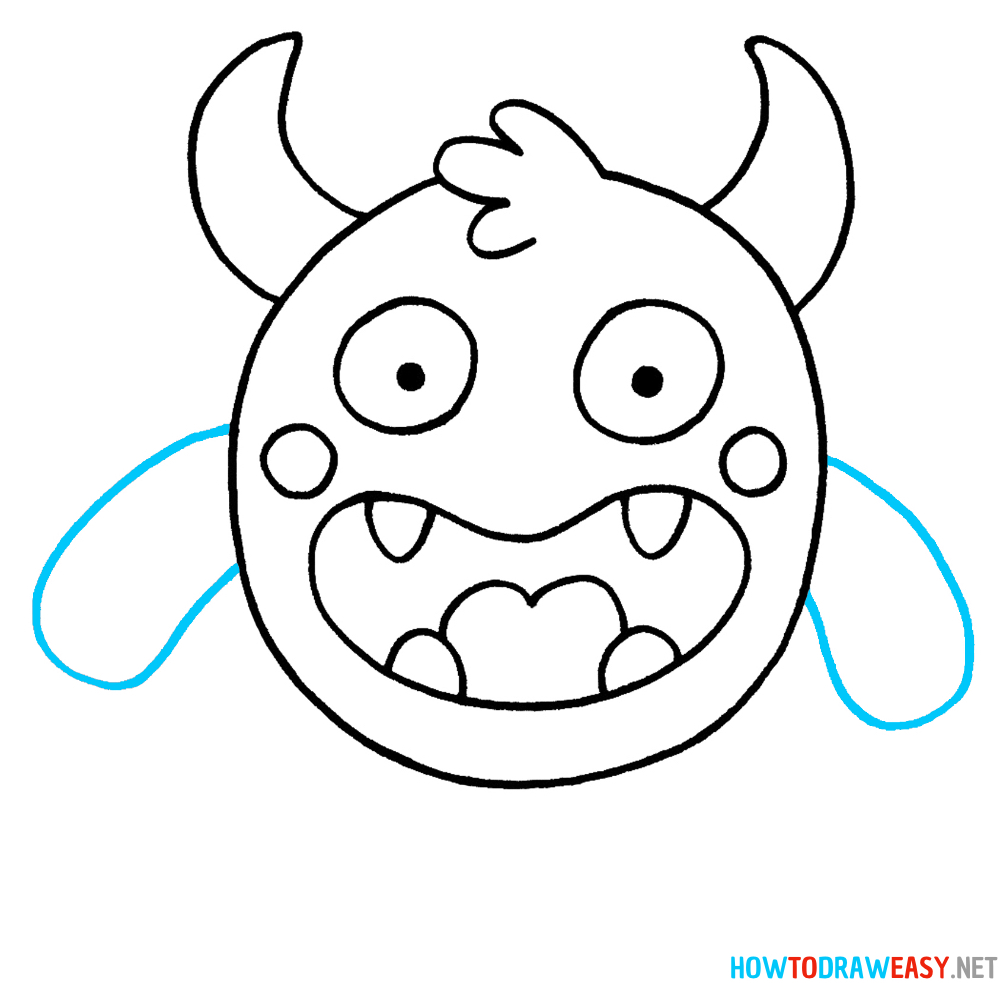
- Outline the Arms
Now, extend two curved lines outward from the sides of the head to form the monster’s short, rounded arms. The arms should be slightly curved downward, giving the monster a welcoming and playful look.
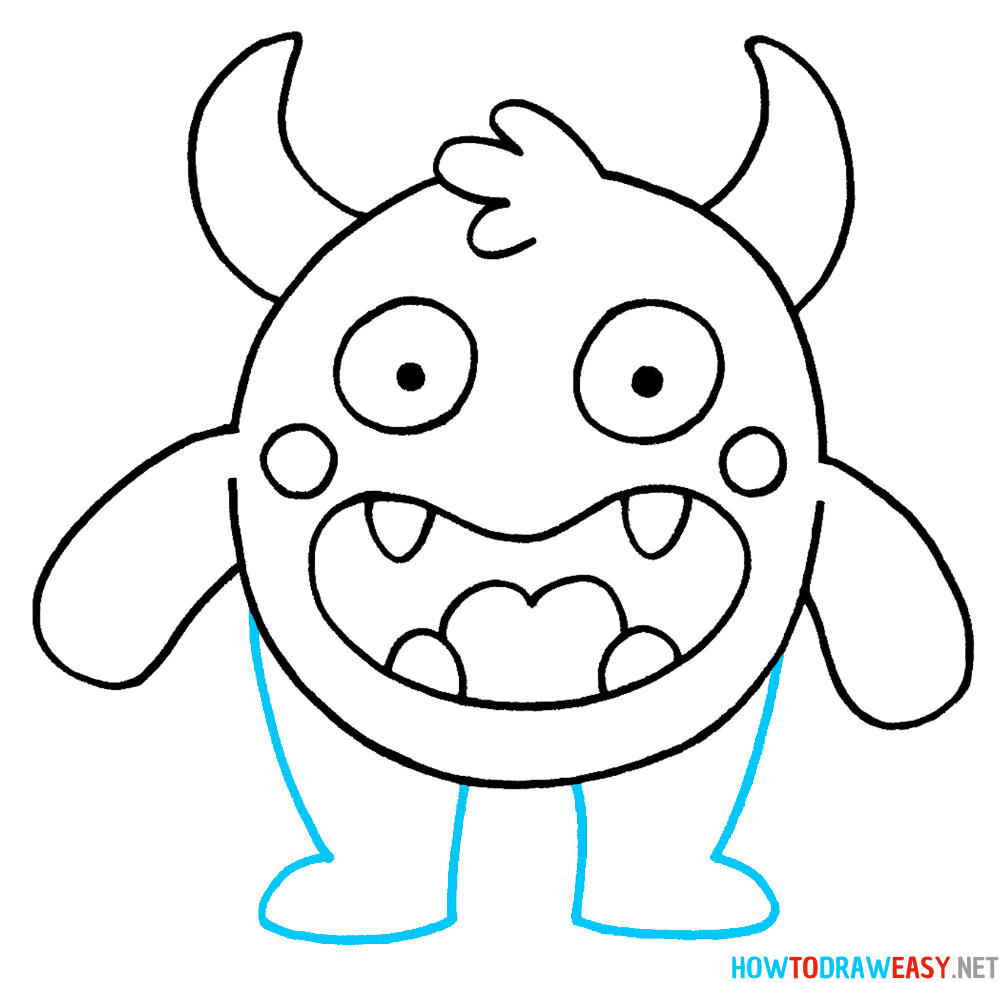
- Draw the Body and Legs
Below the head, draw two vertical lines that extend downward, slightly curving outward at the bottom. Connect these lines with small, rounded feet to complete the body structure. The monster should now have a full-body outline.
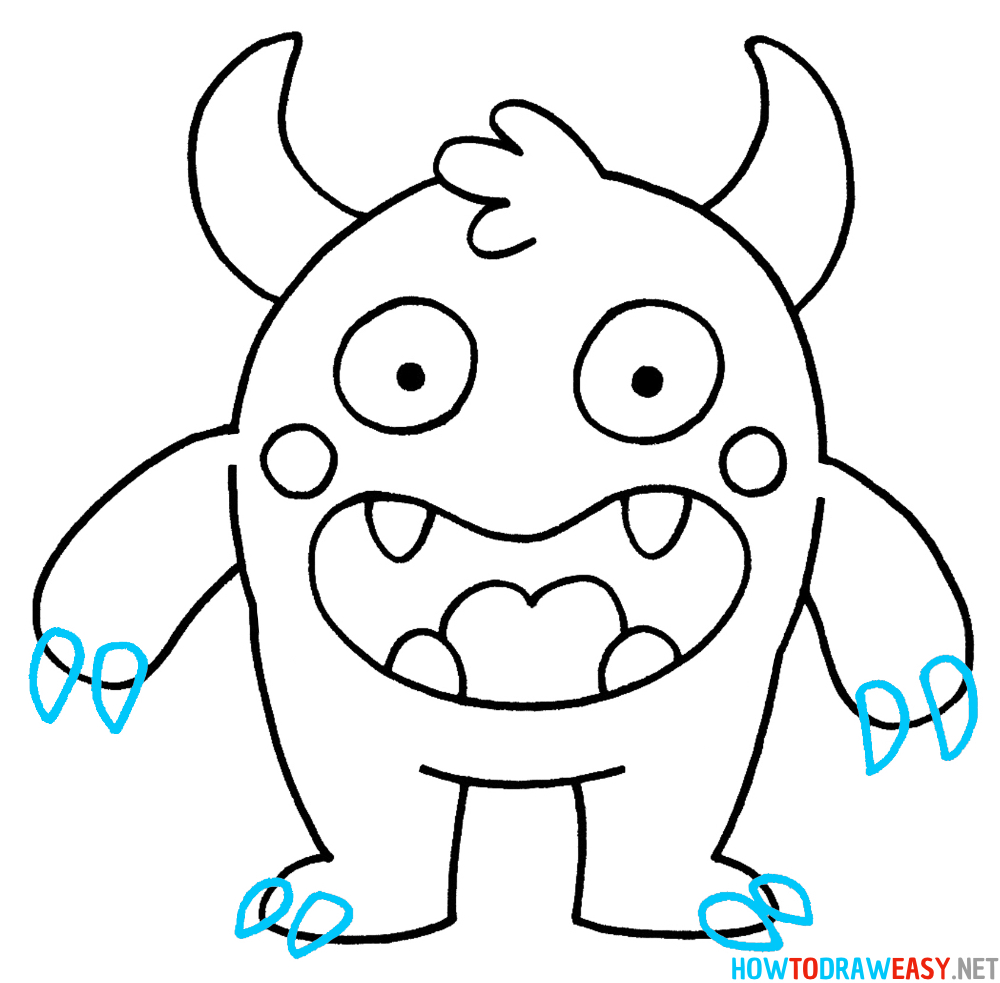
- Add Fingers and Toes
On the ends of the arms, draw three small, pointed claws for each hand. Then, do the same for the feet, adding three tiny claws on each foot. These details make the monster look more playful and mischievous.
- Finalize and Color the Drawing
Look over your drawing and refine the shapes, ensuring smooth, clean lines. Erase any extra sketch lines and adjust any details to make the monster look balanced and symmetrical.
In this example, the monster is green with yellow horns, white teeth, and a brown mouth with a red tongue. Feel free to get creative and use any colors you like!
Now you have a fun, adorable monster drawing! Keep practicing, and try making different variations with unique expressions and features.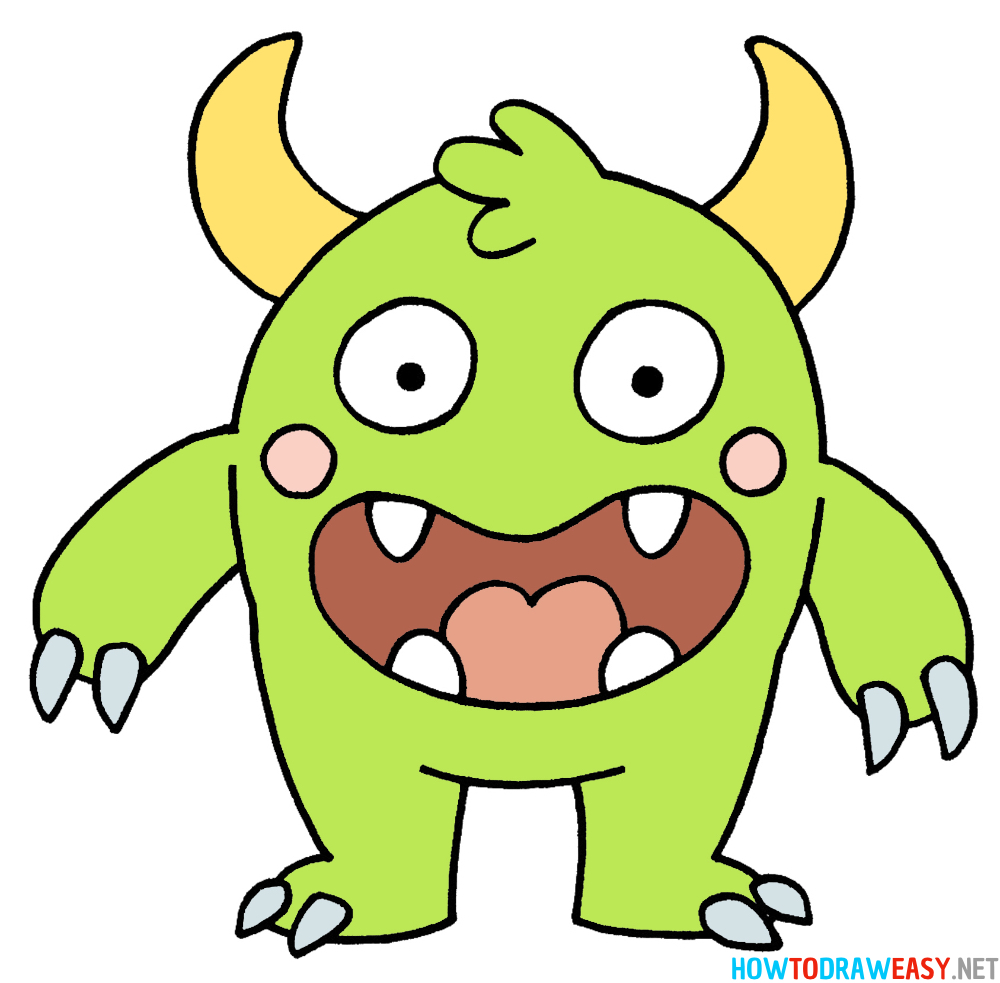


Great Job! What’s Next?
Congratulations! You’ve just completed your very own monster drawing. Whether your monster turned out cute, goofy, or a little spooky, the most important thing is that you had fun and practiced your drawing skills. The more you draw, the better you’ll get—so don’t stop here! Try experimenting with different monster designs, adding unique features like extra eyes, wild hair, or even wings.
If you enjoyed this tutorial, why not keep going? Check out more fun and easy step-by-step drawing lessons on HowtoDrawEasy! Here are some great tutorials to try next:
🔹 How to Draw a Dragon – Create a fierce or friendly dragon in a few simple steps.
🔹 How to Draw a Zombie – A fun and creepy drawing lesson for Halloween lovers.
🔹 How to Draw a Cartoon Dinosaur – Bring prehistoric creatures to life with easy shapes.
🔹 How to Draw a Cute Monster – Want to draw a softer, friendlier monster? This guide is for you!
Keep practicing, keep creating, and most importantly—have fun drawing! See you in the next lesson!