
How to Draw a Hummer H2
In this drawing tutorial, you will learn how to draw a Hummer H2 step by step. Scroll down to see the entire drawing guide.


Welcome to the step-by-step drawing lesson from the howtodraweasy.net team! In this guide, you will learn how to draw a Hummer H2, which is one of the most brutal and popular large SUVs around the world. This brand originally supplied cars for the United States Army, but the great attention to the brand from the civilian population did not leave the company choosing, and they released the Hummer H1 model for mass production. But there was one problem, namely, for people, the H1 was reminded of the military model, and people wanted an SUV that was different from the military version, and the company released a second model, which we used for this step-by-step sketching instruction.
In the appearance of the Hummer H2 model, the company continued the traditions and style of the first model, leaving the same chopped body shapes, the same straight windshield, the branded radiator grill that was in the first model, but the car of the second model became much more stylish and modern at the time of production.
Time needed: 45 minutes
How to Draw a Hummer H2
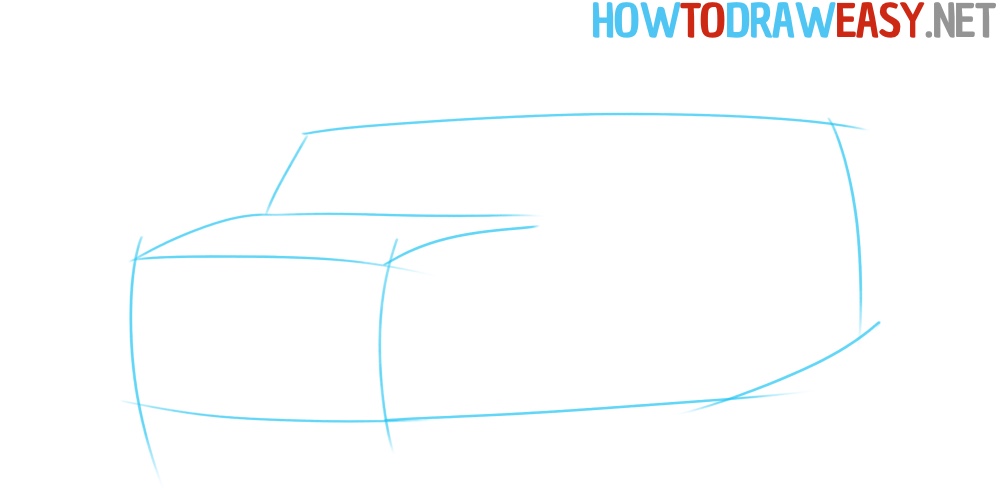
- Draw baselines.
First, sketch out the basic shape of the Hummer’s body, which will allow you to understand how the volume and proportions of the car will look visually.
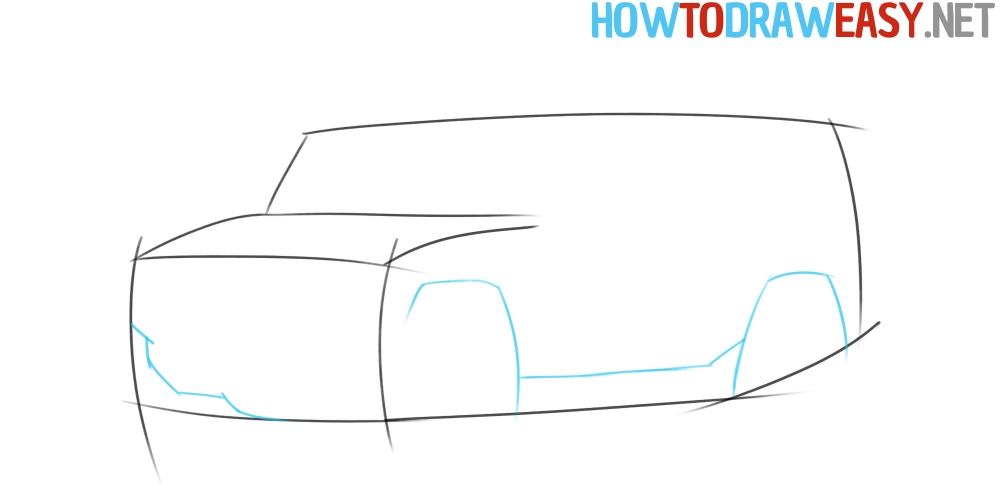
- Wheel arches.
Now you need to draw the details of the lower part, firstly, these are the wheel arches of the car, and also draw the lines of the lower part of the car.
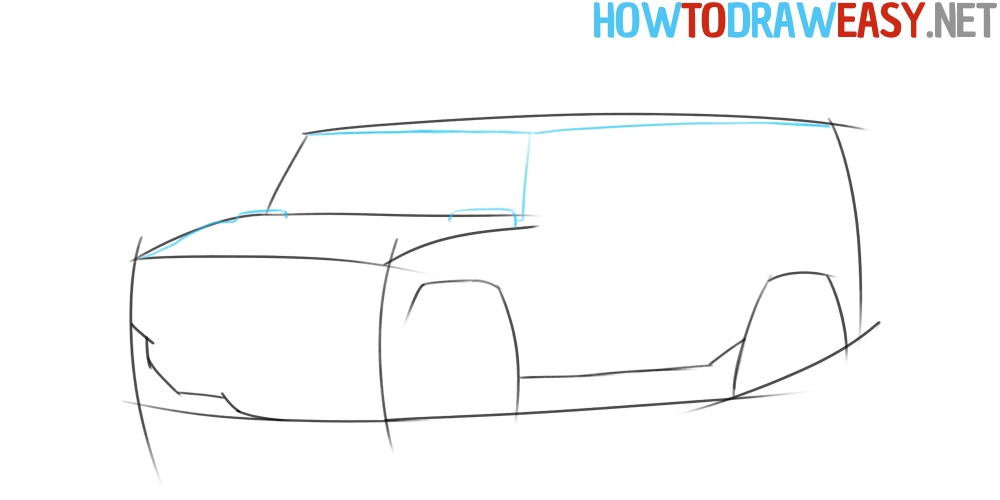
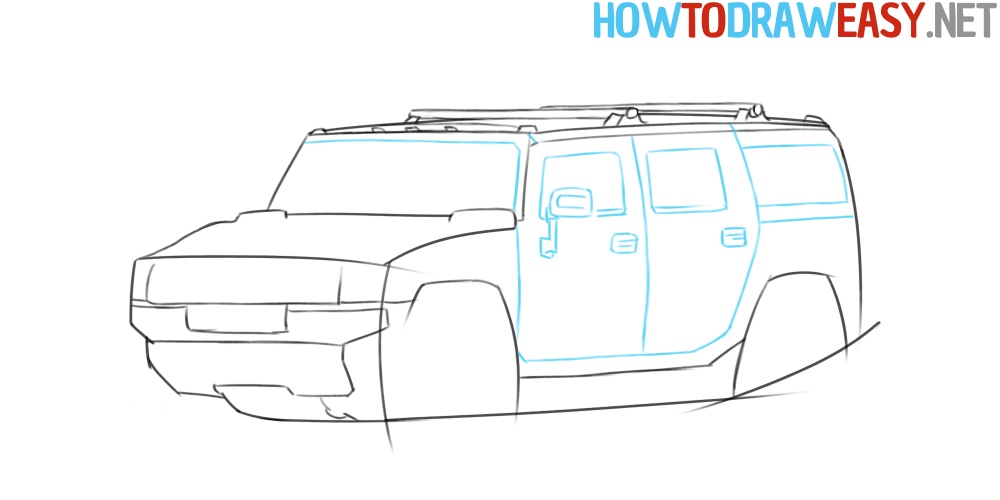
- Draw the line for the roof and bonnet.
Now you need to depict the shape of the car body, focusing on the guidelines that you drew in the first step. The example shows in blue exactly which lines you need to draw in order to detail the roof and hood of the Hummer.
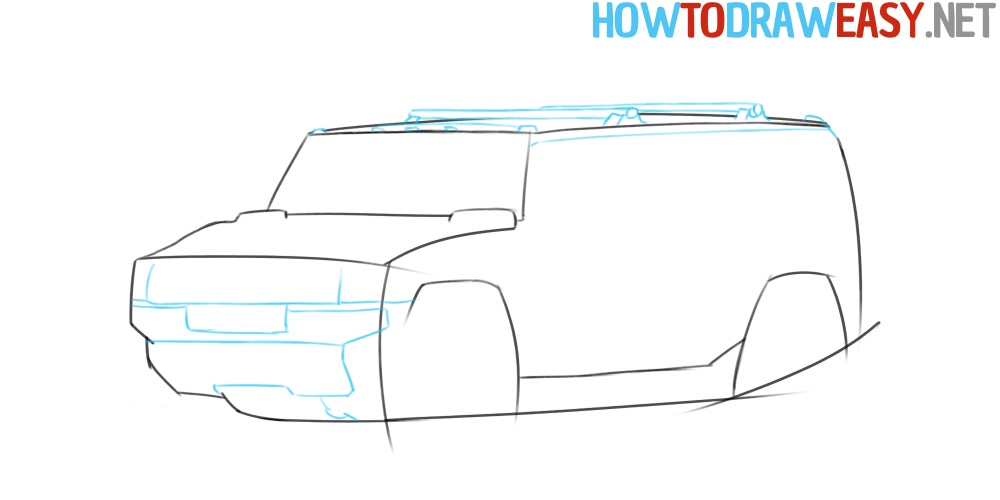
- Front and top.
So, now you need to draw the lines for the front of the Hummer, paying attention to all the details shown in the example in blue.
- Draw the Hummer doors.
Start drawing the side of the car, first of all drawing the shapes of the doors, then add the details of the doors, windows, and handles to the sketch. After that, sketch out the side mirrors of the car.
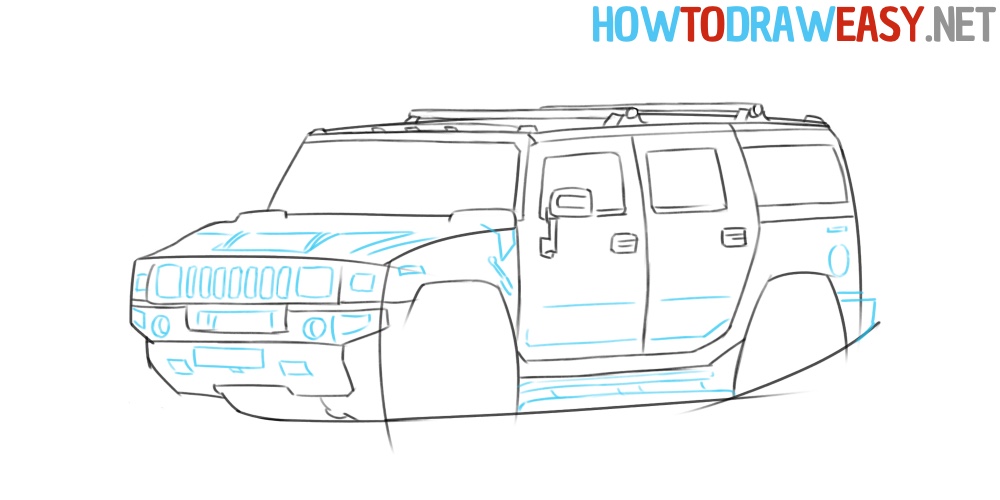
- Draw the details of the car.
This step shows all the small parts of the car, first of all, the front part, this is the radiator grille, the headlights, the lift step, and so on.
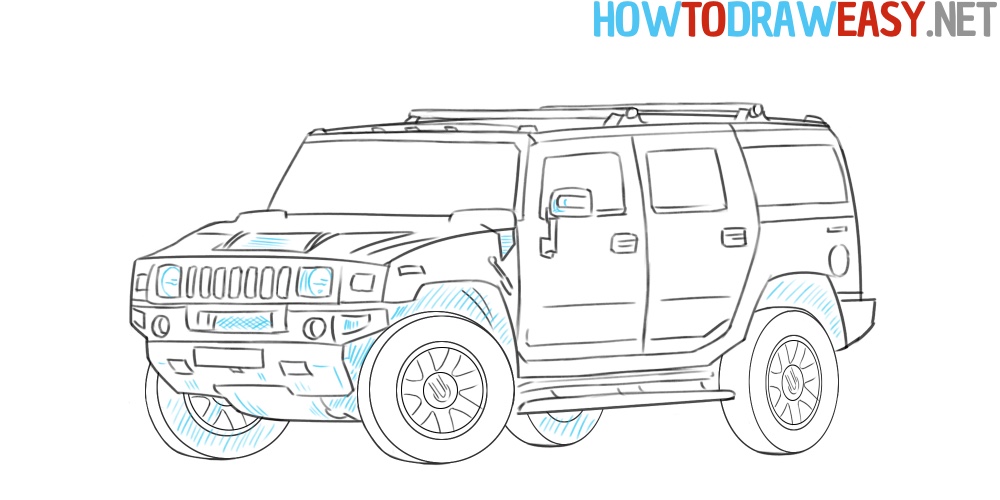
- Draw the wheels.
Draw the round shapes of the wheels, as well as the inner round part that will be the shape for the car rims.

- Draw car rims.
In this drawing, the rims are quite simple in appearance and not particularly detailed, so they are easy to draw. Just follow the example, and also start from the hub of the rim, and then draw the spokes.

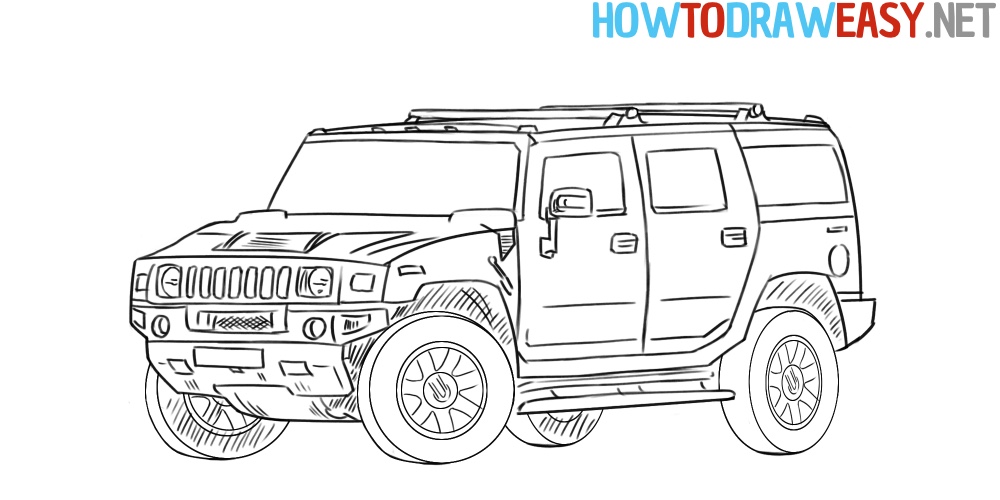
- Hatching.
Add shadow hatching to the sketch for volume and detail in the drawing. And also finish the headlights as shown in the example.
- Hummer H2 drawing is ready!
So, the drawing is ready, and you can be satisfied with your artwork, but we hope that you will try to draw a car again because constant practice is very much required to pump skills. You can also color your drawing using your favorite coloring supplies.


very nice drawing blog