
How to Draw a Helicopter
On this page you will see a drawing of a helicopter for beginners. Learn how to draw the same helicopter easily and step by step with us.


Decided to draw a helicopter, but never done it before? You have come to the right place where you will learn how to draw a helicopter easily and step by step. We have created for you a simplified drawing that even a beginner can draw.
Helicopters are a marvel of technology that allows people to take to the air and fly to anywhere. The history of the creation of helicopters has more than a hundred years. In 1907, French inventor Paul Cornu managed to be the first to get up and fly in a helicopter, which was called the “Cornu Helicopter”. But before Paul, there were also attempts to create helicopters, but no one was able to fully fly this air transport.
There are many types of helicopters, from small single-seat to giant transport. They are used for a variety of purposes such as rescue missions, cargo transportation, patrols, and even entertainment.
The helicopter works on the principle of rotation of the blades, which create lift. They can also change the pitch of the blades to control flight direction and speed. Modern helicopters are equipped with the most advanced technologies such as autopilot and flight control systems.
Drawing a helicopter may seem like a daunting task, but with a little practice, you can create amazing images of various helicopters of varying complexity. Don’t forget to experiment to make your helicopter look as realistic as possible. Happy creativity!
Time needed: 25 minutes
How to Draw a Helicopter
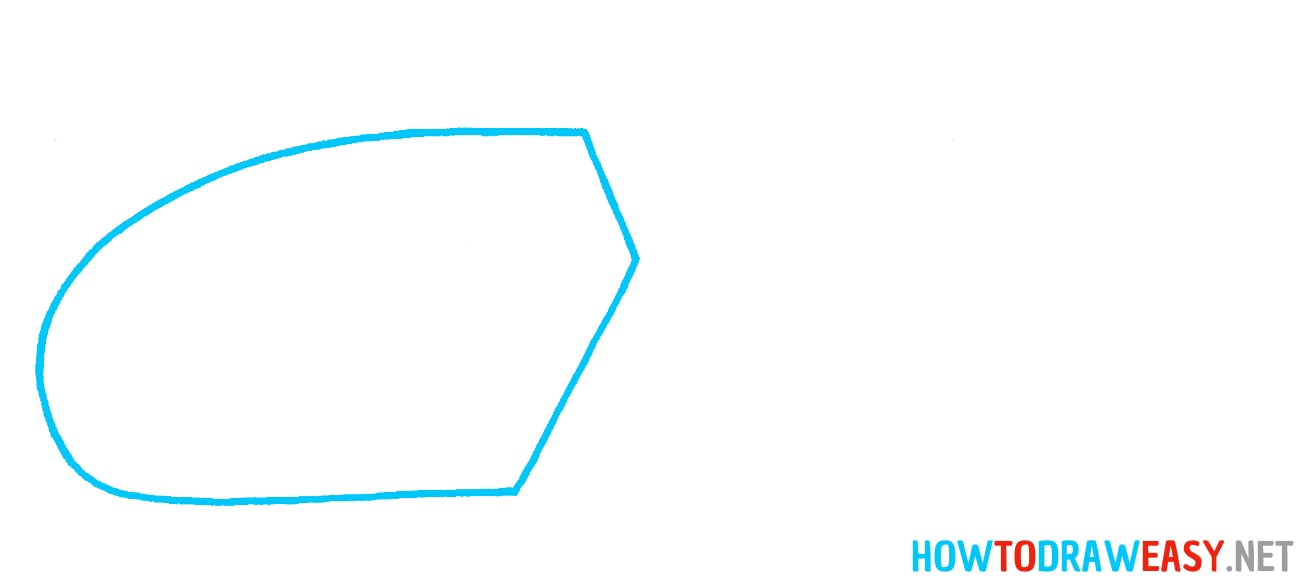
- Start by the cockpit.
First, you need to draw the glass part of the cockpit. On the left side draw the glass using a smooth curved line, and on the right side use straight lines to form the opening part of the cockpit.
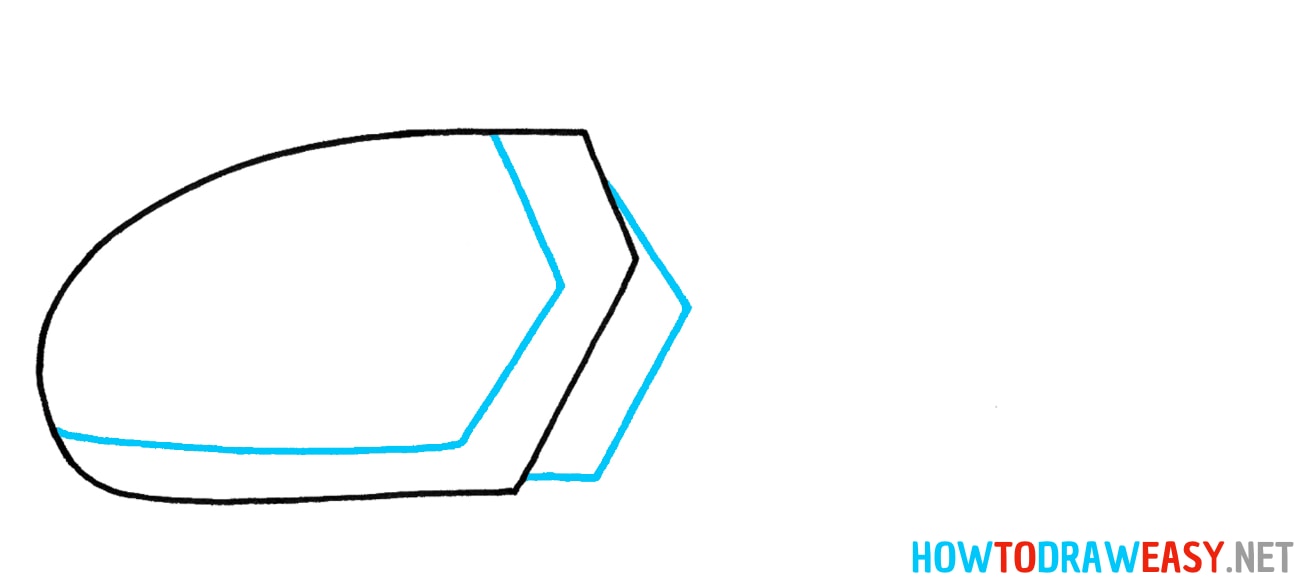
- Draw the body.
Use the lines as in the example to form the body of your helicopter.
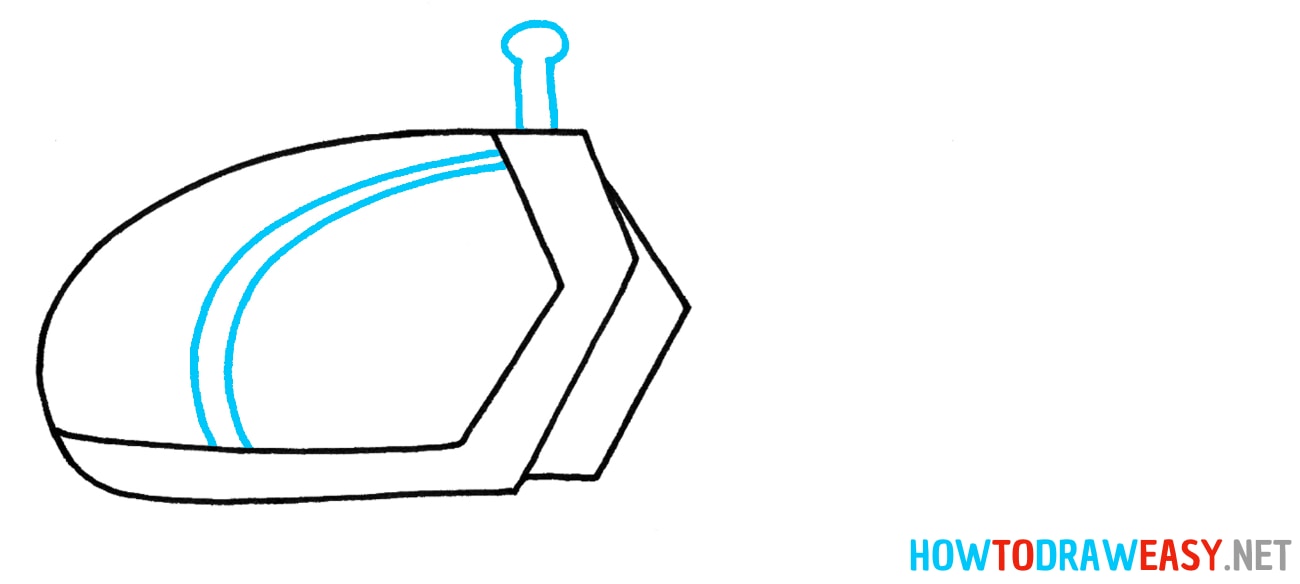
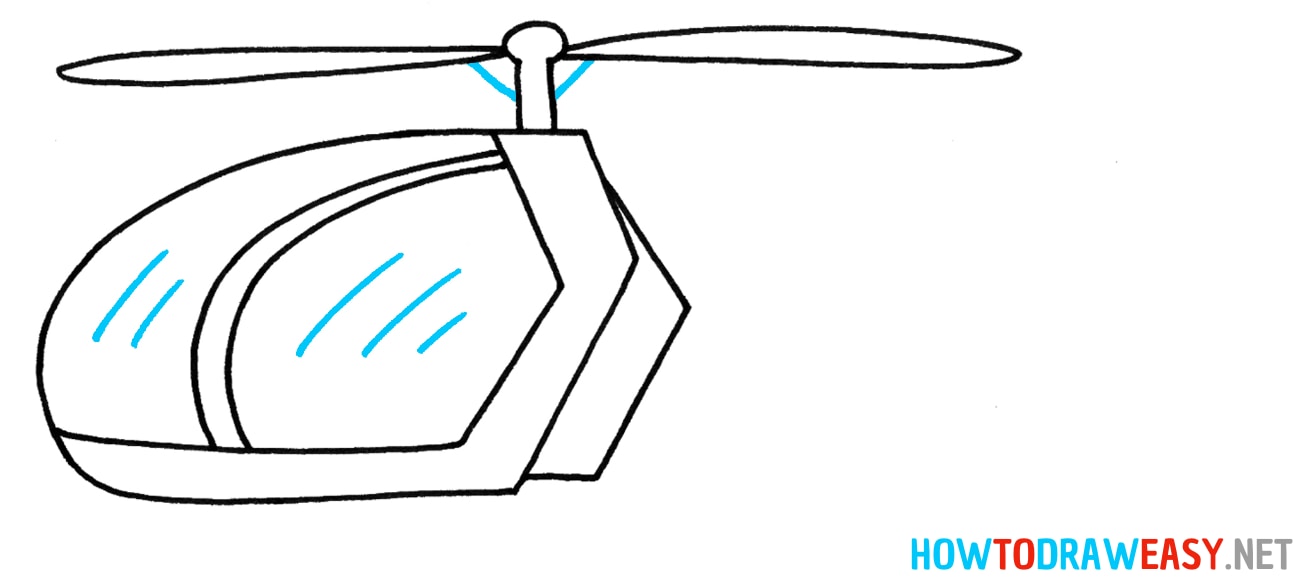
- Add details and main rotor.
Draw the frame on the cockpit of your helicopter, then form the helicopter’s main rotor on top.
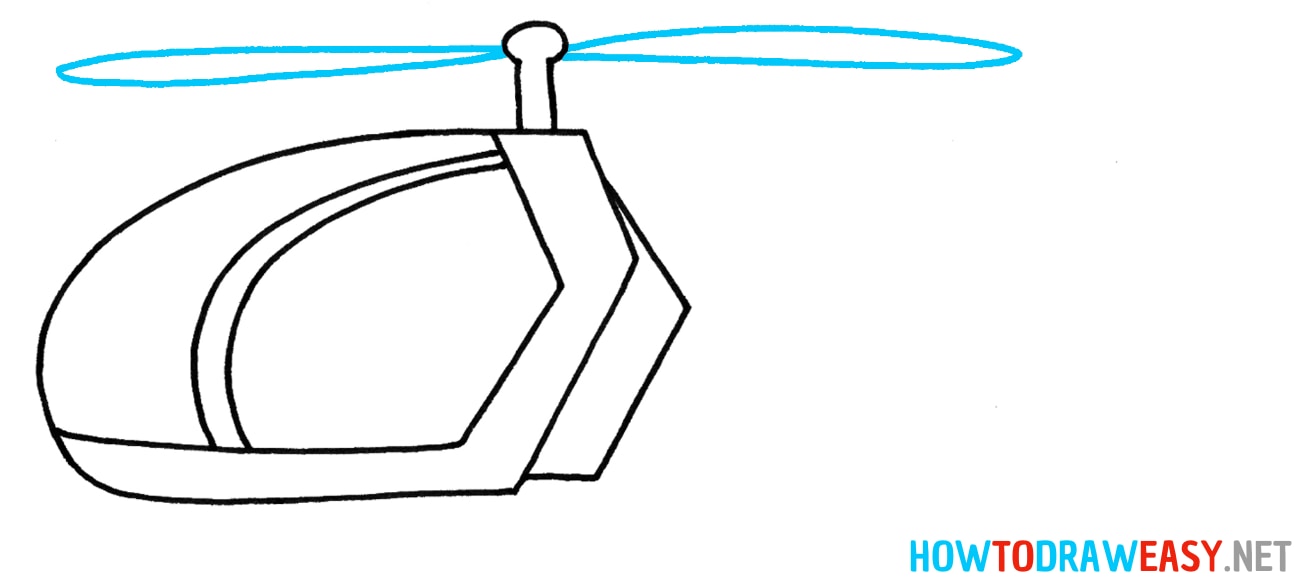
- Draw the blades.
On the right and left sides of the main rotor draw the blades of the helicopter.
- Detail the helicopter.
Add lines to the glass of the helicopter to make the glass textured. Then add holders under the blades.
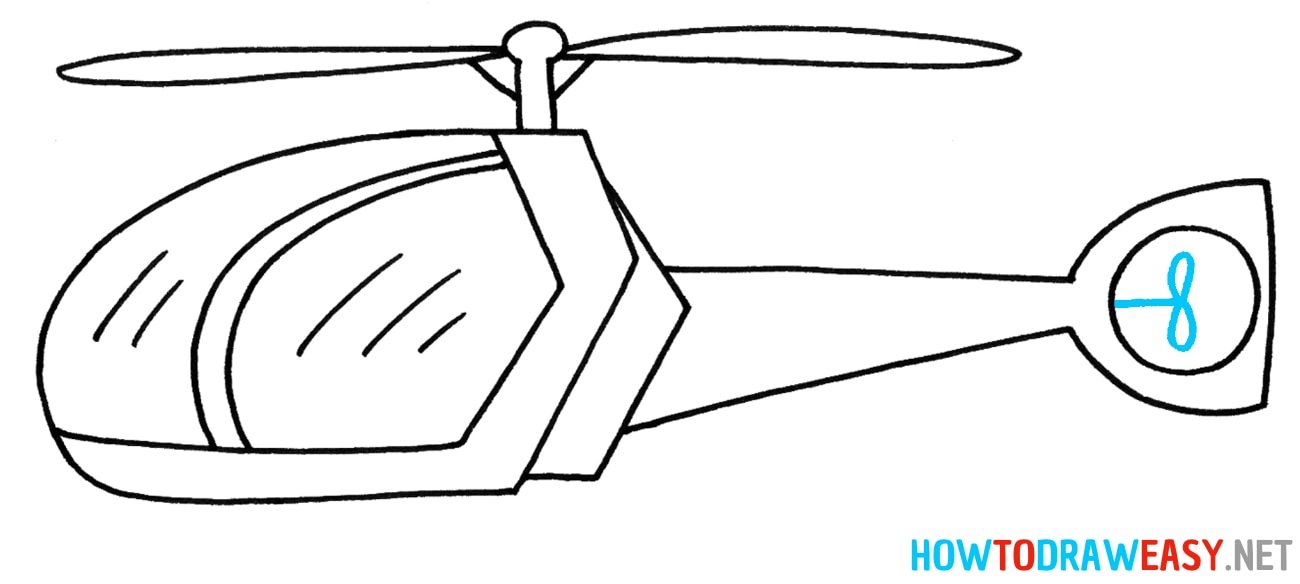
- Draw the tail of the helicopter.
Draw straight lines from the back of the cockpit, and form the tail of your helicopter. Then draw the tip in which later you will need to draw the tail rotor.

- Add the tail rotor.
Now add two small blades to the tail of the helicopter.
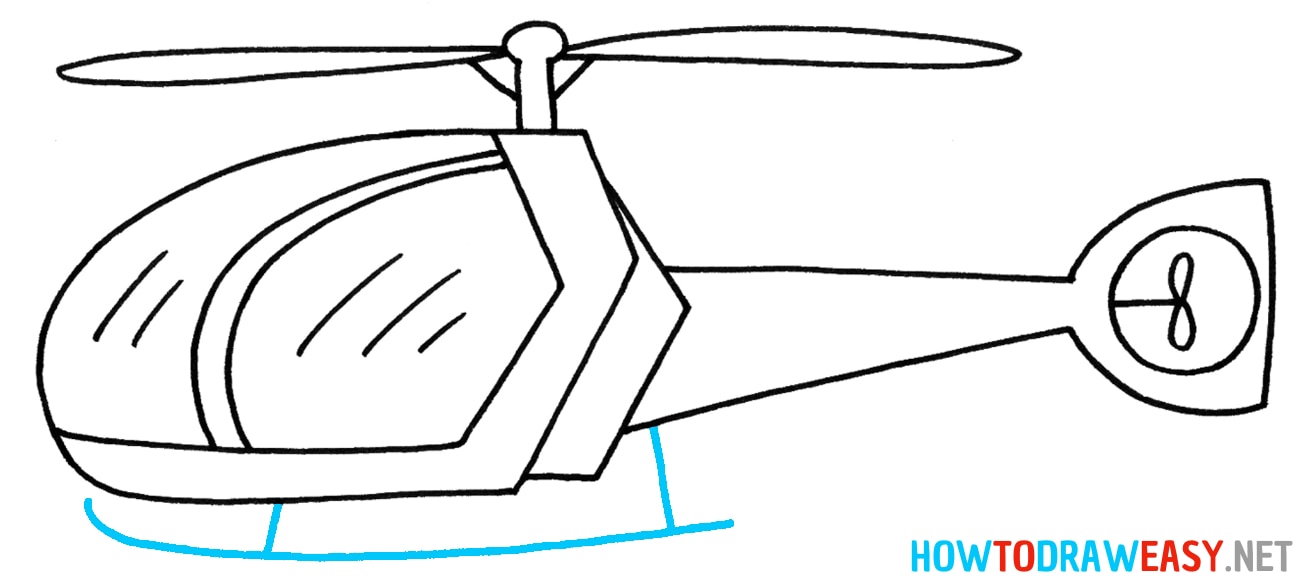
- Add the landing sled.
Extend two straight lines in two places under the helicopter, then draw the bottom of the landing skid.
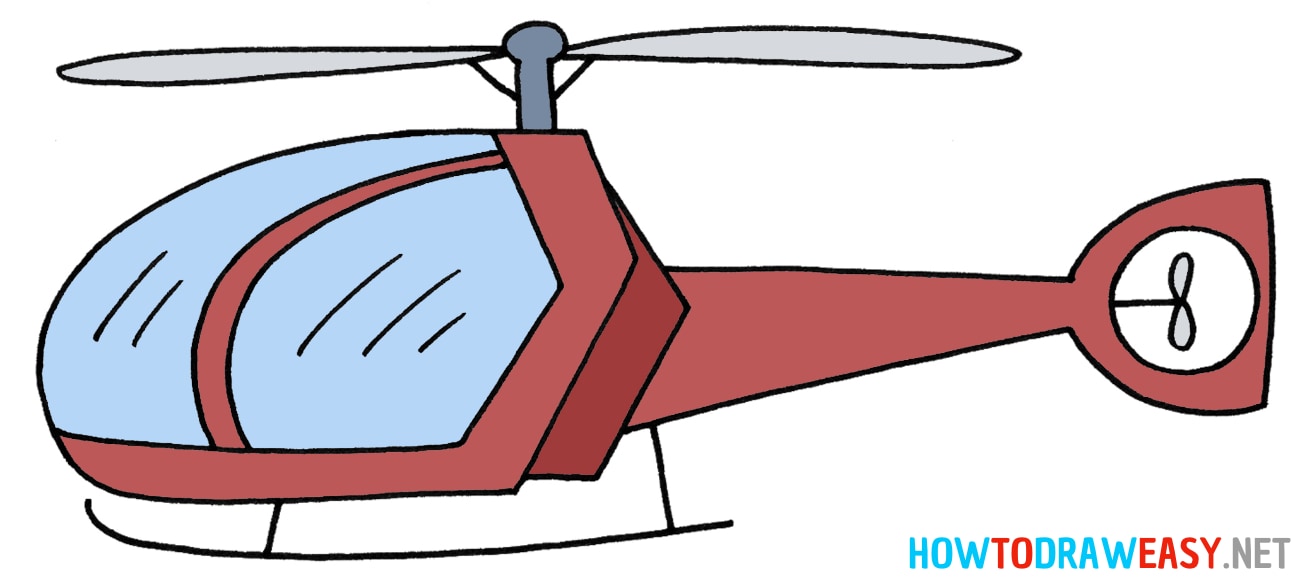
- Color the helicopter.
Color your helicopter drawing by used the coloring tools.


Helicopters are an incredible technological achievement that has found wide application in various areas of life. Drawing a helicopter can be tricky, but with practice and creativity, you can create amazing drawings. Feel free to experiment and add details to make your helicopter as realistic as possible. We hope that this lesson helped you unleash your creativity and learn how to draw helicopters!