
How to Draw a Doctor Easy
In this step-by-step drawing tutorial, you will learn how to draw a doctor. This tutorial will be useful and understandable even for beginners!


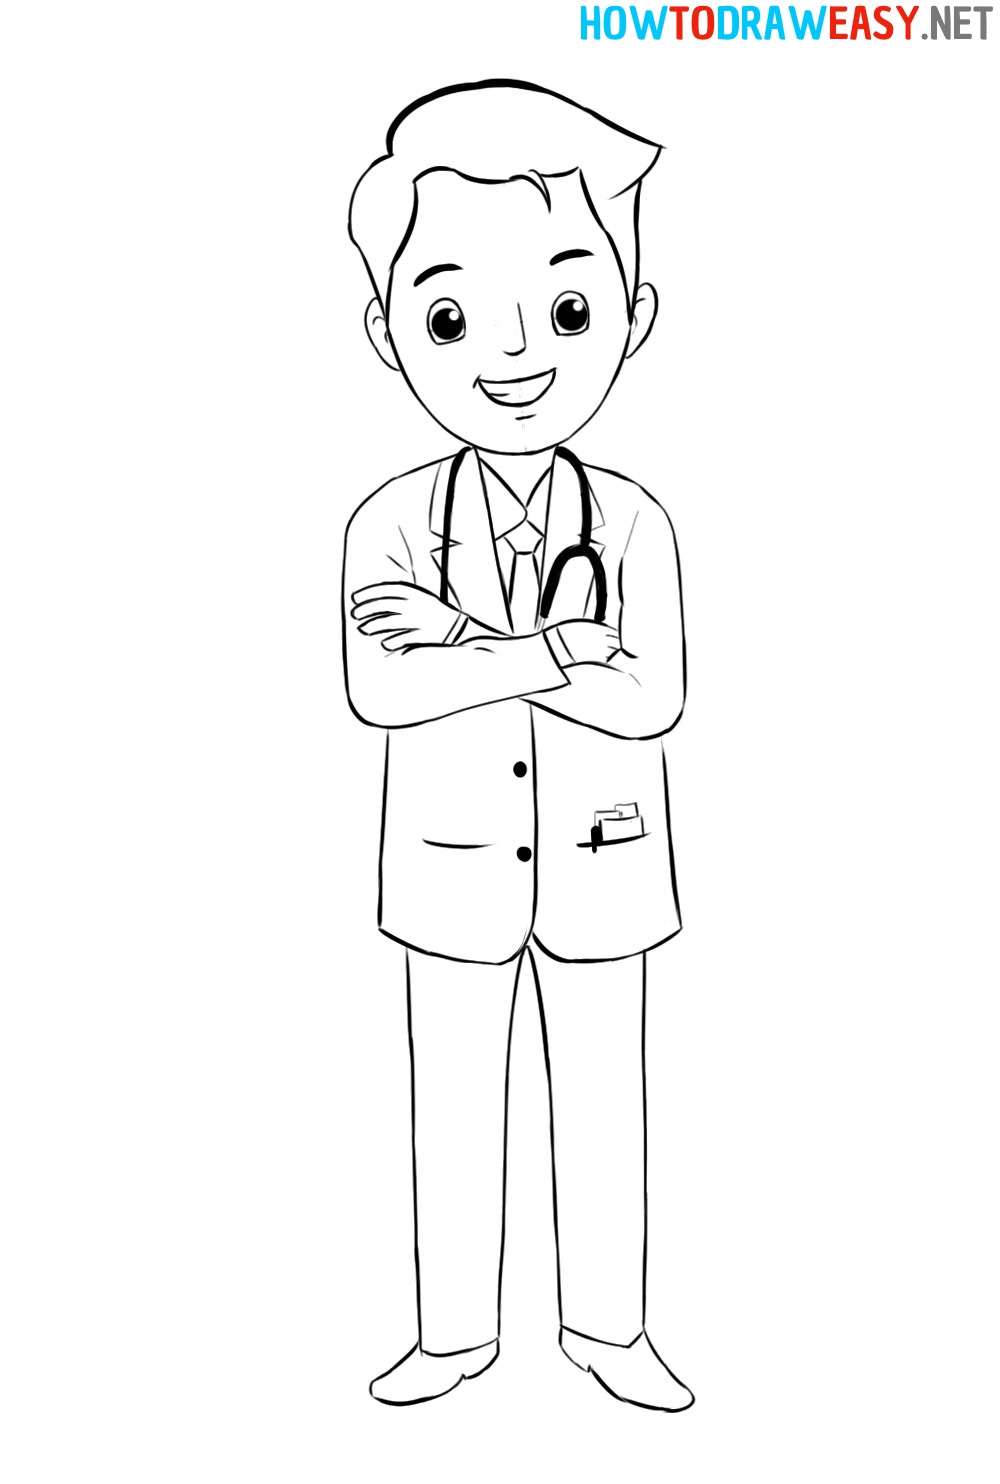
In this drawing tutorial, you will learn how to draw a doctor easy in detailed steps. In this step-by-step sketch guide, we drew a cartoon image of a person for you, which is much easier to sketch than a realistic face. But the lesson is very detailed, so you can easily draw this doctor. If you want to draw a realistic face, then try sketching the face of Tony Stark or Bruce Wayne.
Time needed: 1 hour
How to Draw a Doctor Easy
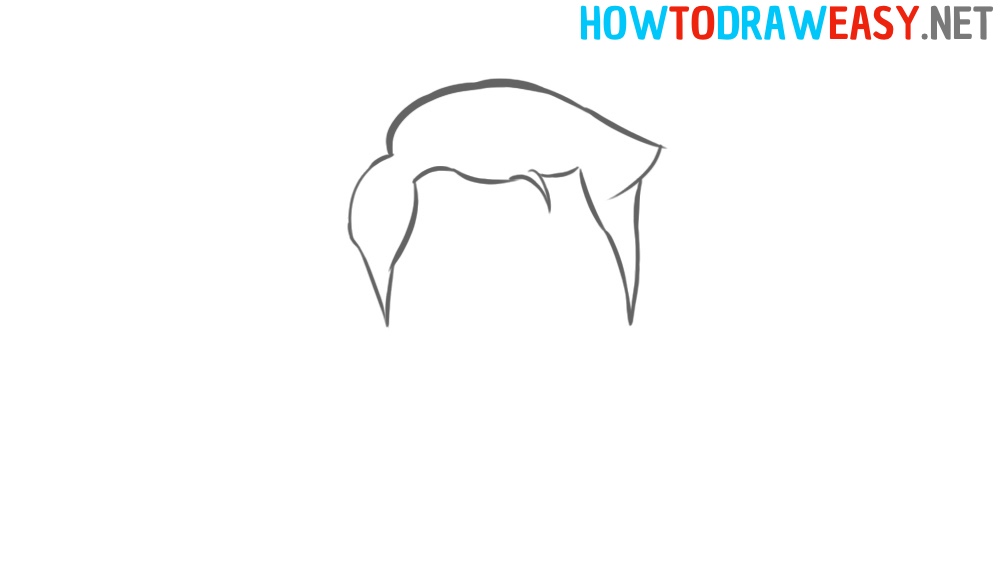
- Draw the hair.
We start drawing from the head, and first you need to draw the hair.
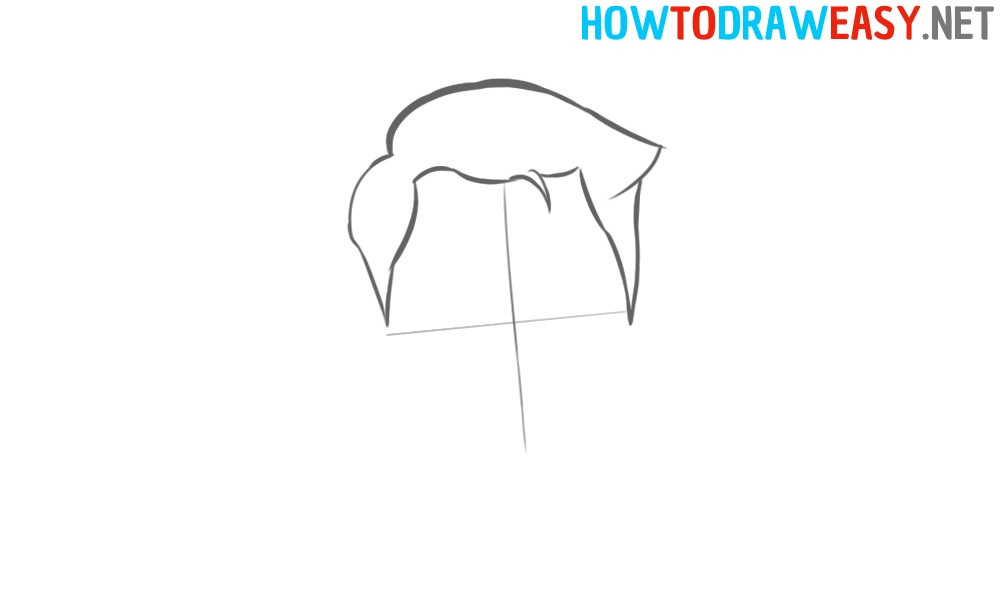
- Sketch out the guidelines.
Draw vertical and horizontal guidelines on the doctor’s face.
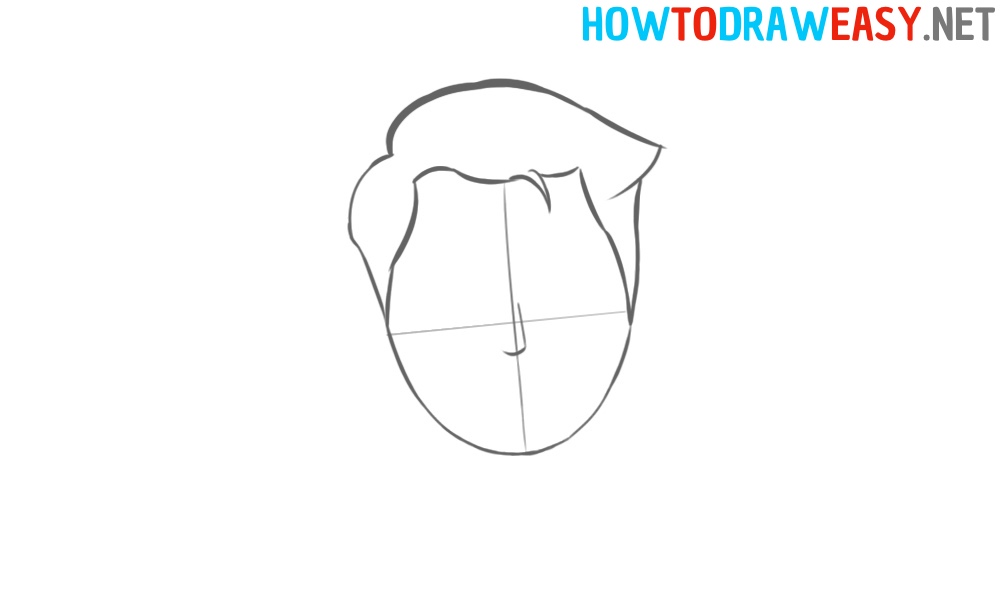
- Draw the shape of the face.
Draw the shape of the doctor’s jaw and chin. It is easy as the face is drawn in a cartoonish simple style.

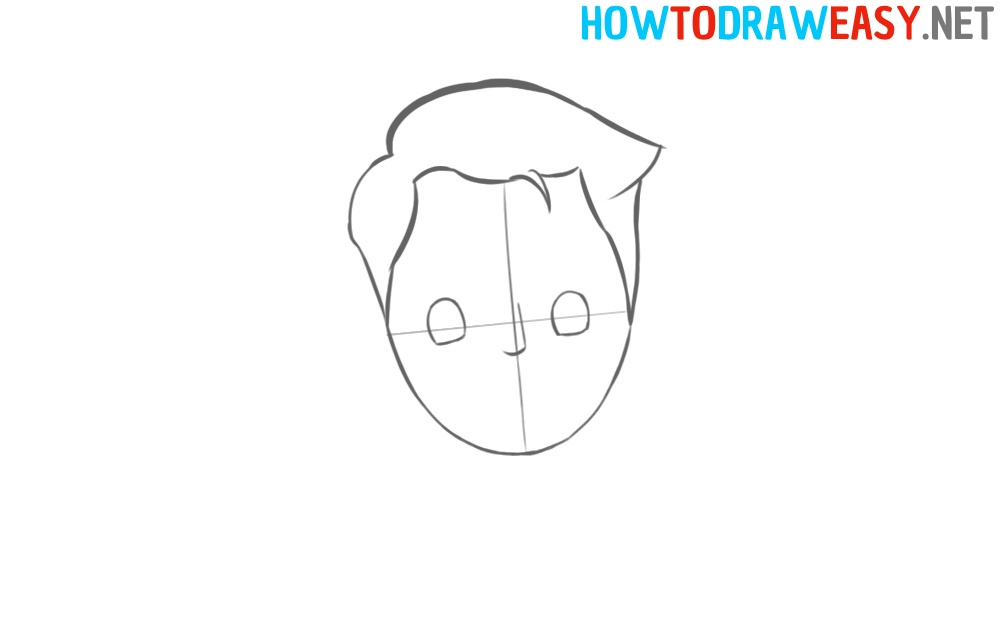
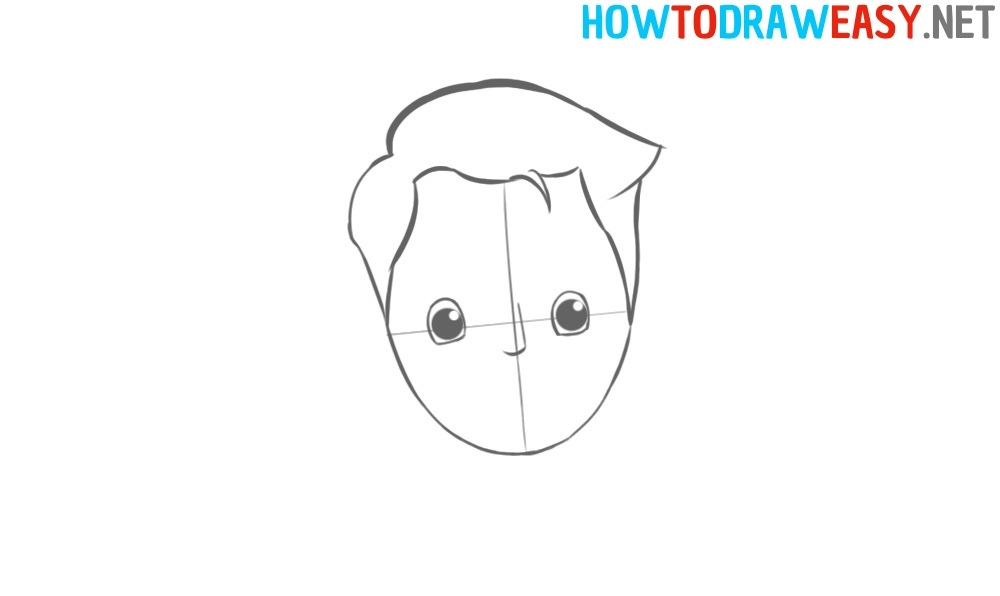
- Draw the nose.
Draw the small cartoon nose following the sketch in step.
- Eye contours.
Draw the outlines of the doctor’s cartoon eyes.
- Draw the pupils.
Now draw the pupils of the doctor’s eyes in the eyes outlines.
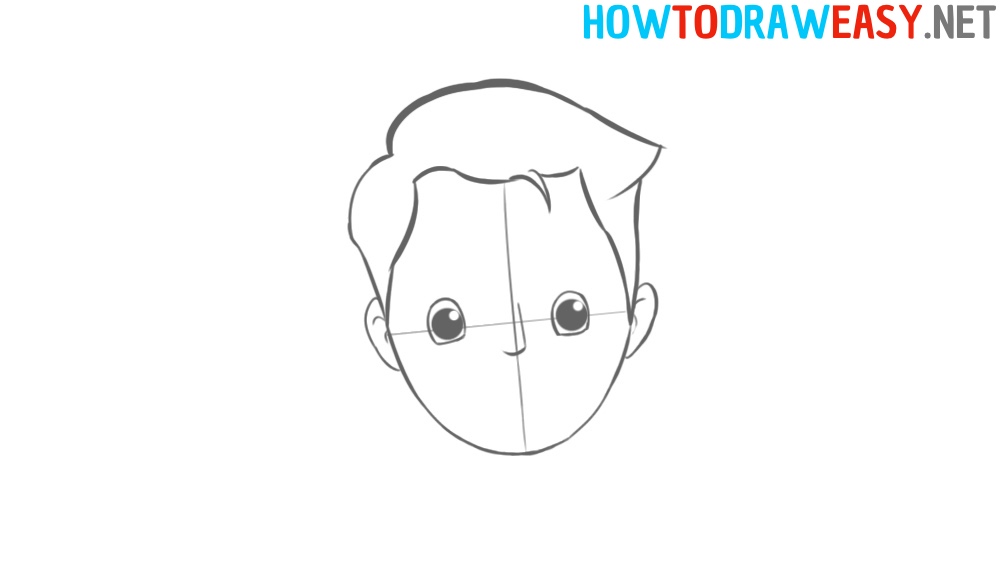
- Ears sketch.
Draw the medic’s ears.
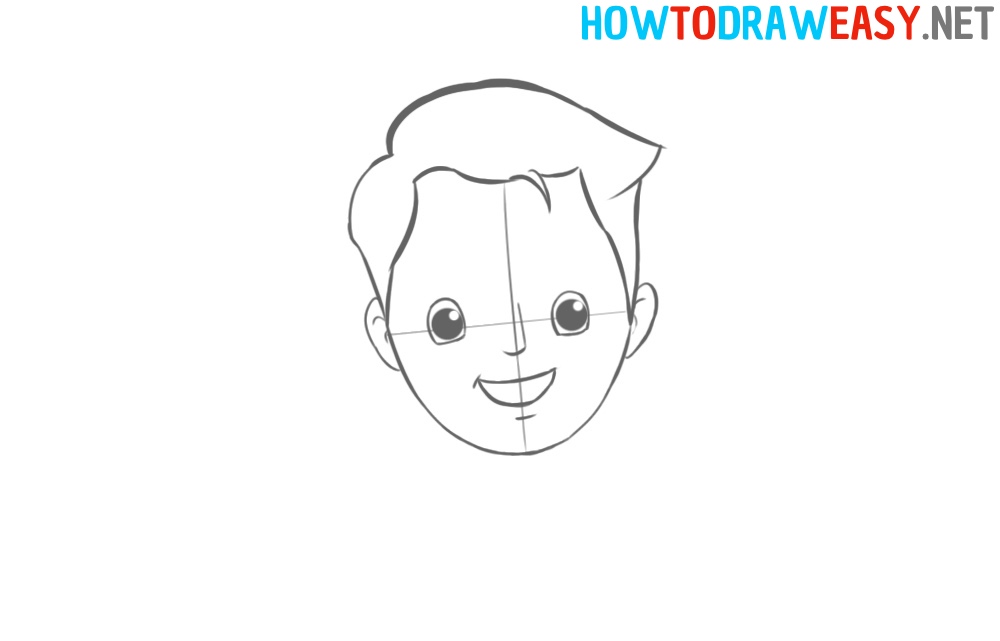
- Draw the mouth.
Draw the doctor’s smiling mouth that conveys the character’s emotions.
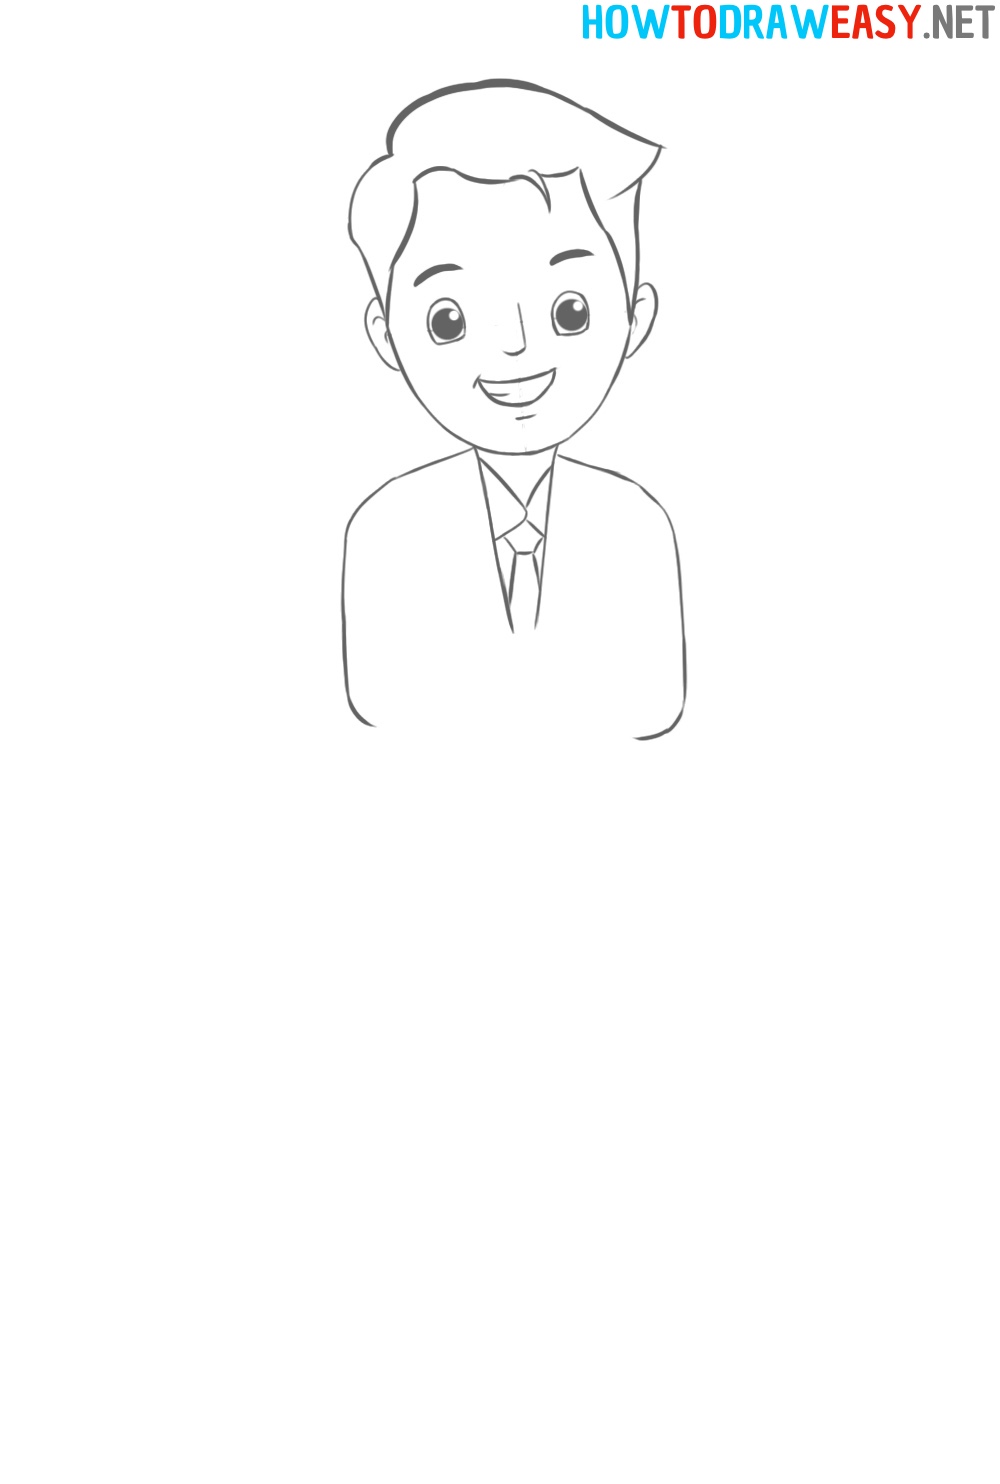
- Draw the eyebrows.
Draw the doctor’s eyebrows, and also erase the guidelines from the face. After that, check your sketch of the face, and if there are any mistakes and extra lines, then correct everything following the example.

- Draw the shoulders and neck.
Moving on to drawing the body of the person, and you need to start by drawing the neck, shoulders, and the top of the shirt.

- Shirt and arms lines.
Draw the lines of the arms, as well as the shirt and tie.
- Draw the sleeve.
Draw the sleeve of the doctor’s coat, from under which the sleeve of his shirt is slightly visible.

- Draw the second sleeve.
Now draw the second sleeve of the doctor’s coat in the same way as you drew the first one. Keep in mind that the person’s arms are in a crossed position.

- Draw the hands.
Draw the hands of the doctor, as well as his fingers.

- Draw the stethoscope.
Draw the collar of the doctor’s coat, and then draw the medical stethoscope.
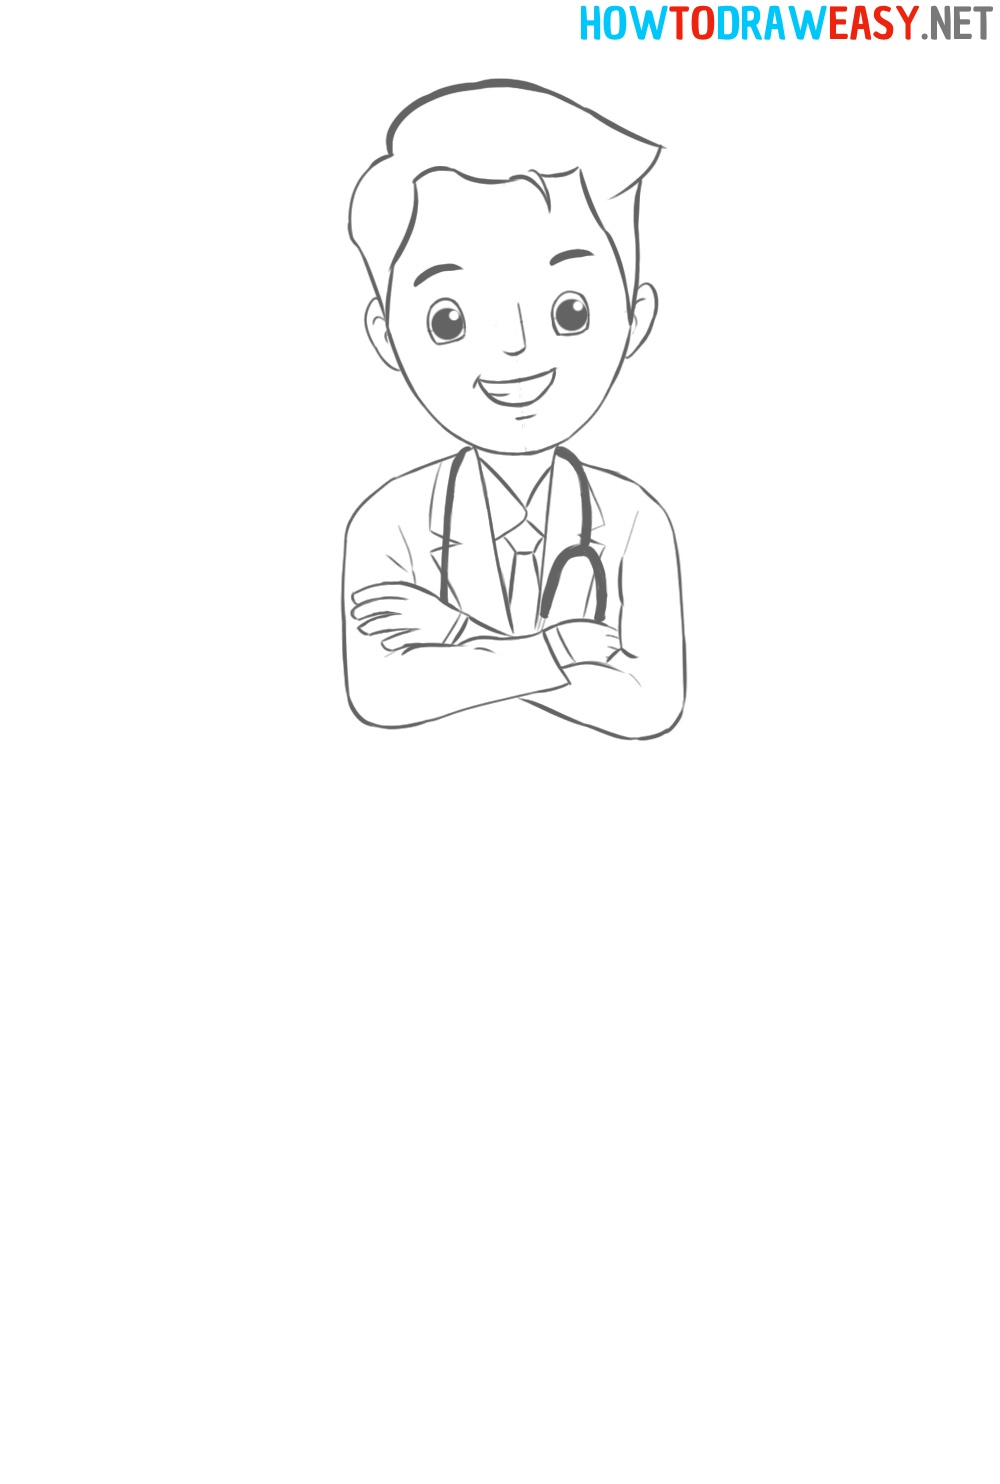
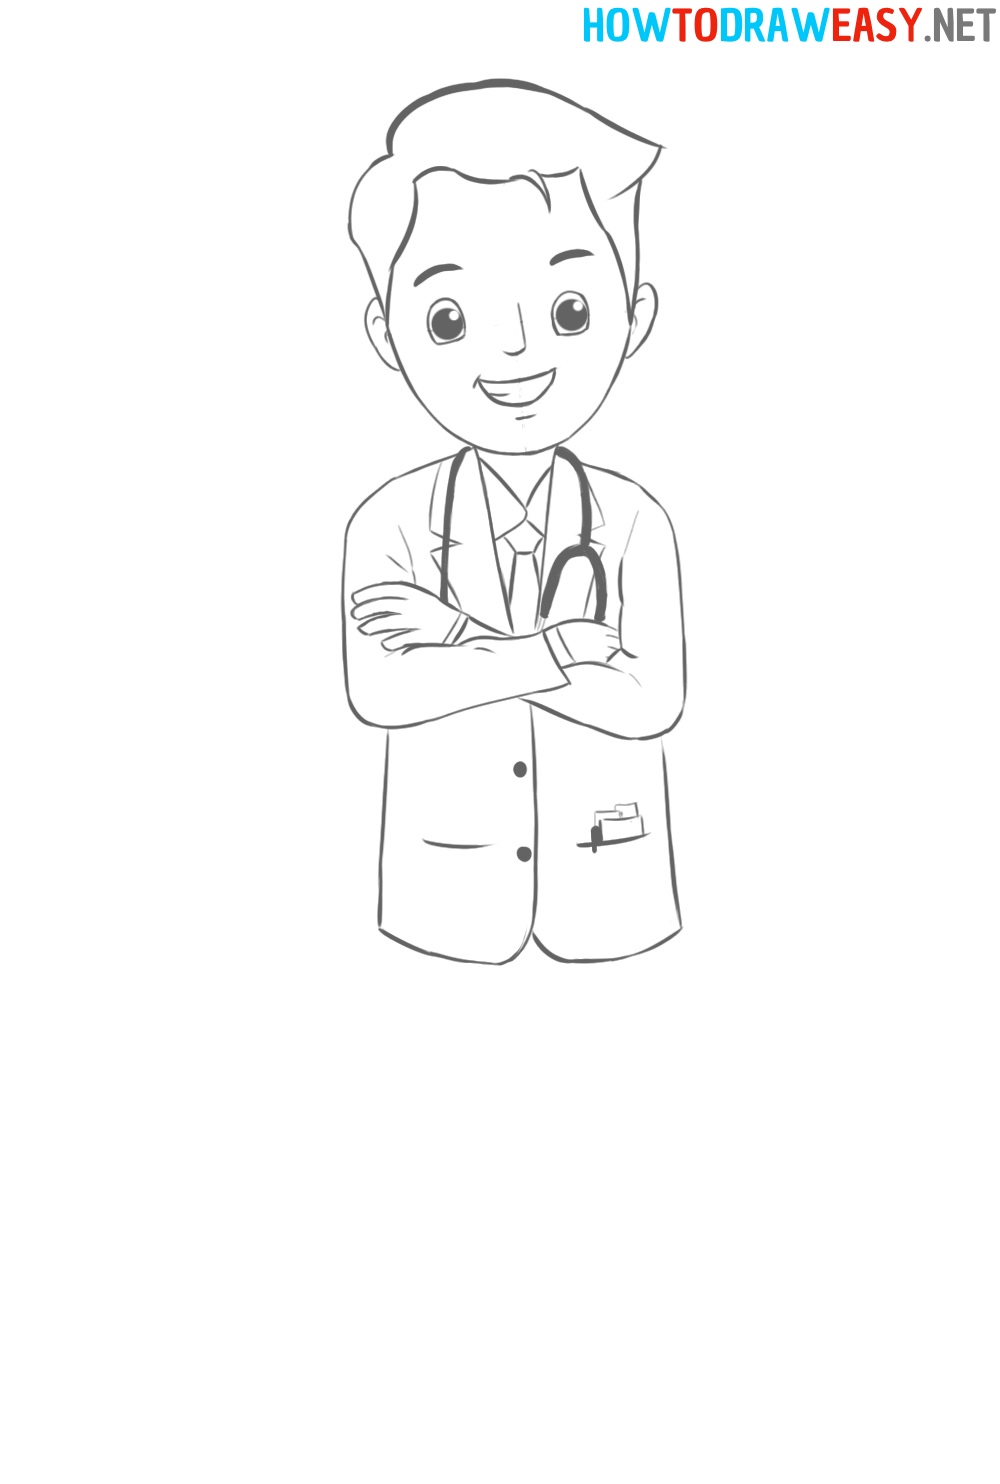
- Draw the bottom of the coat.
Draw the lower part of the coat with lines, as well as small details that will make the drawing more realistic. These are buttons, a pen in his pocket, and also the notebook.
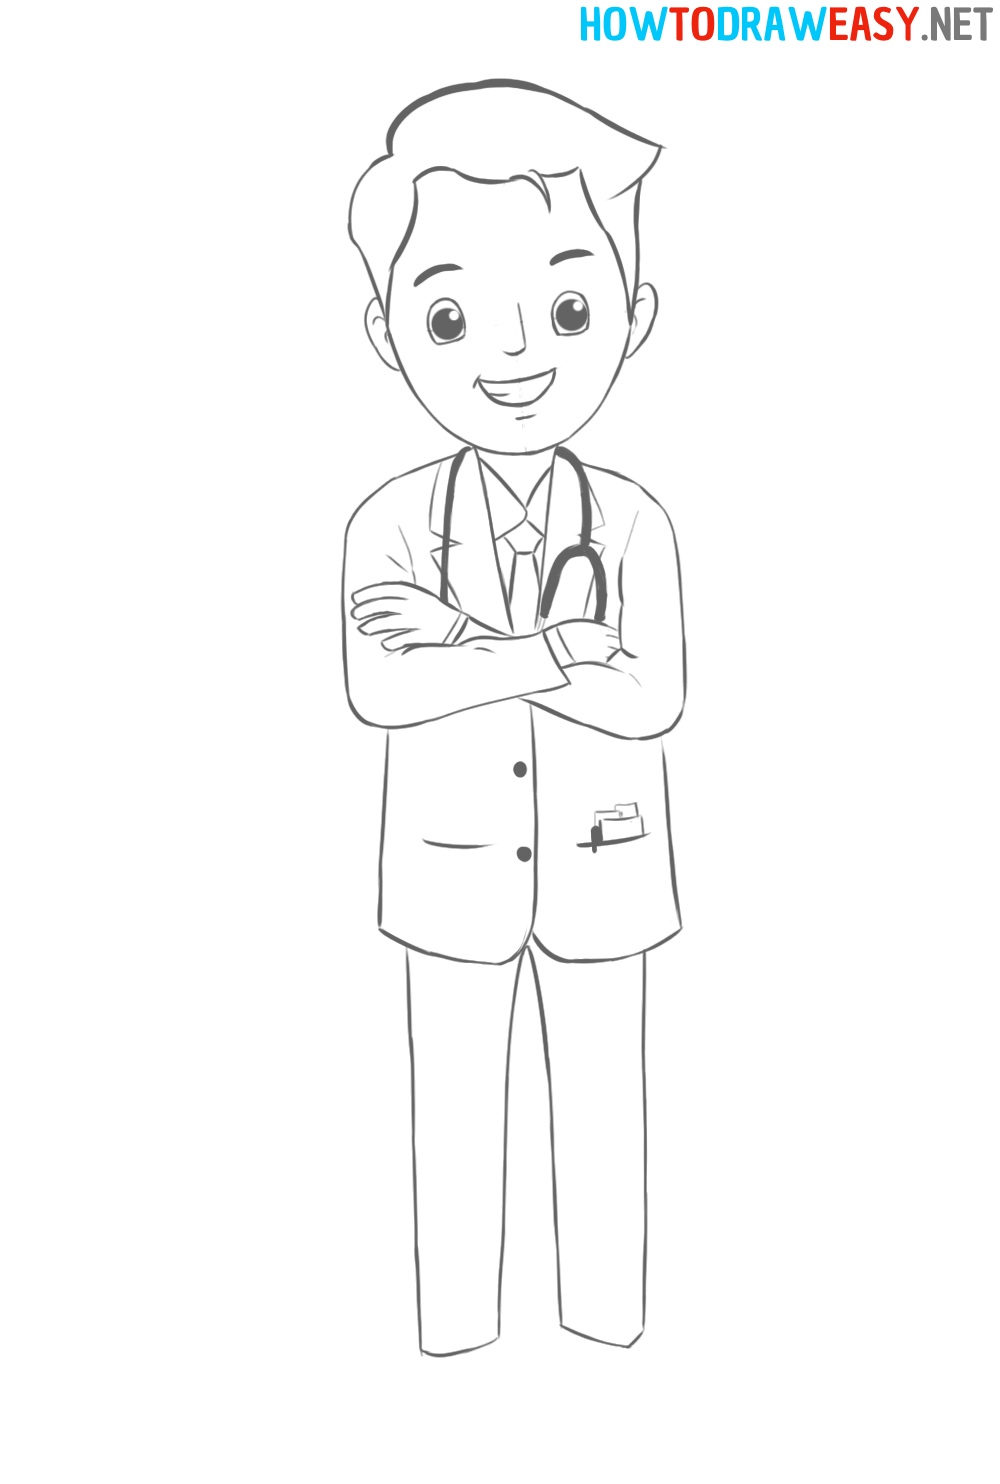
- Draw the doctor’s legs.
Draw the doctor’s pants with vertical lines.
- Draw the shoes.
Draw the classic doctor’s shoes.
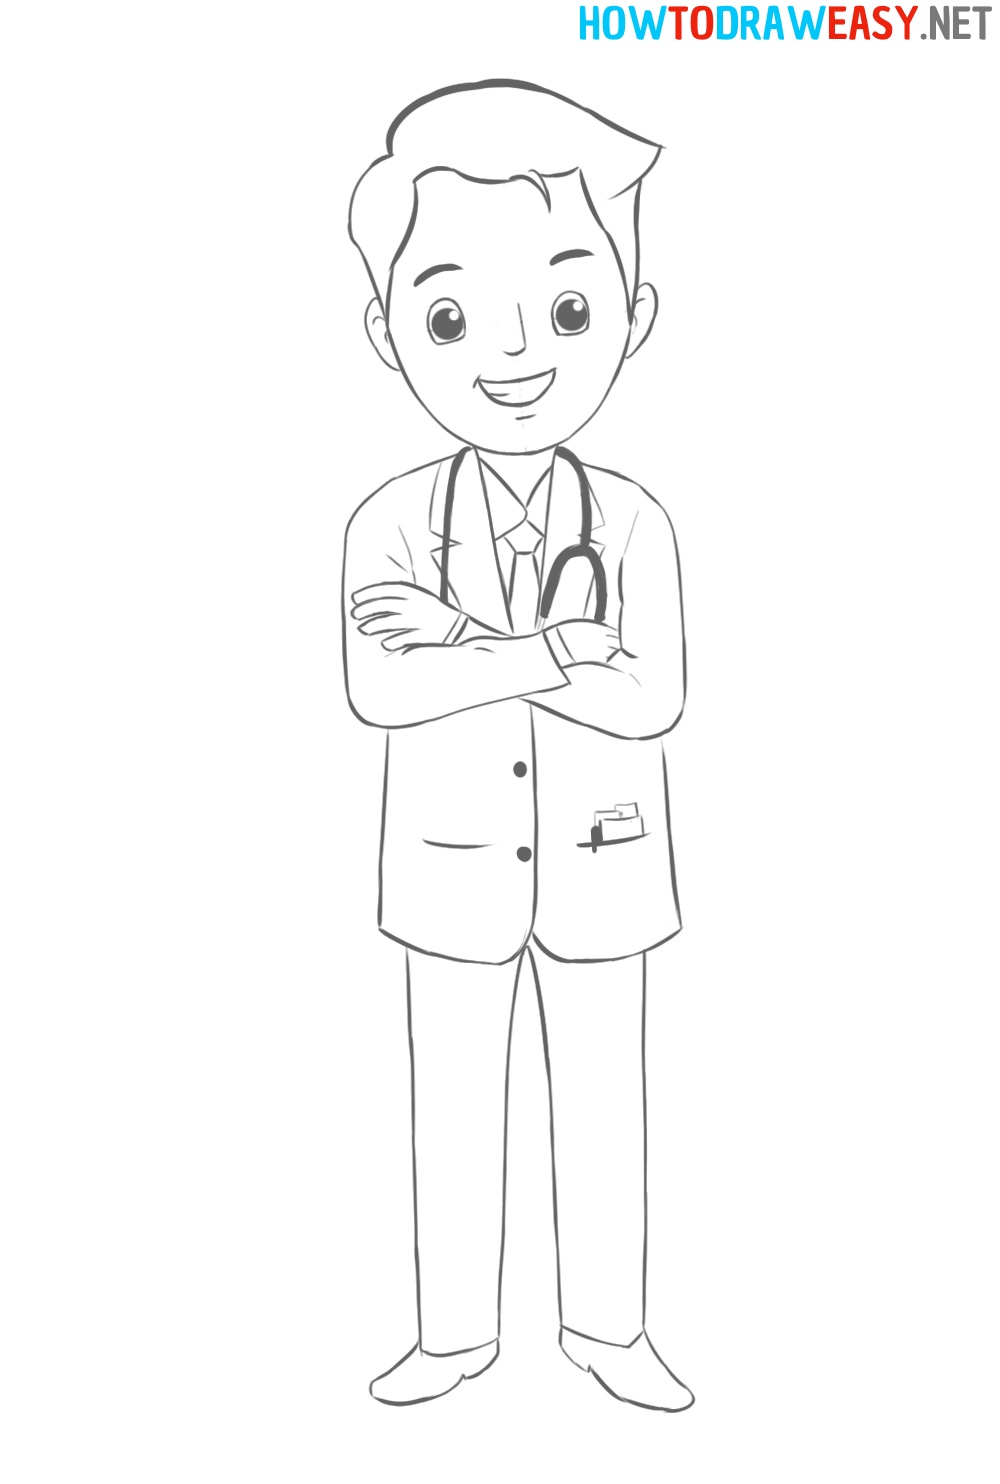
- Trace the sketch.
The pencil sketch is complete, you can now trace the sketch using a black marker or fountain pen and ink.
- Color the artwork.
Color the doctor’s drawing using your favorite coloring supplies, such as crayons, felt-tip pens, or paint. You can choose the colors of the picture yourself as you wish, for example, all the doctor’s clothes can be dyed dark blue.


Congratulations on completing the drawing of the doctor!
Recall that not only the result is important, but also the process, so we hope that this lesson has become not only useful for you, but also a pleasant pastime. Thank you for using our tutorial, and we wish you continued success in your creative journey!
Good