
How to Draw a Bear
Discover how to draw a bear step by step. This easy tutorial shows beginners how to sketch, outline, and color a cute bear using simple shapes.


Bears Are Powerful and Fascinating Animals
Bears are fascinating animals, and learning how to draw a bear is a fun way to practice drawing wildlife. In this step-by-step tutorial, you will learn how to draw a bear using simple shapes and easy lines. This lesson is designed for beginners and young artists, so anyone can follow along and create a cute bear drawing.
These large mammals live in forests, mountains, tundra, and even near rivers and coastlines. There are several species of bears, including brown bears, black bears, polar bears, and pandas. Each species has its own unique characteristics, but they all share strong bodies, thick fur, and rounded ears.
Bears are known for their strength and intelligence. Despite their size, they can move surprisingly fast and are excellent swimmers. Many bears spend a lot of time searching for food such as berries, fish, insects, and honey. Their thick fur helps them survive cold climates, and some species even hibernate during the winter.
Because of their distinctive appearance, bears are popular characters in cartoons, books, and illustrations. Their rounded shapes and simple body structure make them a great subject for beginner artists who want to practice drawing animals.
Why Bears Are Great for Drawing Practice
Bears are actually quite easy to draw because their bodies are made up of simple shapes. When artists draw animals, they often start with basic forms like circles and ovals to build the structure of the body. This technique helps make the drawing process easier and more accurate.
In this tutorial, we will use simple shapes to create the bear’s head, body, and legs. Then we will gradually add details such as the ears, muzzle, paws, and claws. By following the steps carefully, you will see how a simple sketch can slowly turn into a complete illustration.
What You Will Need for This Drawing Tutorial
Before you begin drawing the bear, it’s helpful to prepare a few basic art supplies. The good news is that this tutorial is very beginner-friendly, so you don’t need any special or expensive materials. Most of these tools are common and easy to find at home, in school, or in any art store.
First, you will need a sheet of paper. Any standard drawing paper will work well. If you prefer digital drawing, you can also use a tablet and a drawing app.
Next, prepare a pencil for sketching the basic shapes. A simple graphite pencil is perfect because it allows you to draw light guidelines and easily erase them if needed.
You will also need an eraser. An eraser helps you remove extra lines, fix mistakes, and clean up the sketch before adding the final details.
After finishing the sketch, you may want to use a black pen or marker to trace the final lines. This step makes the drawing look cleaner and more defined.
Finally, you can prepare some coloring tools if you would like to color your bear. Colored pencils, markers, or crayons all work well for this step.
Having these simple materials ready will help make the drawing process smooth and enjoyable. Once everything is prepared, you can start following the step-by-step guide to draw your bear.
What You Will Learn in This Tutorial
In this step-by-step lesson, you will learn how to draw a cute bear using simple lines and shapes. We will begin with the head, then add the body and legs, and finally finish the drawing with small details and color.
This tutorial is designed to be beginner-friendly, so even young artists or people who are new to drawing can follow along easily.
Time needed: 20 minutes
Bear Drawing Tutorial Step by Step
- Draw the Basic Head Shape
Start the drawing by sketching a rounded shape for the bear’s head. It should look like a soft circle or slightly flattened oval. Do not worry about making it perfect.
Inside this shape, draw two small dots for the eyes. Place them slightly above the center of the head and leave some space between them. These simple dots will help establish the position of the face.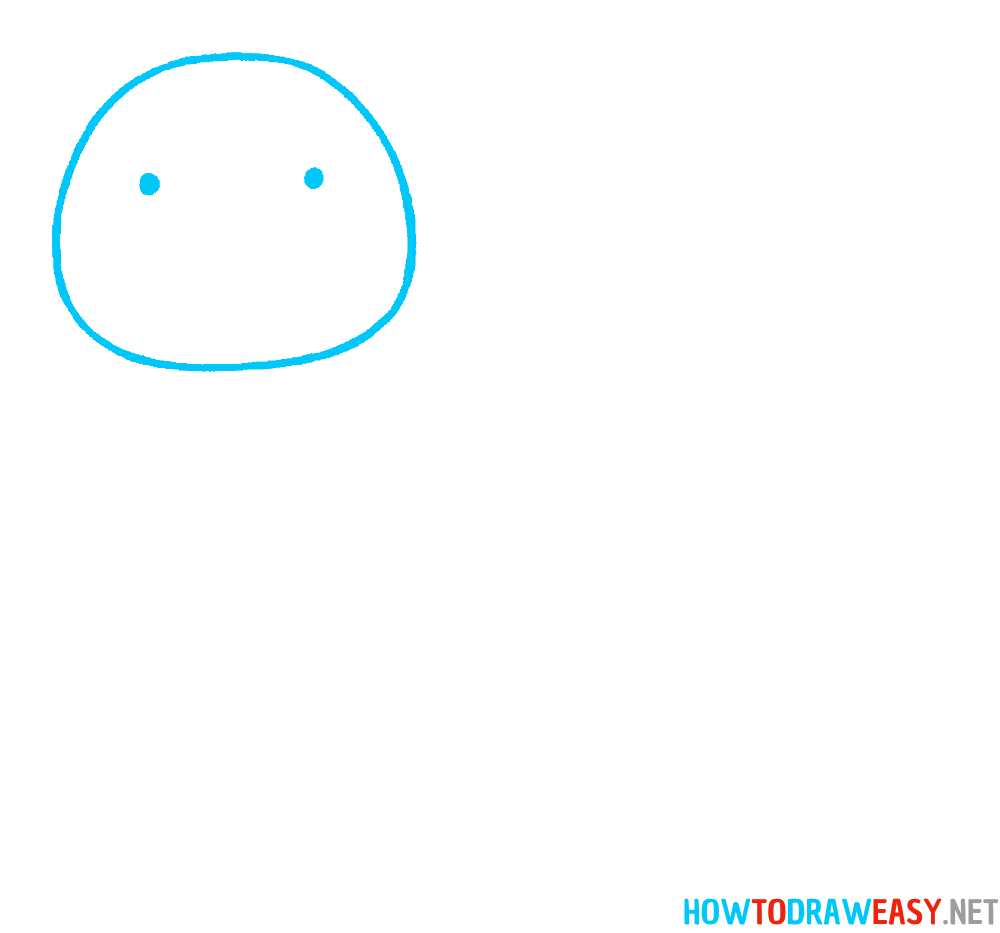
- Add the Ears and the Muzzle
Now draw two small rounded ears on the top of the head. Each ear should look like a small half-circle attached to the head.
Next, draw a long vertical oval shape in the center of the face. This will become the bear’s muzzle, which is the lighter area around the nose and mouth.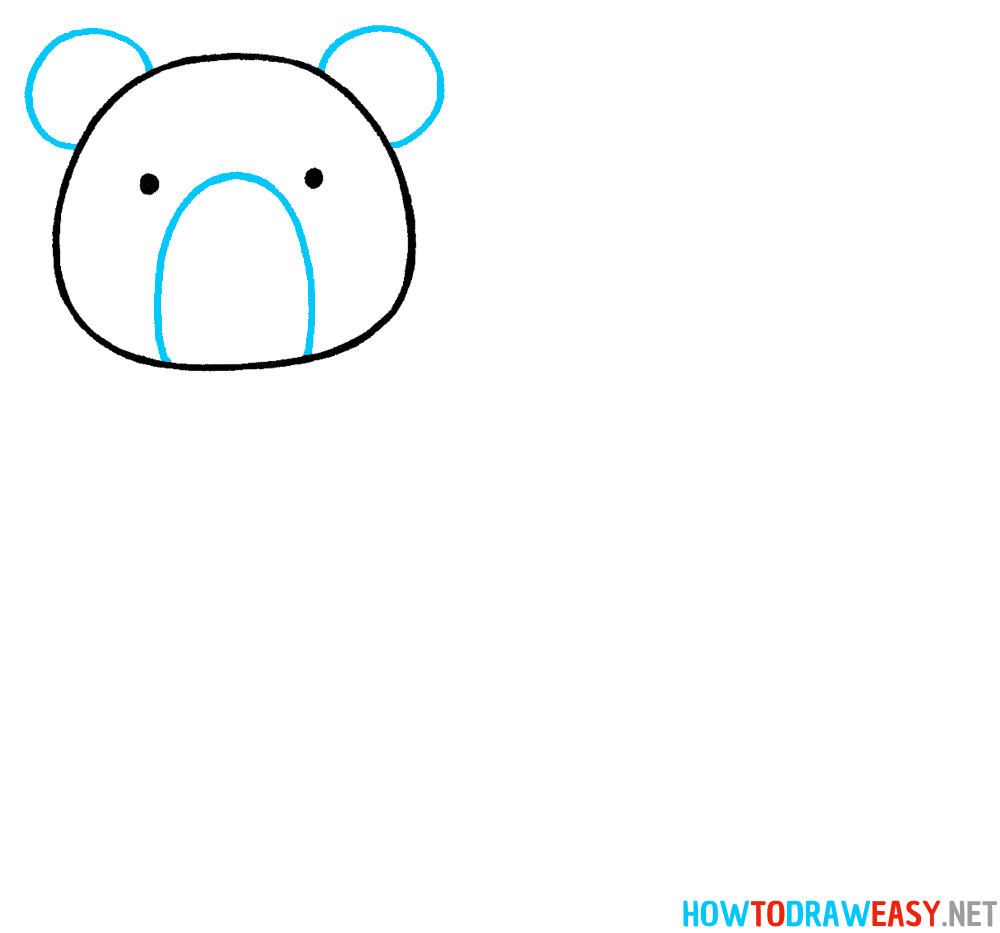
- Draw the Nose and Mouth
Inside the muzzle, add the nose and mouth details. Draw a small rounded or triangular nose near the top of the muzzle.
Below the nose, draw two curved lines forming the bear’s mouth, giving it a cute and friendly expression. At this stage, the bear’s face should already look recognizable.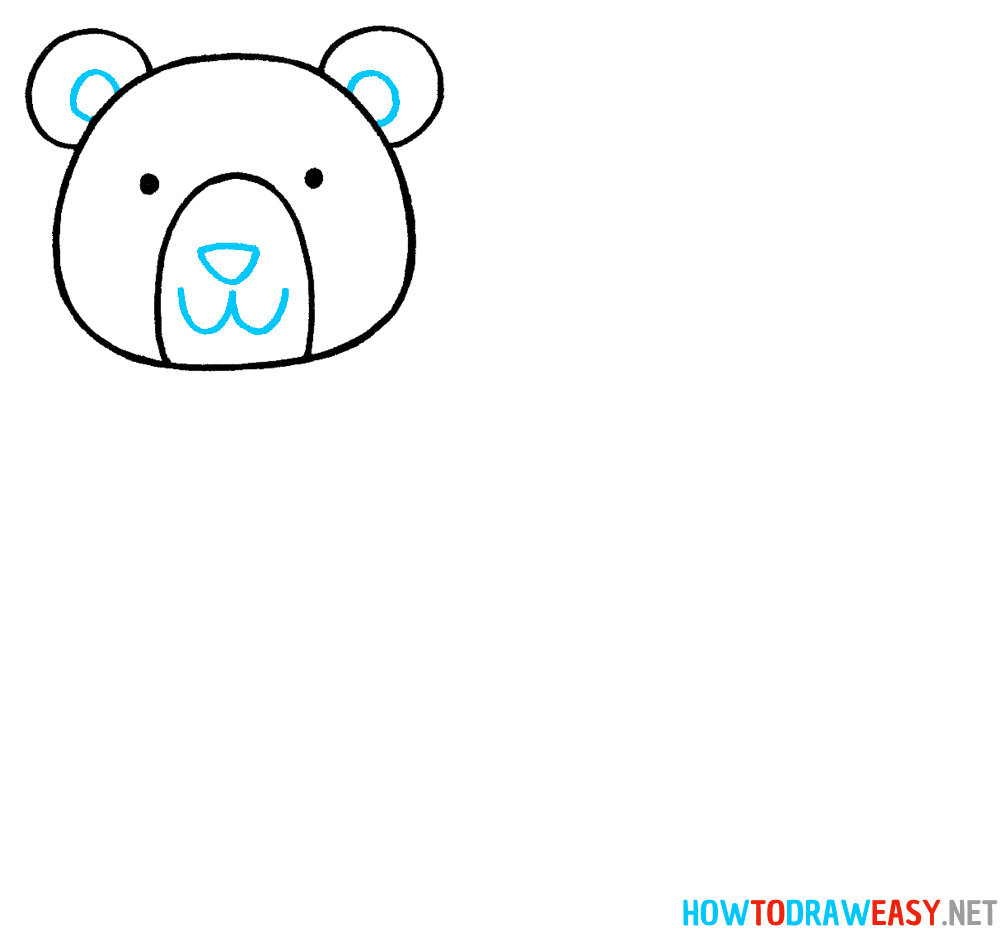
- Sketch the Body
Now it’s time to draw the body. Starting from the back of the head, draw a large oval shape that forms the bear’s body.
This oval should be much larger than the head, since bears have big, rounded bodies. Position it slightly behind and lower than the head so the bear looks natural.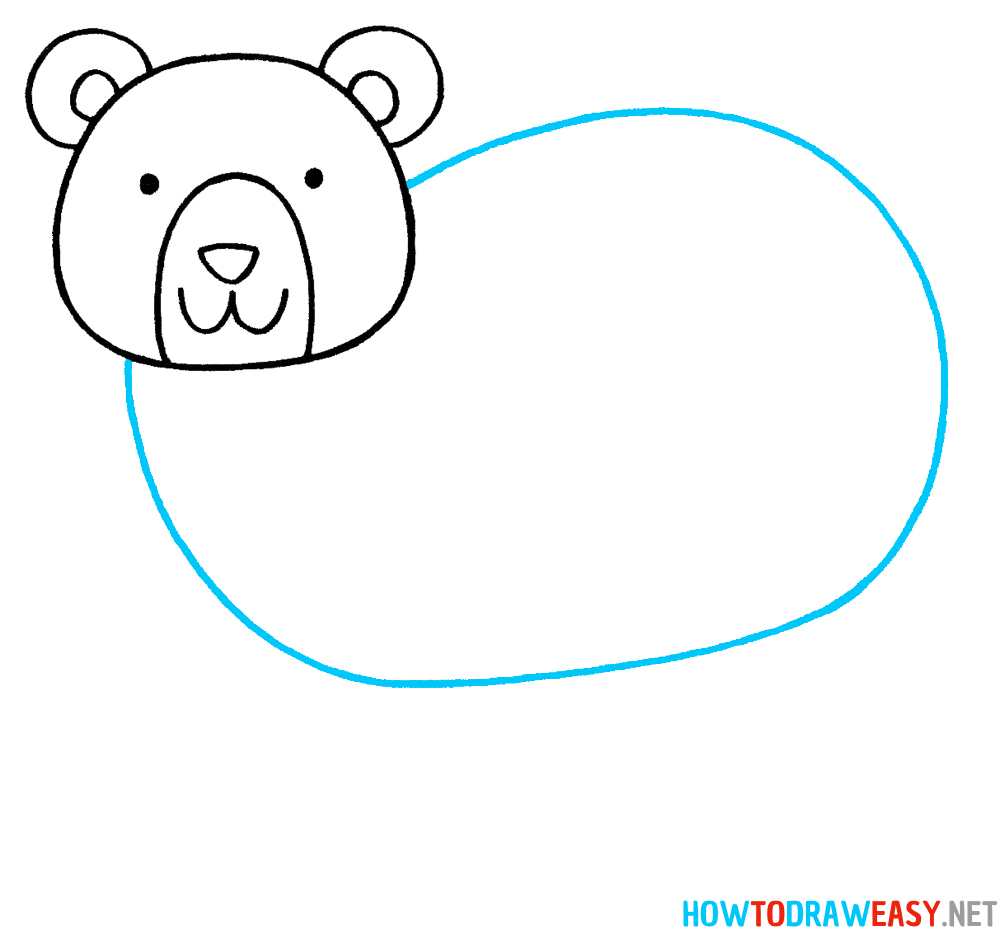
- Add the Chest and Shoulder
Draw a curved line that connects the head to the body, creating the bear’s chest and shoulder area.
This shape should look like a soft triangular or curved form in front of the body oval. It helps define where the front legs will attach and gives the bear a more natural structure.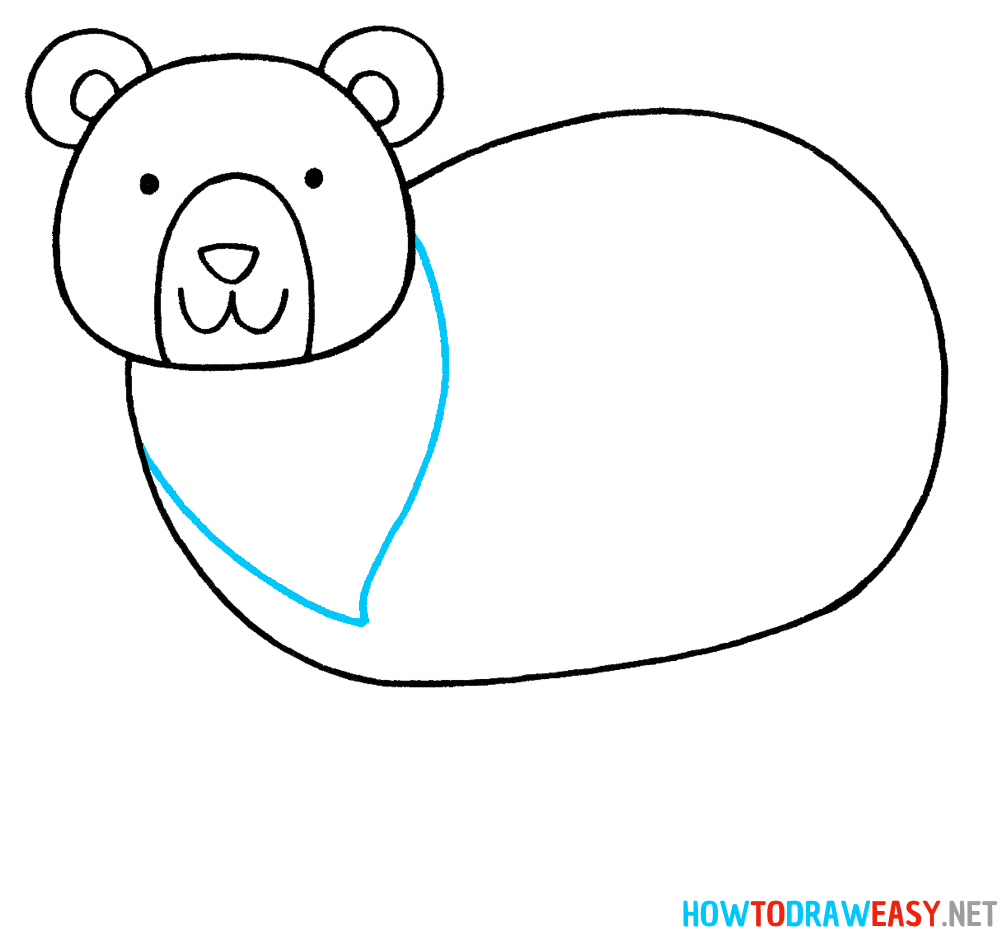
- Draw the Front Legs
Now add the front legs. Starting from the chest area, draw two thick curved shapes that extend downward.
Bear legs are strong and rounded, so keep the lines smooth and slightly wide. One leg should be slightly in front of the other to create a sense of depth.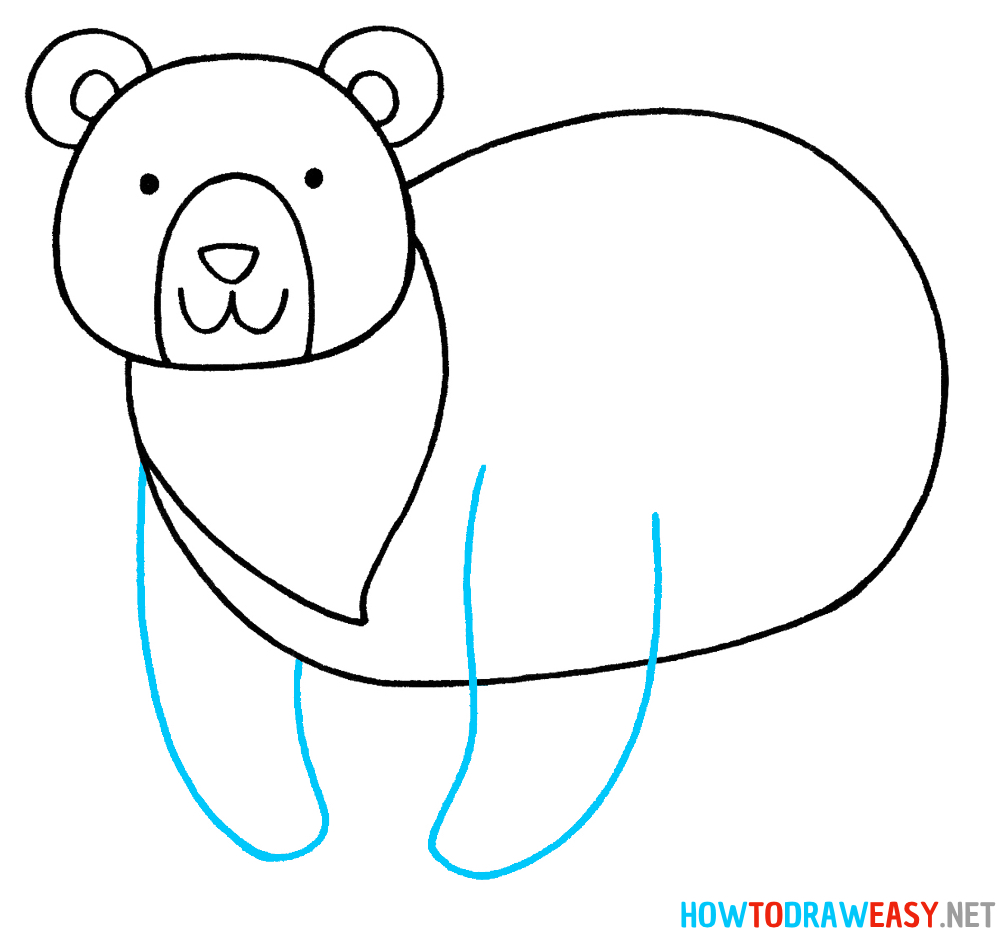
- Draw the Back Legs
Next, draw the back legs underneath the rear part of the body oval.
These legs should also be thick and rounded. The back leg closest to the viewer should be clearly visible, while the other one can be partially hidden behind the body.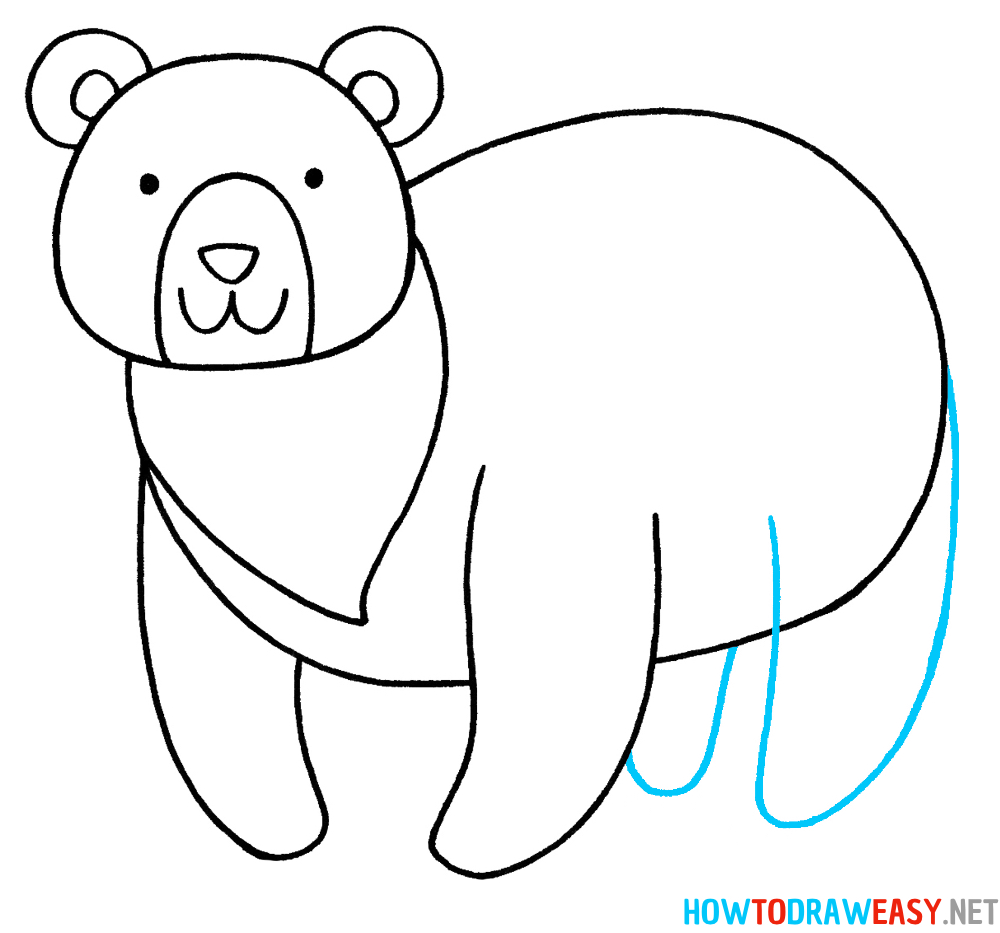
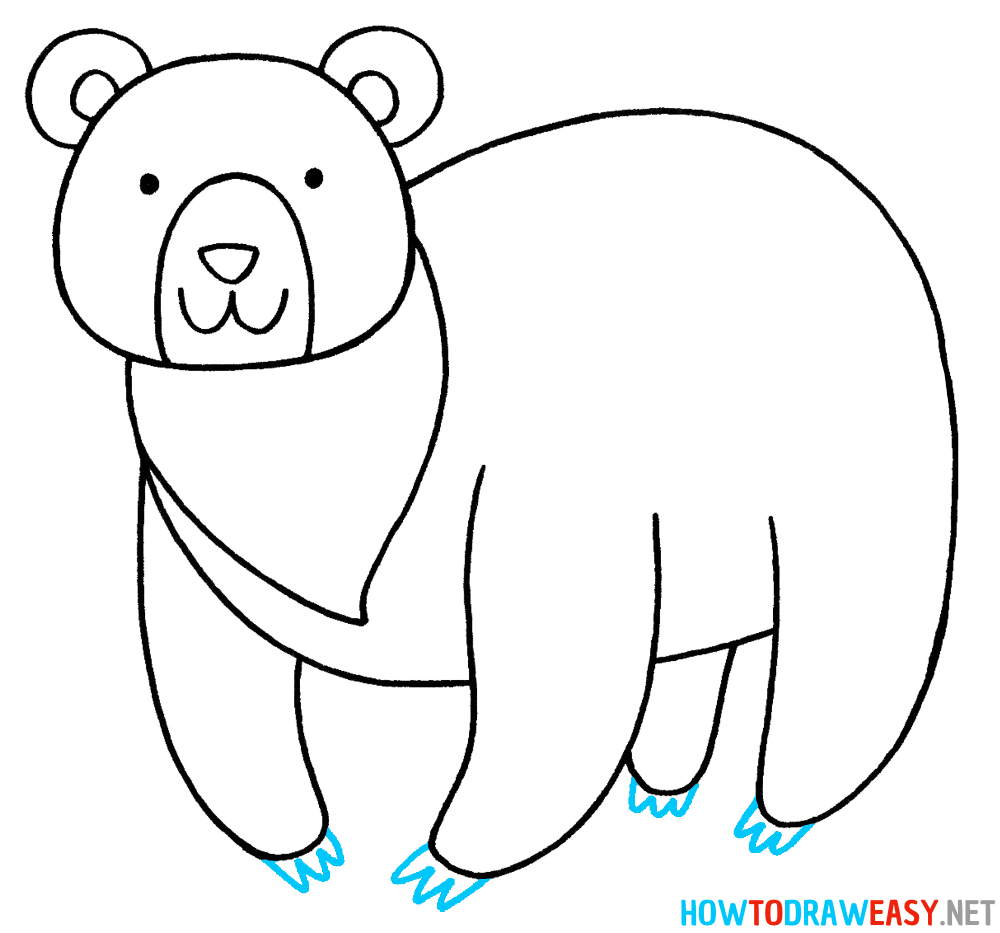
- Add the Claws
Add short pointed lines for the claws. Bears have noticeable claws, so these small details help make the drawing look more realistic while still keeping the style simple and cute.
- Color the Bear
In the final step, erase any unnecessary sketch lines and color the drawing.
Use brown tones for the bear’s fur, and add a lighter color to the muzzle and chest area. You can also color the nose darker and leave the claws a light gray or white.
Once finished, you will have a cute and simple bear drawing created step by step.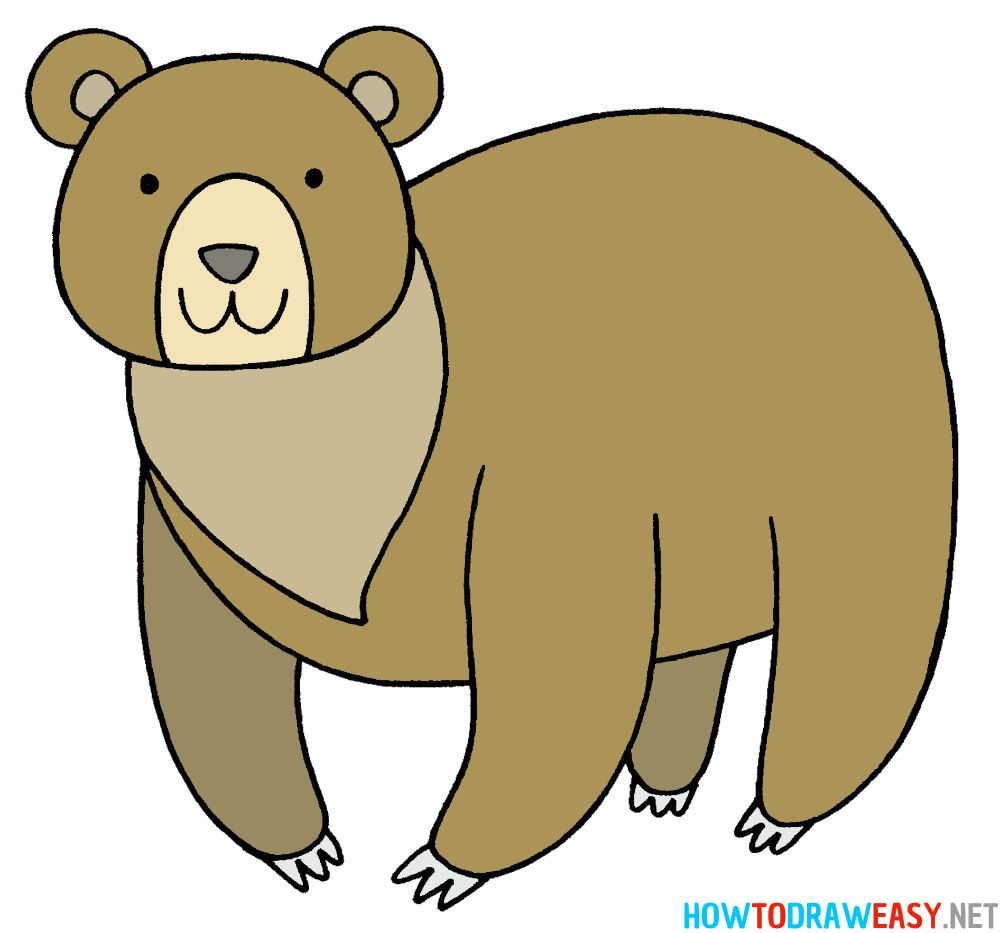


Is this bear drawing tutorial suitable for beginners?
Yes, this tutorial is designed especially for beginners. The bear is drawn using simple shapes such as circles and ovals, which makes the process easy to follow. Even if you are new to drawing, you should be able to complete this lesson by following the steps carefully.
How long does it take to draw this bear?
Most people can finish this drawing in about 10–20 minutes, depending on their drawing speed and level of detail. Beginners may take a little longer, but with practice you will be able to draw it much faster.
What materials are best for this drawing?
You only need basic drawing materials such as paper, a pencil, an eraser, and coloring tools like colored pencils or markers. If you prefer digital art, you can also draw the bear using a tablet and any drawing application.
Can kids follow this drawing tutorial?
Yes, this bear drawing lesson is very kid-friendly. The simple shapes and clear steps make it perfect for children who want to learn how to draw animals. It can also be a fun activity for parents and teachers to do with kids.
How can I make my bear drawing look better?
The best way to improve your drawing is practice. Try drawing the bear several times and experiment with different poses, expressions, or colors. You can also add small details such as fur texture or shading to make the drawing more interesting.
Conclusion
You Have Learned How to Draw a Bear
Congratulations! By following this step-by-step tutorial, you have learned how to draw a simple and cute bear. Starting with basic shapes and gradually adding details is one of the most effective ways to learn how to draw animals.
Even complex drawings often begin with very simple forms. Understanding this approach will help you draw many other animals and characters in the future.
Keep Practicing Your Drawing Skills
Drawing is a skill that improves with practice. The more often you draw, the more confident and comfortable you will become with shapes, lines, and proportions.
Try repeating this tutorial a few times and experiment with small changes. For example, you can draw a bigger bear, change the pose, or add a background like a forest or mountains.
Continue Learning to Draw Animals
If you enjoyed this tutorial, you can continue practicing with other animal drawing lessons. Many animals can be drawn using the same technique of simple shapes and step-by-step construction.
With patience and practice, you will soon be able to create your own animal drawings and develop your personal artistic style. Keep drawing, stay creative, and most importantly, have fun!