How to Draw a Parrot
Here you will learn how to draw a cute parrot step by step. We hope this tutorial gives you a great start in drawing birds.
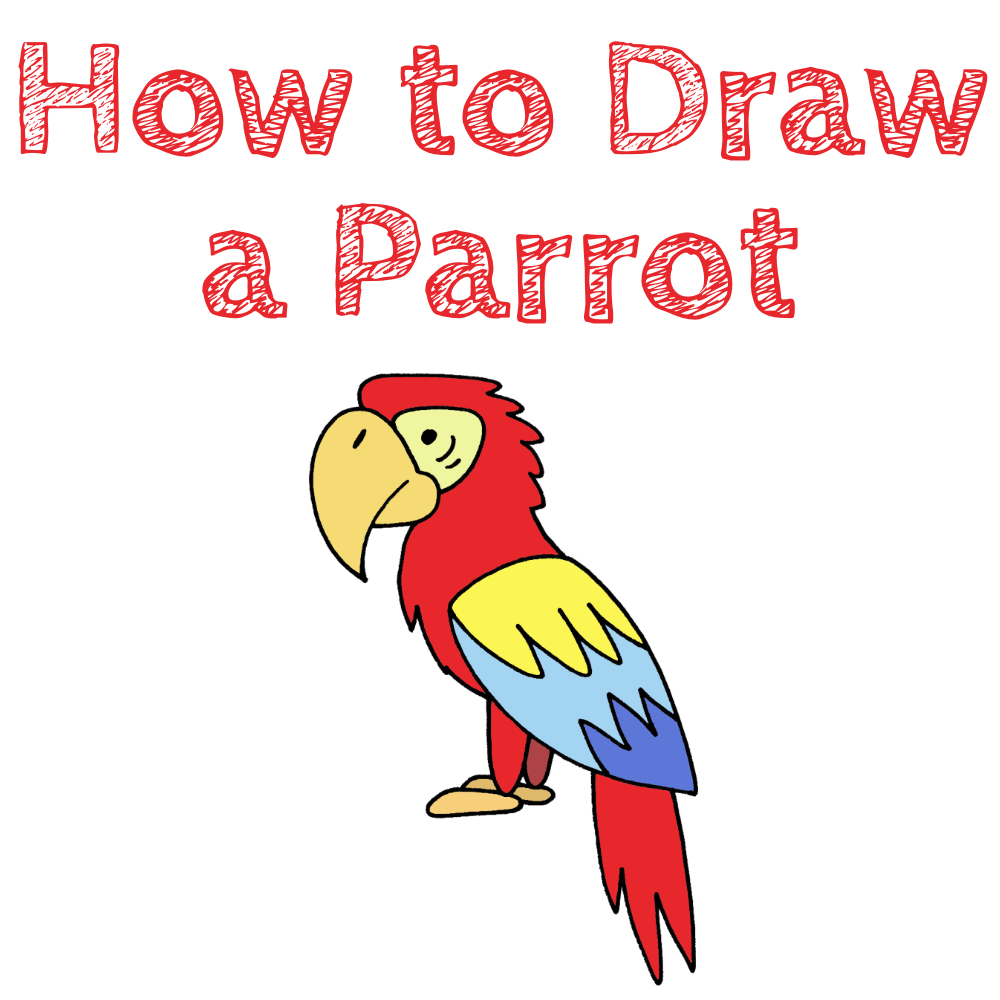
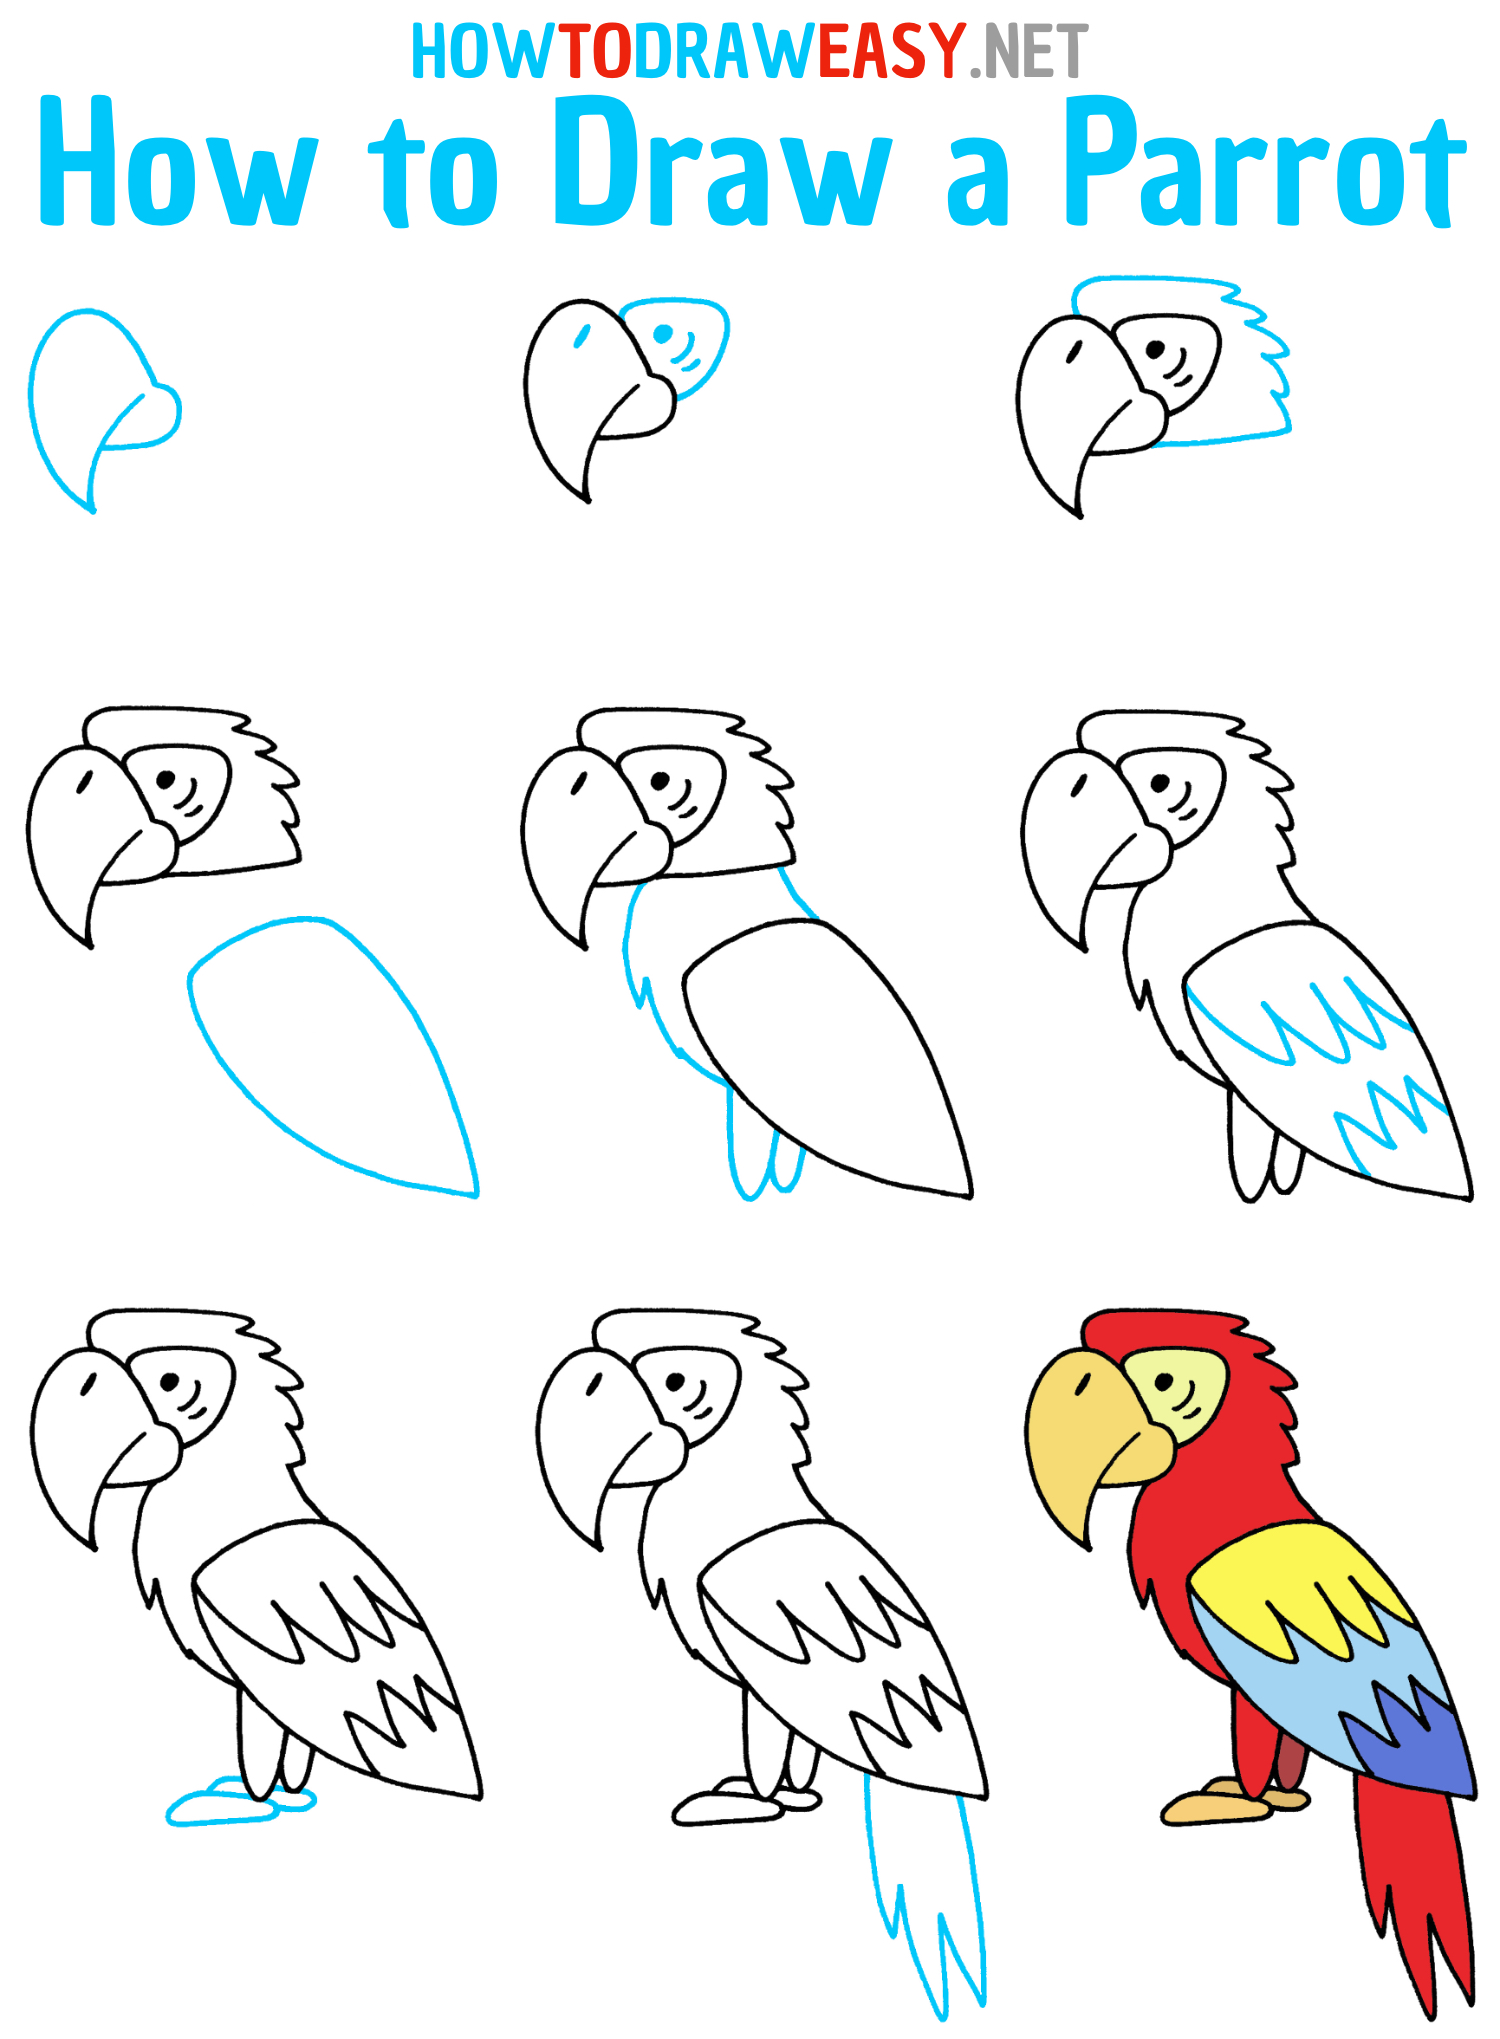
Welcome to the lesson on drawing parrots! Parrots are amazing birds that attract attention with their bright feathers and interesting behavior. We are glad that you have joined this drawing lesson, in which you will learn how to draw a parrot step by step.
Some species of parrots, such as macaws and cockatoos, are large and have brightly colored feathers in various shades of red, yellow, green, and blue. Other species may be smaller and have more modest feathers.
Parrots are known for their unique behavior, which includes a variety of different sounds and gestures. They can repeat words and sounds that they hear around them, as well as communicate with other birds and humans. Some species of parrots can also use natural tools to access food or create a nest.
Are you ready to start? Let’s get started on drawing a parrot!
Time needed: 25 minutes
How to Draw a Parrot Step by Step
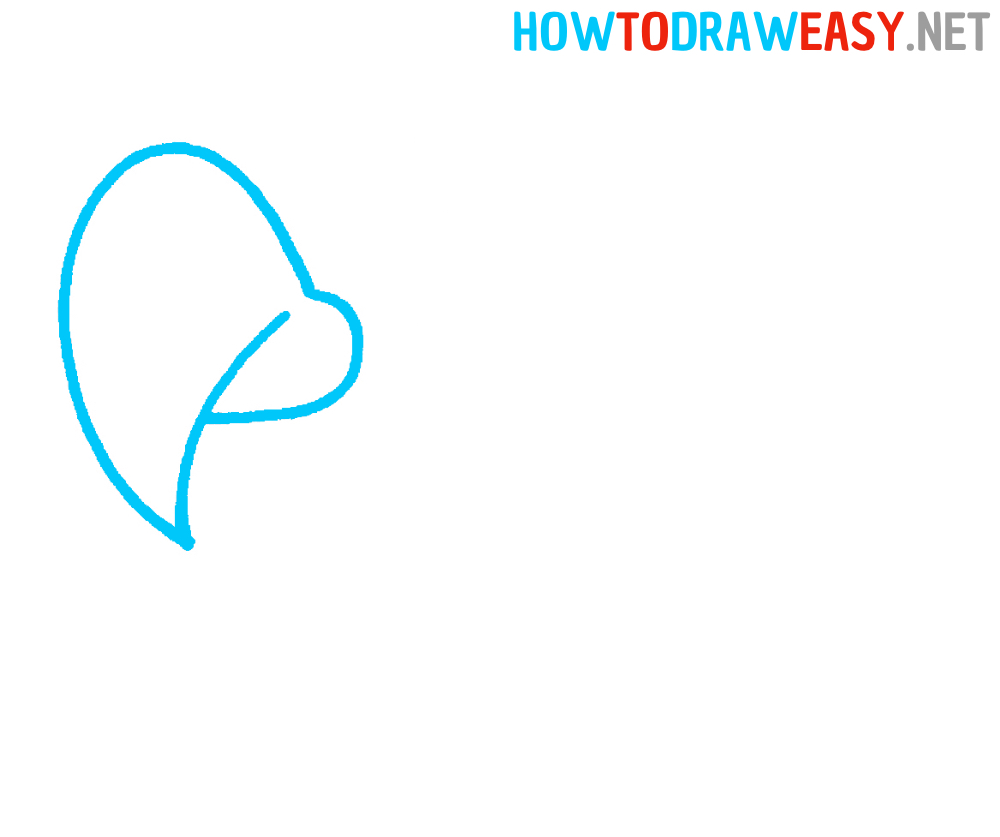
- Draw the beak.
Start by drawing the beak of the parrot. Following the example from the step, draw the beak using smooth and curved lines.
- Draw the eye.
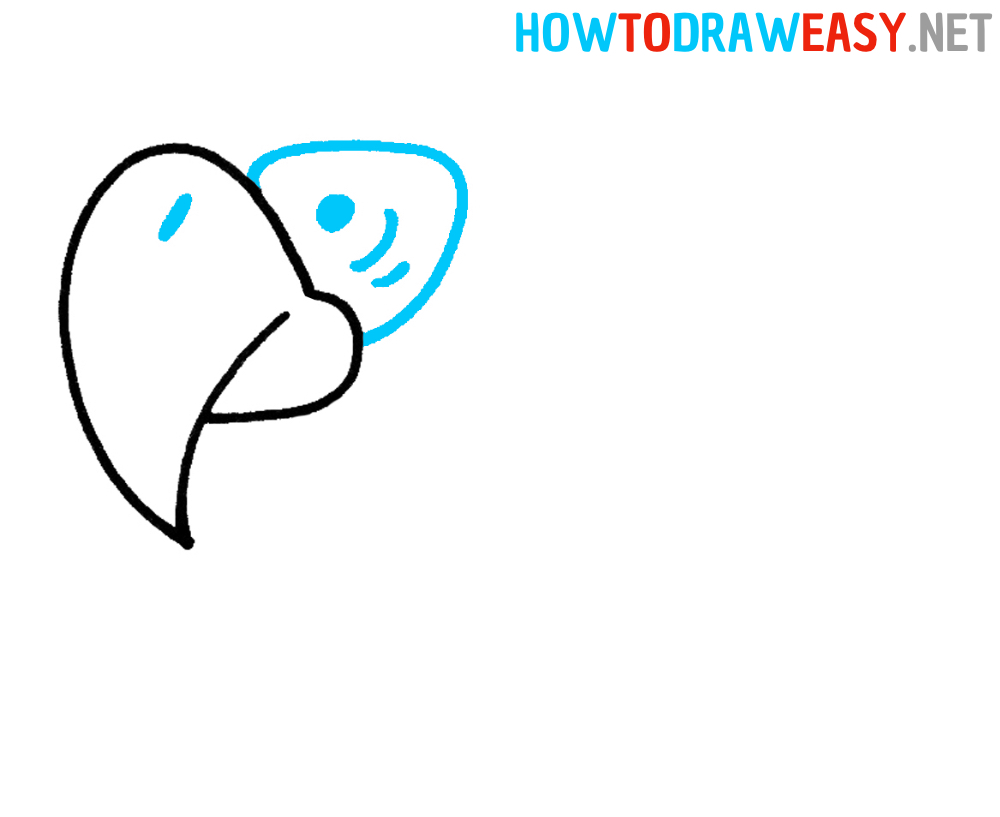
Now you need to draw a part of the face—the eyes and the area around the eyes, also depict the nostril on the parrot’s beak.
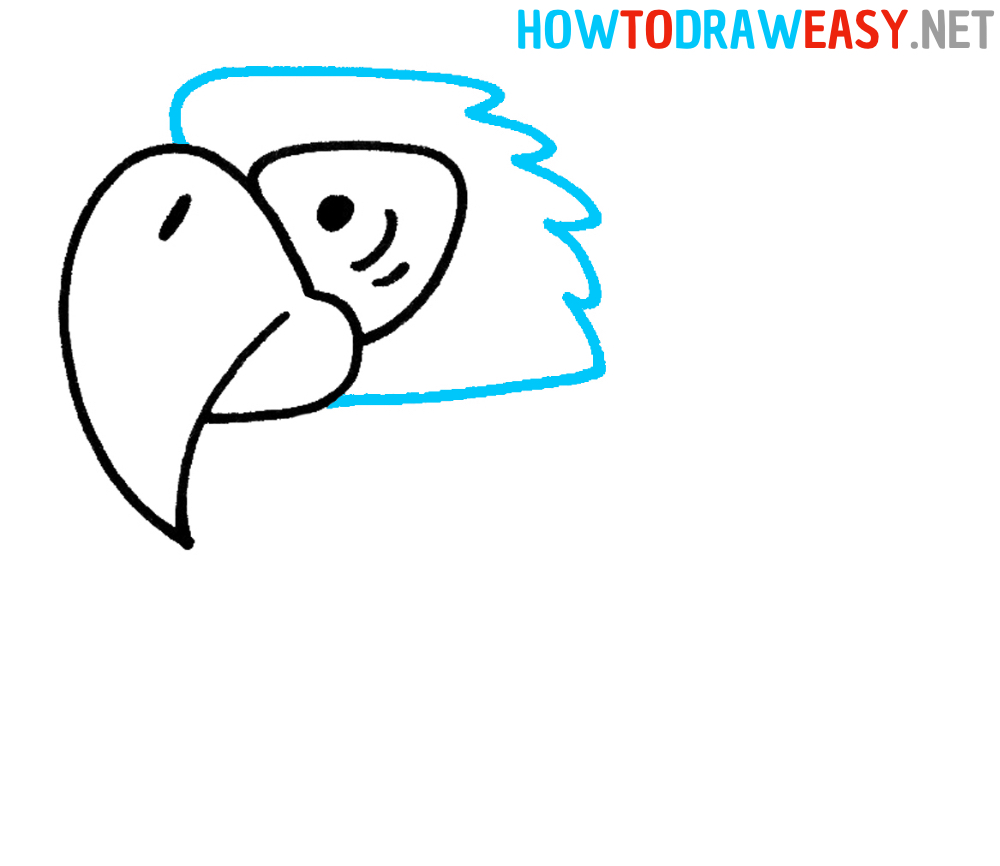
- Outline the head.
Now you need to draw the head of the parrot as in the example. Draw the top of the head using curved lines, then add the back of the head using wavy feather lines.
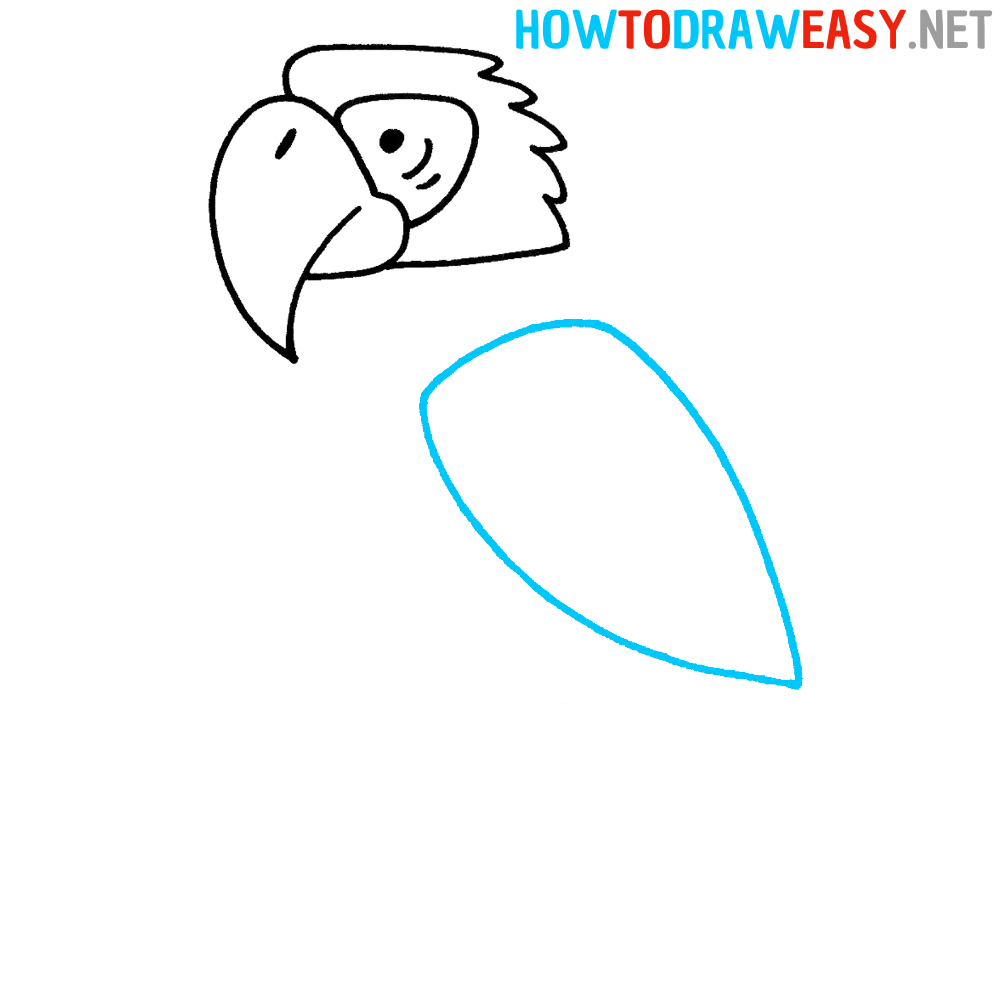
- Add the wing.
Under the parrot’s head, draw the large wing that visually resembles a knight’s shield.
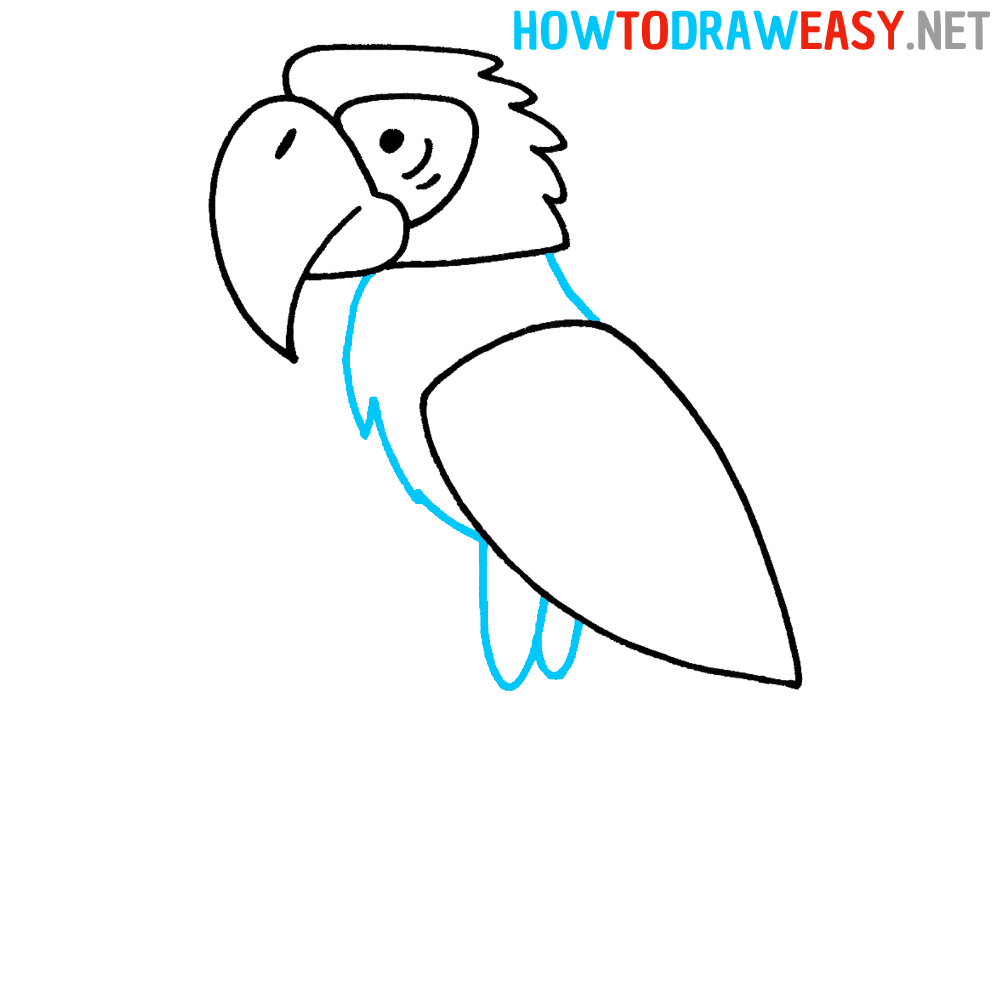
- Draw the body.
In this step, it is shown how you will need to depict the neck and torso for the parrot. You also need to draw the parrot’s thighs directly under the body.
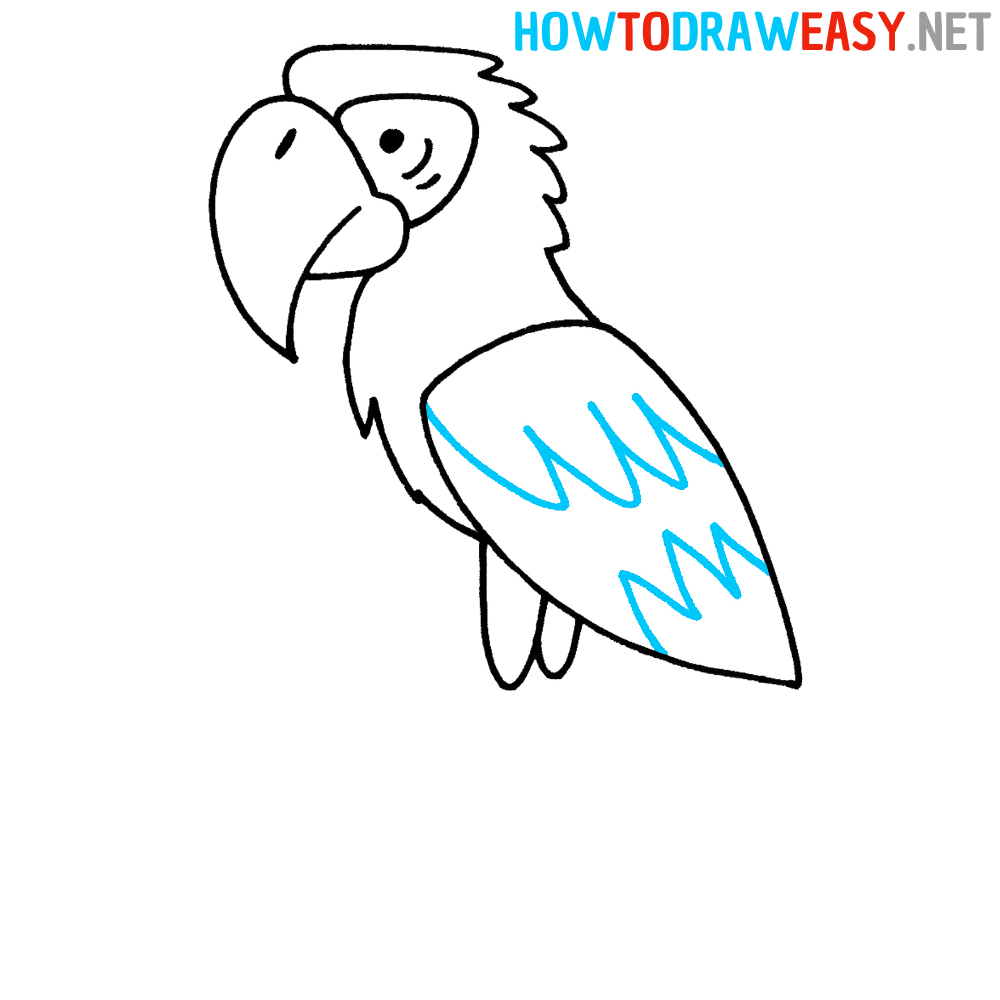
- Draw feathers.
Detail your parrot’s wing by adding feathers, as in the example.
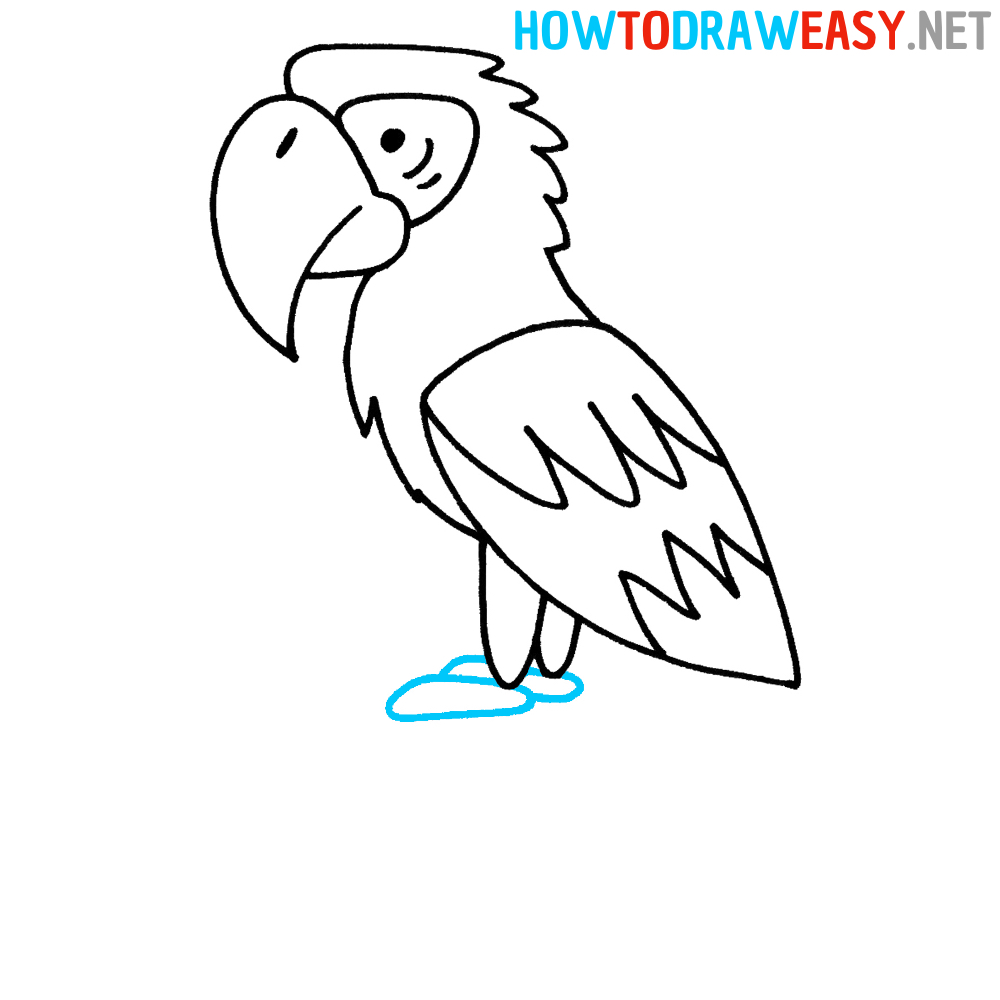
- Draw the feet.
Following the example from the step, depict your cartoon parrot’s feet.
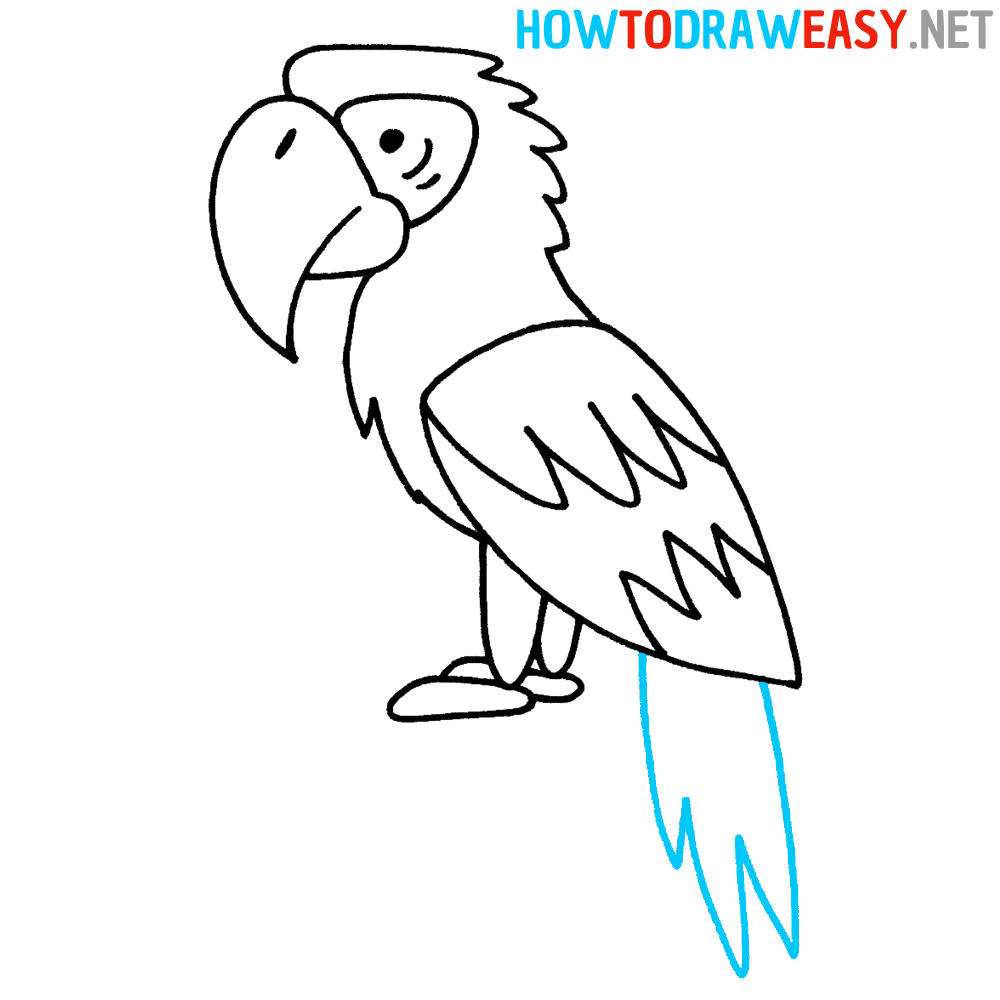
- Add the tail.
Under the drawn tail and body of the parrot, depict your parrot’s feathery tail.
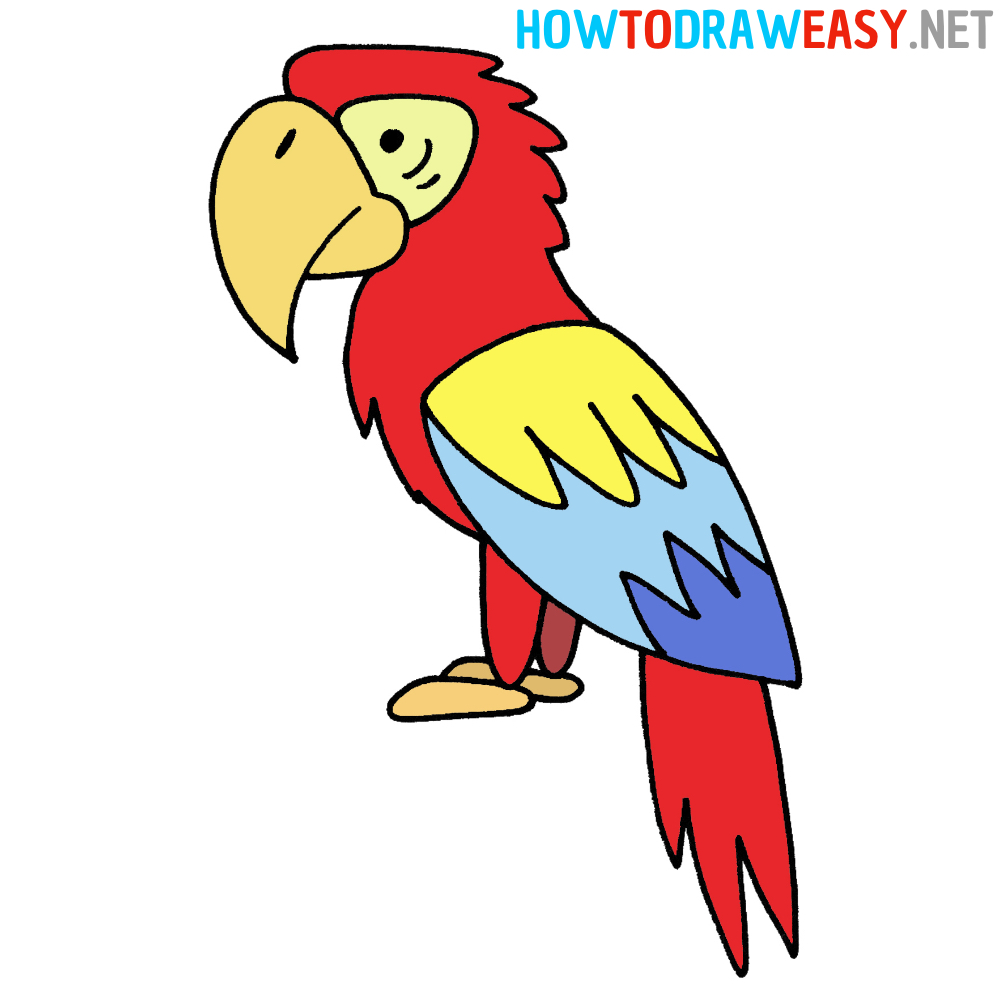
- Color your parrot.
You can use a marker and trace the outlines of your sketch for clarity of the image. Then use coloring tools to color your cute parrot drawing.
The lesson on drawing a parrot has come to an end! We hope that you have gained a lot of useful information and learned how to draw this beautiful bird. Remember that drawing is a process that requires patience and practice. Therefore, do not stop at what you have achieved and continue to learn and improve in your animal drawing skills.
If you have any questions or suggestions, do not hesitate to contact us. We are always happy to help you in your creative process. In the meantime, we wish you success and new creative discoveries with our step-by-step drawing lessons!
