
How to Draw a Baby for Kids
In this simple drawing lesson, you will learn how to draw a baby step by step and easy enough even for kids. Below you will see collages and step by step drawing.


Welcome to a new lesson on how to draw a baby for kids. Children are distinguished by a pretty face, activity, and curiosity. Parents should responsibly take care of their child: provide him with proper nutrition, monitor the cleanliness and accuracy of his accessories, and create conditions for mental development. Drawing a child will help you develop your skills in drawing rounded shapes, symmetrical shapes, and curved lines and is sure to cheer you up!
Interestingly, after birth, babies see the surrounding reality in two colors: black and white. At this stage, the child can make out those objects that are a couple of meters from him. Over time, he begins to distinguish between red, and then other colors. Follow our step-by-step instructions and enjoy the result in the form of a cute drawing.
Time needed: 30 minutes
How to Draw a Baby for Kids
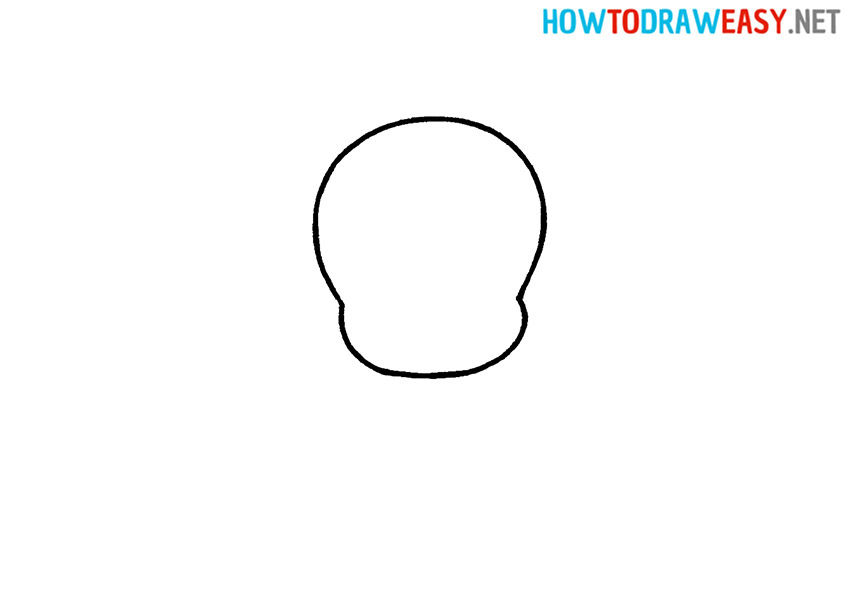
- Draw the head.
Drawing should start from the head of the child. Start drawing a circle, but do not end it at the bottom, but continue the line: make a small arcuate thickening.
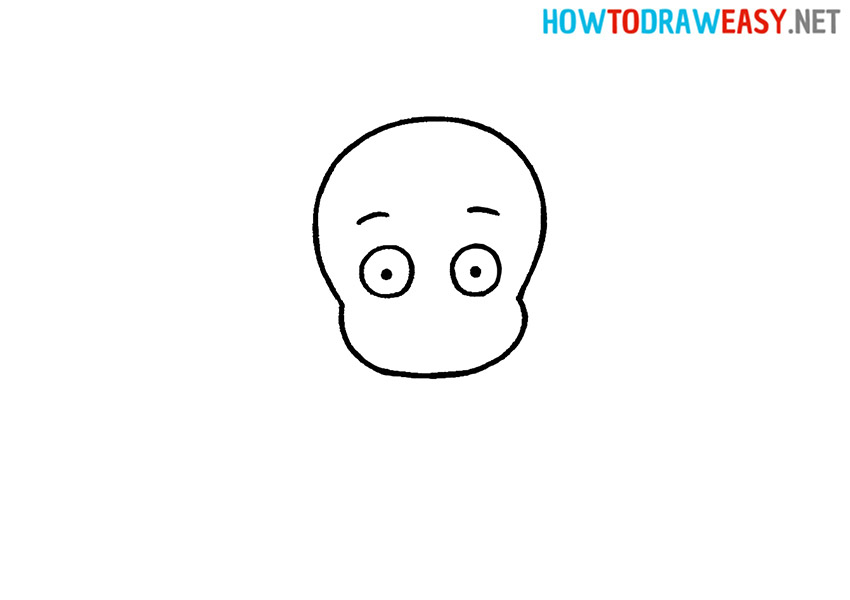
- Add eyes and eyebrows.
Now you can start with the eyes. Draw two identical circles, put a dot on each—these are the pupils of the eyes. Also, add short lines above the eyes to indicate the eyebrows.
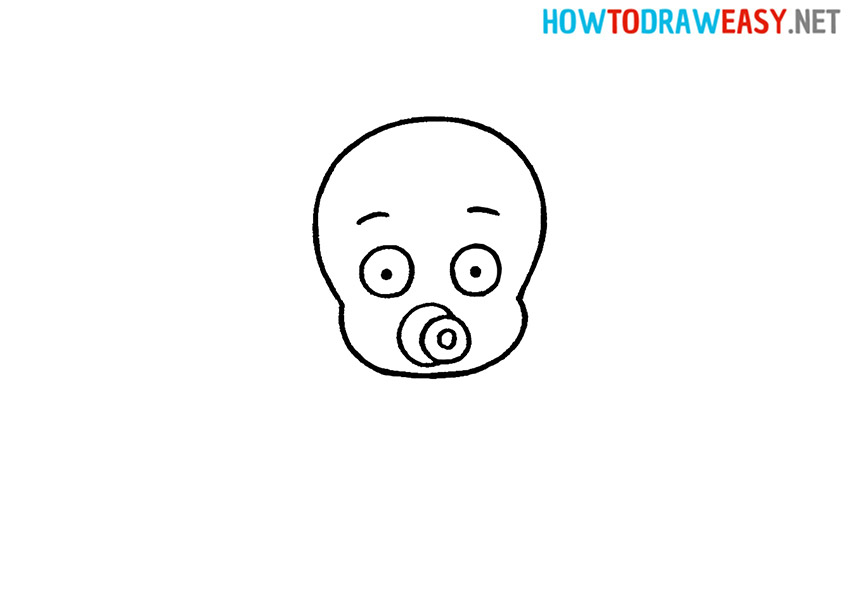
- Draw the pacifier.
The pacifier consists of several parts. First, draw the handle in the form of a circle, then the attachment in the form of a smaller circle. Finally, on the second circle, draw a tiny circle.
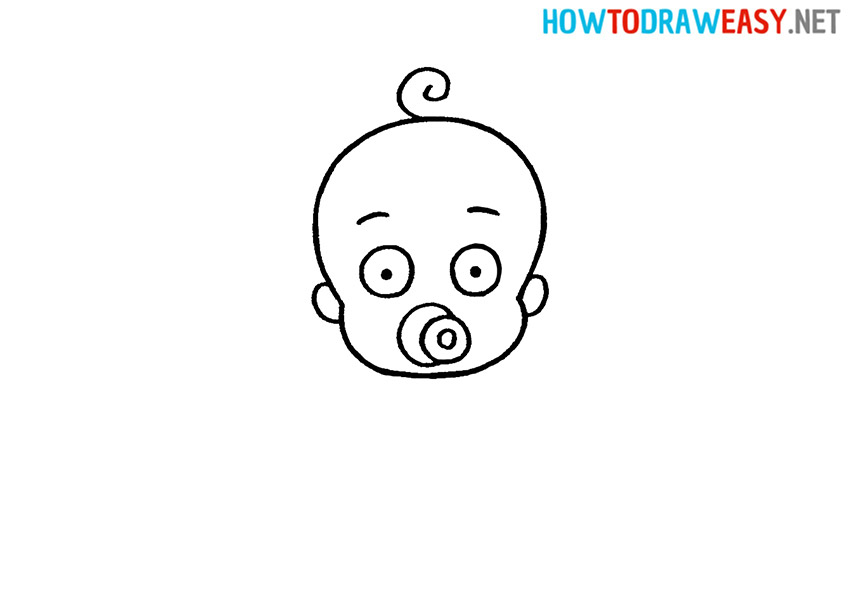
- Draw the curl of hair and ears.
On the crown of the baby’s head, you need to depict hair in the form of a curl. Don’t forget the ears: draw them in two short arcs on either side of the head. Note that the ears should look symmetrical.
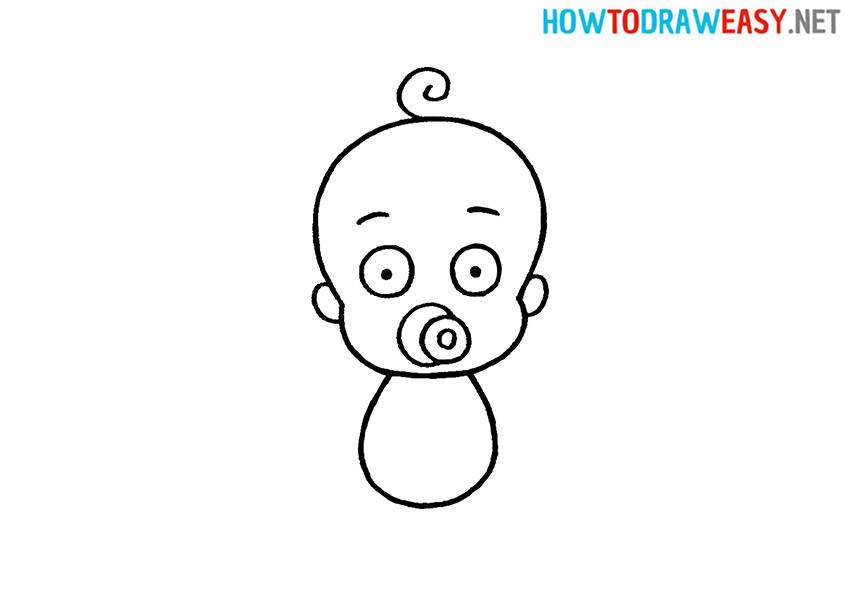
- Draw the body.
Draw the baby’s body in the form of an elongated oval.
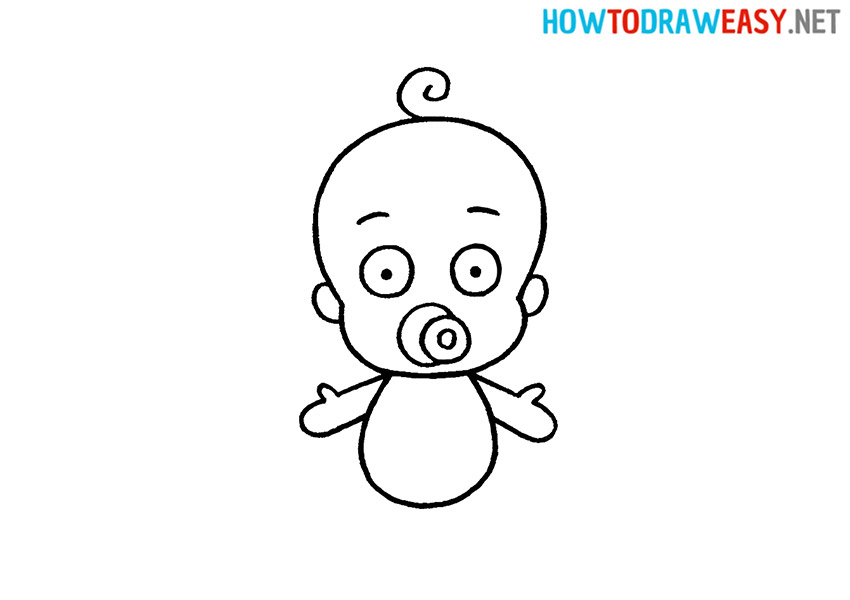
- Draw the arms.
To make it easier, imagine winter gloves in front of you and transfer imaginary objects to the sheet. Note that both shapes are symmetrical.
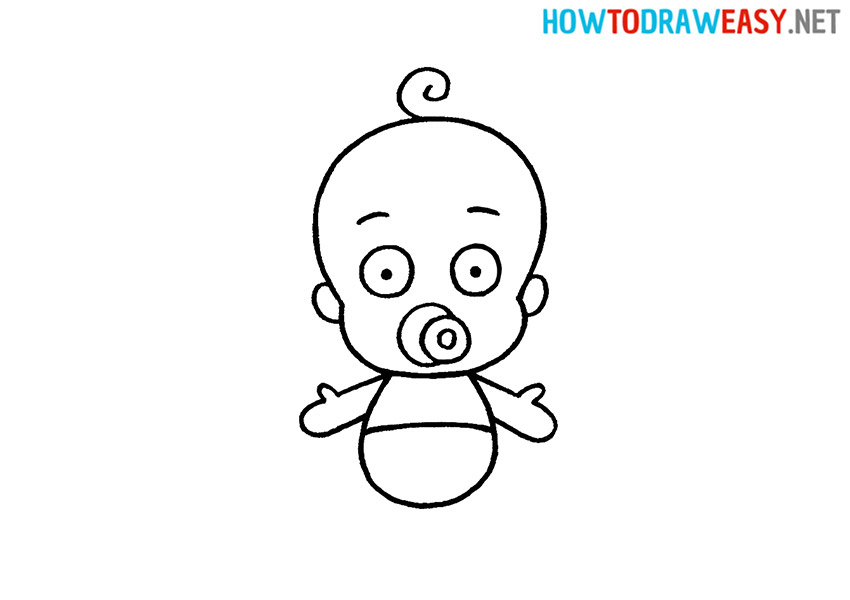
- Draw the line for the diaper.
Draw the slightly curved line in the middle of the torso—this will serve as the beginning of the child’s underwear.
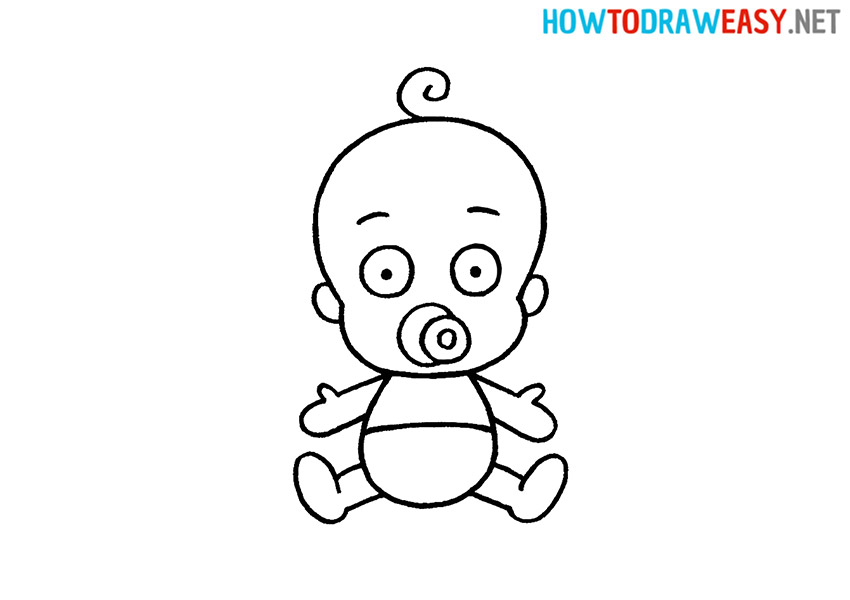
- Draw the legs.
To simplify this step, imagine small boots or socks and depict them. Draw the legs as shown in the instructions.
- Color your child’s drawing.
For coloring your drawing, you need to use crayons or other favorite coloring tools.
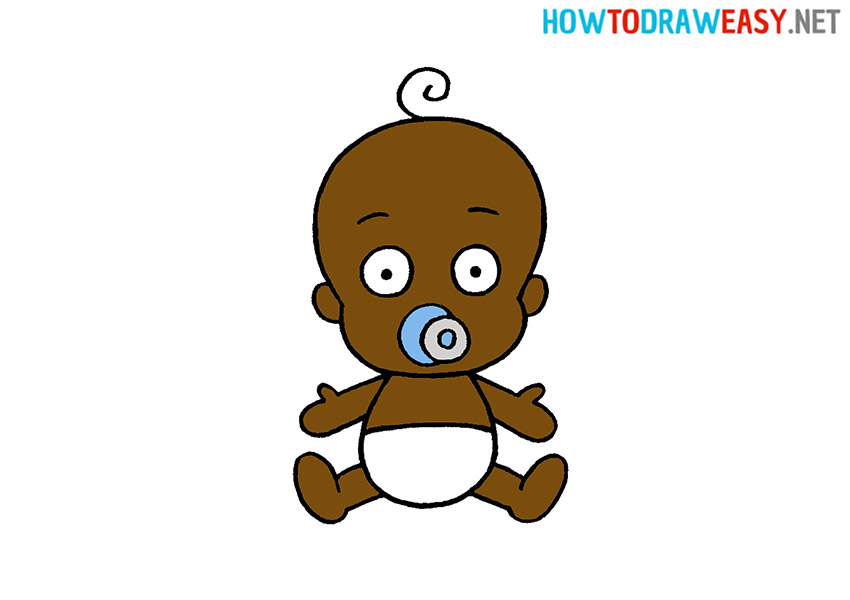


Wonderful! The drawing of the cute baby is ready, and now you can share your work with your friends! Practice drawing even more often to get better at this interesting and exciting art!