
How to Draw a Baby Chick for Kids
Kids love to draw animals, especially cute ones like chickens. In this tutorial, we will share with you step-by-step instructions on how to draw a baby chick for kids.


Hello everybody! Now let’s look at how to draw a baby chick for kids step by step. Any child can draw a baby chick step by step, even if he does not have special skills. Drawing a chicken step by step demonstration in pictures how to draw a chicken step by step with a pencil.
A baby chick is a chick of a hen and a rooster, like any other bird of the order of chickens. Chicks usually have the same traits: small size, yellow plumage, and very attractive appearance. We tried to make the chicken drawing as accurate as possible, but at the same time simple. Follow our instructions, and you will end up with a simple and easy drawing of a chicken.
Time needed: 20 minutes
How to Draw a Baby Chicken for Kids
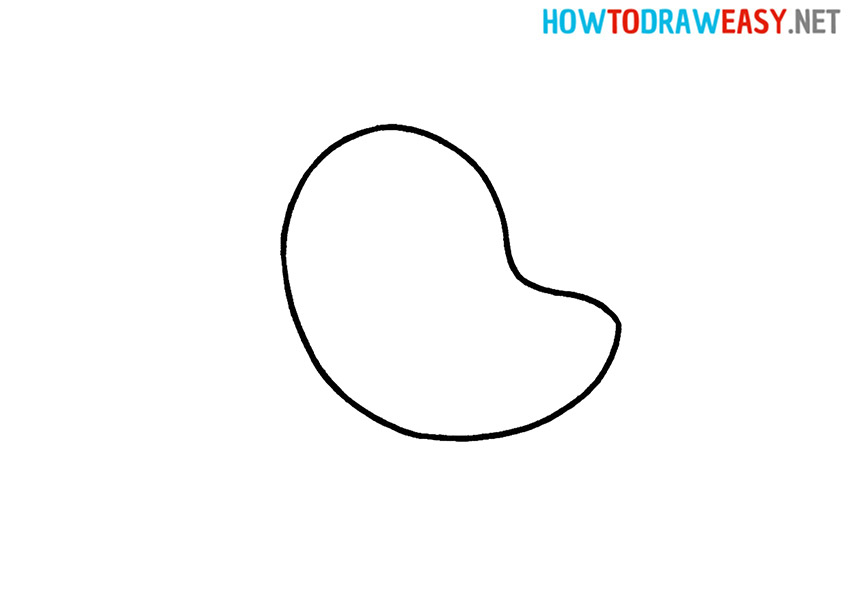
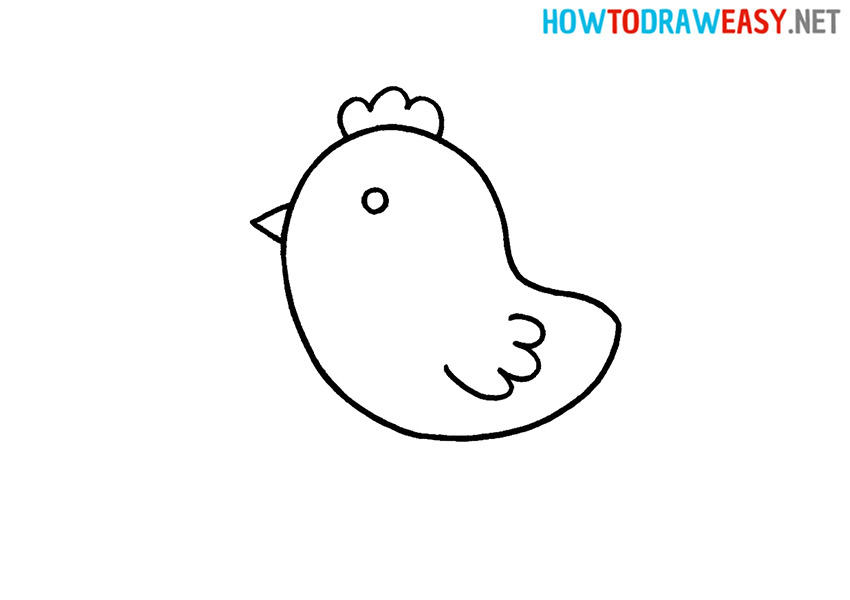
- Draw the body below.
First, sketch out the chicken as a large, slightly curved oval.
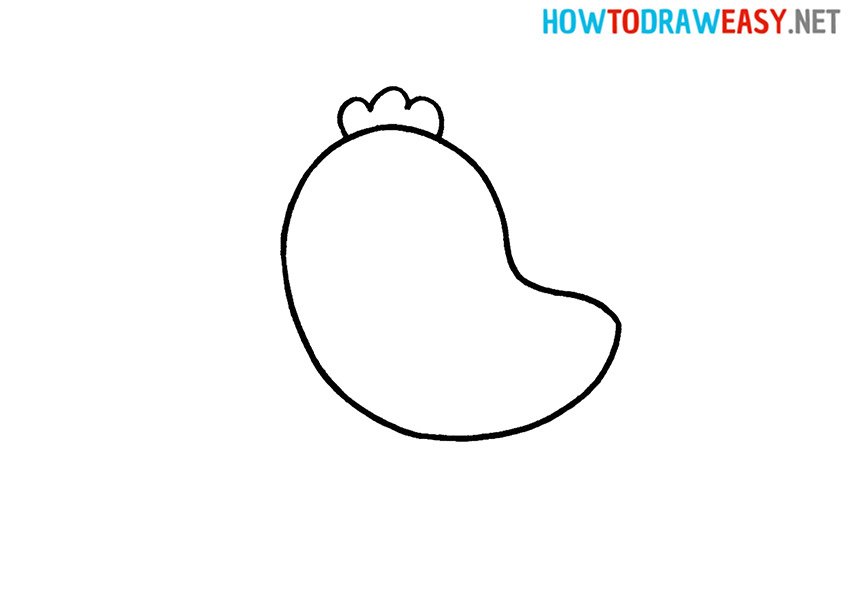
- Add the comb.
Next, you need to draw a comb in the form of a wavy line on the chicken’s head.
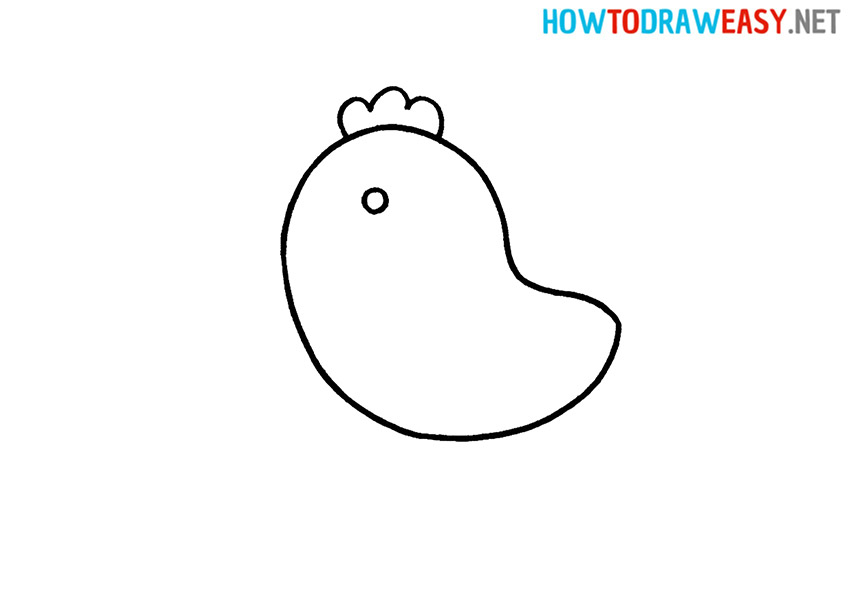
- Add the eye.
Draw the eye as a small circle on the head.
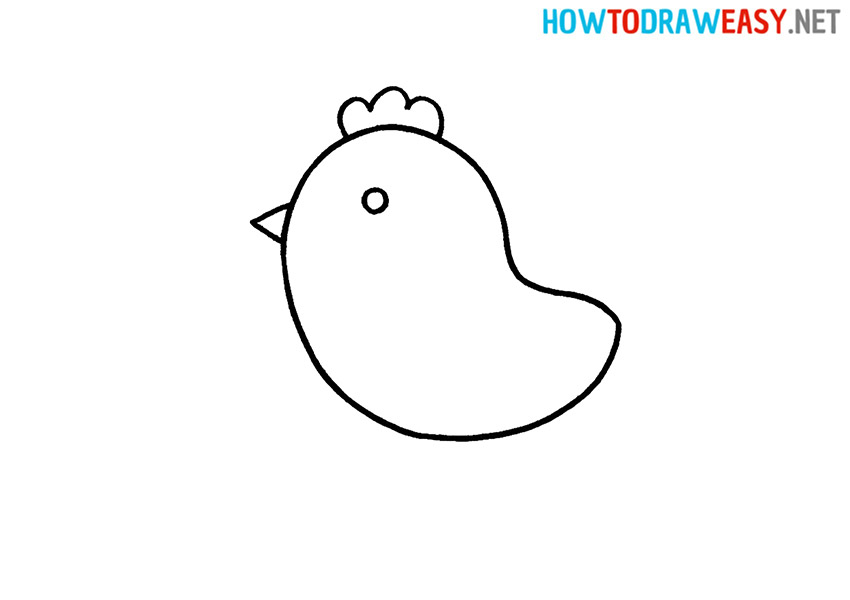
- Draw the beak.
Draw the small, sharp beak in the shape of a triangle.
- Draw the wing.
Depict the wing on the curved part of the torso. To do this, draw several ovals that fit tightly together.
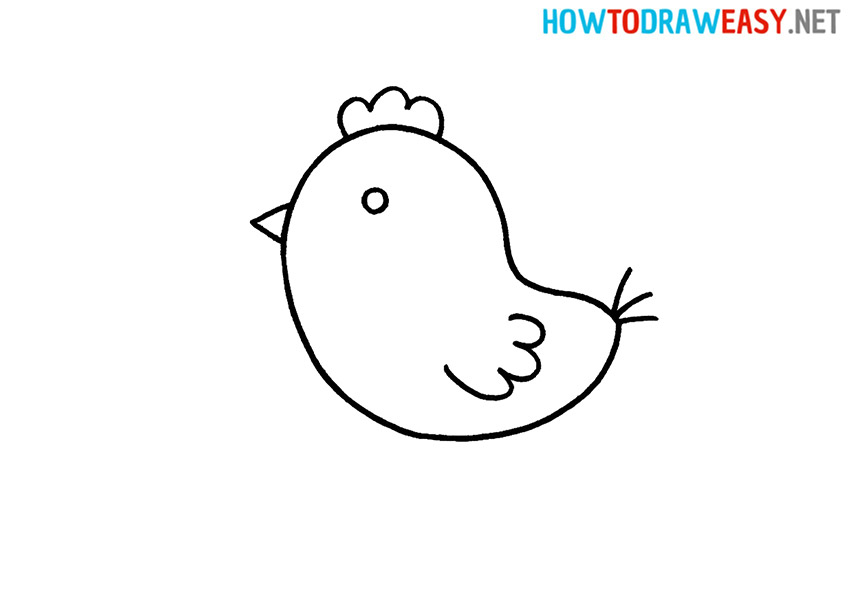
- Draw the tail.
Our chicken is happy with a simple tail, which consists of many feathers in the form of straight lines.
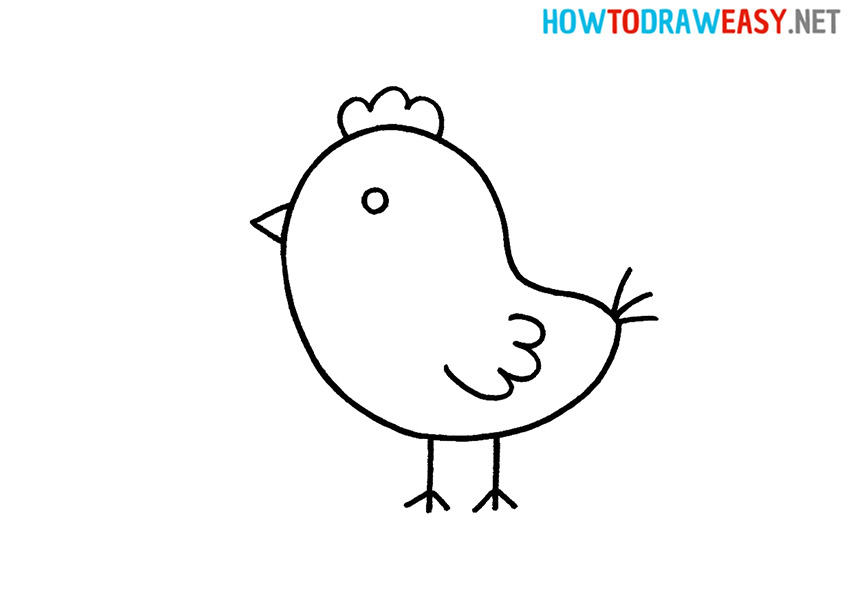
- Draw the legs.
Draw two vertical lines with three lines at the end.
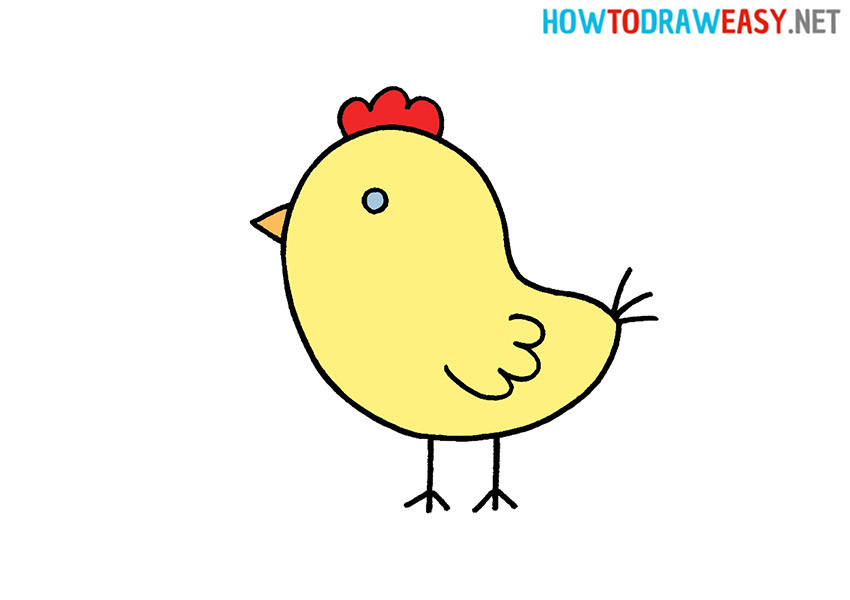
- Color your baby chick.
Color the body of the chicken yellow, the comb red and the beak orange. Choose an eye color of your choice.


Congratulations on the successful completion of the lesson on drawing a little baby chicken! I hope that this knowledge will help you continue to develop your creative abilities and create even more beautiful works of art.