Eagle Drawing Tutorial
This is an easy eagle drawing tutorial! Here you can learn step by step how to draw an eagle easily, even for beginners and kids.
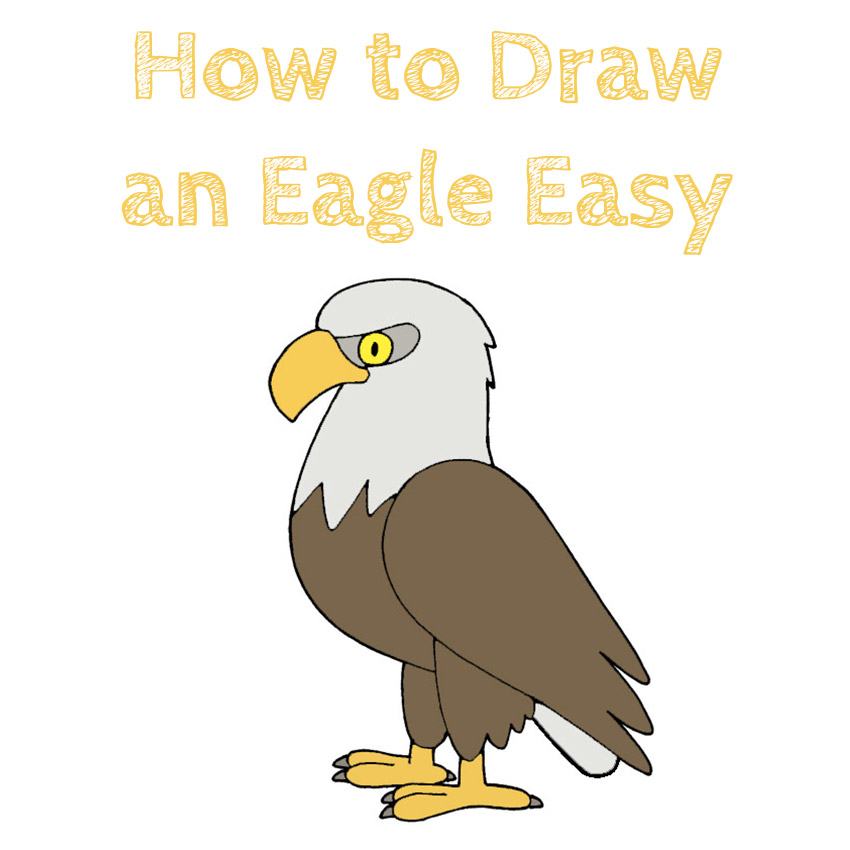
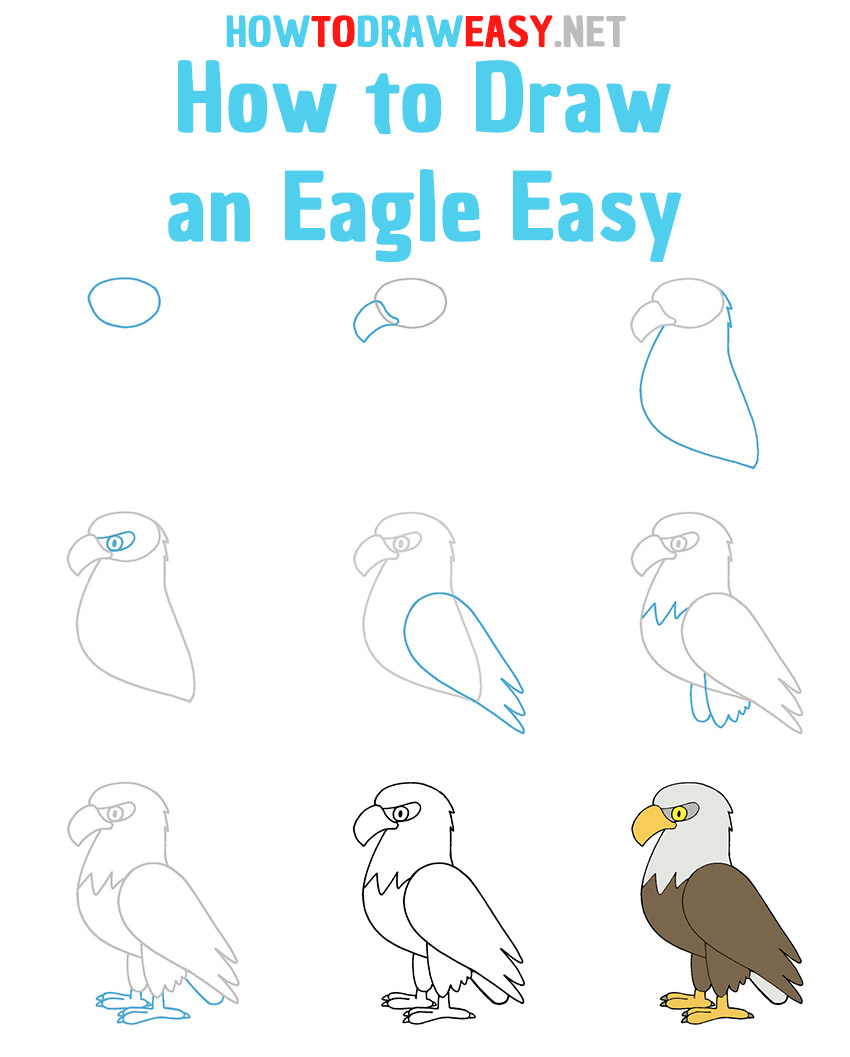
Hello everyone in the eagle drawing tutorial! Today we will look at how to draw this bird of prey. For a novice artist, it may be difficult to draw something very realistic, draw each feather, but in this lesson we will look at a very easy way to draw a bird. All steps will be simplified, but the final result should be cool if you follow the examples.
The eagle is a very popular animal; eagles are very often depicted on coats of arms and logos. Eagles can be found in steppes, mountains, and deserts. Eagles usually nest on the ground or on rocks and trees. They feed mainly on small animals. But unfortunately, the population of eagles is currently falling and they are increasingly listed in the red books. The tail is rather short, but the wings in span reach a size larger than the height of an adult. This information will help us further understand how to draw an eagle correctly, taking into account various details. Try to keep track of what you draw and what you get on paper or on a tablet. Enjoy the drawing process!
Time needed: 25 minutes
Eagle Drawing Tutorial
- Draw the head.
Begin by drawing the basic shape of the bird’s head.

- Add the beak.
The beak is one of the most important parts of the body of an eagle and any bird. With the help of its beak, the eagle hunts and eats, and also breaks the shell with its beak when hatching from an egg. First, draw an upper, curved line that slopes downward in front, and then add the lower line and the rest of the details.

- Sketch the body.
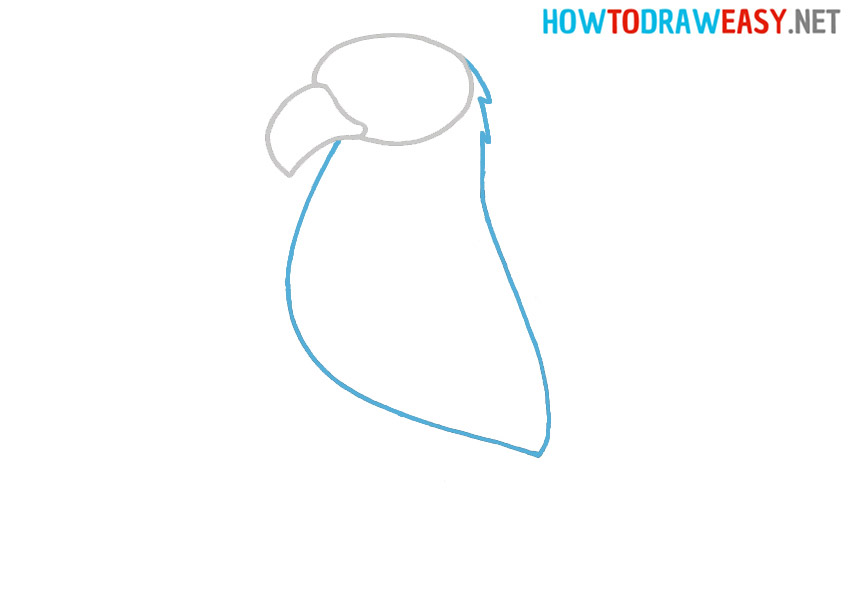
Now you need to draw the basic shape of the eagle’s body and start sketching the shape of the body with a line that extends from the back of the bird’s head. Don’t forget the details that accentuate the texture of the feathers. After that, draw a line that extends from under the bird’s beak and connects at the very bottom of the drawing in a pointed shape as shown.
- Draw the eye.
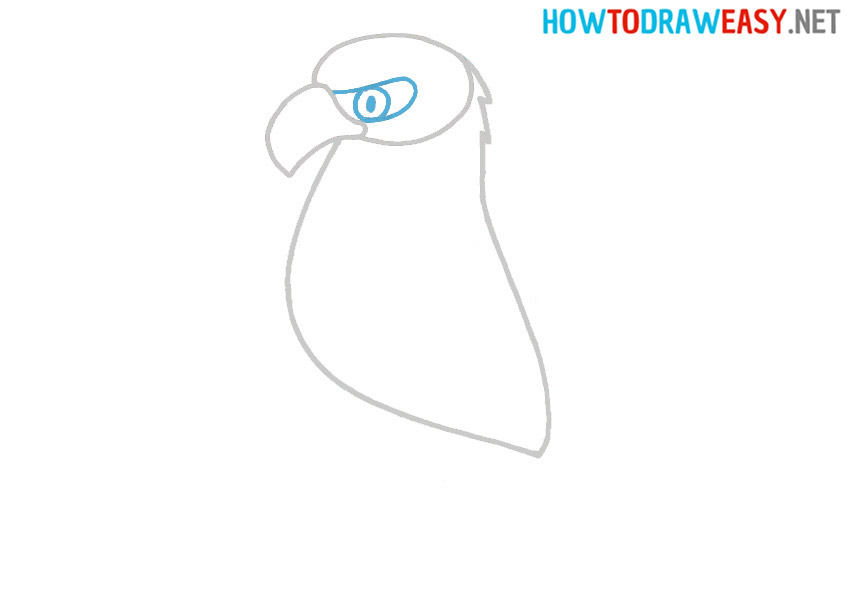
Now you need to draw an eagle eye, and first, start with an area around the eye that looks like a bean in shape. Then draw a round eagle eye in the center of this shape.
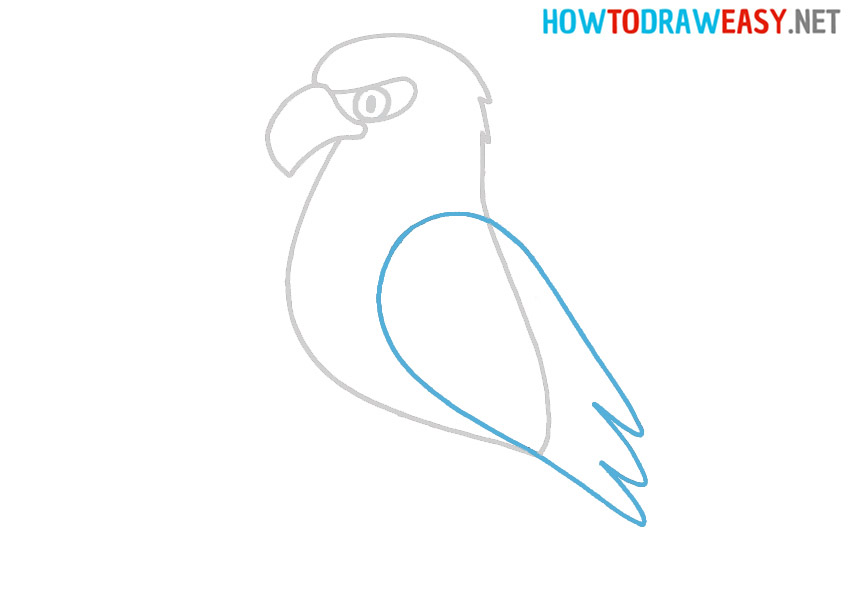
- Draw the wing.
The wing should be positioned on the torso, as in the example. The base of the upper part of the wing is more rounded than the tips. In general, first, sketch out the circular upper part of the wing, and then draw the lower, pointed feathers. Also, don’t forget to erase the guidelines leftover from the previous steps.
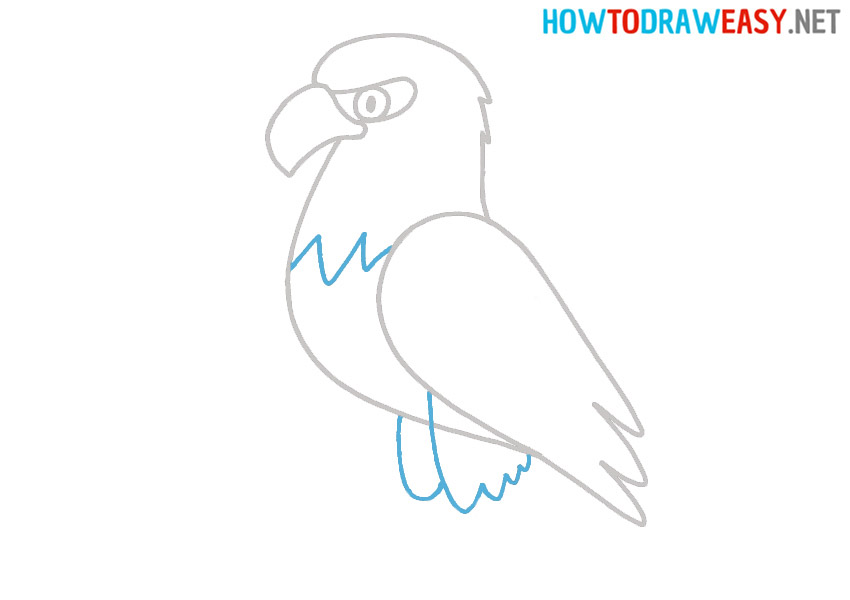
- Add details.
In bald eagles, the head is usually separated from the body by a distinctive part of the feathers on the neck, and this is the part of the bird that you need to add in this step. And also draw the upper feathers of the eagle’s legs as shown.
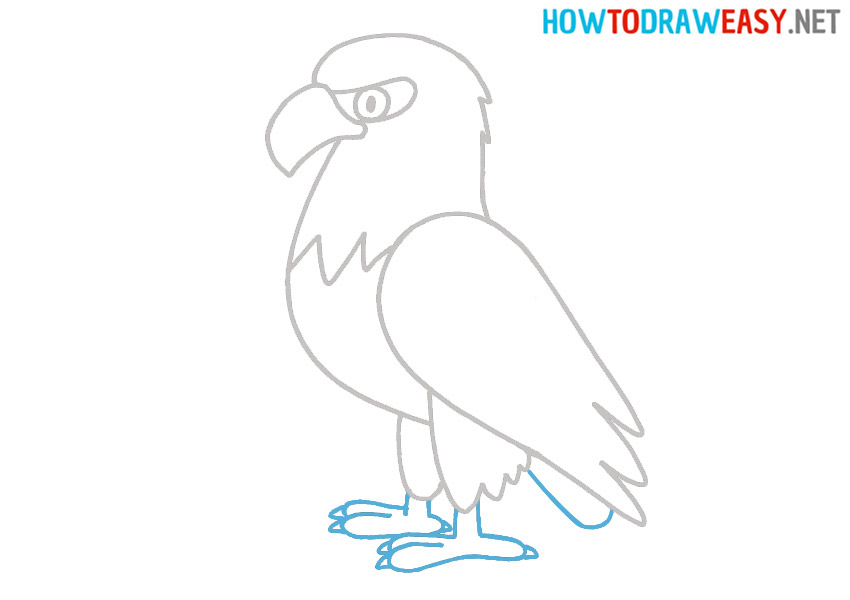
- Draw the legs and tail.
This is the last step in sketching the eagle, and at this stage, you need to draw feet with claws, with which the eagle grabs its victims, for example, snakes. Besides the legs, you also need to draw the eagle’s tail, which is under the wing.
- Color the bald eagle.
You need to color the beak, pupil, and feet of the eagle yellow. Leave the tail and head of the eagle white, or paint it light beige or light gray. Color the body of the eagle gray or brown.
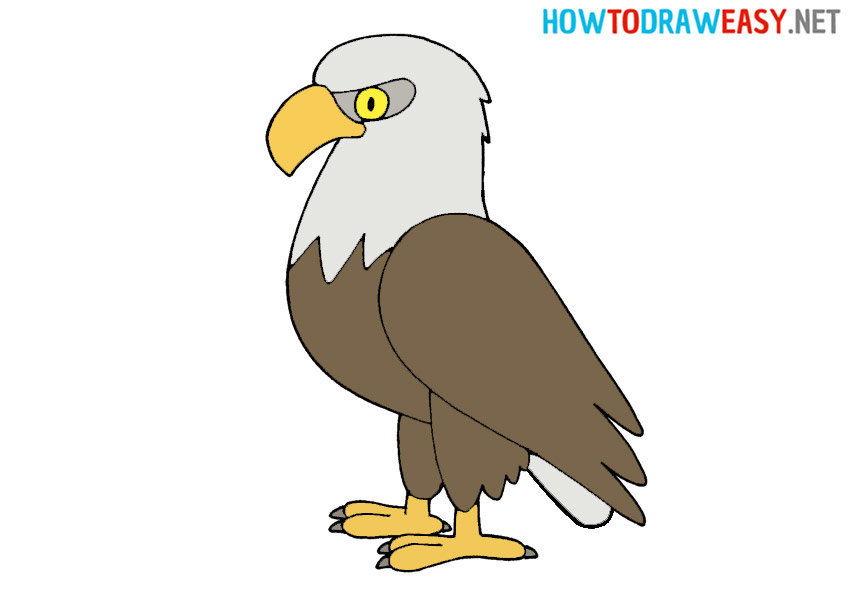
We really hope that you liked the drawing lesson of this great bird, and you fulfilled your desire to draw an eagle. Develop your skills and draw more often, because practice in drawing is very important.
