
How to Draw Woody Woodpecker for Kids
Learn how to draw Woody Woodpecker for kids with this step-by-step drawing tutorial. Below you will see a collage and step-by-step instructions.


Hello to novice artists and experienced amateurs! In this tutorial, you will learn how to draw a Woody Woodpecker for kids. Woody is restless and active. His favorite pastime is to bang his beak on the surface and annoy his neighbors, who are (according to the character himself) boring. How to draw a Woody Woodpecker in stages? You will learn about this in our step-by-step instructions!
The author of the bird is the famous cartoonist Walter Lanz. One day, his wife—Grace Stafford—heard a real woodpecker knocking on the roof of the house in which they were spending their honeymoon. The girl offered him to Walter as a new hero. Tom did not immediately like the idea, but the character still took on the first outlines. This is how Woody’s story began. Drawing a Woody woodpecker is an exciting activity that will help develop the skills of drawing rounded shapes, various lines. Let’s start!
Time needed: 30 minutes
How to Draw Woody Woodpecker for Kids
- Draw the eyes.
Draw the eyes in the form of two touching ovals.

- Draw the iris, pupils, and eyebrows.
Draw two small ovals inside the eyes, which will be the irises. Put a dot in them—the pupil. Place two lines of different lengths above the eyes—these are Woody’s eyebrows.

- Draw the beak.
Draw an arc downward from the point of contact of the eyes. Then draw a new arc from it, complete with a tiny line—a dimple in the form of a smile. You can now move to the bottom of the beak. From the right eye, draw a third steep arc downward, connect it to the second arc. The beak is ready!

- Draw the feather comb.
A comb of dense Woody Woodpecker feathers should be drawn using a curved zigzag line with sharp tops.

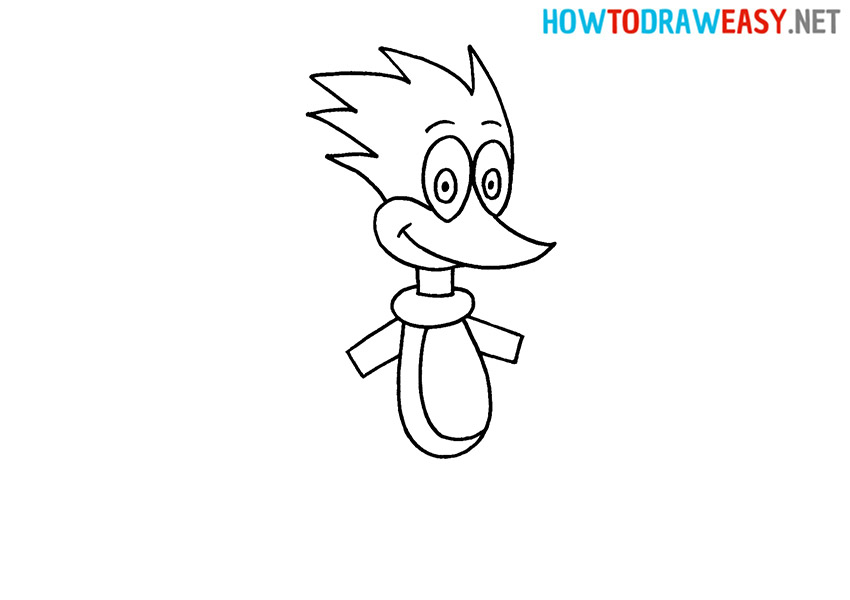
- Draw the neck.
Draw two short lines under the beak and connect them to each other.

- Sketch the collar.
The collar is in the shape of a ring. Draw it under the neck using two curves.

- Draw the body.
The Woodpecker’s body resembles the outline of a pear. Draw this body part as an unfinished oval under the collar.

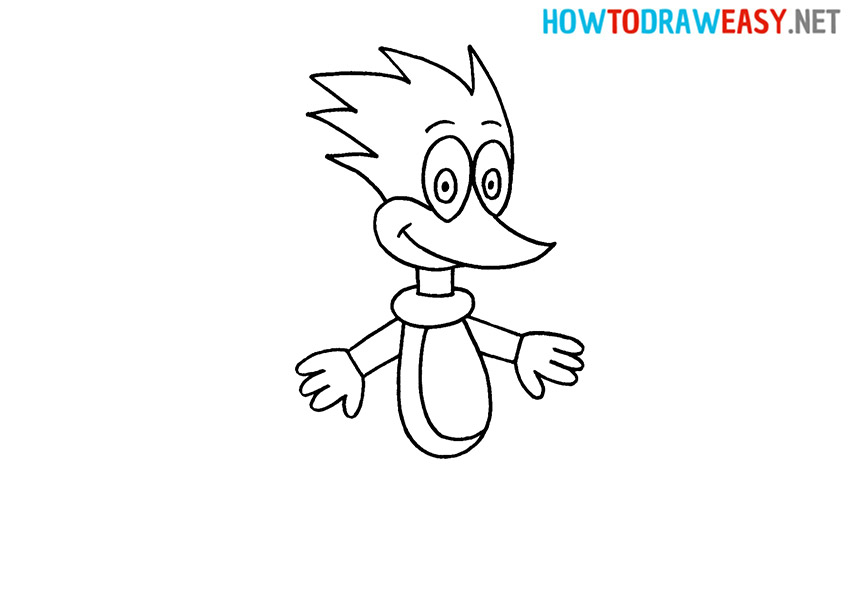
- Draw the belly and arms.
The belly has a smaller oval shape on the body. Draw hands on both sides of the body. The easiest way to do this is to draw narrow rectangles.
- Draw the hands.
To simplify the task, imagine gloves and transfer imaginary objects to the sheet. Four arcs form the fingers.
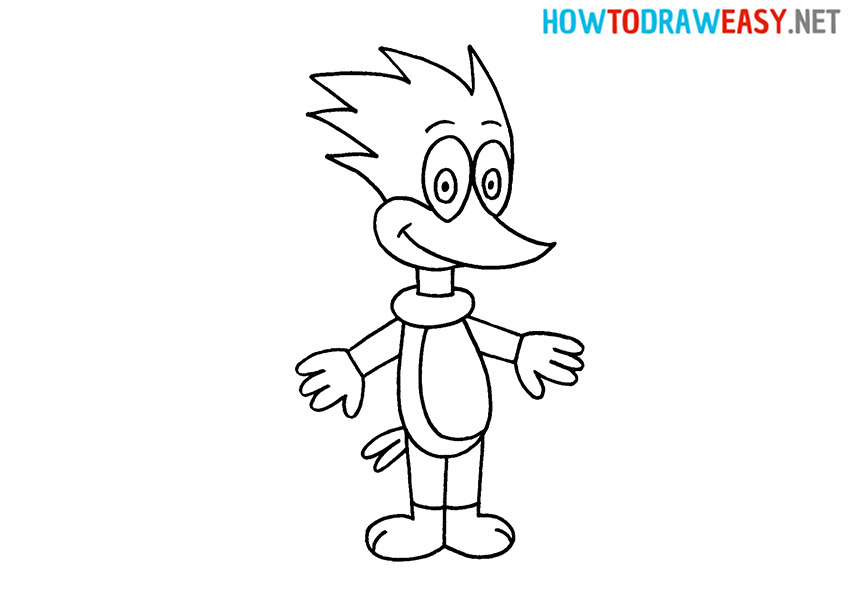
- Draw the legs.
Draw two lines down from the body. Keep a gap between them. Finish them with two identical arcs so that the feet appear. Now you can demarcate the right and left legs with a straight line in the middle. Do not forget about your toes—put a line on each. See example instructions.

- Draw the tail.
Select a point at the junction of the torso and legs and draw a small ponytail in the form of two elongated ovals.
- Color your drawing.
Color the character’s beak and feet yellow, color the body blue, and color the head red.
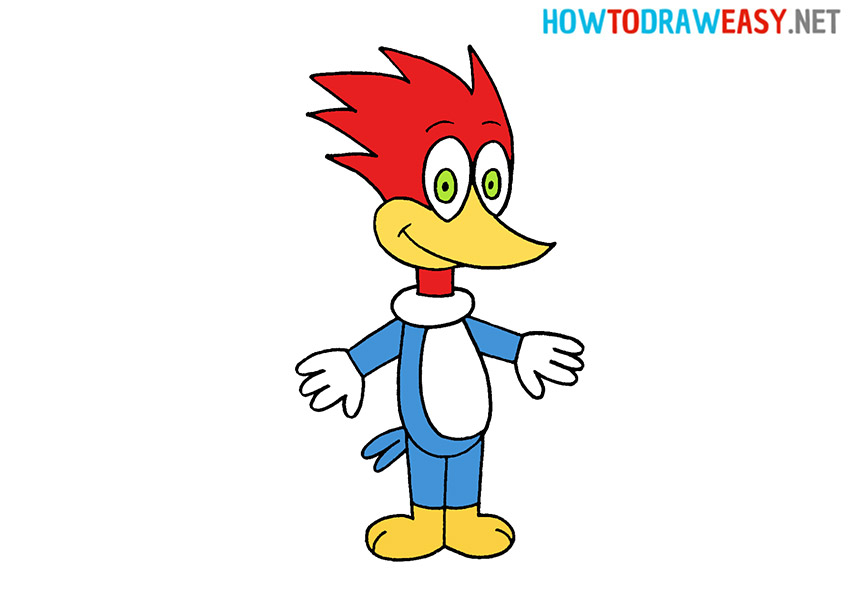


A funny drawing of Woody Woodpecker is ready, and we congratulate you on this! See you in other drawing lessons that you can find on our website. Try drawing animals or cars.