How to Draw Rudolph for Kids
In this easy drawing lesson, you will learn how to draw Rudolph for kids. Scroll down below for detailed instructions and a step-by-step collage.
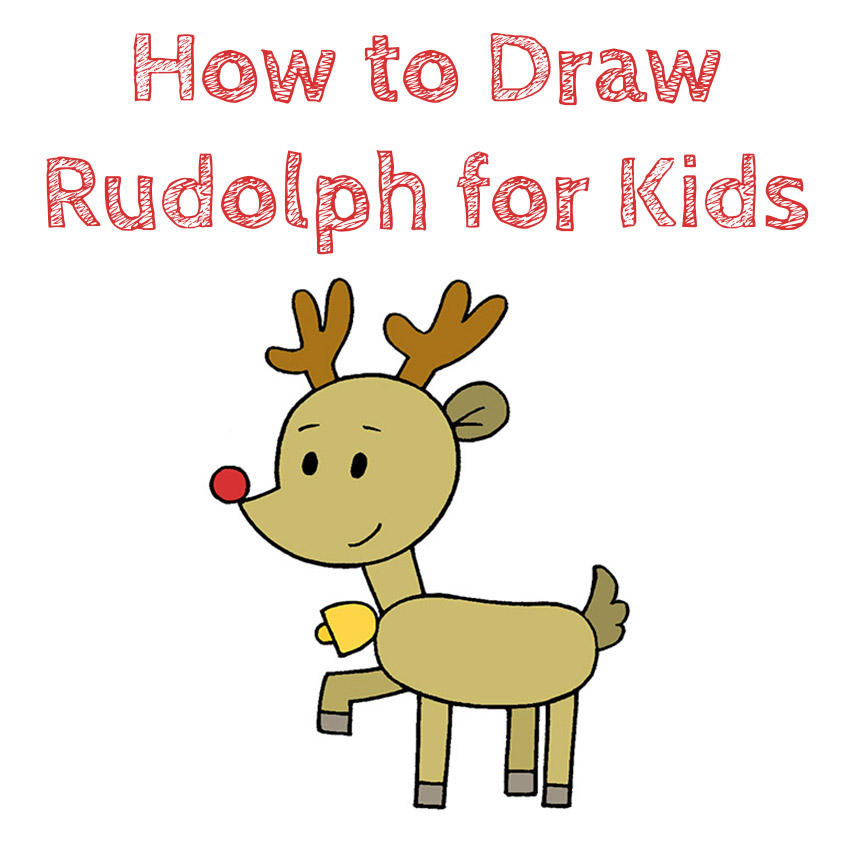
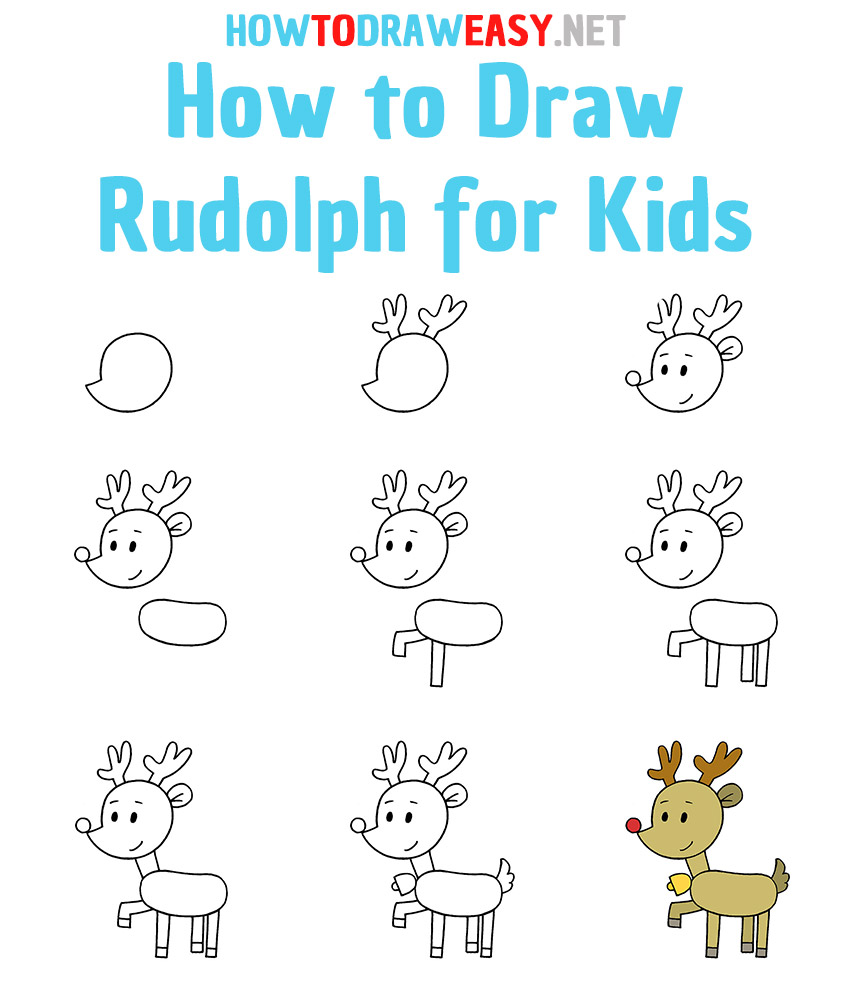
Hello everyone and welcome to the lesson on how to draw Rudolph for kids. In this drawing tutorial, you will draw Santa Claus’s reindeer. Santa Claus is reported to have nine reindeer pulling a sleigh full of gifts across the night sky. The most famous deer of this team is Rudolph, who stands out among others with his funny red nose. How to draw Rudolph the Red Nosed Deer? Our step-by-step instructions will tell you the answer to your question!
Rudolph did not gain popularity overnight. Because of the red nose, emitting light, the rest of the horses avoided the beginner, did not want to go to the games. However, the peculiarity of Rudolph was appreciated by Santa Claus, who could not have found the right way on one foggy Christmas evening, if he had not been near the glowing nose of the reindeer. Rudolph becomes respected in the herd. A lot of cartoons were shot with the participation of the character. Toys, wardrobe items, and other accessories related to his image were made. Drawing Santa Claus’s reindeer is a fun activity that will help you develop your skills in drawing rounded shapes and various curved lines.
Time needed: 30 minutes
How to Draw Rudolph for Kids
- Draw the head.
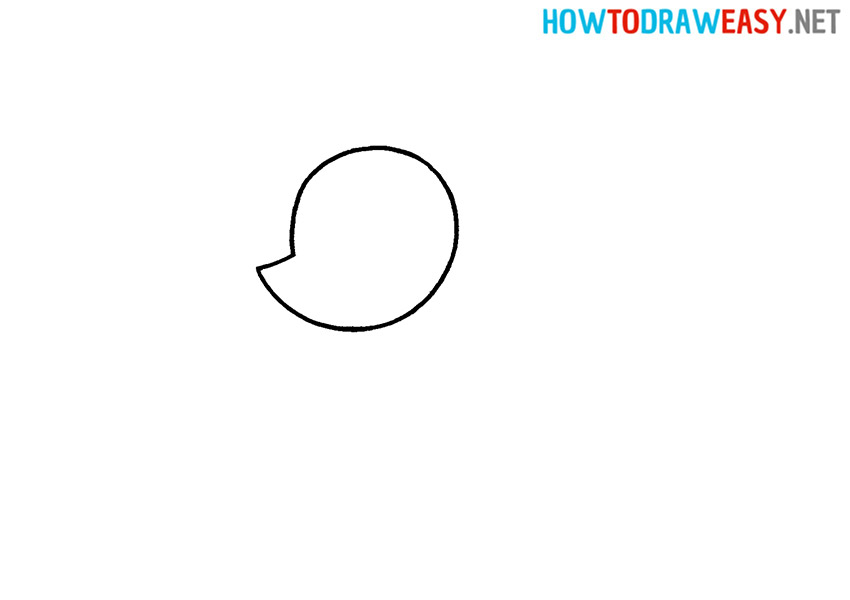
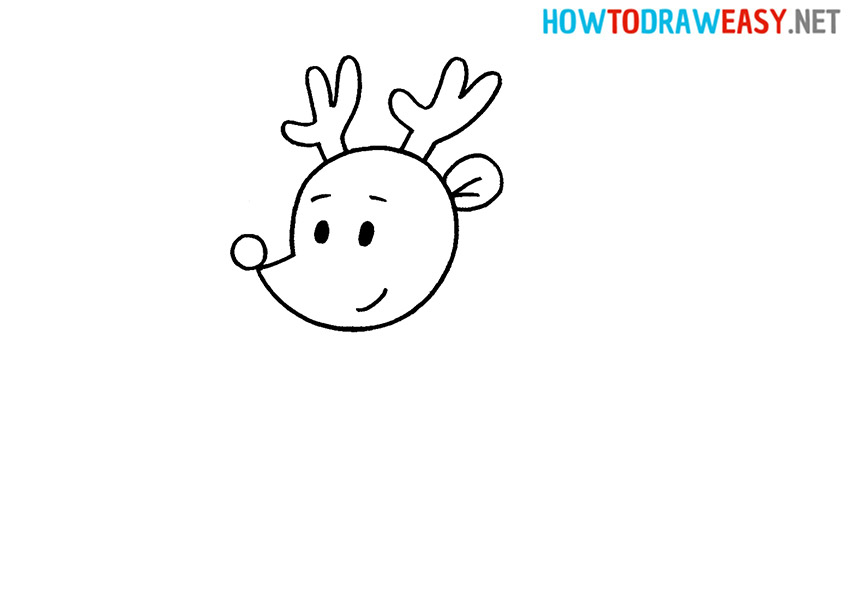
Draw a circle, after which on the left side you need to select the pointed part of the future face. See example instructions.
- Draw the antlers.
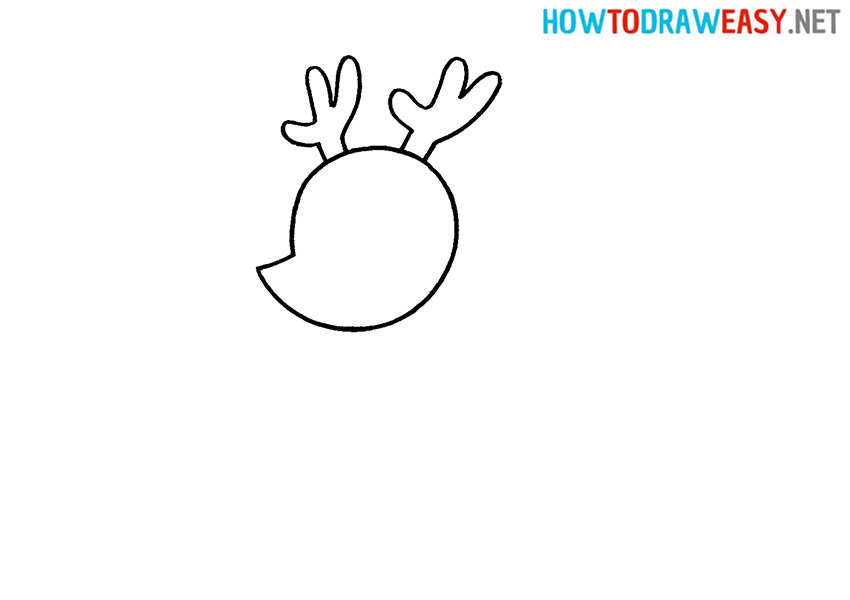
To make it easier, imagine inverted chicken legs in front of you. Please note that the horns are located at a short distance from each other and should be approximately the same shape.
- Add details for the head.
First, draw an arched ear on the right side of the head. From one point inside the ear, draw two short lines, slightly different in length. Also, on the sharp protrusion of the head (muzzle), draw a circle of small diameter—you get a nose. Then add two small black ovals for the eyes. Draw lines above the eyes—the deer now has eyebrows. On the right side of the head, at the bottom, draw the mouth with a small, curved line.
- Draw the body.
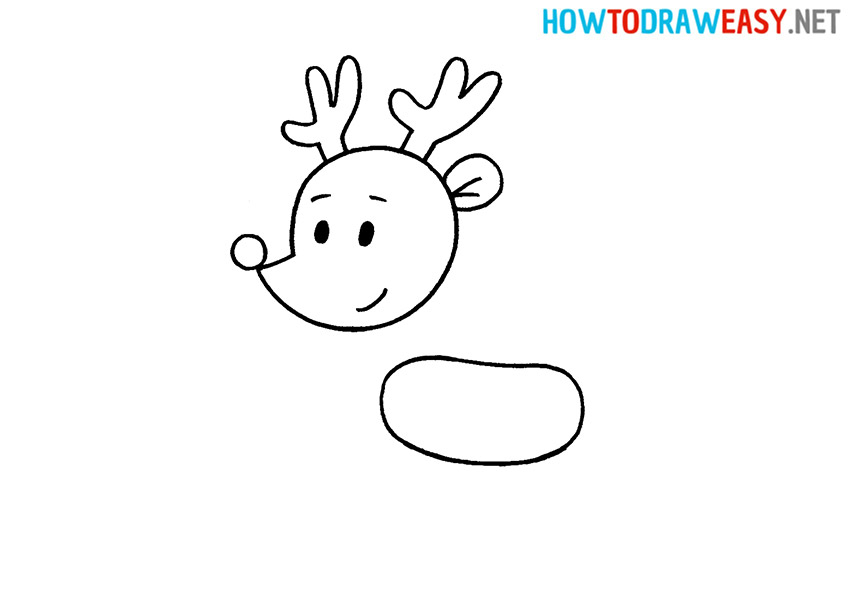
The body of a deer is an oval, the upper side of which is slightly concave inward.
- Draw the front legs.
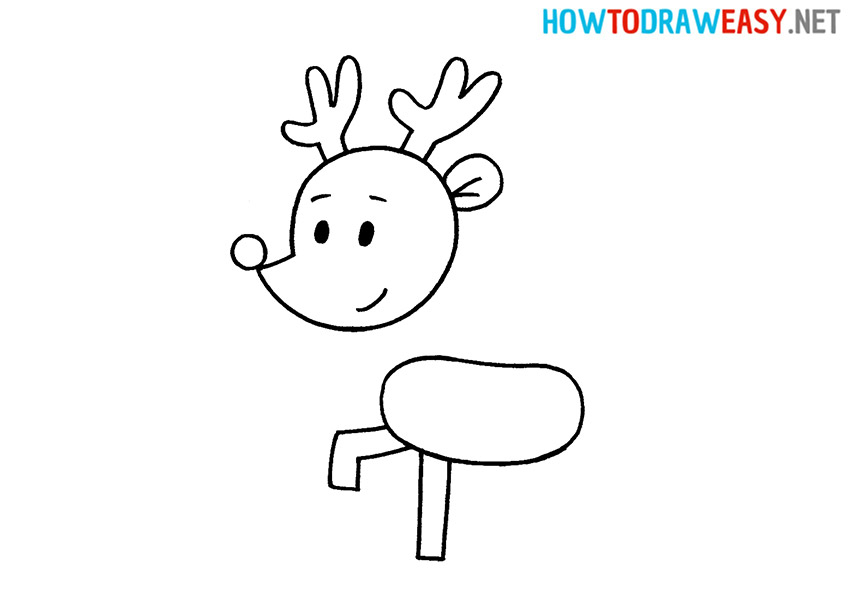
Please note: one leg is straight in place, and the other is slightly bent at the knee. Draw a narrow rectangle, next to it—the second, divided into two legs by a fold.
- Draw the hind legs.
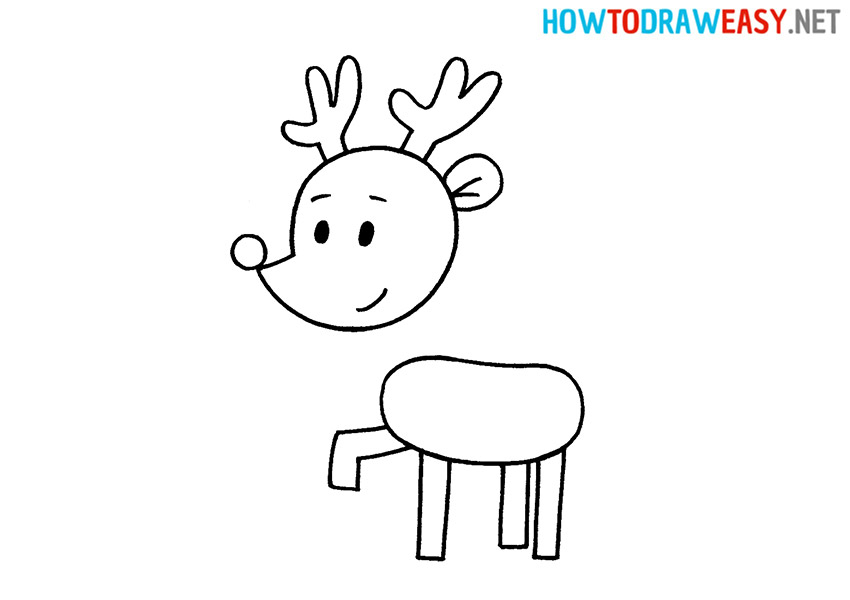
This step of the lesson is similar to the previous one: draw a pair of rectangles of different lengths in the opposite part of the body.
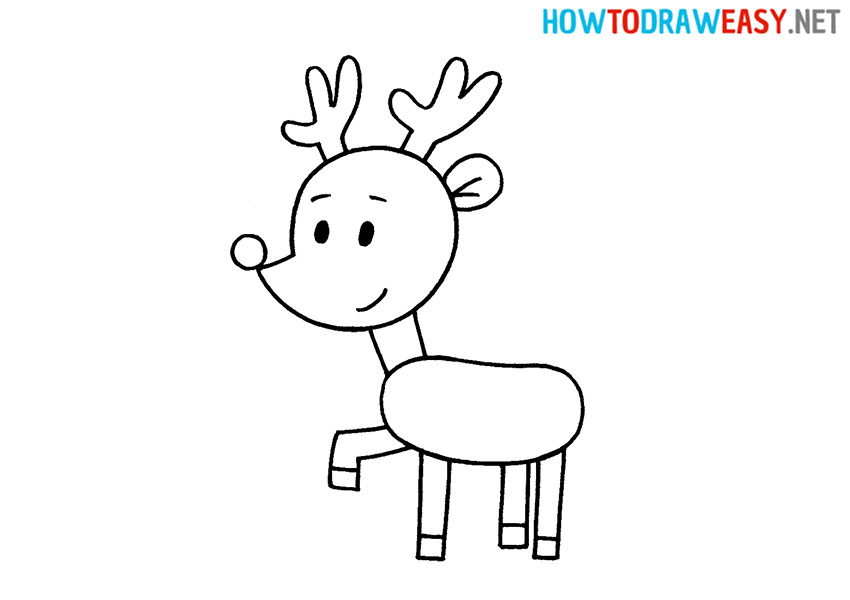
- Draw the hooves and neck.
Draw horizontal lines at the bottom of each leg to represent the deer’s hooves. Don’t forget about the neck: connect the head and torso with two straight lines.
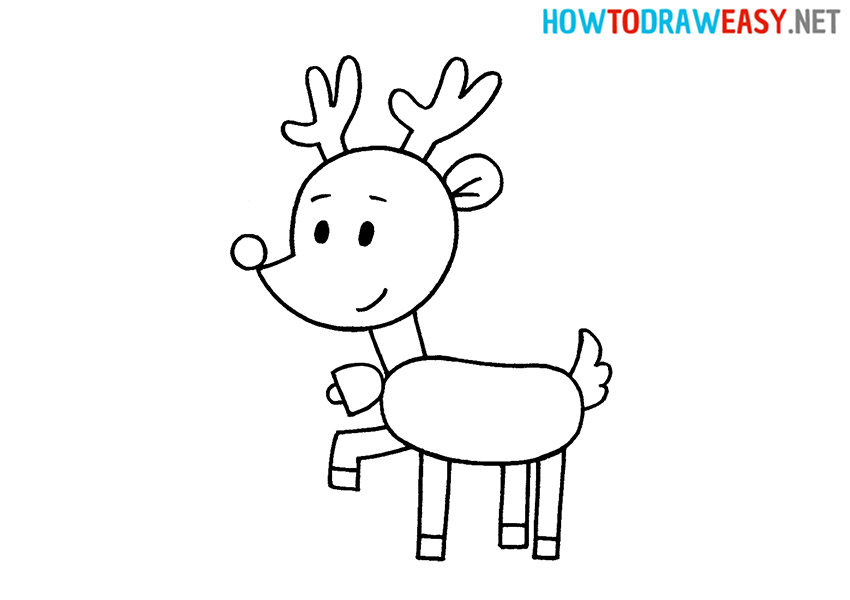
- Draw the tail and bell.
Now you can move on to the tail. Draw a curved line with three vertices. To add a bell to the deer, draw a semi-oval at the junction of the neck and torso and close it with a short line. Draw a bell tongue with a tiny semi-oval underneath.
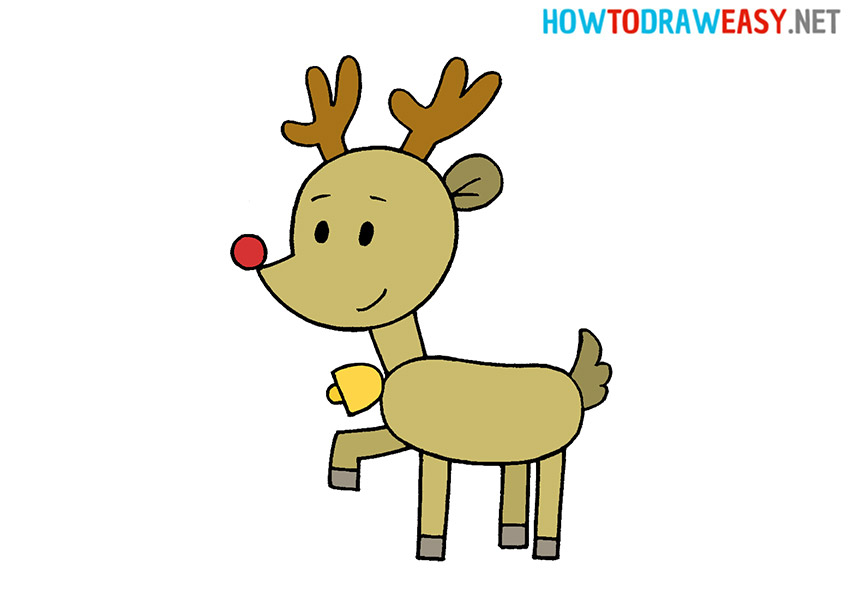
- Color your drawing.
We painted the picture like this: the body and legs of the deer are painted light brown, and the tail, ear and horns are darker browns, the hooves are dark gray, the nose is bright red, the bell is yellow. Feel free to get creative at this stage.
We hope that this was a useful and informative lesson for you. Be sure to show your new drawing to friends and family. We also recommend that you familiarize yourself with other drawing lessons for kids.
