How to Draw Naruto Step by Step
Here, you will learn how to draw Naruto step by step in a simple style. This is very easy to draw, you can see it by looking at the collage and instructions below.
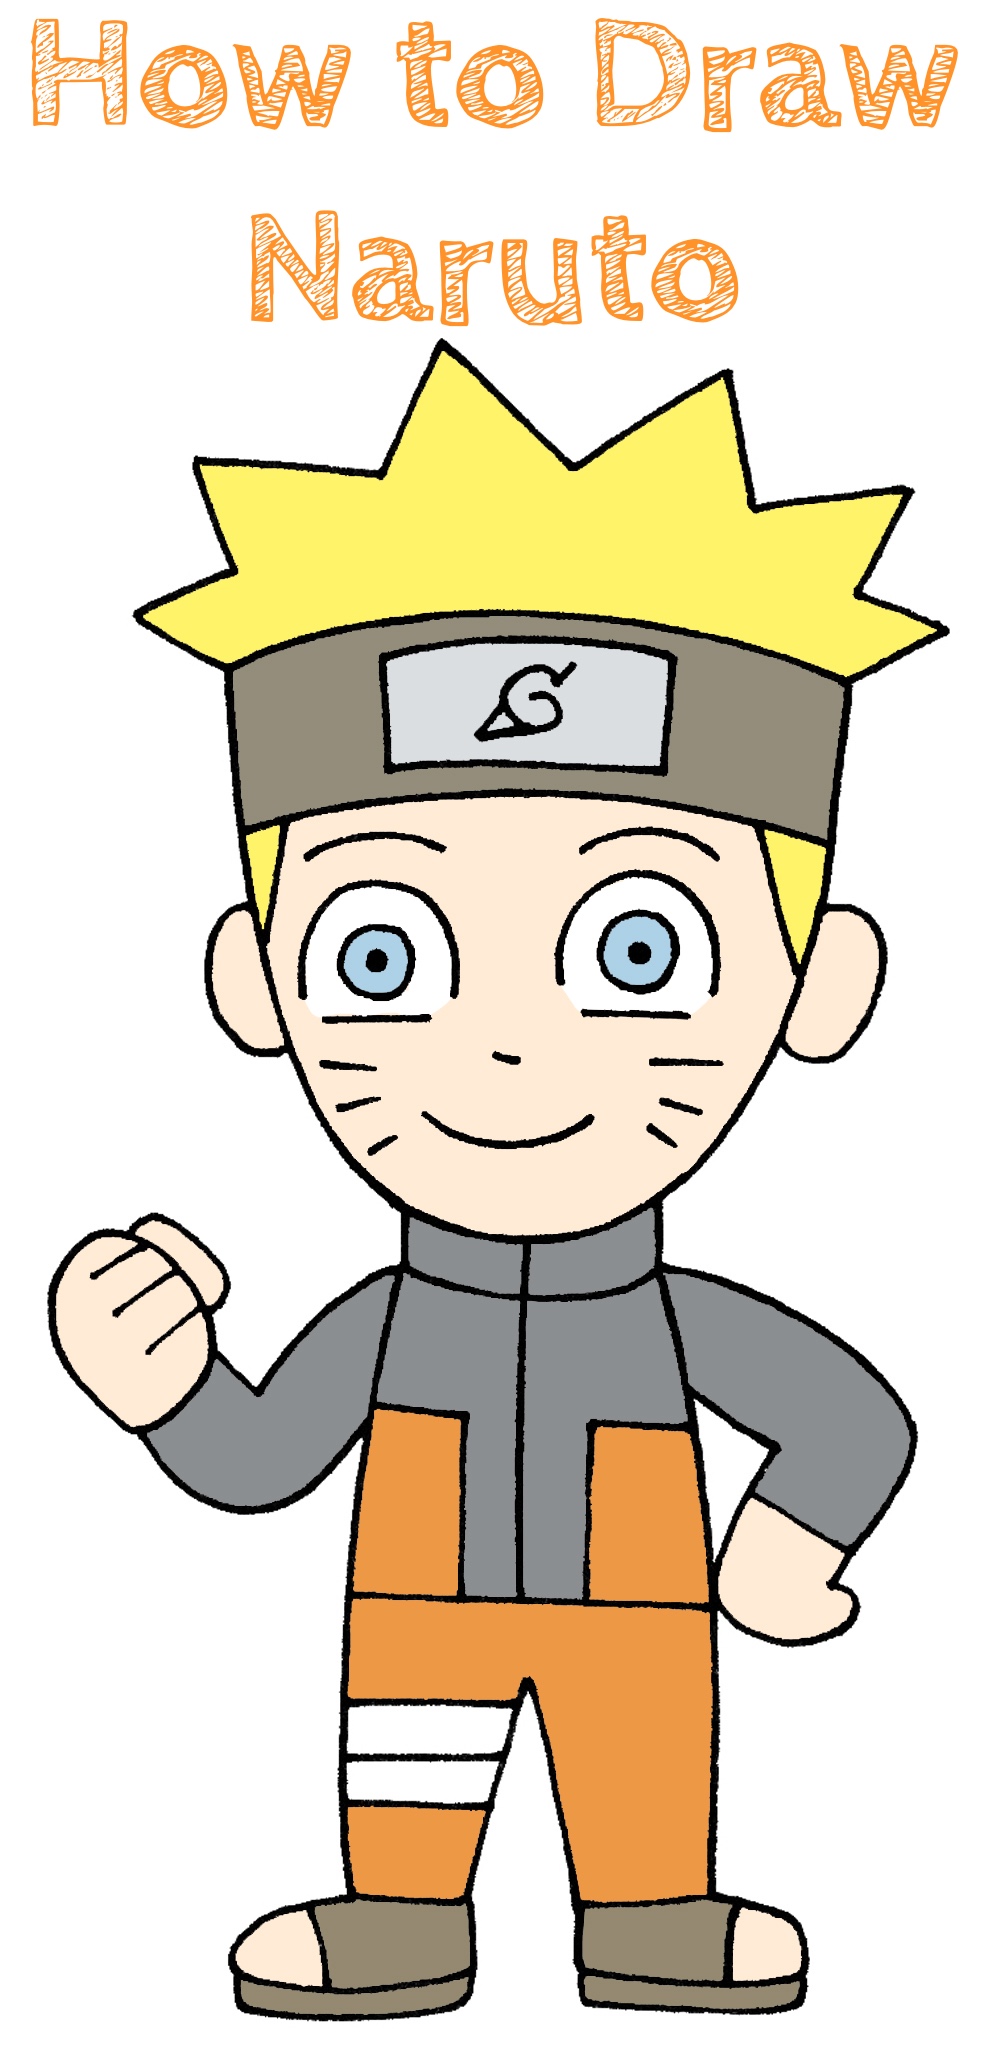
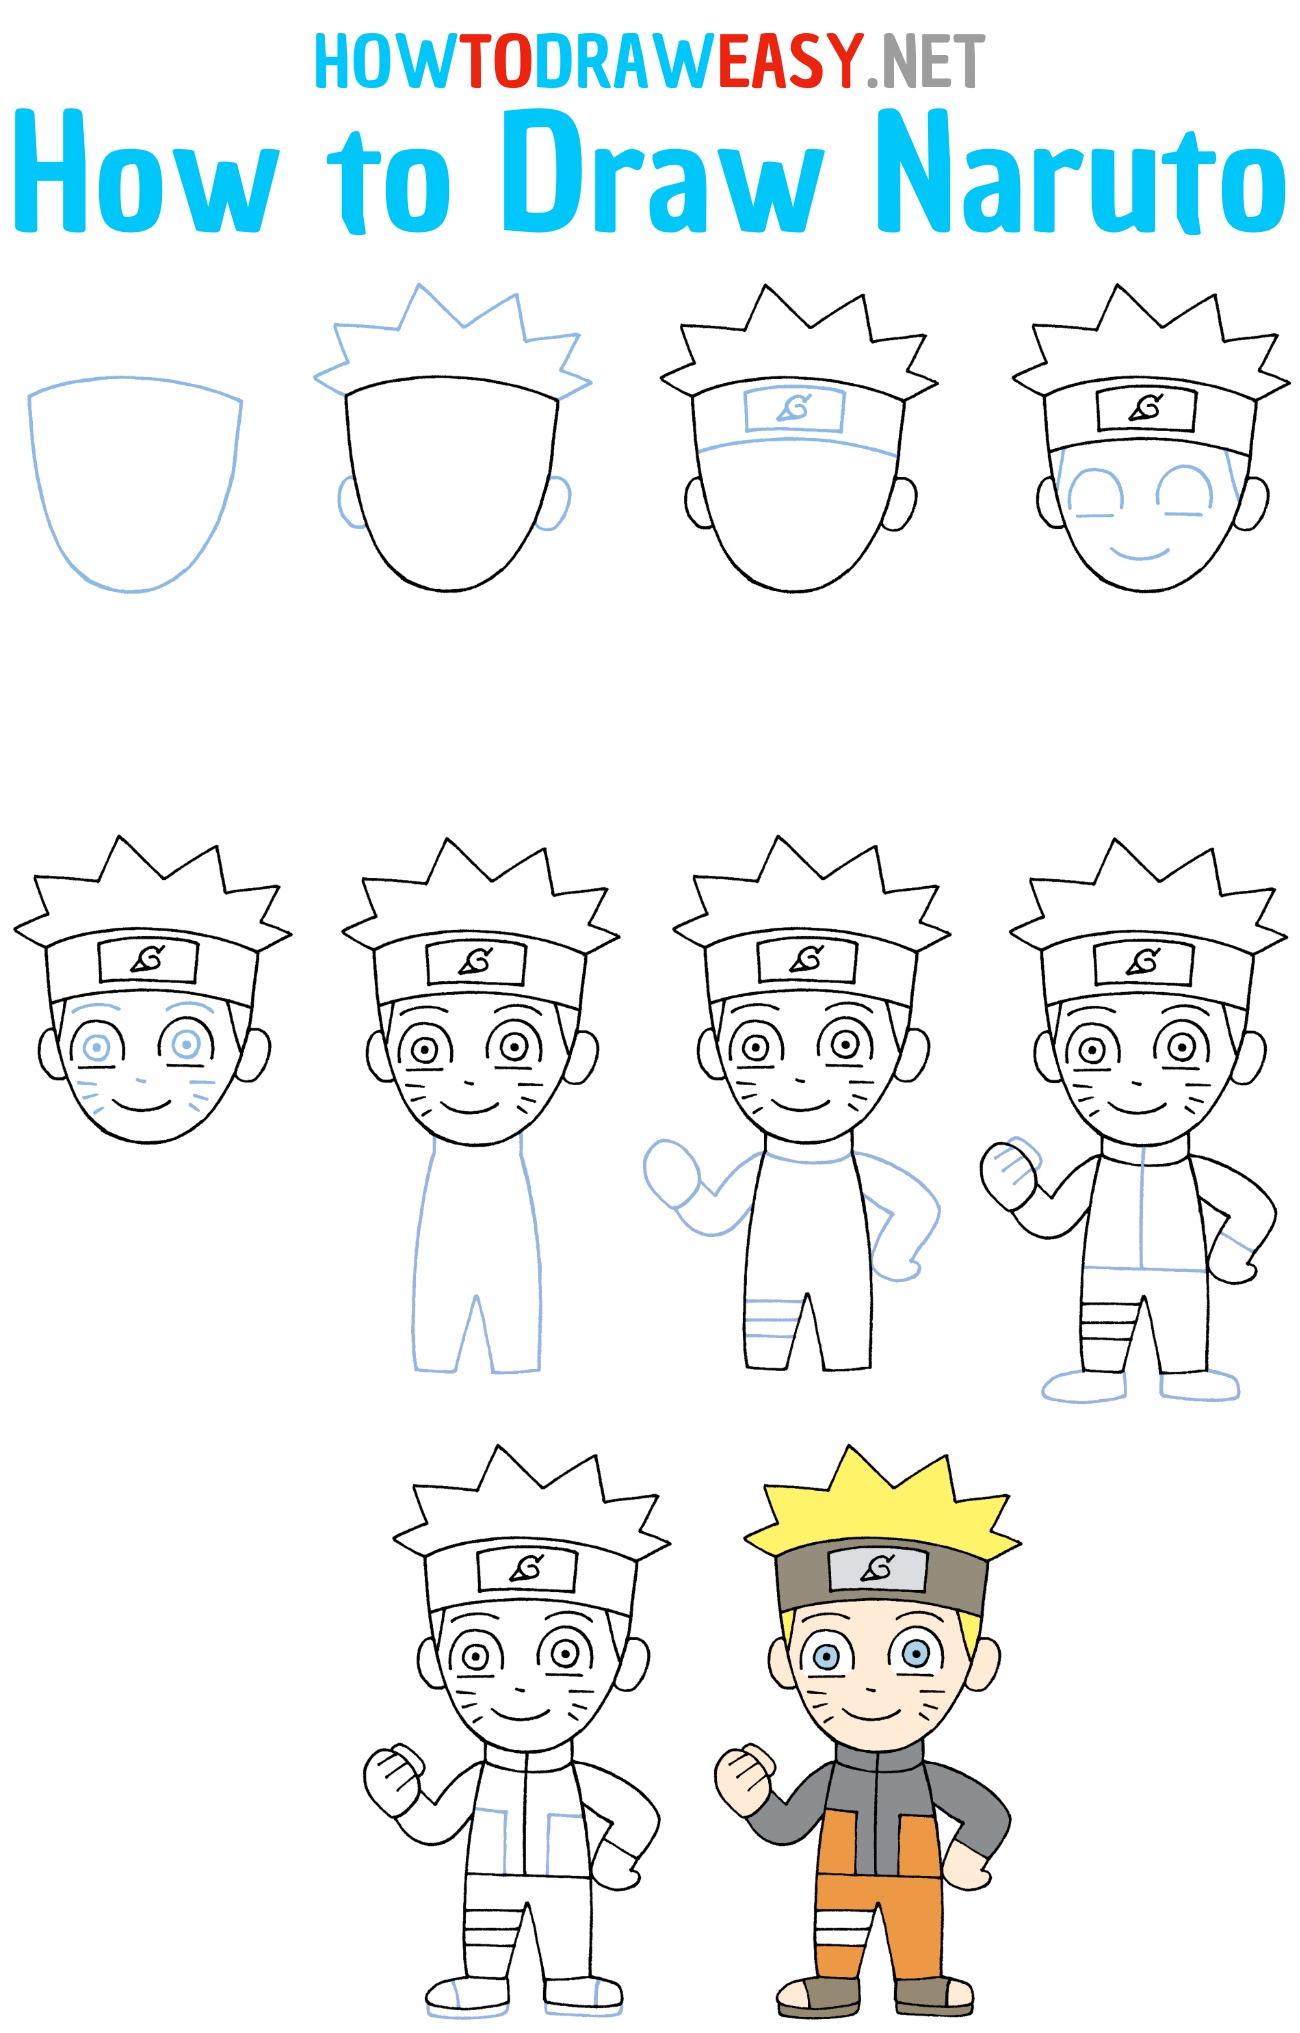
Hi all! Today, we will tell you how to draw Naruto step by step—the main character of Japanese comics and animated series. Once, the head of the village sealed the nine-tailed Kurama in the boy—a harmful creature that attacked the settlement. Subsequently, Kurama will try to make Naruto callous, but a kind and persistent young man will be able to direct his power for the good of the world. He becomes a member of Team 7 (or Team Kakashi), in which he makes every effort to realize his cherished dream – to become Hokage, the head of the village. Naruto becomes a specialist who has achieved recognition and respect from others.
Drawing Naruto is a fun activity that will help develop your superhero skills in drawing curved and geometric shapes! Let’s start!
Time needed: 30 minutes
How to Draw Naruto Step by Step
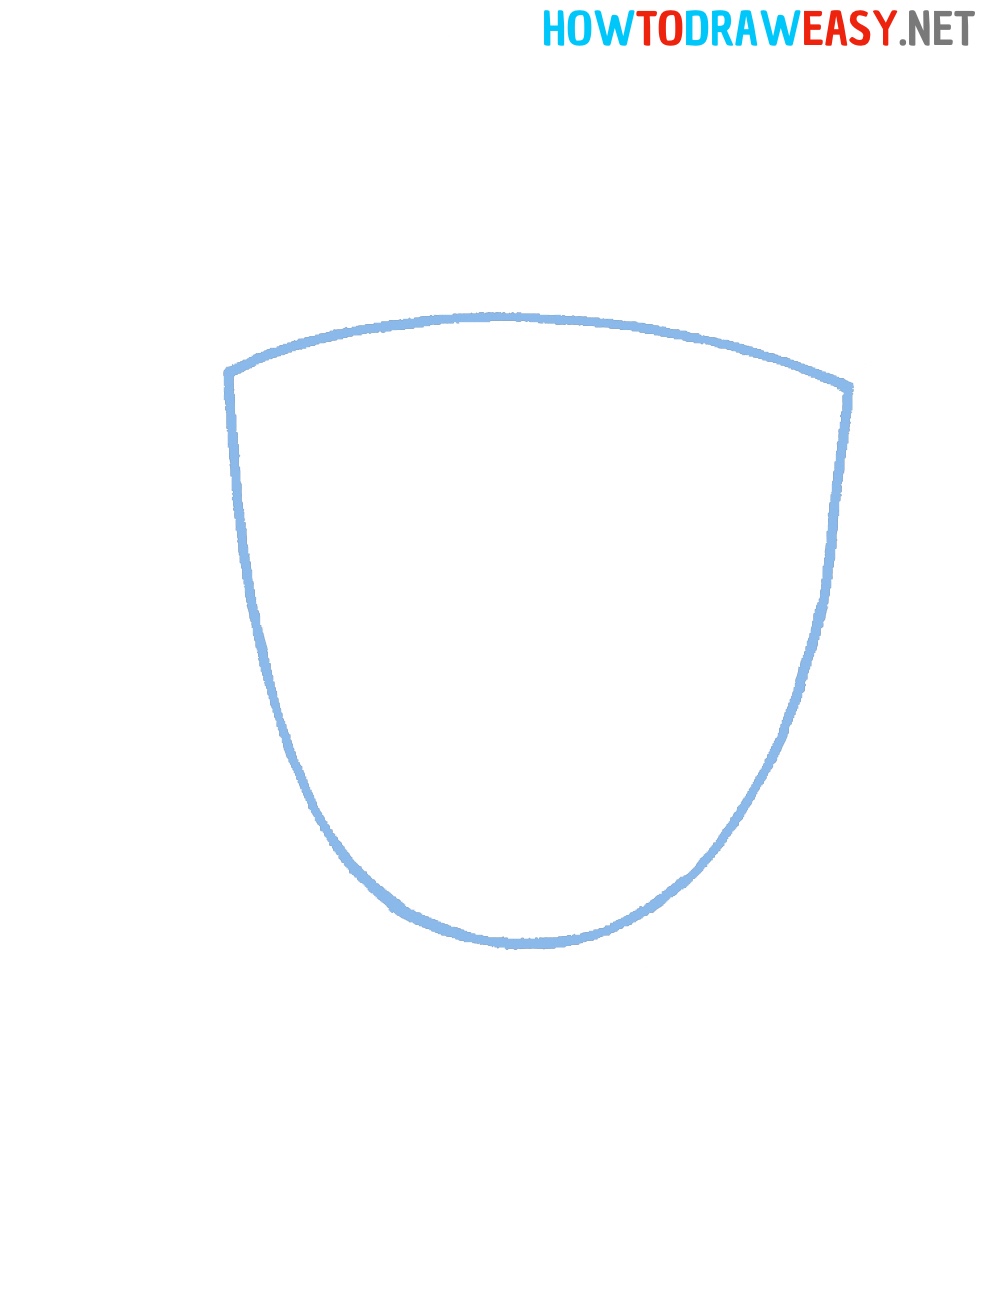
- Draw the head.
First, you need to draw the outline of the character’s head in an oval shape.
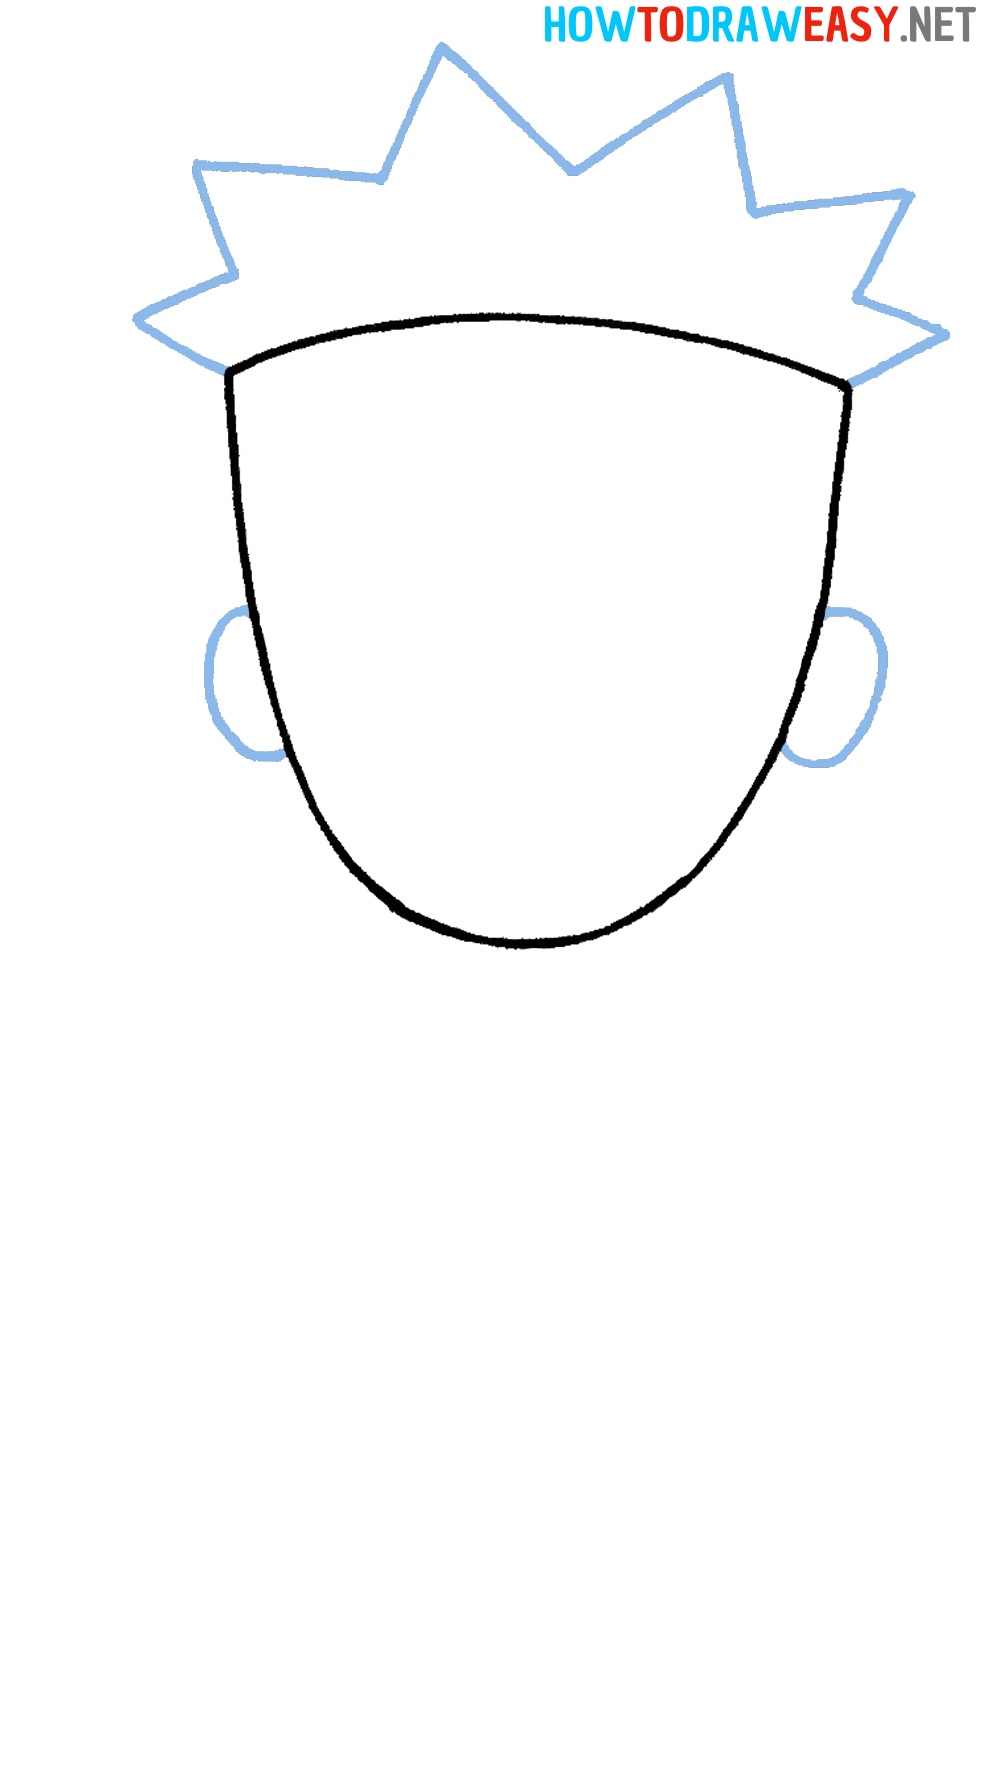
- Draw hair and ears.
Next, you need to draw the hair in zigzag lines. Then, on the sides on both sides of the head, draw oval-shaped ears.
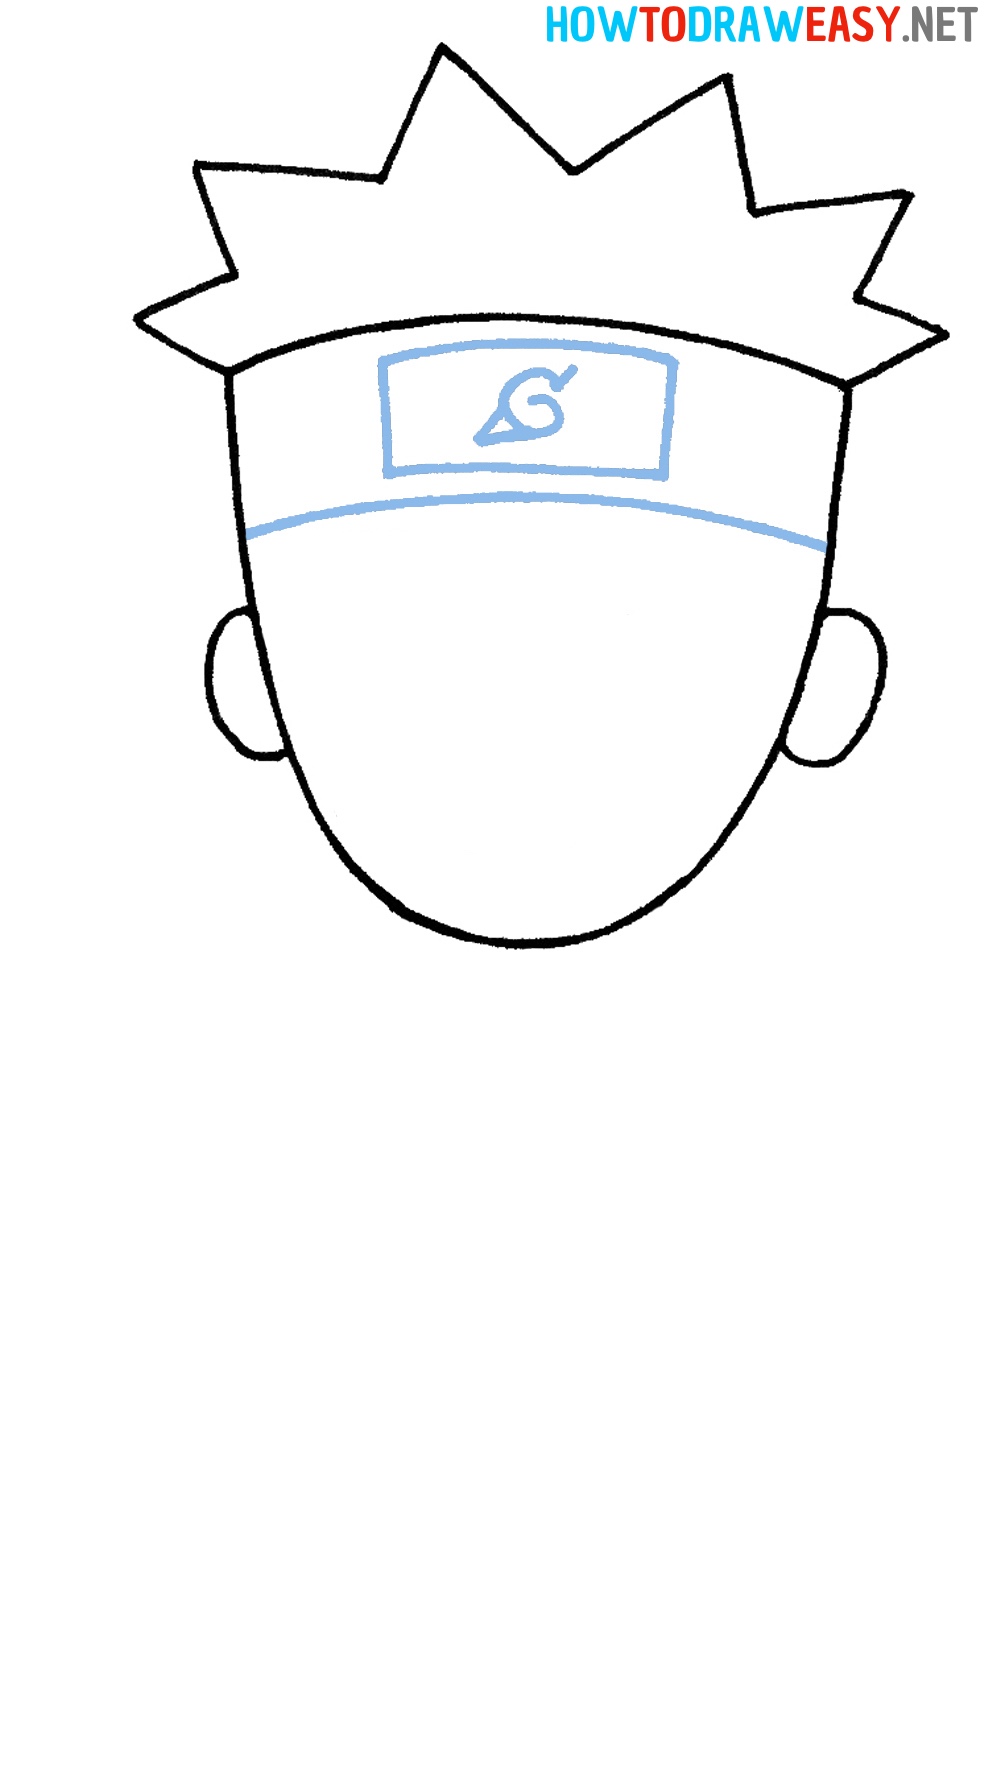
- Draw the headband.
Draw a bandage at the top of the head, then add the character’s village symbol.
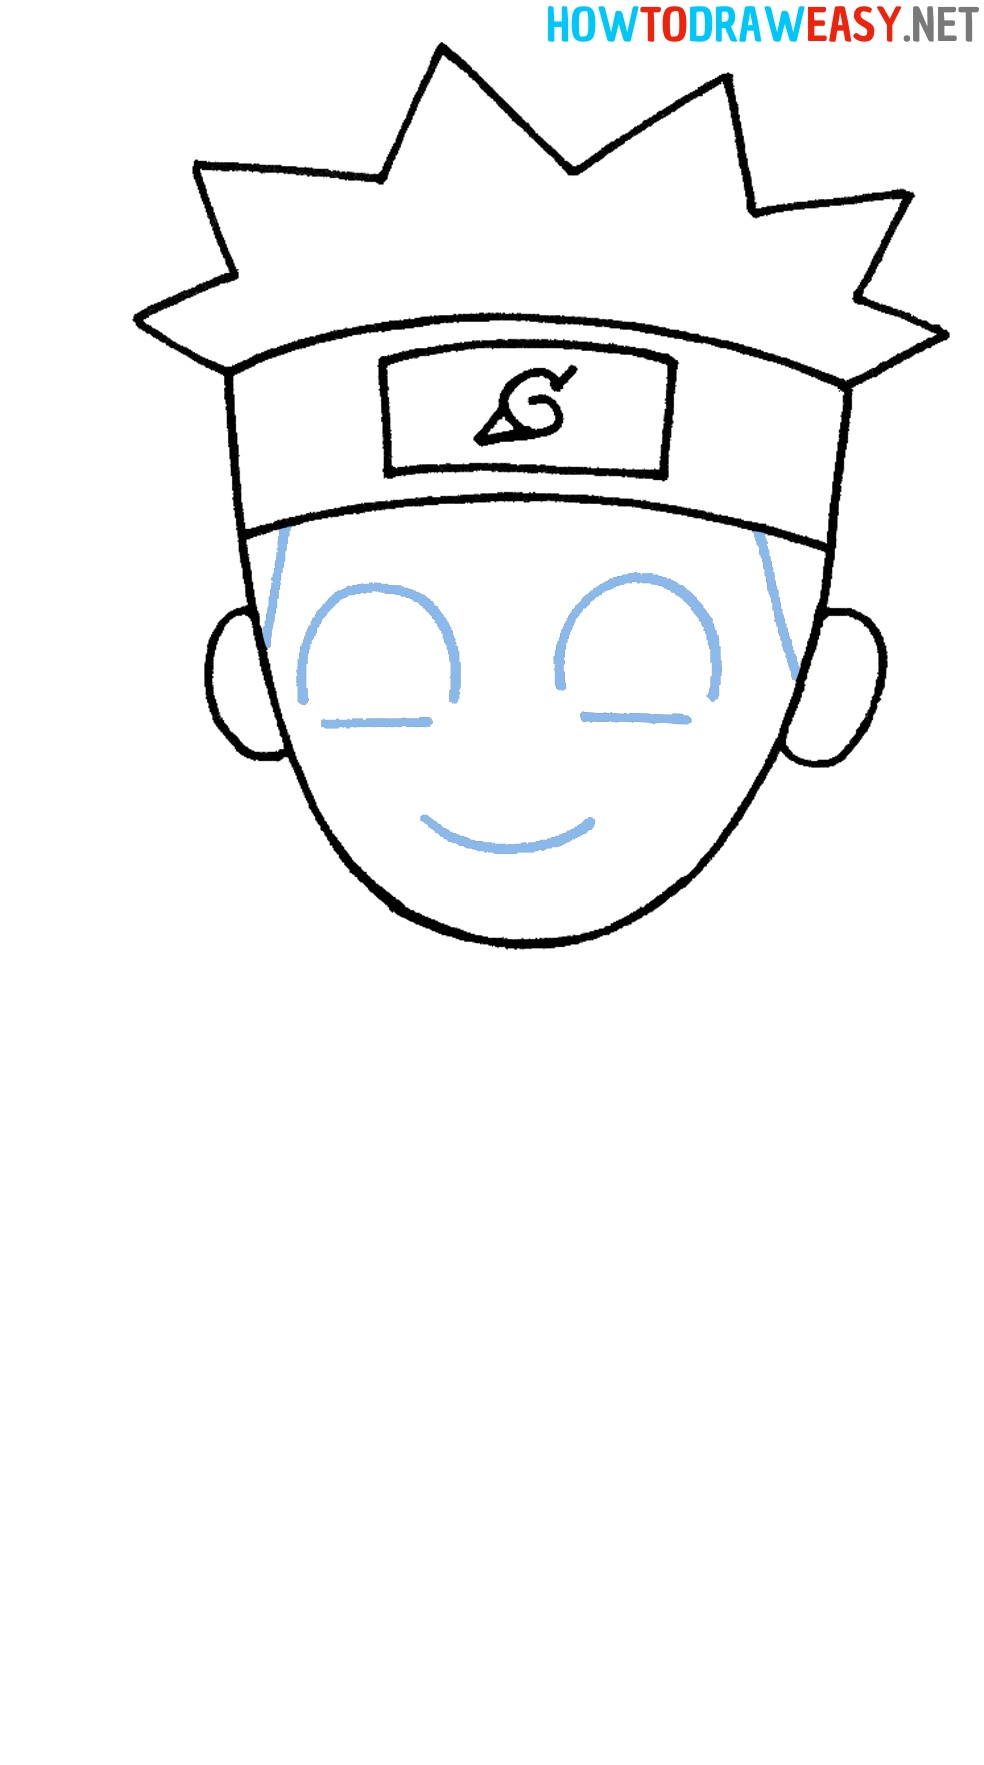
- Draw the face.
Add hair, in the form of a diagonal line that runs from the headband to the middle of the ears. Next, draw the outline of the eyes. To do this, draw two round arcs in the center of the face and draw straight lines a little stepping back below. Add a smile to the bottom of the face.
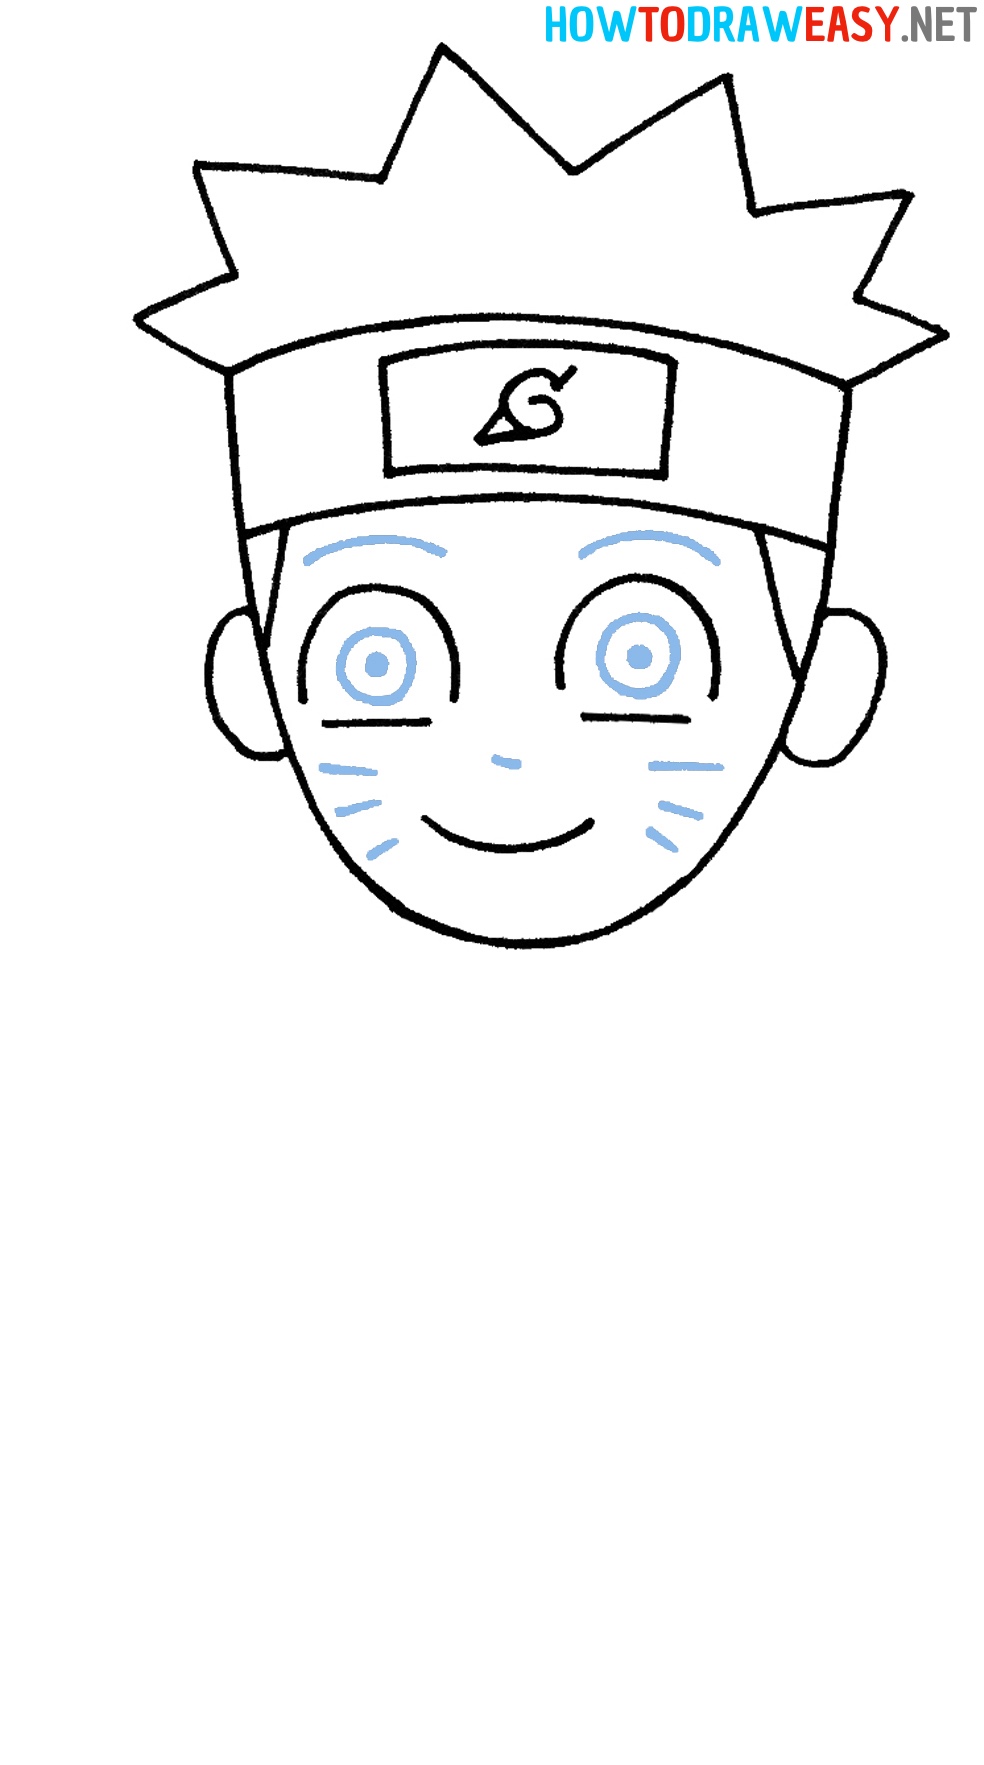
- Detail the face.
At this stage, it is necessary to draw the pupils of a round shape with a circle in the center. Then add the eyebrows above the eyes in the form of curved lines. Next, draw the nose and facial features.
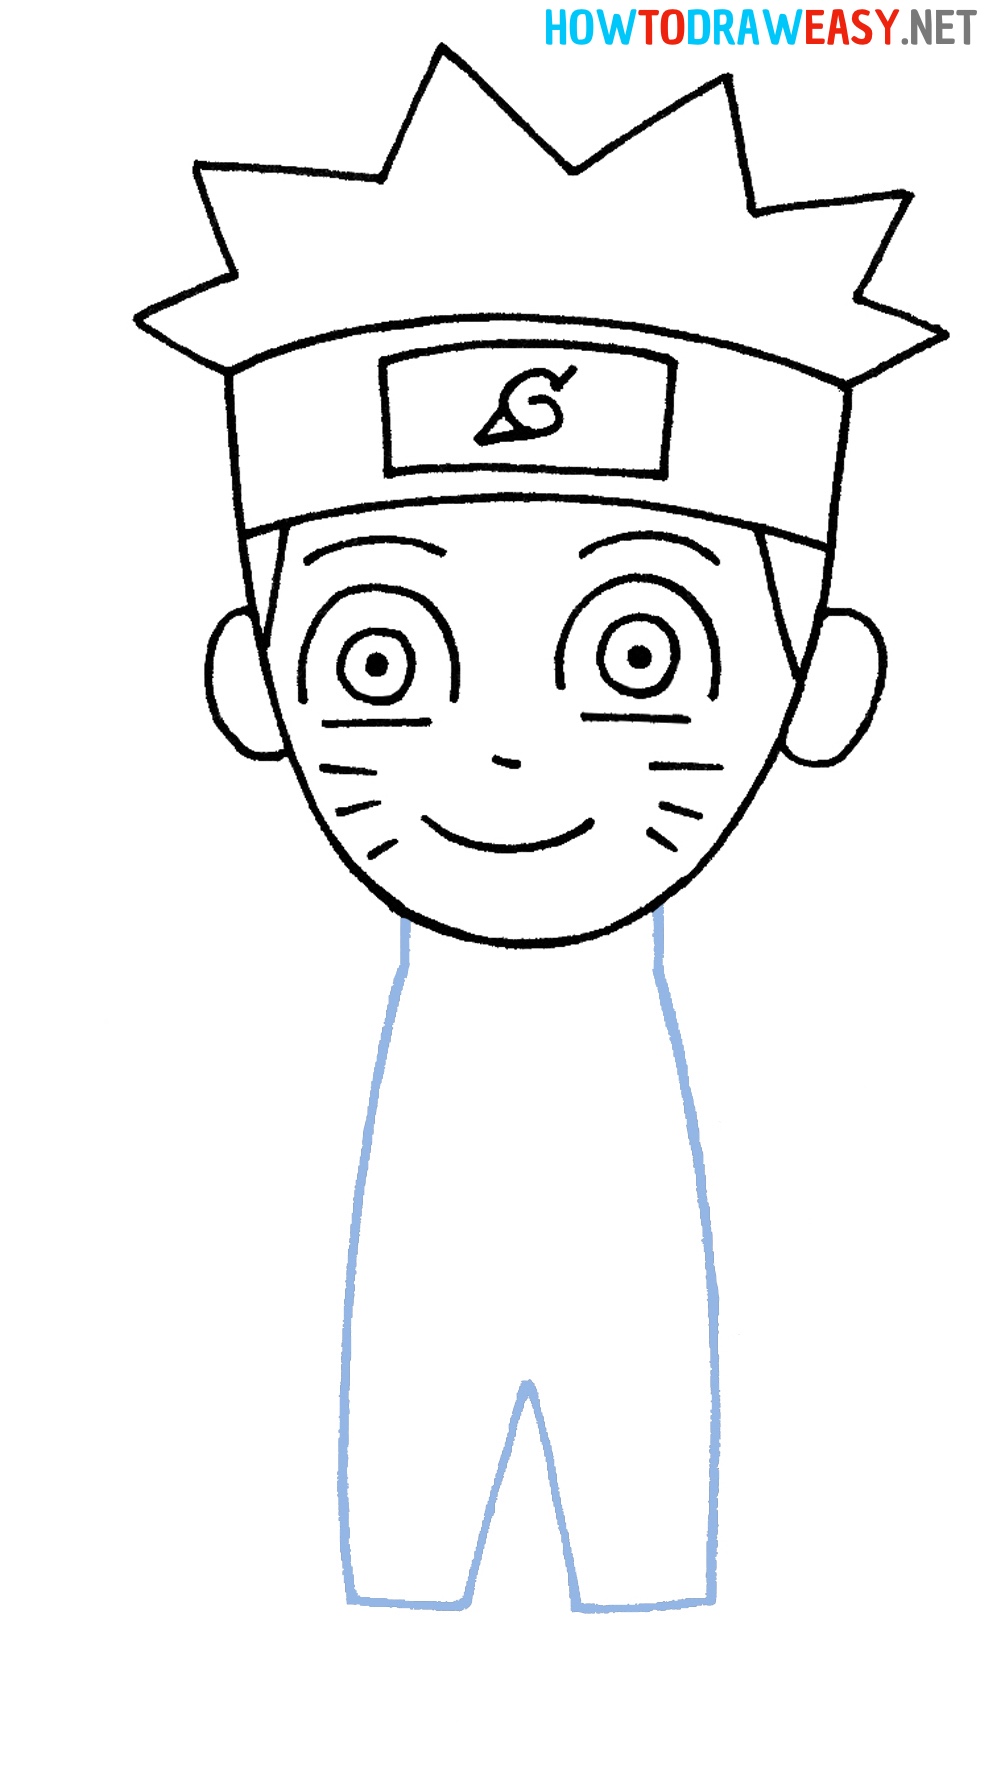
- Draw the torso and legs.
Sketch out the basic shape of the body, which includes the torso and legs.
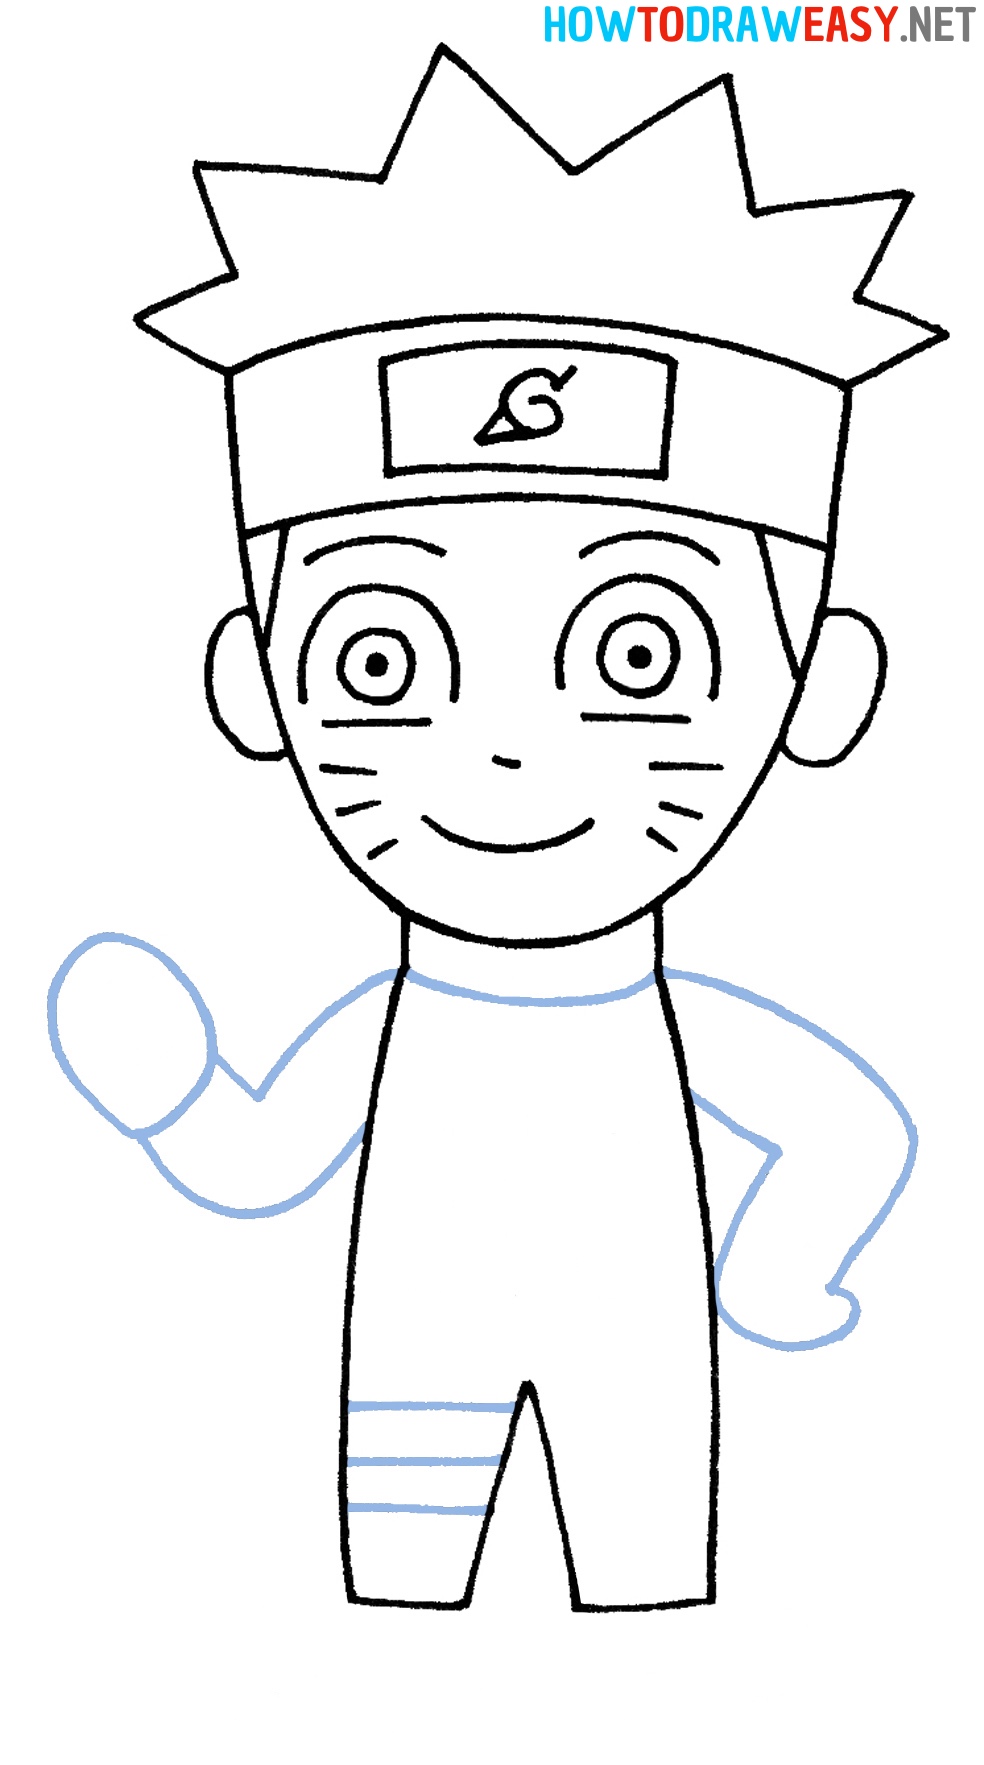
- Draw the arms and bandage on the leg.
Draw the arms and fist as shown in the example Uzumaki drawing. Then add bandage lines on the leg.
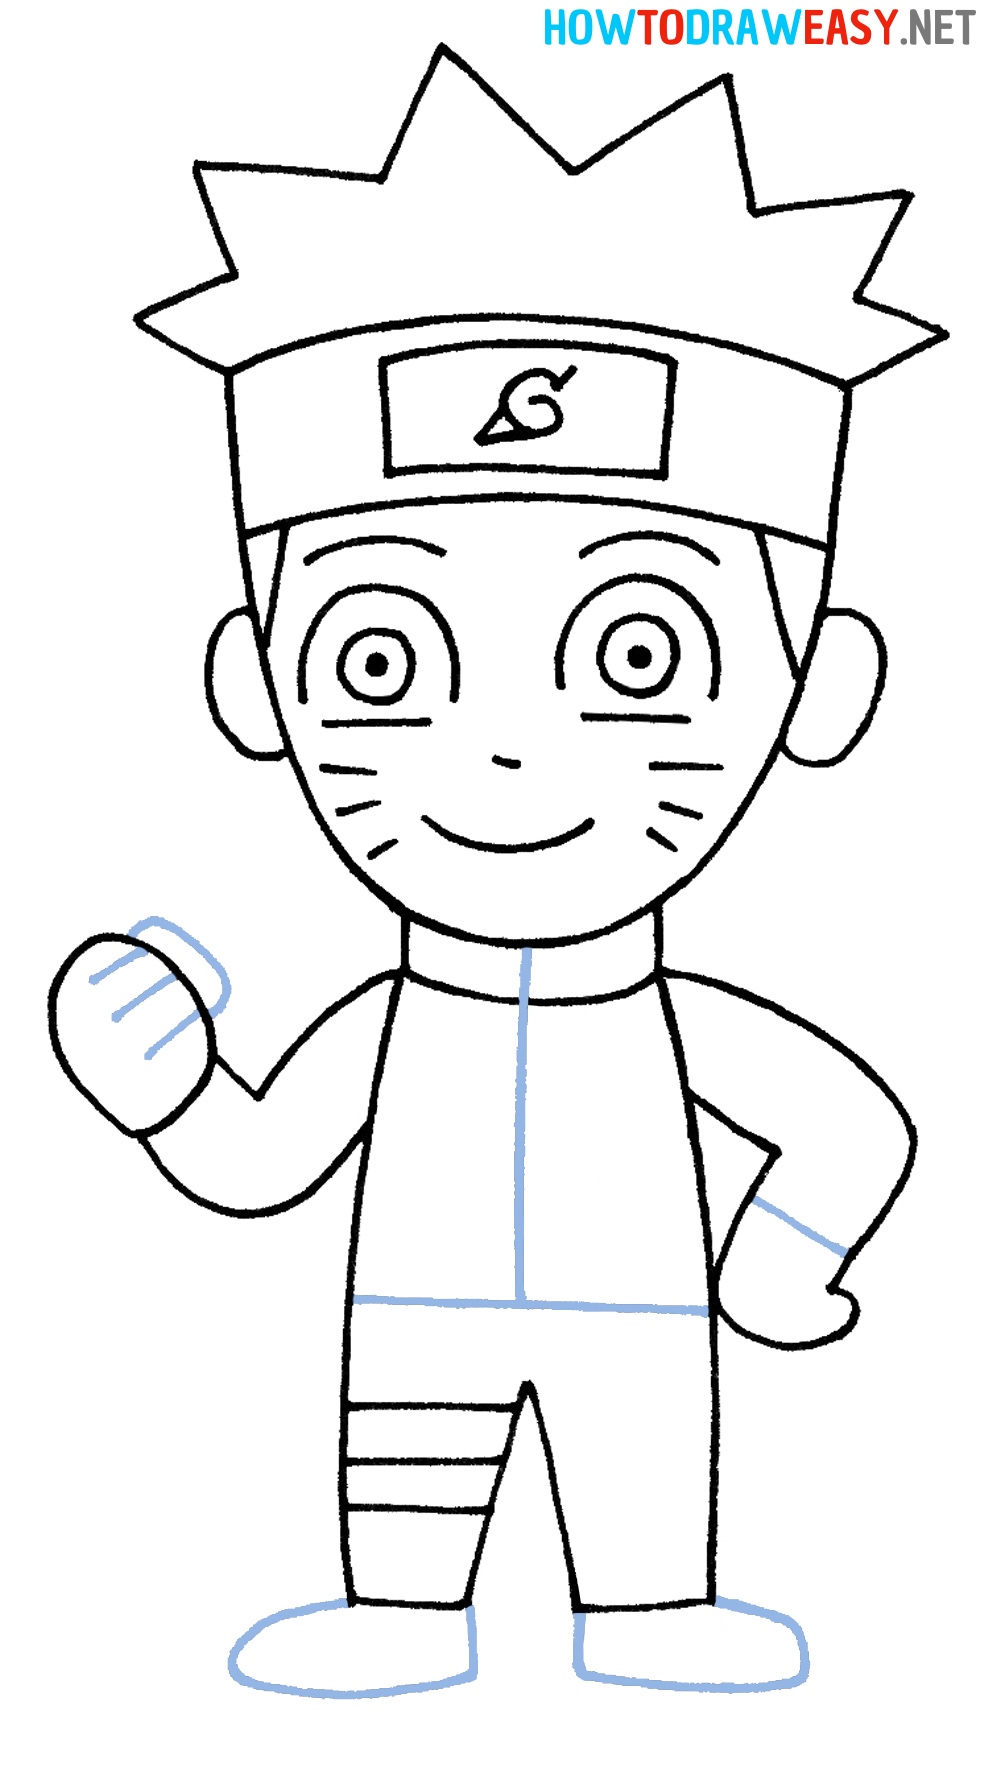
- Draw the lower part of the legs, the fist and the elements of the upper body.
At the bottom of the legs, draw oval-shaped shoes. Next, add the fingers to make the fist look more realistic. Then detail the clothes of the character.
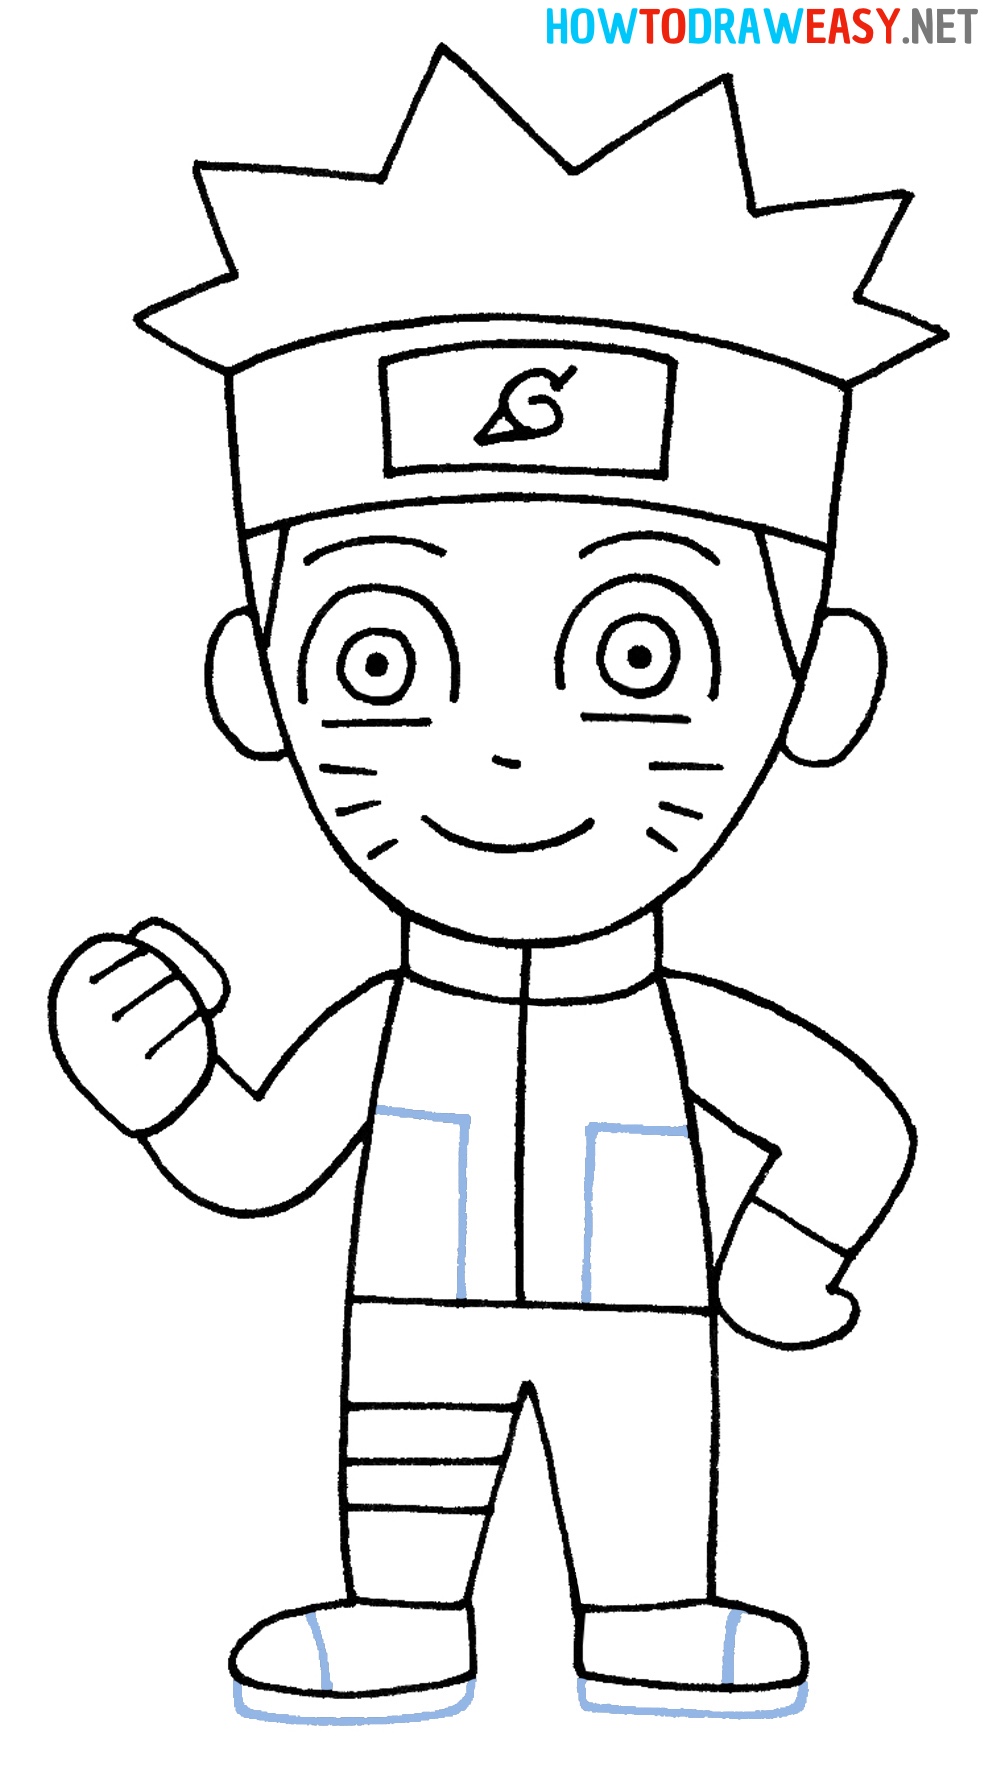
- Add the details of the jacket and the soles of the shoes.
One of the final stages is the detailing of the jacket and the completion of drawing the shoes.
- Color your Naruto.
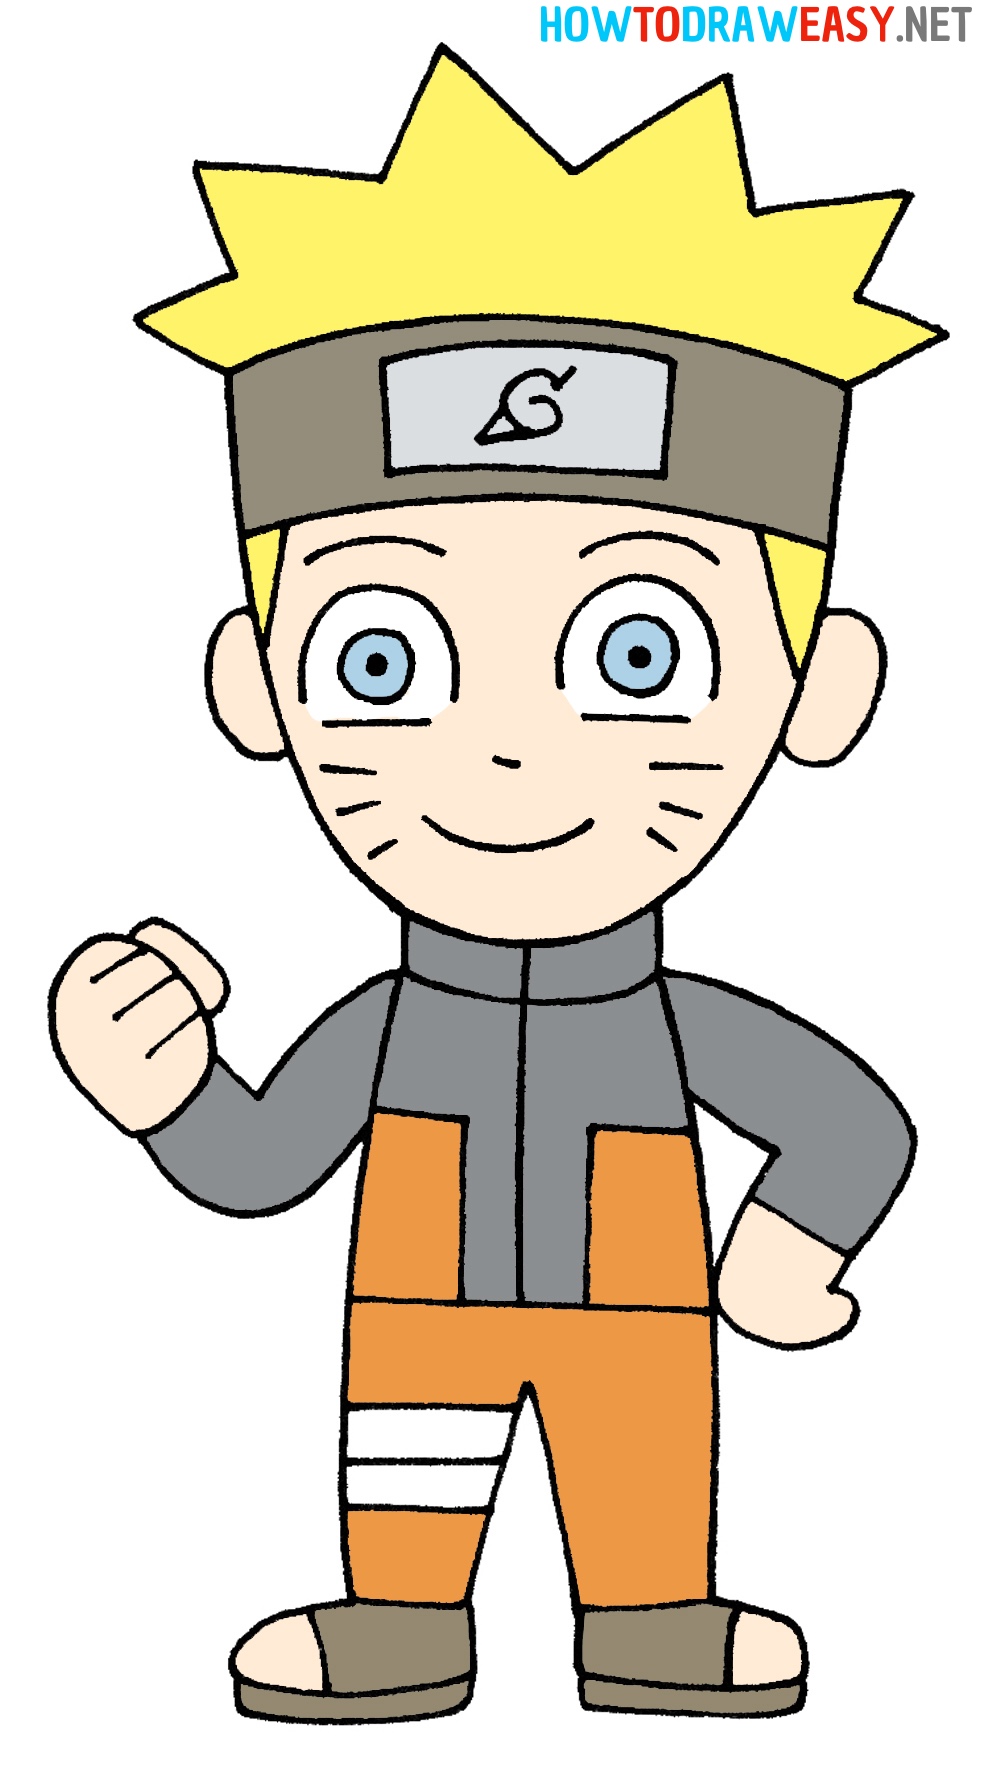
To color your drawing, you should use coloring tools like crayons, colored pencils, or felt-tip pens. Before coloring, trace the outlines of the sketch with a black marker or ink.
