
How to Draw Chibi Captain America
Learn how to draw Chibi Captain America easy enough for beginners, start a sketch with this tutorial. A simple step-by-step guide to help you draw Steve Rogers.


In this step-by-step guide, you will learn how to draw Chibi Captain America, and for you, this lesson will be a help in mastering drawing skills. In this tutorial, we show in the steps how to draw a cute chibi character from the Marvel Universe. This tutorial is pretty simple because there won’t be a lot of complicated details in drawing it. If you want to depict an even simpler drawing of Captain America easily, you can try to draw using another step-by-step guide that is on our website.
Time needed: 45 minutes
How to Draw Chibi Captain America
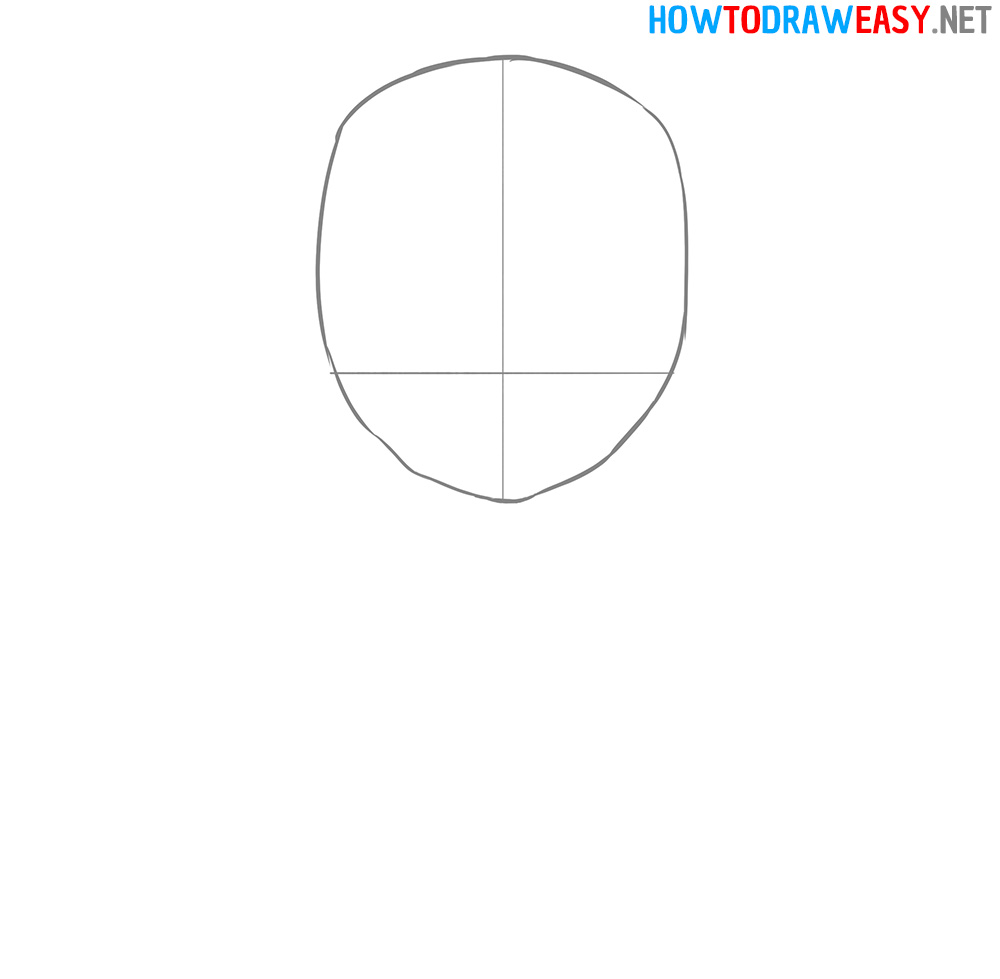
- Draw the shape of the head.
Let’s start the lesson by drawing the head. First, draw the guidelines, which are shown in the example as cross-shaped lines. After that sketch out the outline of the helmet around the baselines.
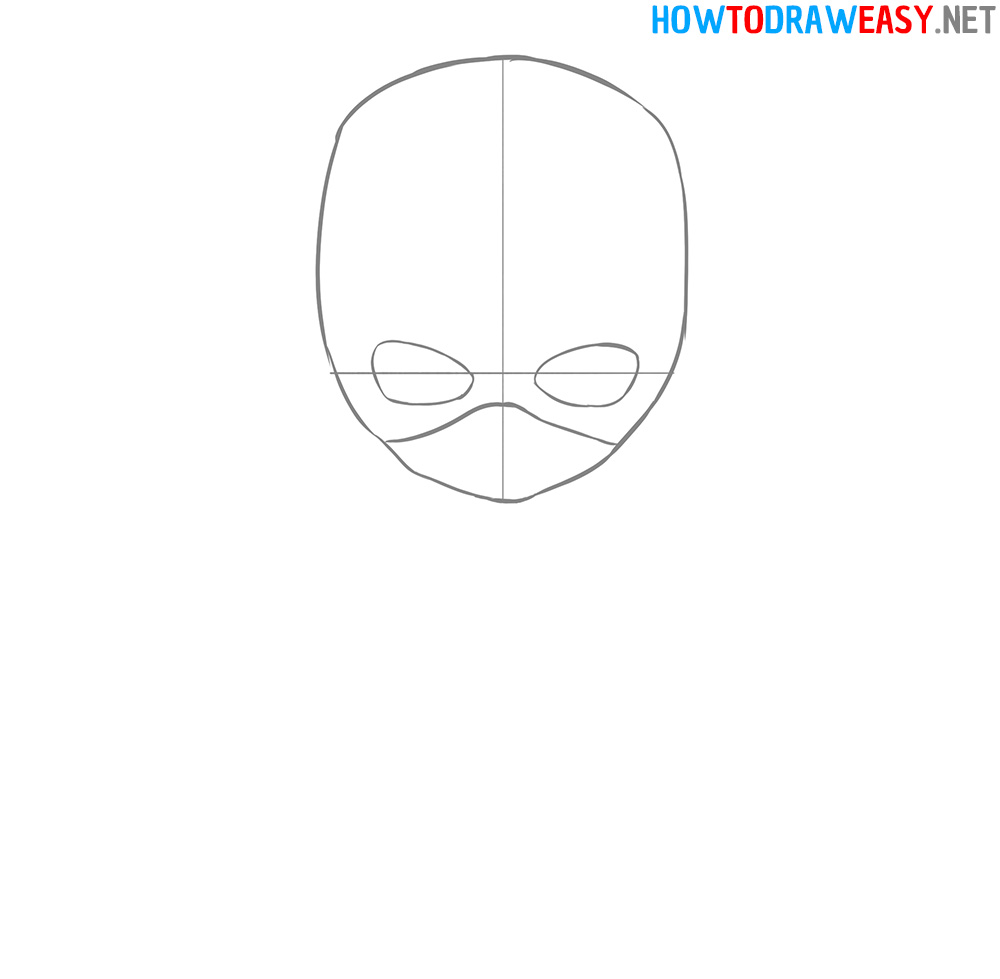
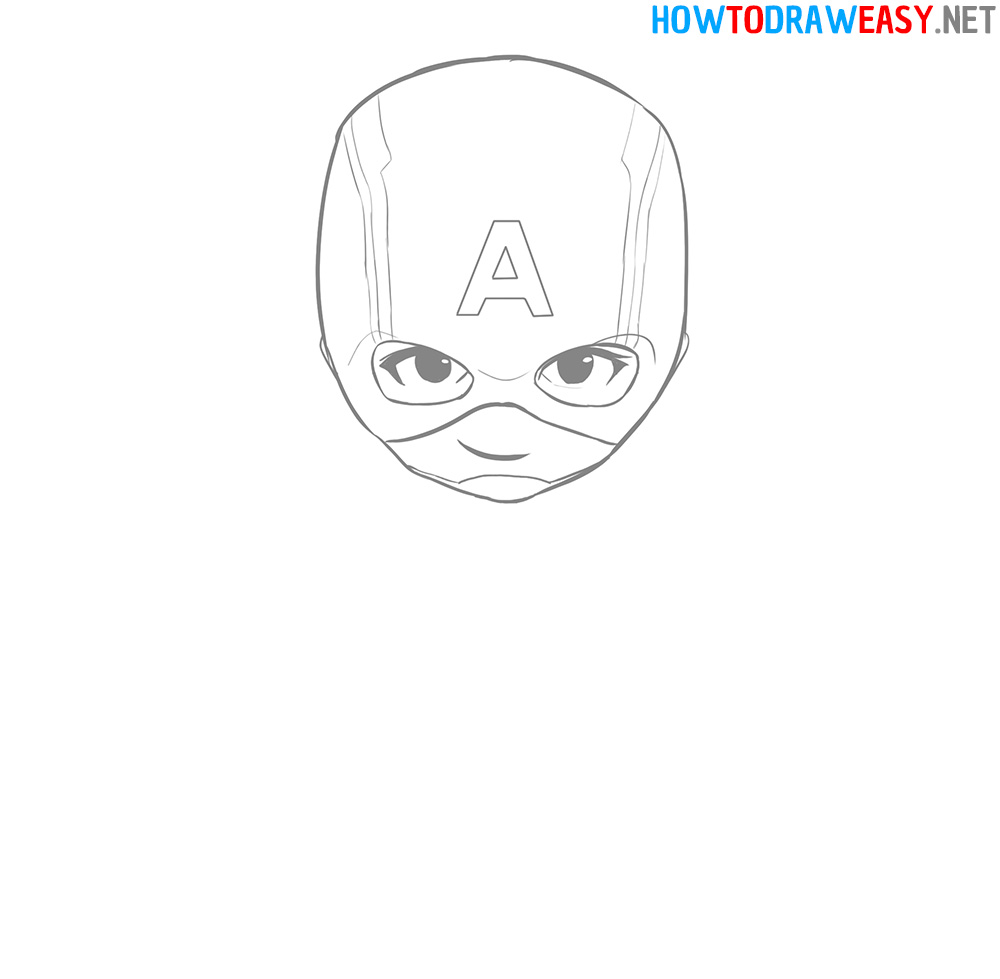
- Details of the mask.
Draw on the mask parts for the eyes and the mouth with the nose. Keep in mind that the Captain’s head is tilted down slightly, so your eyes will be low on your sketch.
- Draw the eyes.
Draw the cute chibi eyes of the Captain. First, draw the shape of the eyes following the example, then draw the eyelashes with a thick line, and at the end draw the pupils.
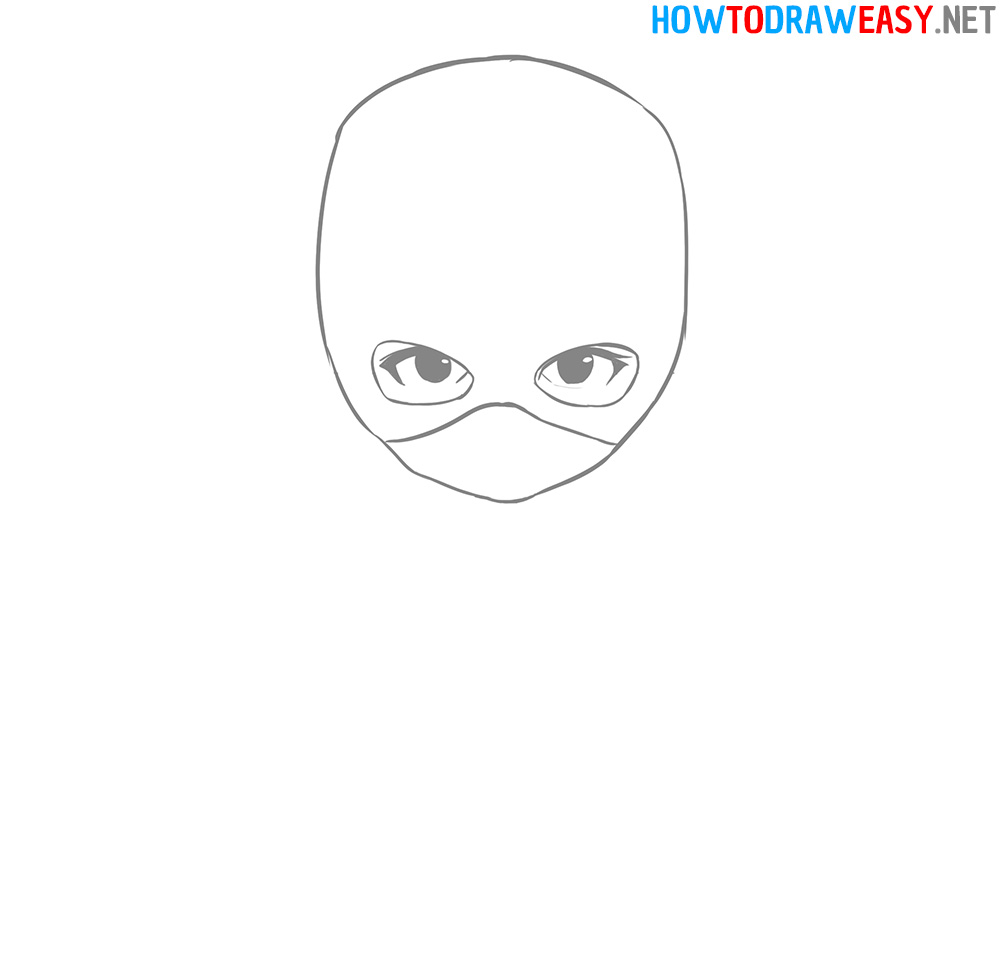
- Mouth and ears.
Draw the smiling mouth with one curved line. And also draw small ears that are barely visible from under the mask.

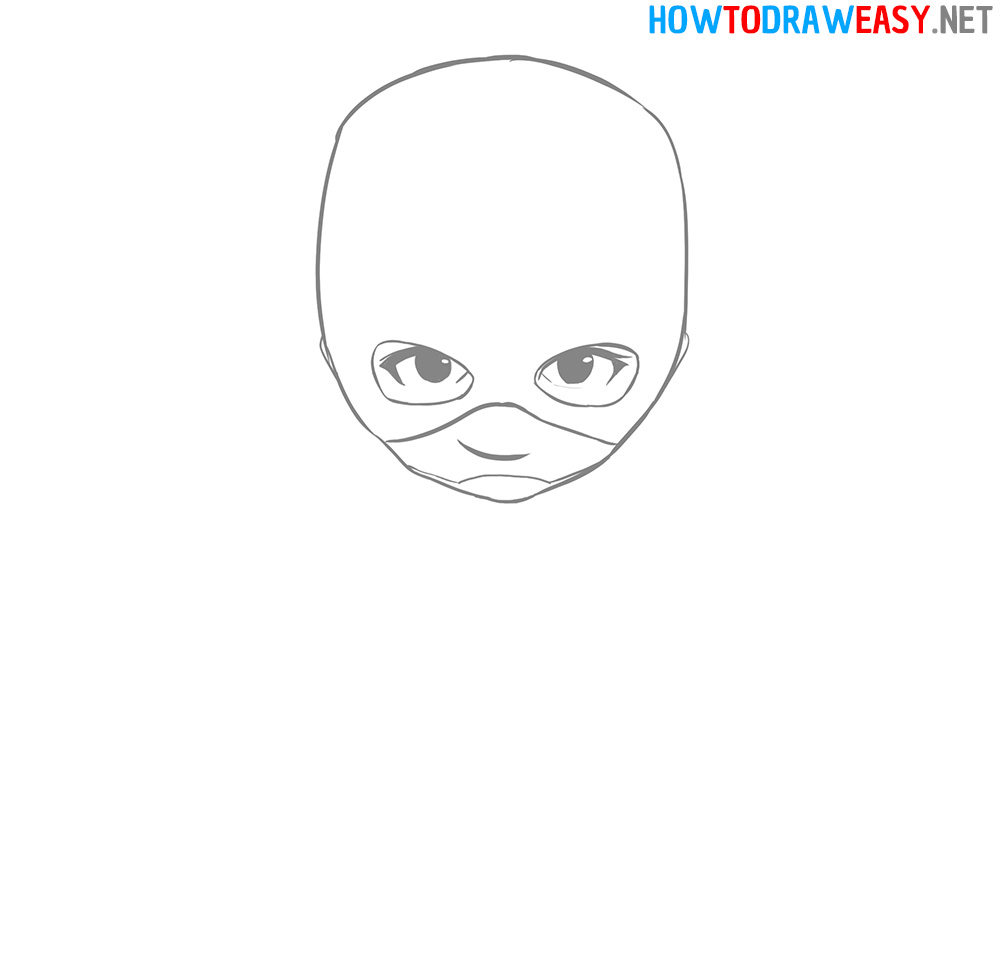
- Detail of the mask.
Draw the chin strap of the Captain’s mask.
- Draw the logo.
Draw the Captain America logo on the helmet and also draw lines on the mask. This mask is inspired by Steve’s mask from Captain America: The Winter Soldier movie.
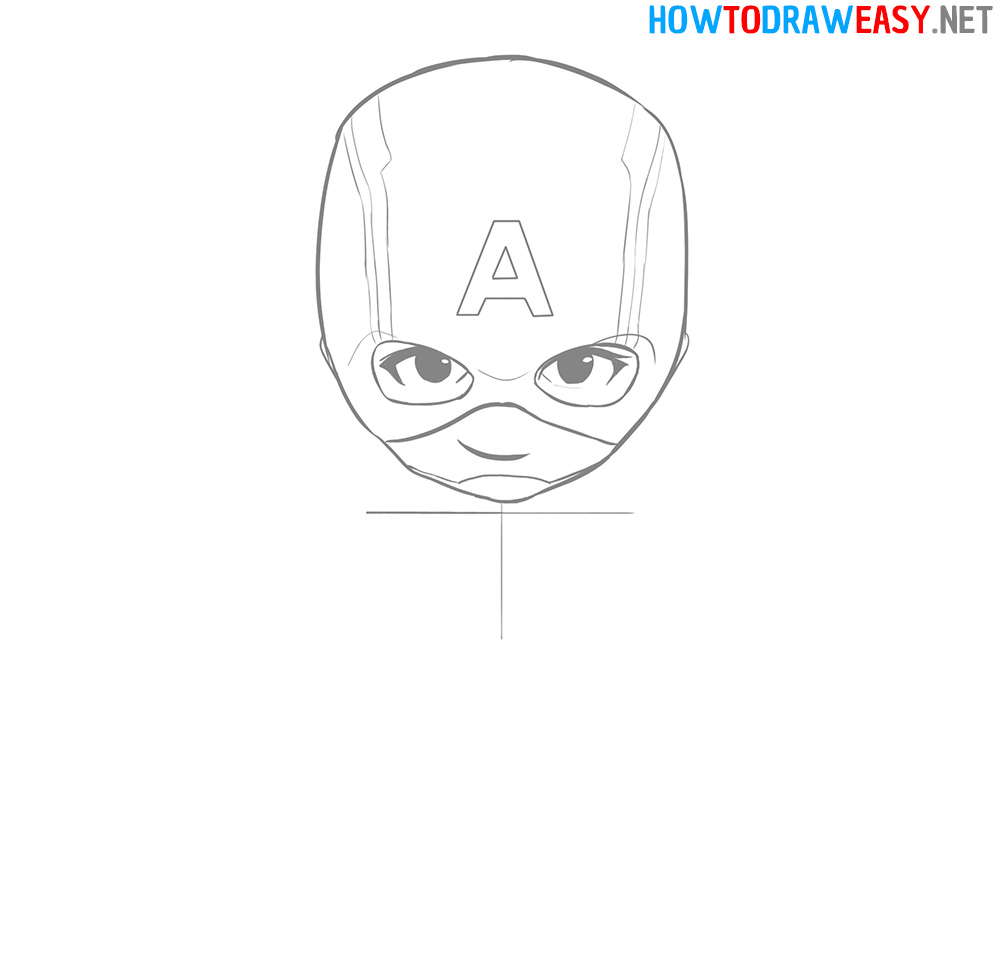
- Torso guidelines.
Start drawing the torso with guidelines to help you navigate how wide to draw the Captain’s torso.
- Draw the shoulders.
Draw the lines of the shoulders, which are located exactly on the lines that you drew in the previous step.

- Draw the arms.
Draw the arms up to the forearms, and also depict the straps and torso lines.
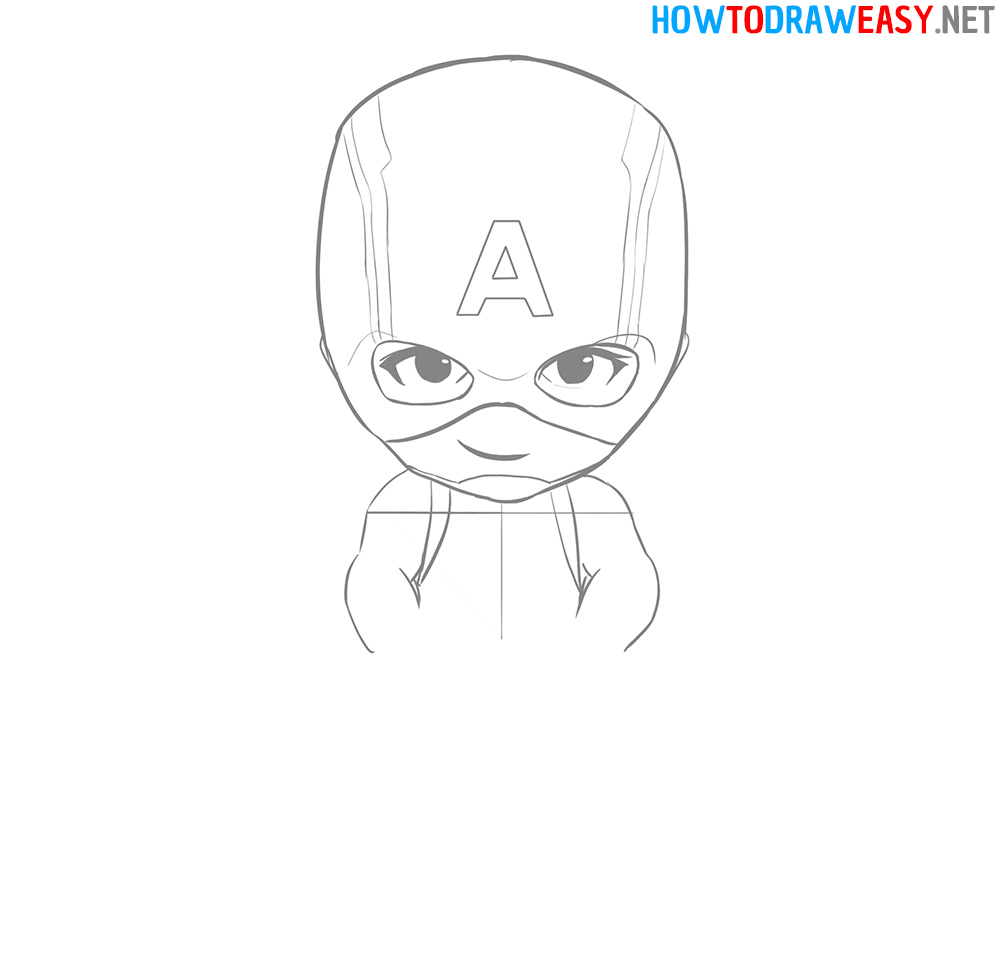
- Draw the hands.
Draw the details of the hands, sketch the finger separately.
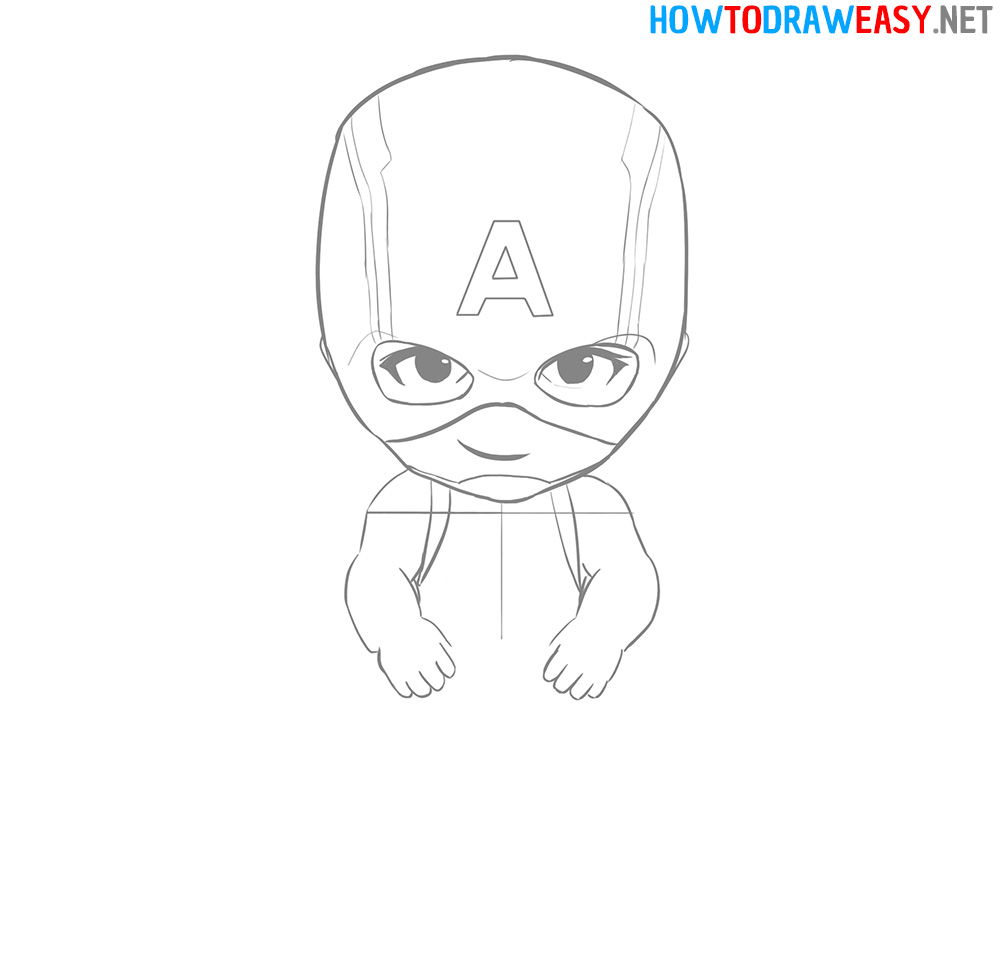
- Draw the details of the costume.
Now you need to draw the details of Captain America’s costume. Start by drawing a star on the chest, and then draw stripes that follow the style of the stripes from the United States flag.
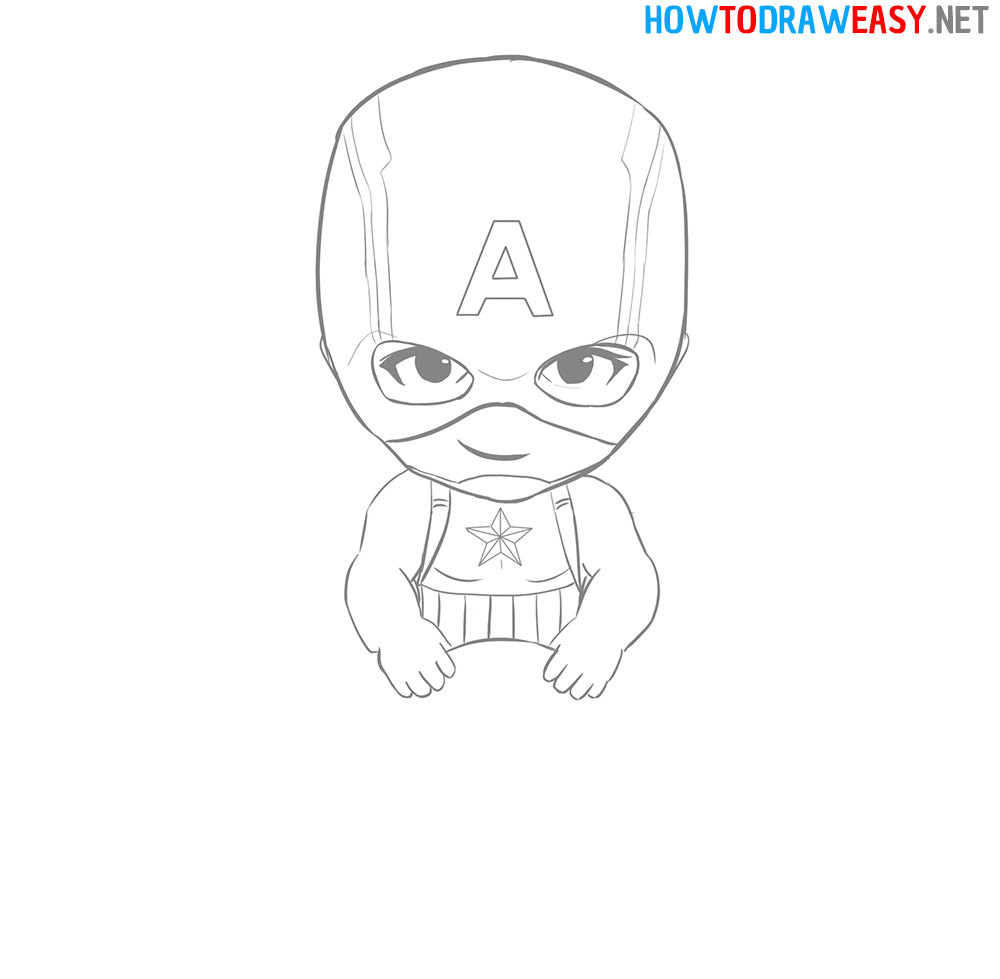
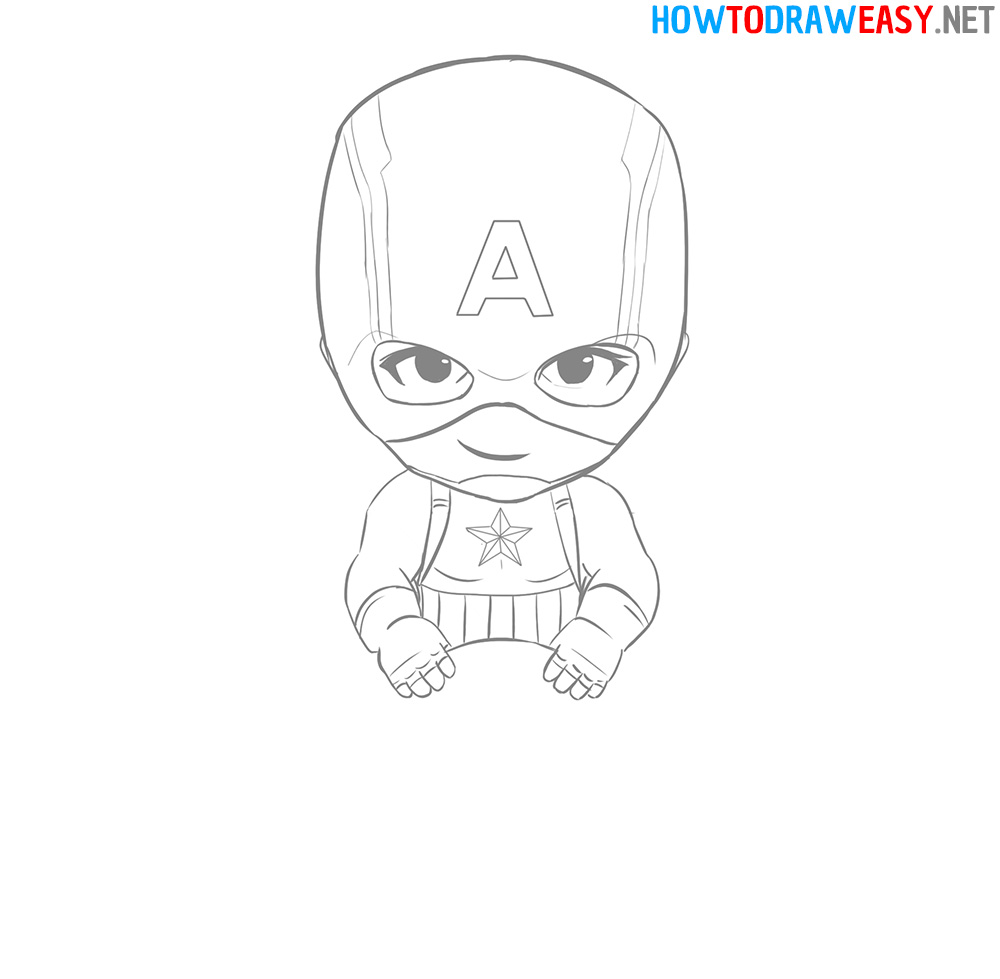
- Draw the gloves.
We continue to detail the costume, and in this step, you can see an example of how to draw gloves.
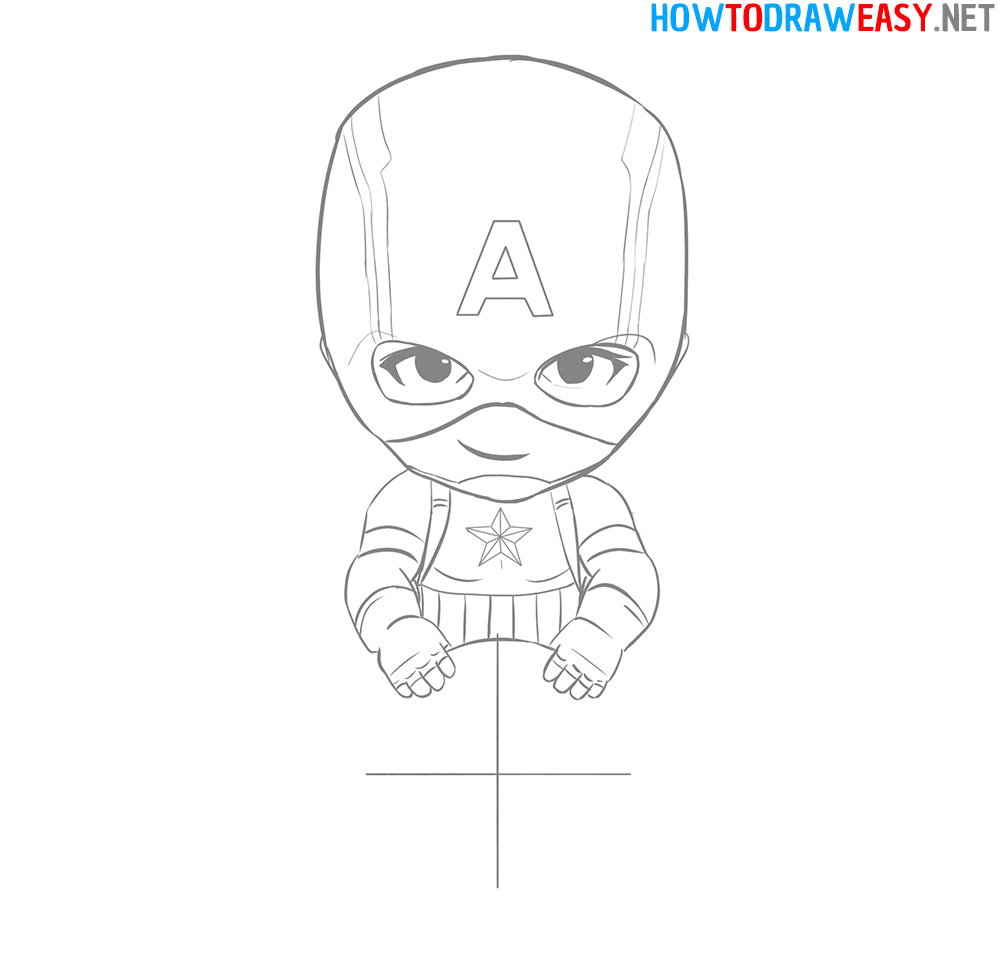
- Shield sketching.
Now we draw the shield of Captain America, and we begin to draw it with guidelines that will help draw each side symmetrically.
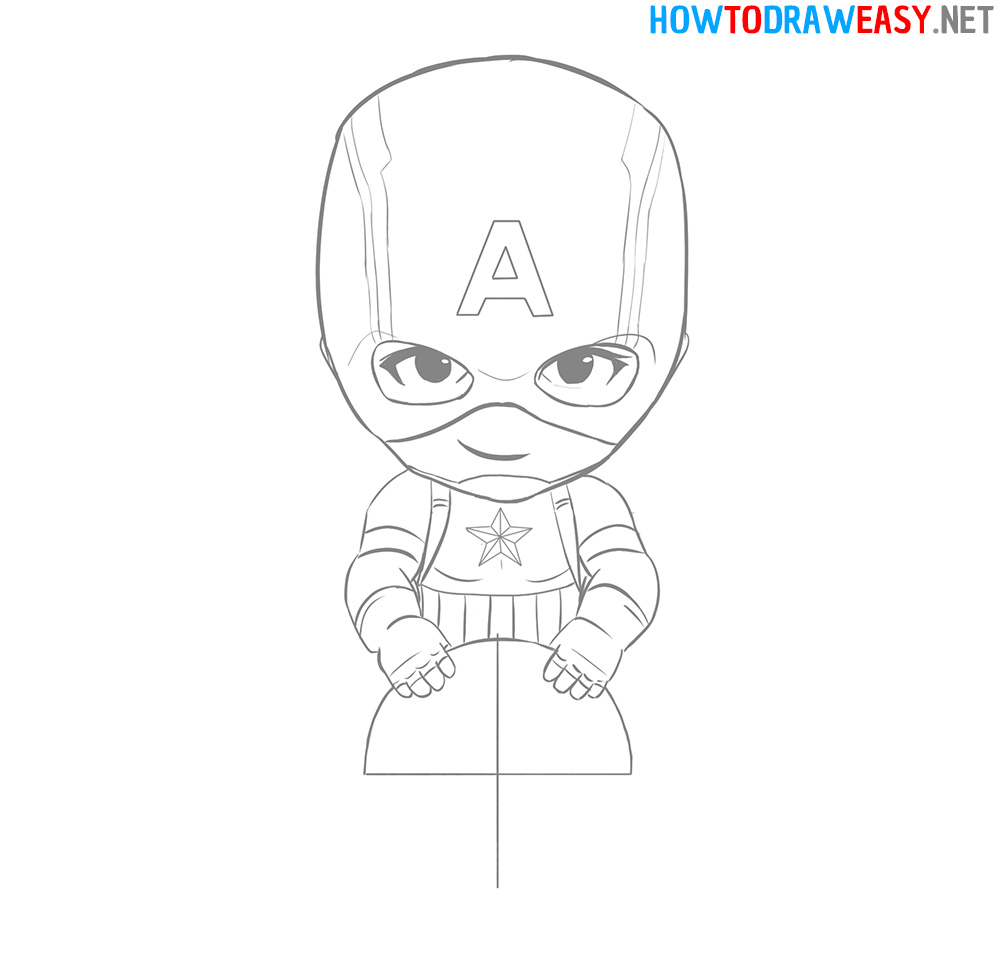
- The upper part of the shield.
Draw the upper part of the shield first, you can divide the whole drawing of the shield outline into four parts, and draw each part separately.
- Draw the shield for Captain America.
Using the same principle, draw the general outline of the shield, and after that draw all the other lines of the shield. Then draw a star in the middle.
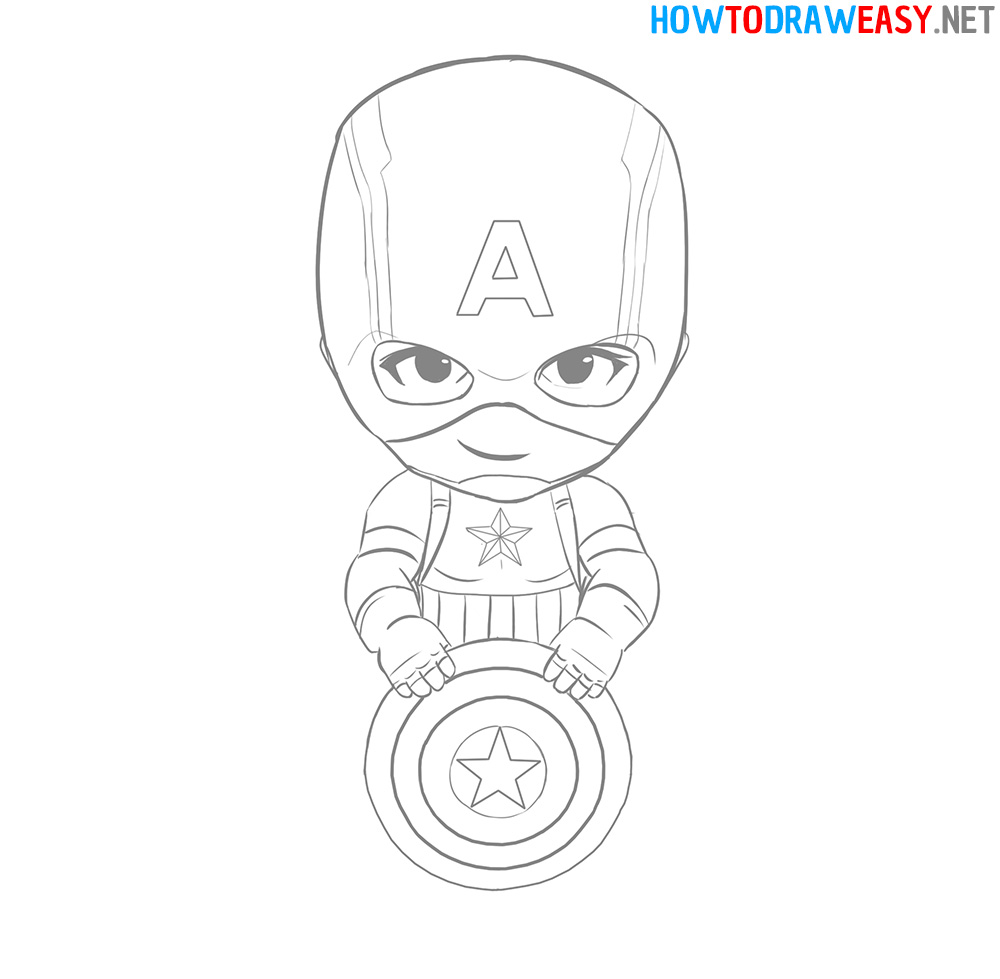
- Draw the shoes.
Draw the Captain’s shoes, which are slightly visible from under the shield that Steve Rogers is holding in front of him.
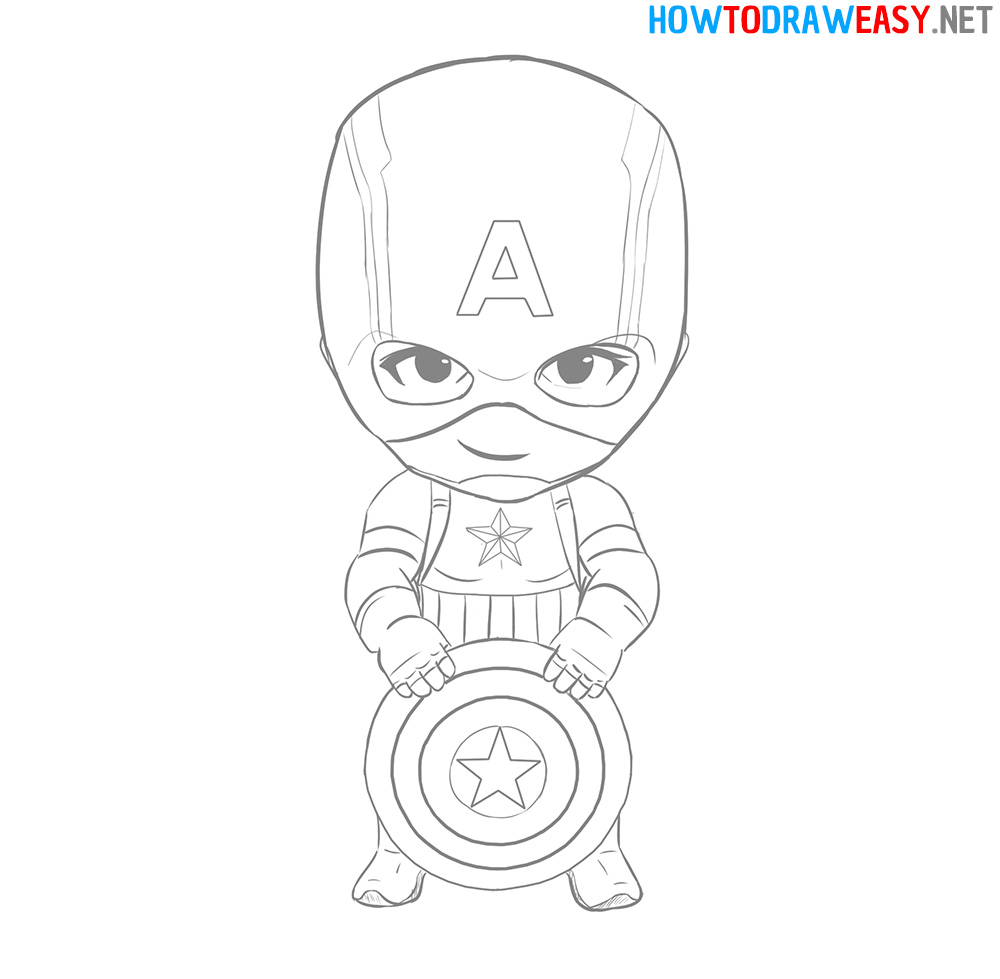
- Trace the sketch.
Now trace the sketch using a black marker or ink fountain pen if you have one. You can also use a helium pen if you have one.

- Color your drawing.
We hope that you have successfully drawn the Captain, and now you can color your drawing. We used classic colors for coloring. If you have ideas for other colors, then experiment and enjoy the process.
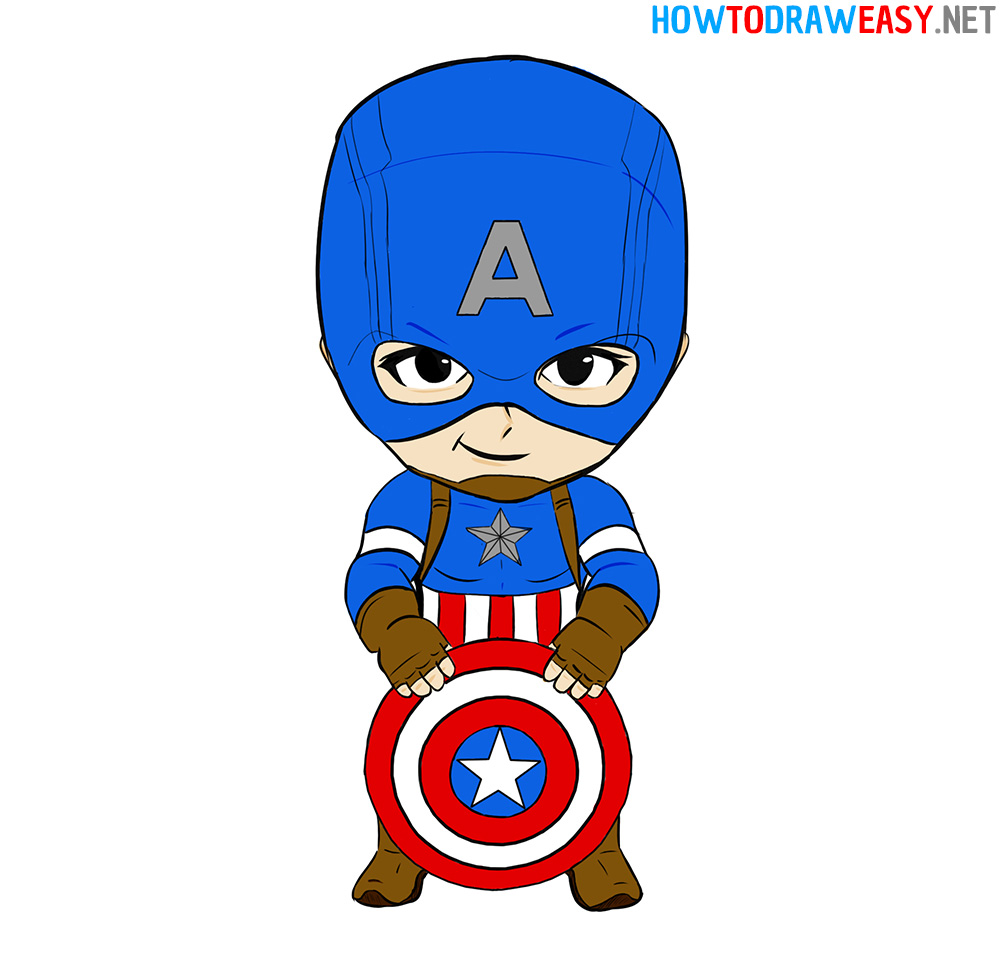


That’s all, the drawing is completely ready! We got a wonderful picture. We hope that everything worked out for you and at the same time you received warm and kind emotions because this is important for us. You can post the resulting result on social networks or share it with your friends.
Until next time!