How to Draw Bread
Learn how to draw bread with the howtodraweasy.net team. A step-by-step easy tutorial that will be understandable to all beginners who want to draw bread and bread slices.


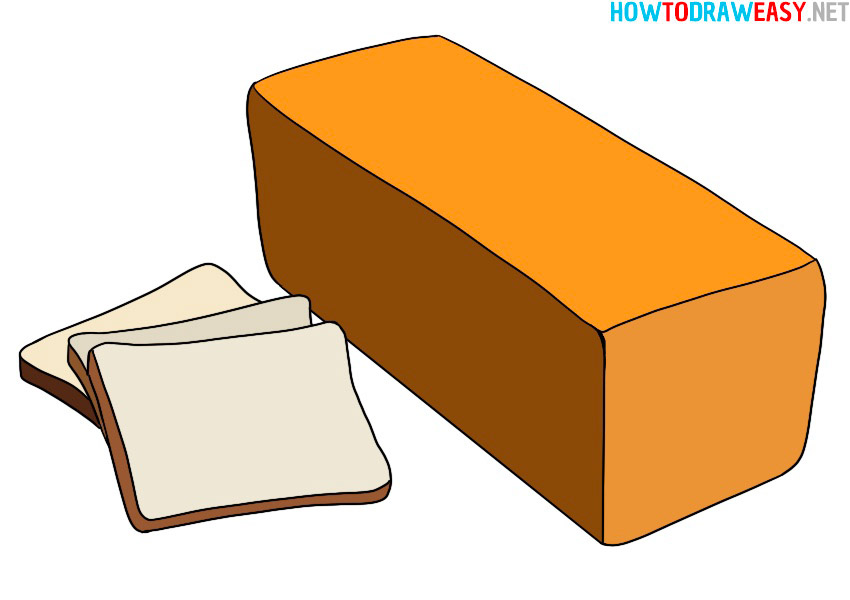
Hello creative friends! In this drawing tutorial, we will show you in twelve steps how to draw bread very quickly and very cool! Food is an integral part of our life, and bread, in the understanding of many people, is the leader in the world of food products.
In many countries of the world, bread is treated as something sacred and very important, and the attitude towards bread should be very respectful. This is not strange, because in the ancient world, bread was eaten a lot and it was one of the types of food that is easy to prepare from simple products. Since ancient times, bread has remained such an important attribute of the meal for most people on earth.
There are a huge number of types of bread making, for example, there is a French baguette, Russian rye bread, Italian ciabatta, Armenian lavash, Mexican tortilla, Jewish challah bread, Asian rice bread, and many other types of bread. But in this drawing tutorial, we drew and laid out in steps a drawing of a classic US bread, which is great for toast, sandwiches, and peanut butter. What filling do you like to eat bread with?
Art supplies for depicting and coloring:
- Pencil;
- Black marker;
- Colored marker, crayon, or felt-tip pens;
- Drawing paper (or devices).
Super mood and a desire to draw!
Time needed: 20 minutes
How to Draw Bread
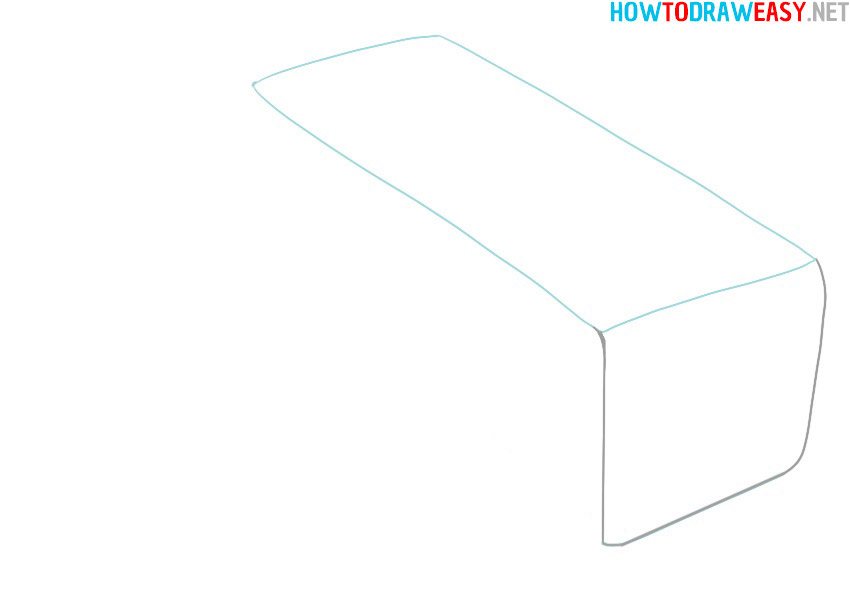
- Draw two lines.
The first step is to start drawing a structure by which it will be easier to draw the whole drawing. Start by drawing two vertical lines as in the example from the picture.

- Connect the lines.
So, now you need to draw two horizontal lines that connect the drawing into one.

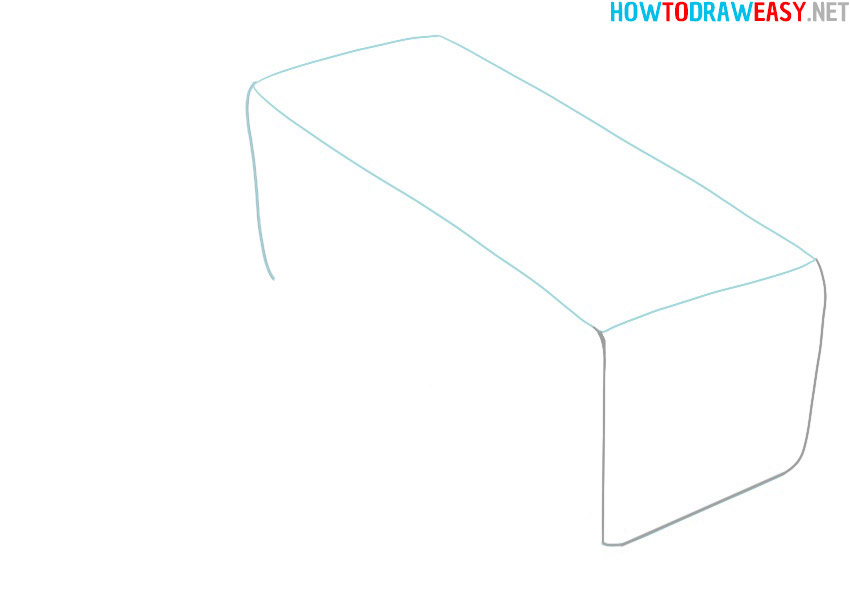
- Draw the top.
Now draw the top of the bread, which should look long.
- Draw the back part.
Draw the far sideline of the bread. You just need to draw a vertical line from top to bottom.
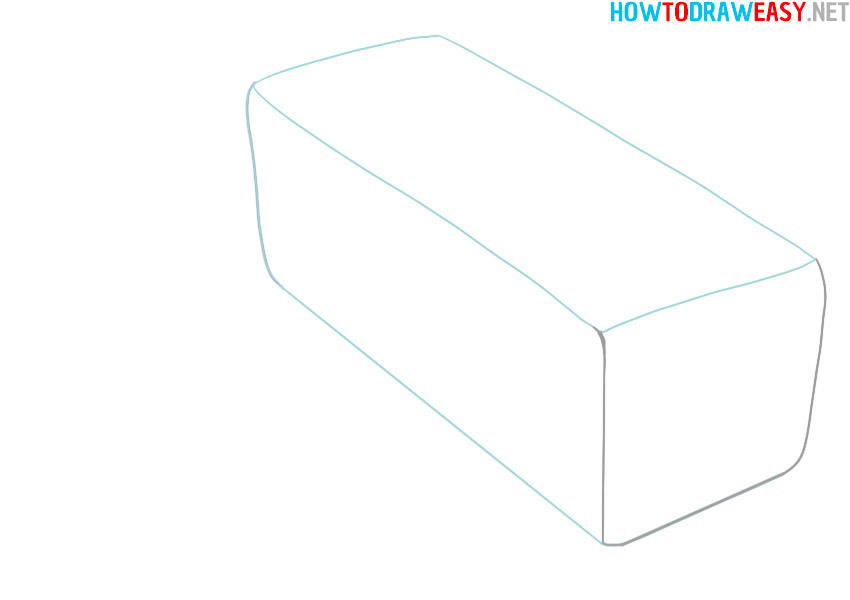
- Draw the bottom of the bread.
Draw a long bottom section of the bread that will connect the far and near sections of the bread.
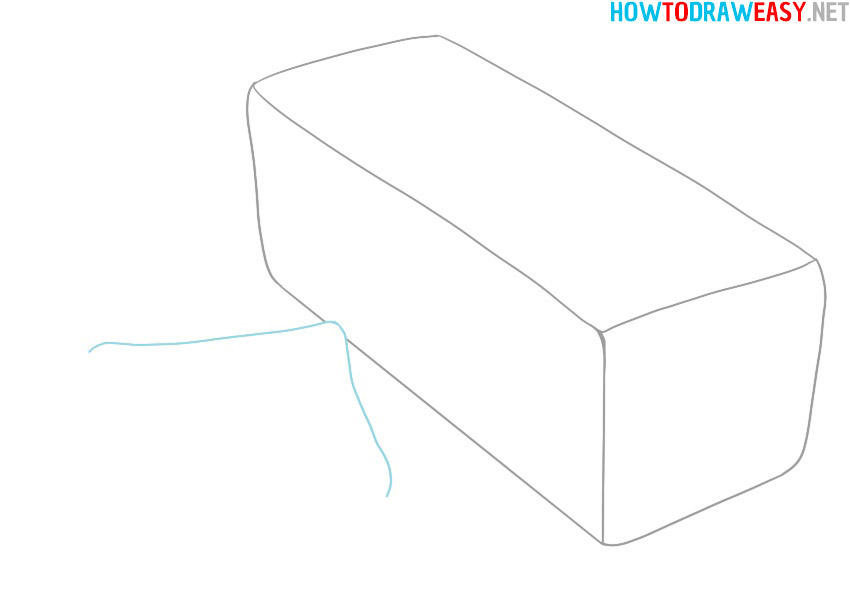
- Draw the first slice.
Draw the triangular top of the toast bread slice, which will be the first of the three slices.
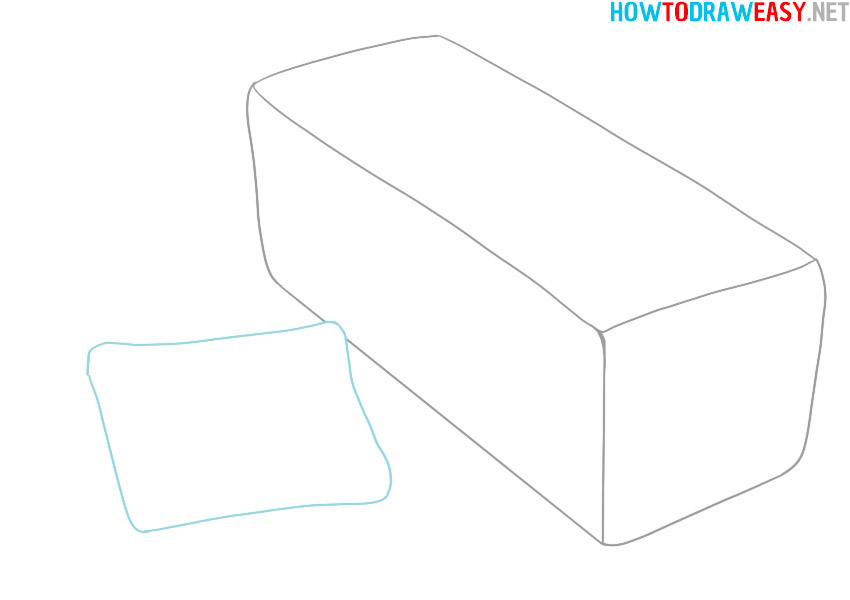
- Draw the first slice.
Now draw the bottom of the first slice.
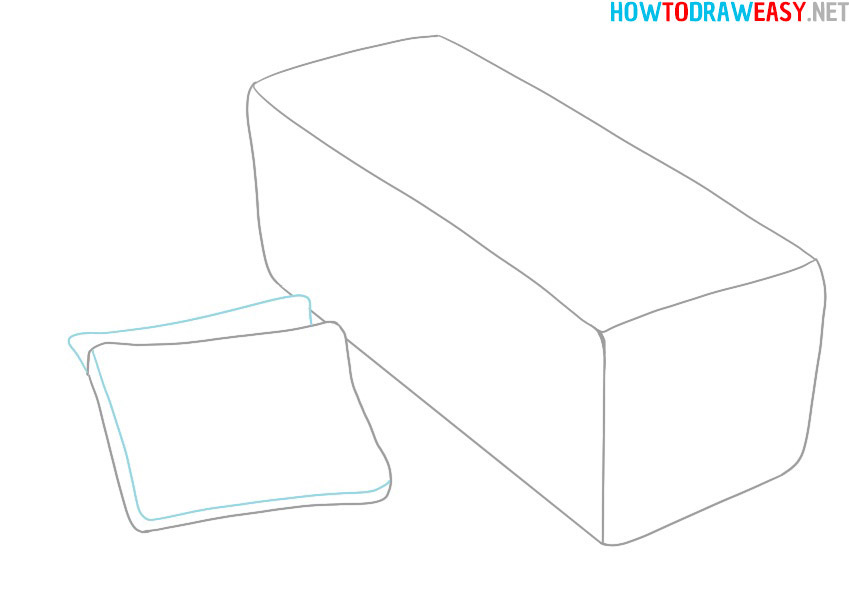
- Second slice of bread.
After you have drawn the first slice of bread, draw now the second slice of bread, which is visually below the first slice.
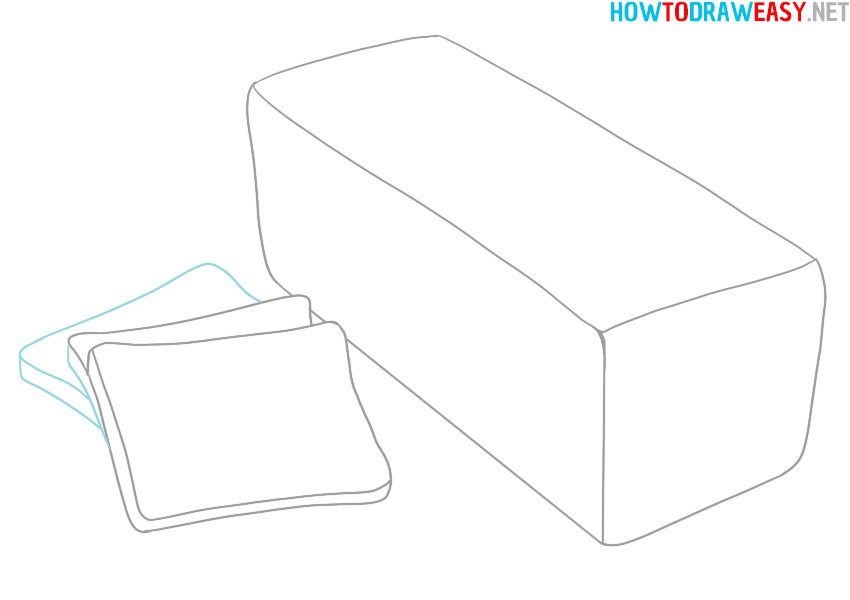
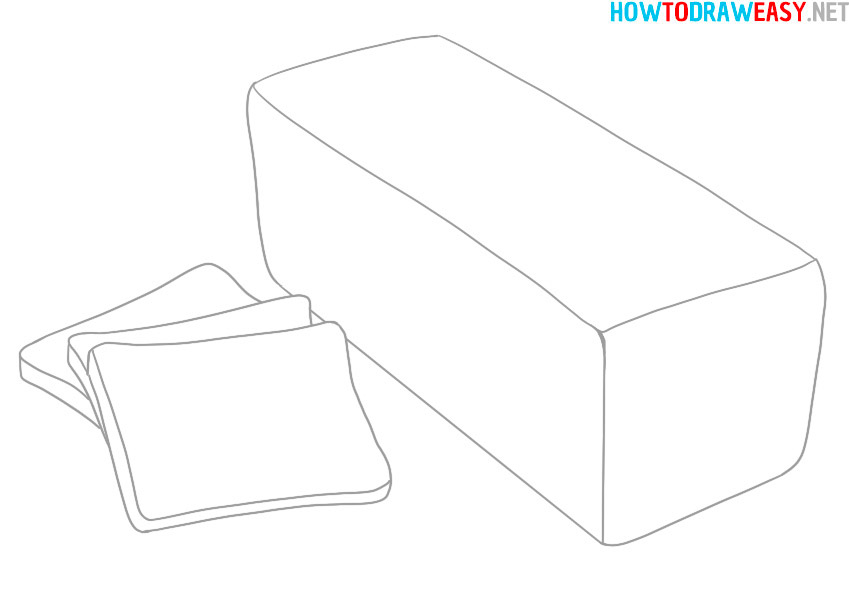
- Draw the third slice.
So, we finish drawing the slices with the image of the third slice.
- Compare the picture and the example.
We are finishing sketching the drawing of the bread, so you need to compare the result and the example from the step.
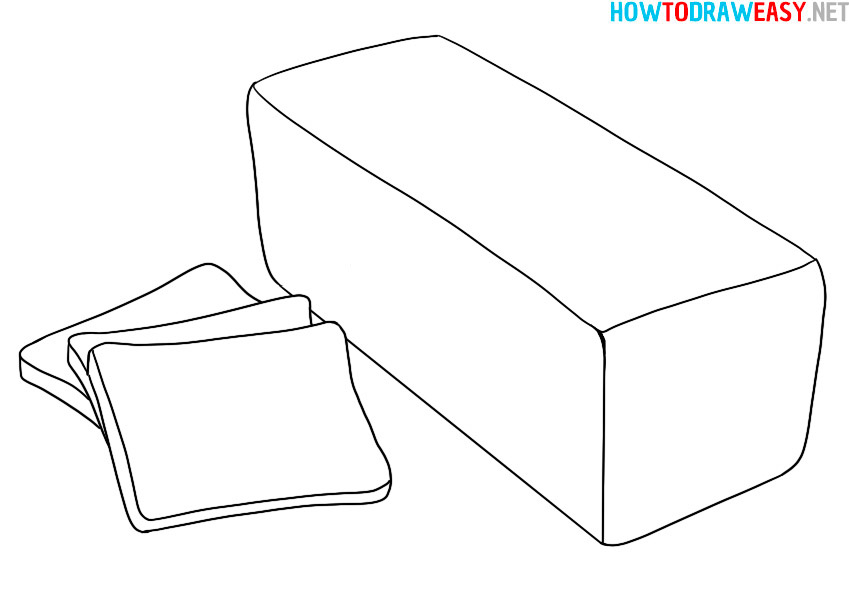
- Trace your pencil drawing.
Now outline the drawing with ink or black marker to make the drawing clearer in lines and more convenient for coloring.
- Color the drawing.
Use your coloring supplies and color in the drawing you drew.