
How to Draw Boots for Kids
If you want to learn how to draw boots, then here you will learn it quickly. This shoe drawing tutorial will be easy even for kids and beginners.


In this elementary, step-by-step drawing lesson, you will learn how to draw boots for kids. Boots are very comfortable and comfortable shoes, which are very common all over the world, and such shoes are especially popular in cold weather. After all, these shoes are tall, and snow will not fall into the inside of the boot due to this boot height. But such boots can be worn not only in winter because winter boots are usually made with fur on the inside, and for warmer weather, there is no fur in the shoes.
We decided to choose a typical shoe that would be easy to depict for all kids and beginners. Anyone with different levels and drawing skills can sketch boots of this type.
Below is a step-by-step instruction that is as simple and understandable as possible to learn. If you follow all the steps exactly, then it will turn out to be very beautiful to draw shoes. Enjoy drawing!
Time needed: 35 minutes
How to Draw Boots for Kids
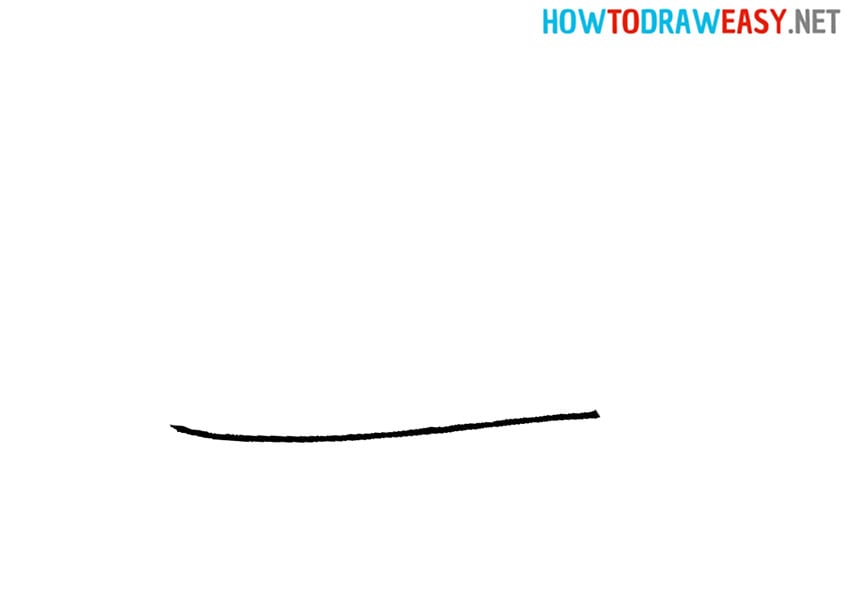
- Straight line.
Begin by drawing a straight line that is horizontal, just like in the example.
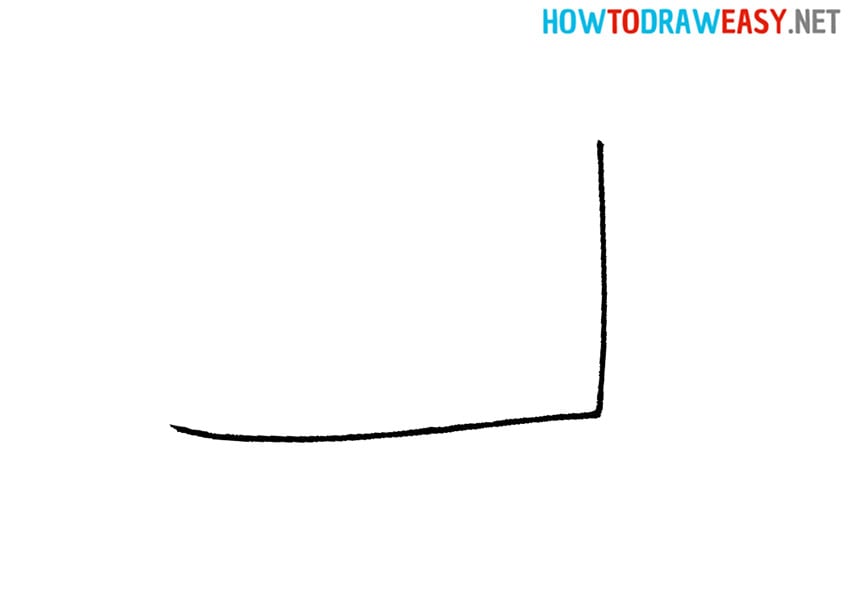
- Vertical line.
On the sketch right side, add a vertical line that creates a right angle by connecting to the horizontal line from the first step.
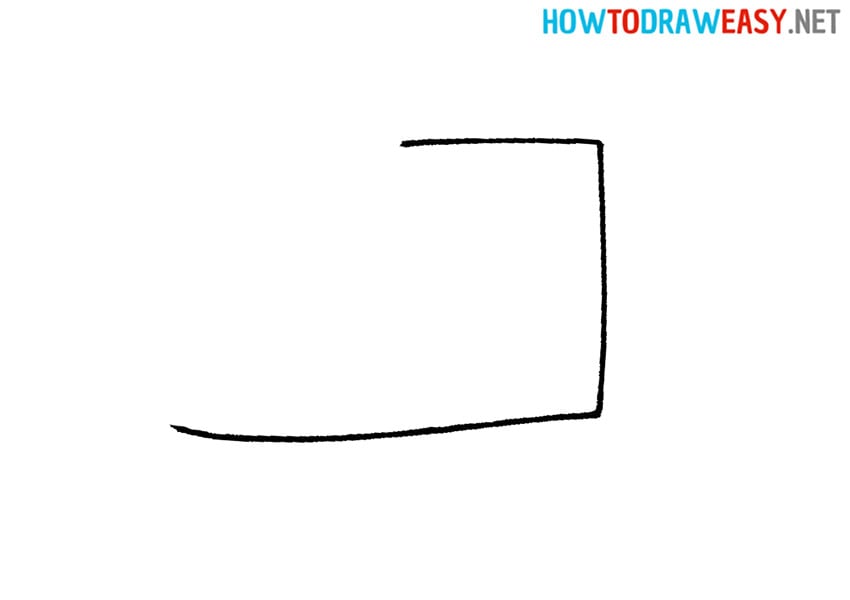
- Top edge.
Draw the top edge of the boot using a straight line.
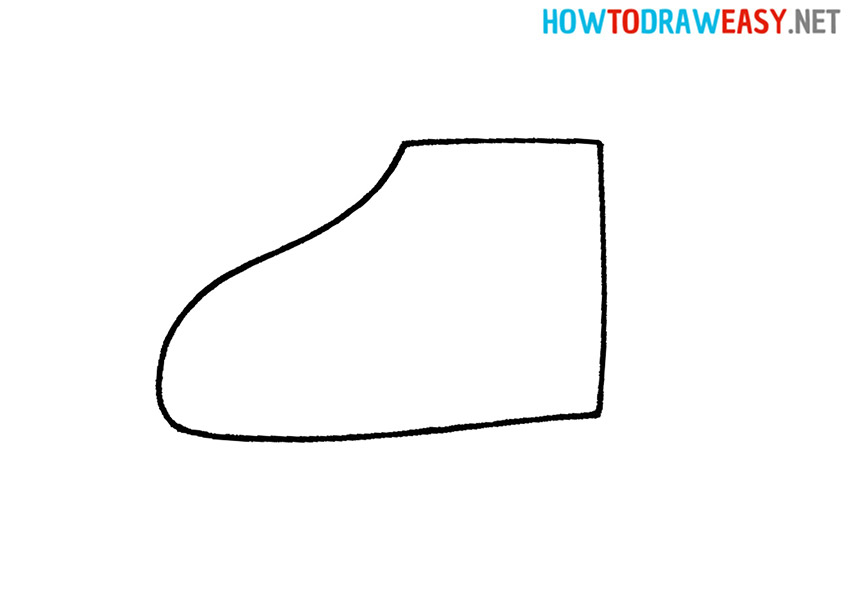
- Curved line.
Draw the curved line for the boot that forms the shape of the foot.
- Add the background.
Add the second shoe as a background for the sketch.
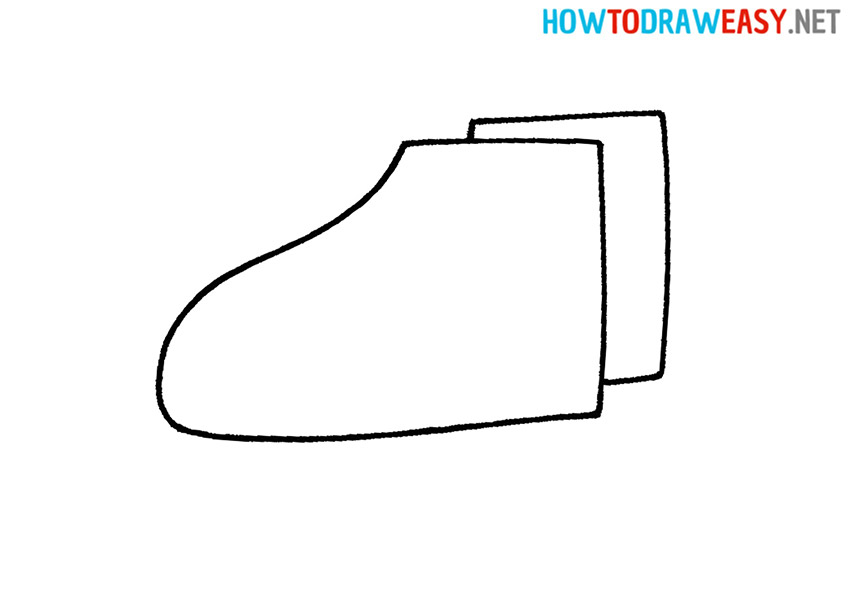
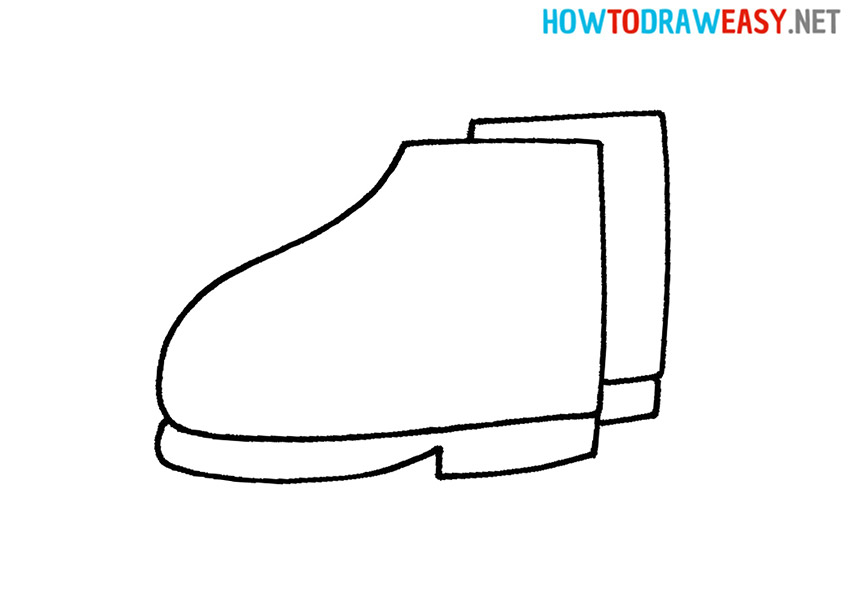
- Boot sole.
Draw the sole of the shoe along the entire length of the bottom of the boots.
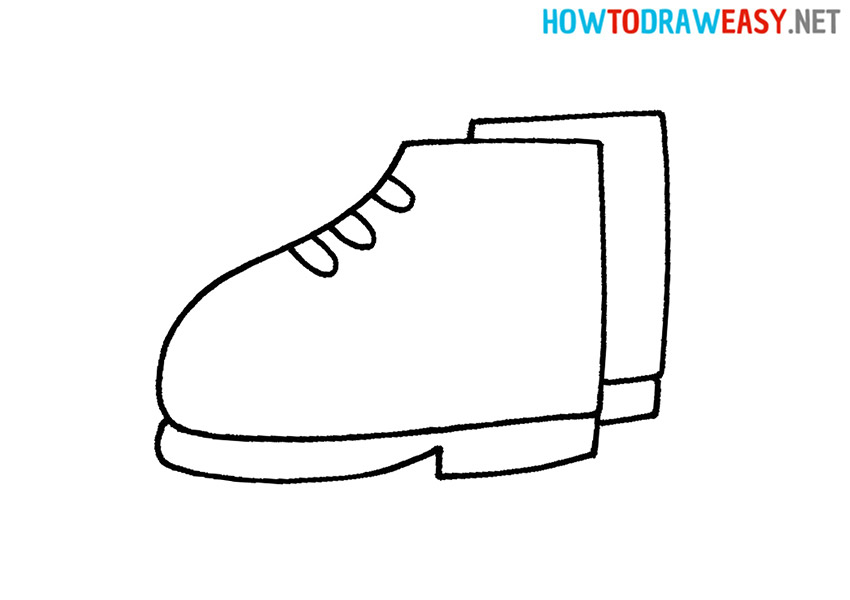
- Add boot laces.
Draw three knotted laces on the boot.
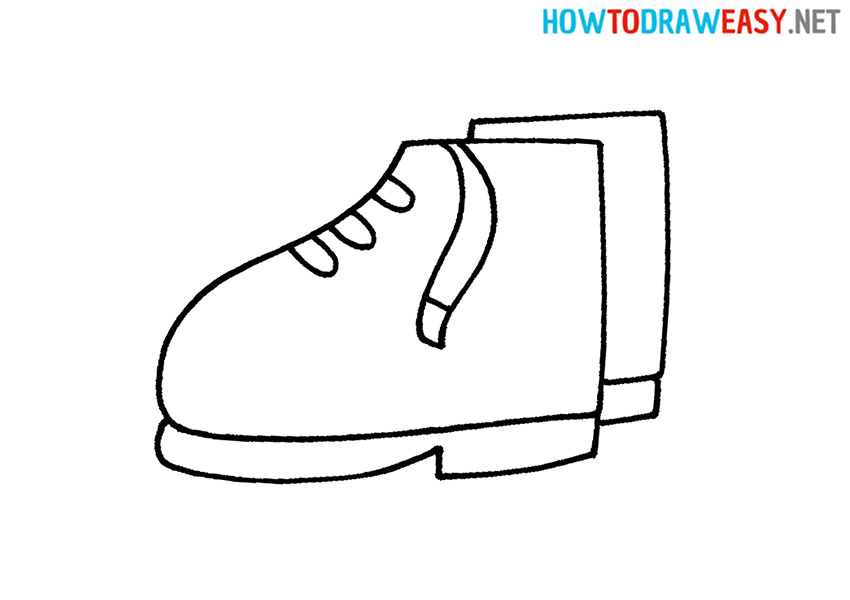
- Hanging lace.
Add some realism to the sketch by drawing the lace hanging from the boot.
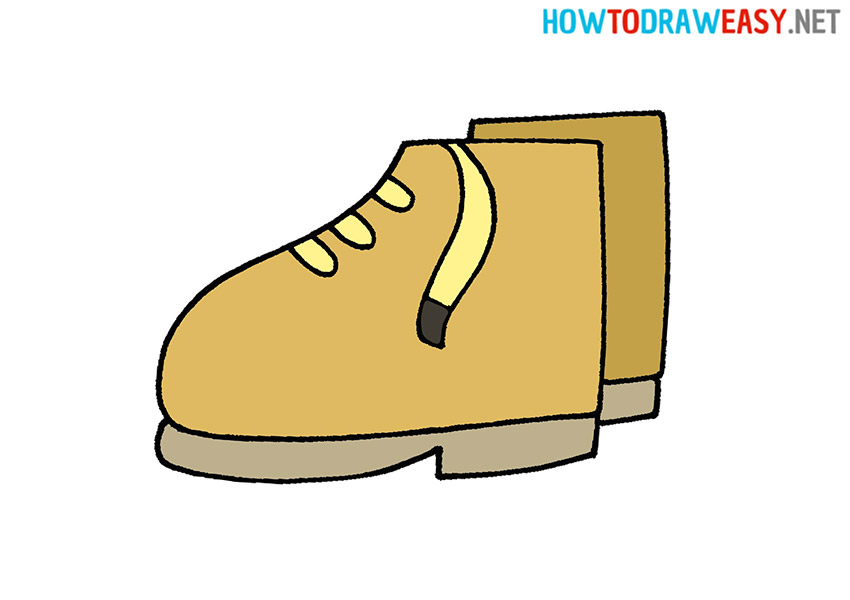
- Color the boots.
We colored the boots art in this sandy color, but you can pick any color you want. For example, you can paint your boots brown, gray, black, blue, or pick a brighter color like red.


Congratulations on successfully completing our tutorial on creating a beautiful picture of boots! We hope that this lesson helped you develop your drawing skills, unleash your creativity and gave you new knowledge about color combinations and drawing techniques. We wish you continued success in your artistic development!