
How to Draw Books for Kids
Learn how to draw books for kids in a very easy way. Below, you will see a step-by-step collage and more detailed instructions with steps.


Hello to all newbies in the world of drawing and experienced amateurs! In this tutorial, we will share with you step-by-step instructions on how to draw books for kids. They are an invaluable source of knowledge. At the moment, there are different genres of literature: detective stories, classics, lyrics, science, and technology. Everyone can find a book to their liking.
Why is it useful to read books? There are many reasons for this. Reading literature and trying to understand it, a person broadens his horizons, replenishes the knowledge base with new information. Speech becomes clearer and more beautiful. Some genres help to relax after working days and just enjoy the plot. Drawing books will definitely make you want to read exactly the edition that you have long wanted to study, but have not had the opportunity to.
Time needed: 30 minutes
How to Draw Books for Kids
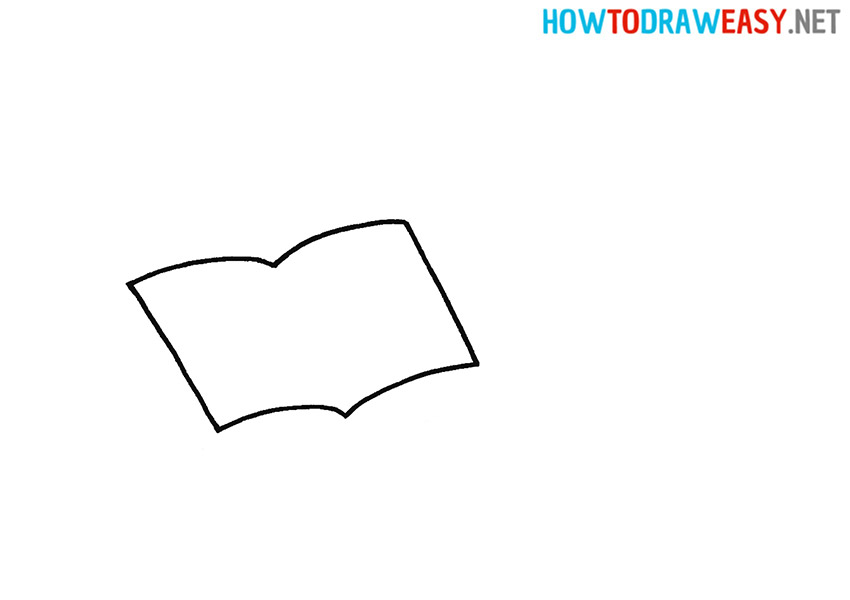
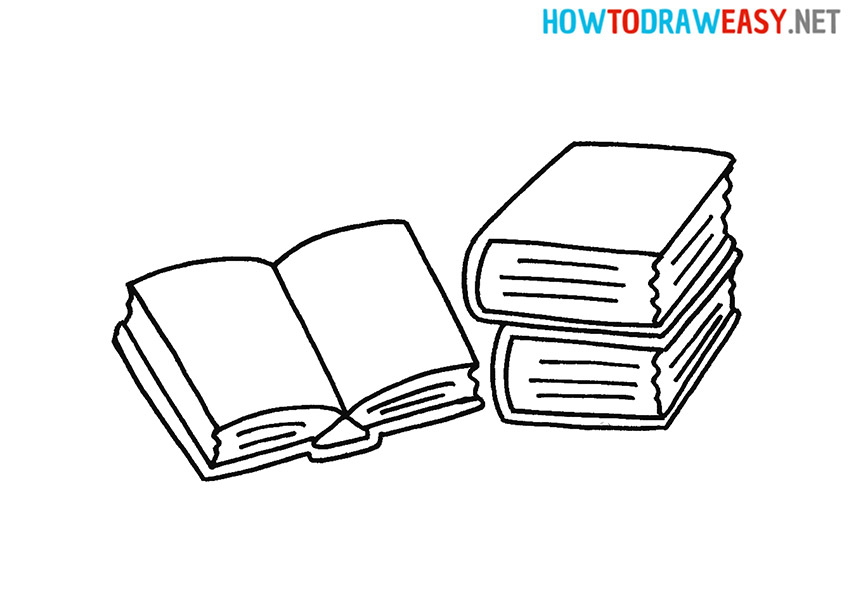
- Draw the book spread.
To simplify the first step, imagine that two birds flying one after the other are drawn in the form of a checkmark. Connect the ends of the “wings” with oblique lines.
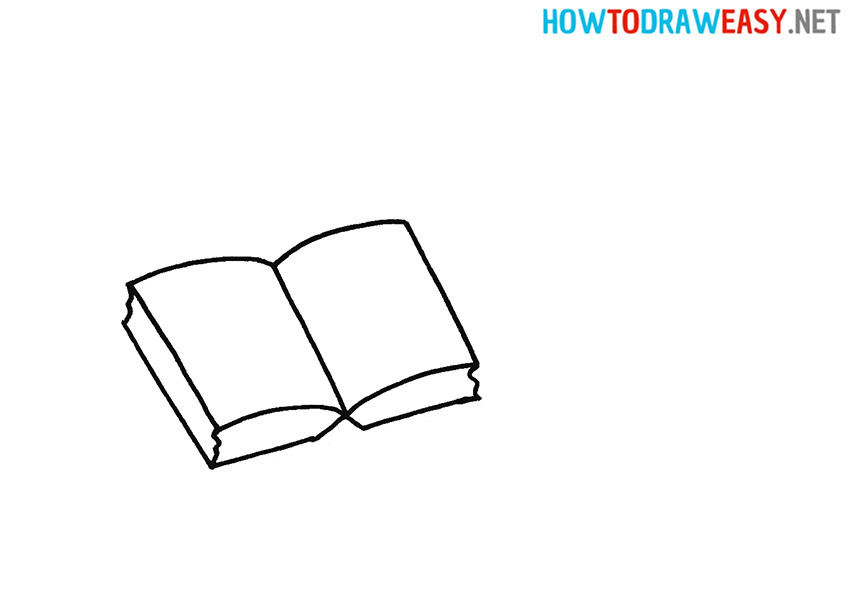
- Draw the middle of the fold of the pages.
Mark this with a slash in the middle.

- Draw the book block and its bottom cutouts.
On the right side of the volume, draw another slope at the bottom. Connect its ends to the ends of the first line. You will receive a book block. Its lower cuts are easy to depict—draw a couple of bends below the spread and tie them with a book. From the ends of the pages to the folds, draw “jagged” lines — these are pages stacked together.
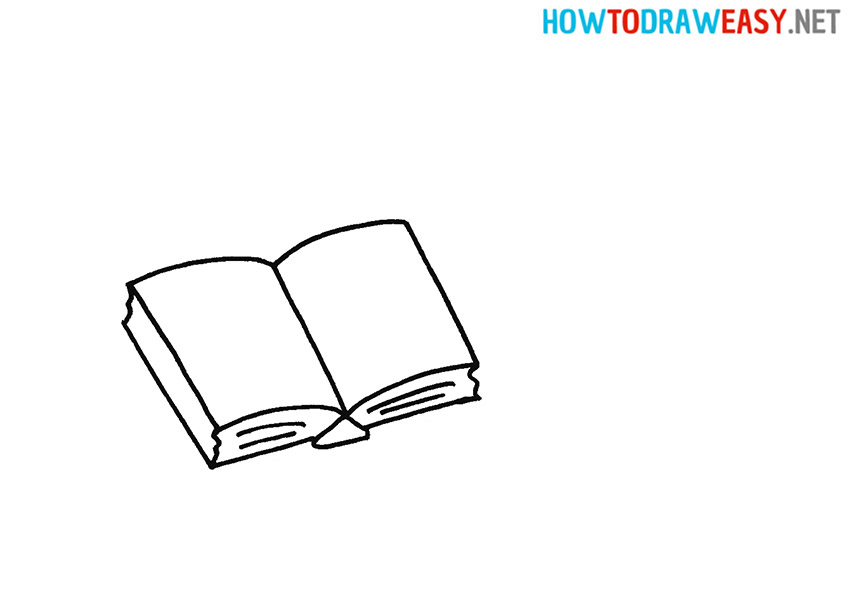
- Draw the spine and pages.
Place the literary spine triangle between the bottom notches. The two lines on each bottom edge represent the pages.
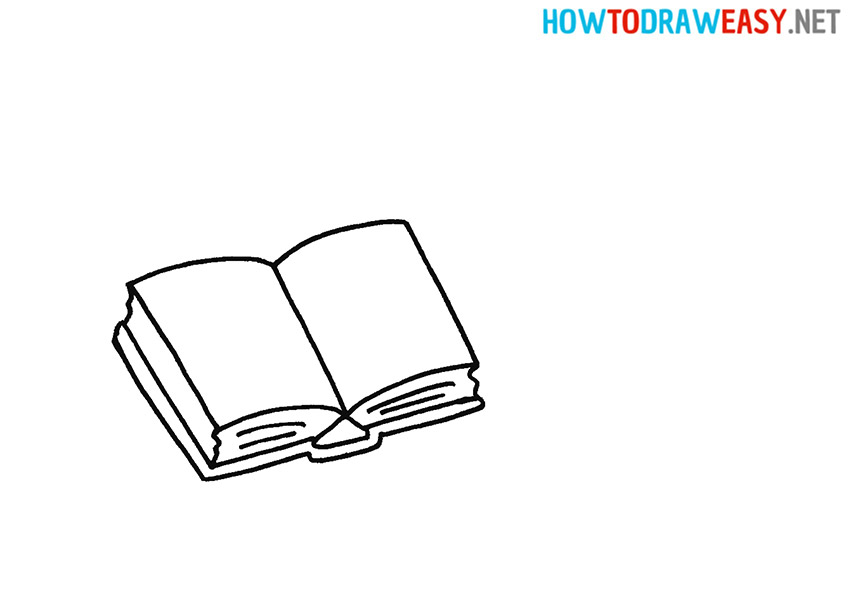
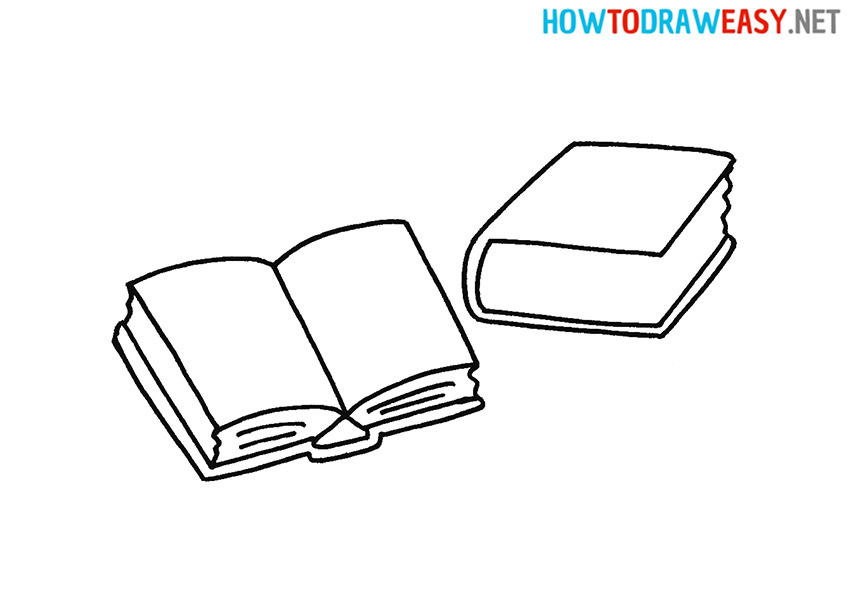
- Draw the edges of the lid.
Step back a distance and repeat the outline of the parts already depicted.
- Draw the outline of the second book.
First, draw an obtuse angle on the side of the sheet. Then continue moving down, then horizontally in a smooth line. Draw a slash from it. Finish this part of the pattern with a wavy thread.

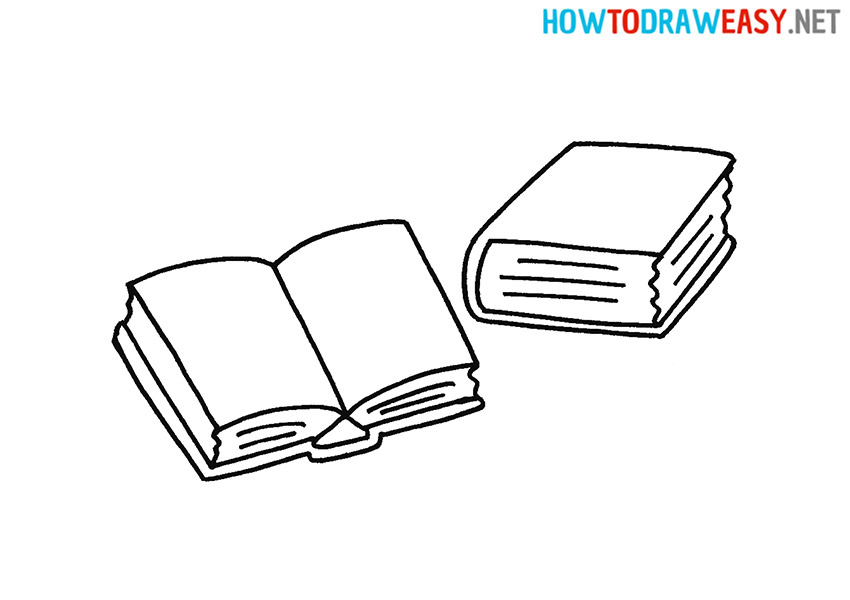
- Draw the cover, spine, and back of the cover.
Draw a corner inside the second volume and continue it with a smooth arc downward. Then again draw a corner up from it. The inside of the book is ready.
- Draw the pages.
On the block and bottom edge, draw straight lines—two and three, respectively. From the cover, draw a wavy line down to the back of the cover, representing the total number of pages.
- Draw the outline of the third book.
Here you need to repeat the steps from the sixth step. Note, however, that the top of the tome is hidden under the second tome lying on it—it is not needed here.
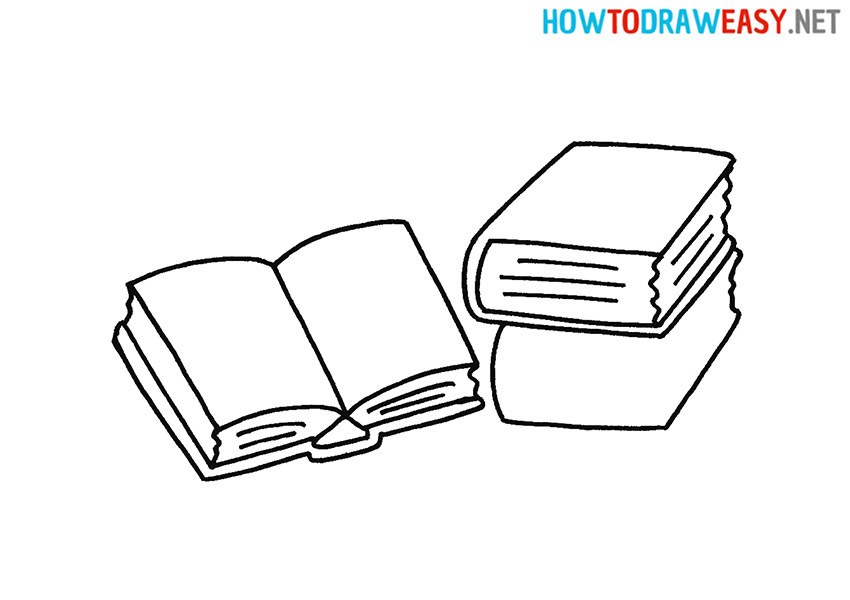
- Details of the third book.
Draw two slanted lines at the top to indicate the angle. Next, we lower the arc. Draw an angle from it, identical to the one previously drawn.
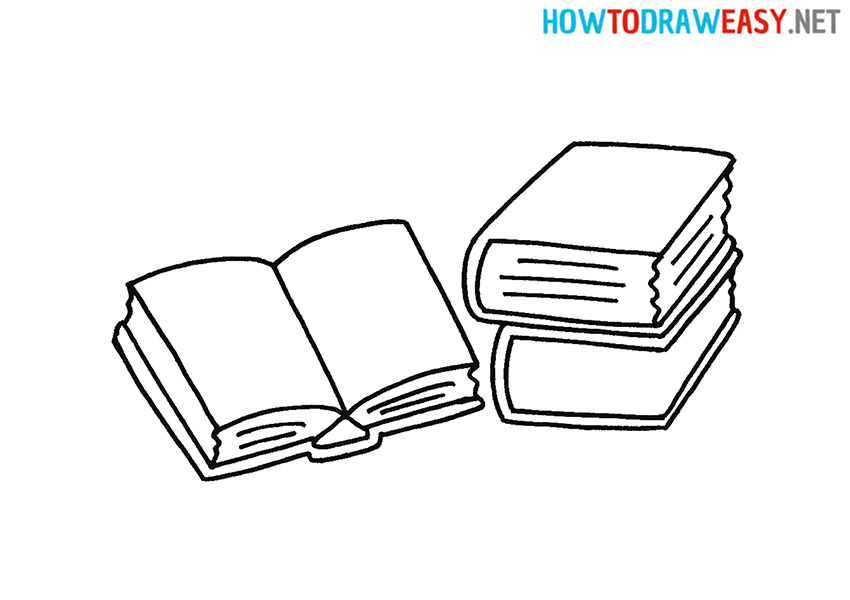
- Draw the pages.
Add sheets in the same way as in previous books.
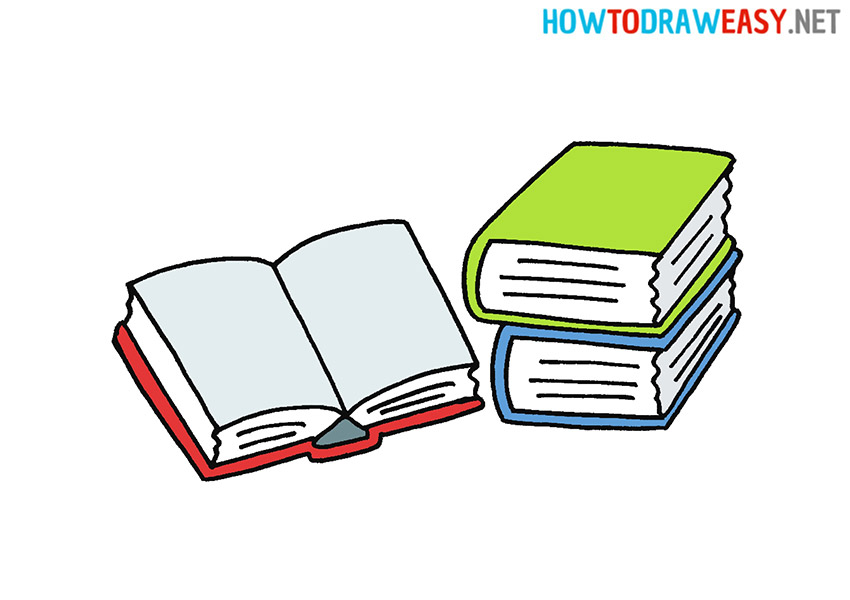
- Color the drawing.
In our example, we have three books of different colors—red, green and blue. You can color them in the same way, or get creative and make them in other colors.


We hope you drew great art! Share your emotions from the process in the comments, and also share your drawing and this guide with your friends, because drawing together is fun!