
How to Draw Blueberries for Kids
Draw blueberries using this tutorial! Here you will learn how to draw blueberries, easy enough even for kids. It’s easier to draw if you watch the instructions and steps.


Hello everyone! This tutorial will show you how to draw blueberries for kids. Drawing blueberries is based on working in circles, so even a novice artist with any skill can draw delicious and healthy berries.
They are deep purple berries that grow on a bush with large green leaves. Their berries are aromatic, sweet, and sour and their combinations. Blueberries contain only a small amount of acids, but a lot of vitamins A and B. We suggest moving on to simple and at the same time detailed instructions for beginners on drawing a berry in 9 steps.
Time needed: 20 minutes
How to Draw Blueberries for Kids
- Draw the first blueberry.
Draw a circle. It’s okay if it’s not quite the perfect shape.

- Draw the tip.
Draw a small base around which add a pattern.

- Second berry.
Draw a second berry with the same shape.

- Add the pattern.
Draw the pattern that resembles a scorching sun.

- Add more.
Draw another blueberry in the same way.

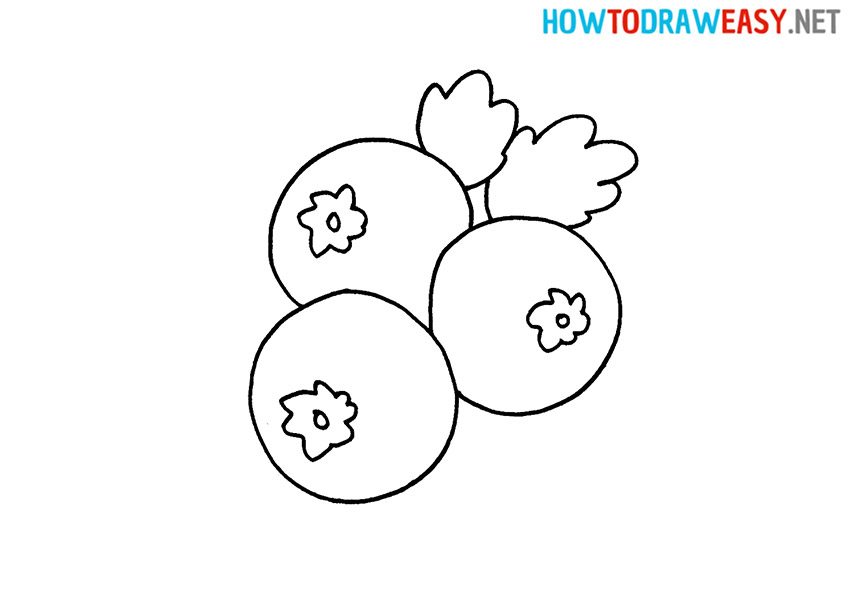
- Draw the outer shapes of the leaves.
Draw a leaf that sticks out behind the berries. Follow the example from the instructions.

- Add another one.
Draw the second leaf in the same way, but a little larger.
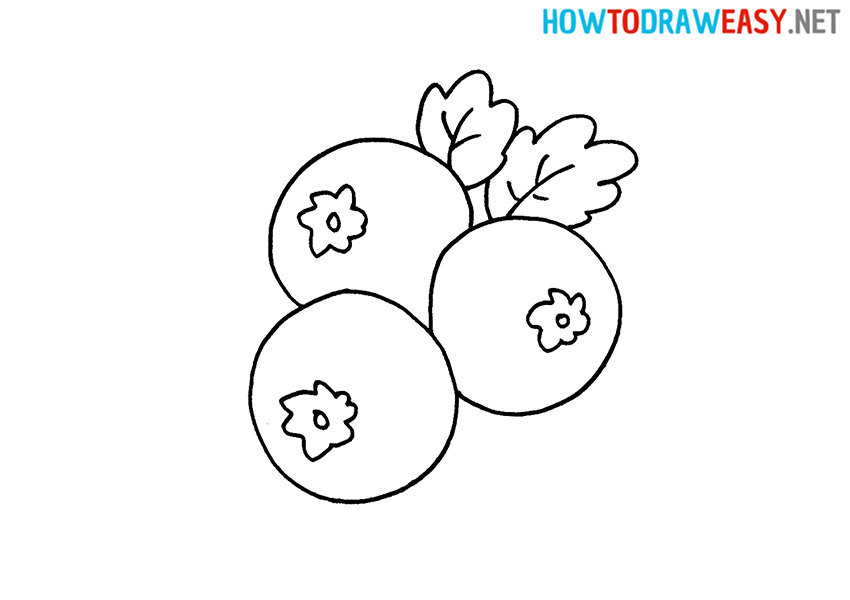
- Detail the drawing.
Draw veins inside the leaves. This gives them a more finished look.
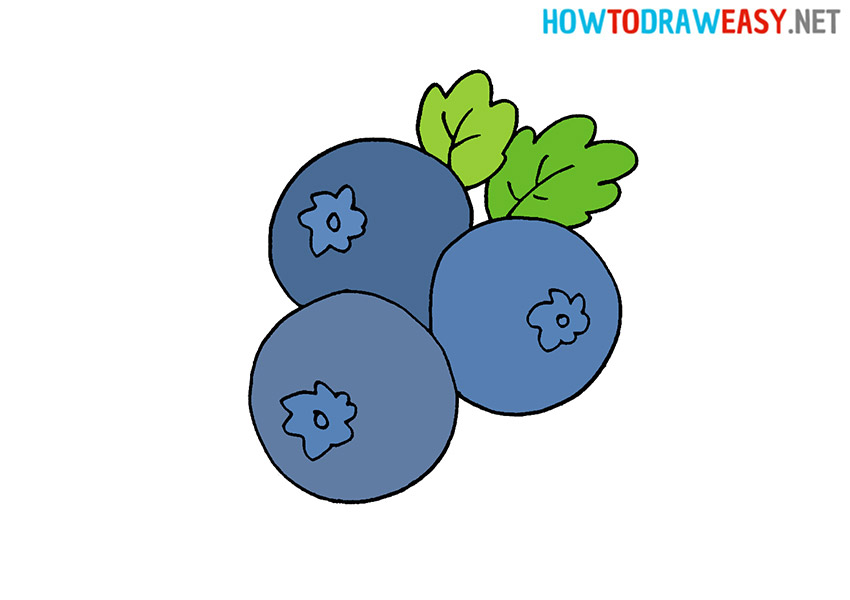
- Color the drawing.
The berries themselves are colored dark blue, and the bases of the berries can be highlighted with a slightly different shade. Paint over the leaves green. You can use the same colors as in the example, or come up with your own unique one.


We hope this was a useful and informative tutorial for you. Share your work with your friends and try to draw together! Try also to draw other trees and plants with us!