
How to Draw Articuno Pokémon
Learn how to draw Articuno Pokémon step by step with this elementary drawing tutorial for beginners.


Good day to all! We present your attention a new lesson how to draw Articuno Pokémon. It is characterized by a celestial blue color, wings with a big sweeping and eyes emitting light. He is able to turn moisture in the sky in the snow, causing snow storms, raising, with its strong legs with claws, pretty heavy items. How to easily draw Artikuno? Our step-by-step instruction will help in this matter!
Where dwells this character? If you believe legends, the bird is found in the territory of the region of Kanto, where everything is covered by the Eternal Merzlot. This hero is a brave rescuer of people who fell into trouble. Drawing artiko may seem like a difficult occupation, but thanks to our simple and understandable lesson at the exit, you will get a beautiful drawing!
Time needed: 30 minutes
How to Draw Articuno Pokémon
- Draw the comb.
Let’s start with the easiest details. The position of the two small rhombi aimed at different directions on the sheet.

- Draw the beak.
Denote the beak of the bird in the form of a small triangle.
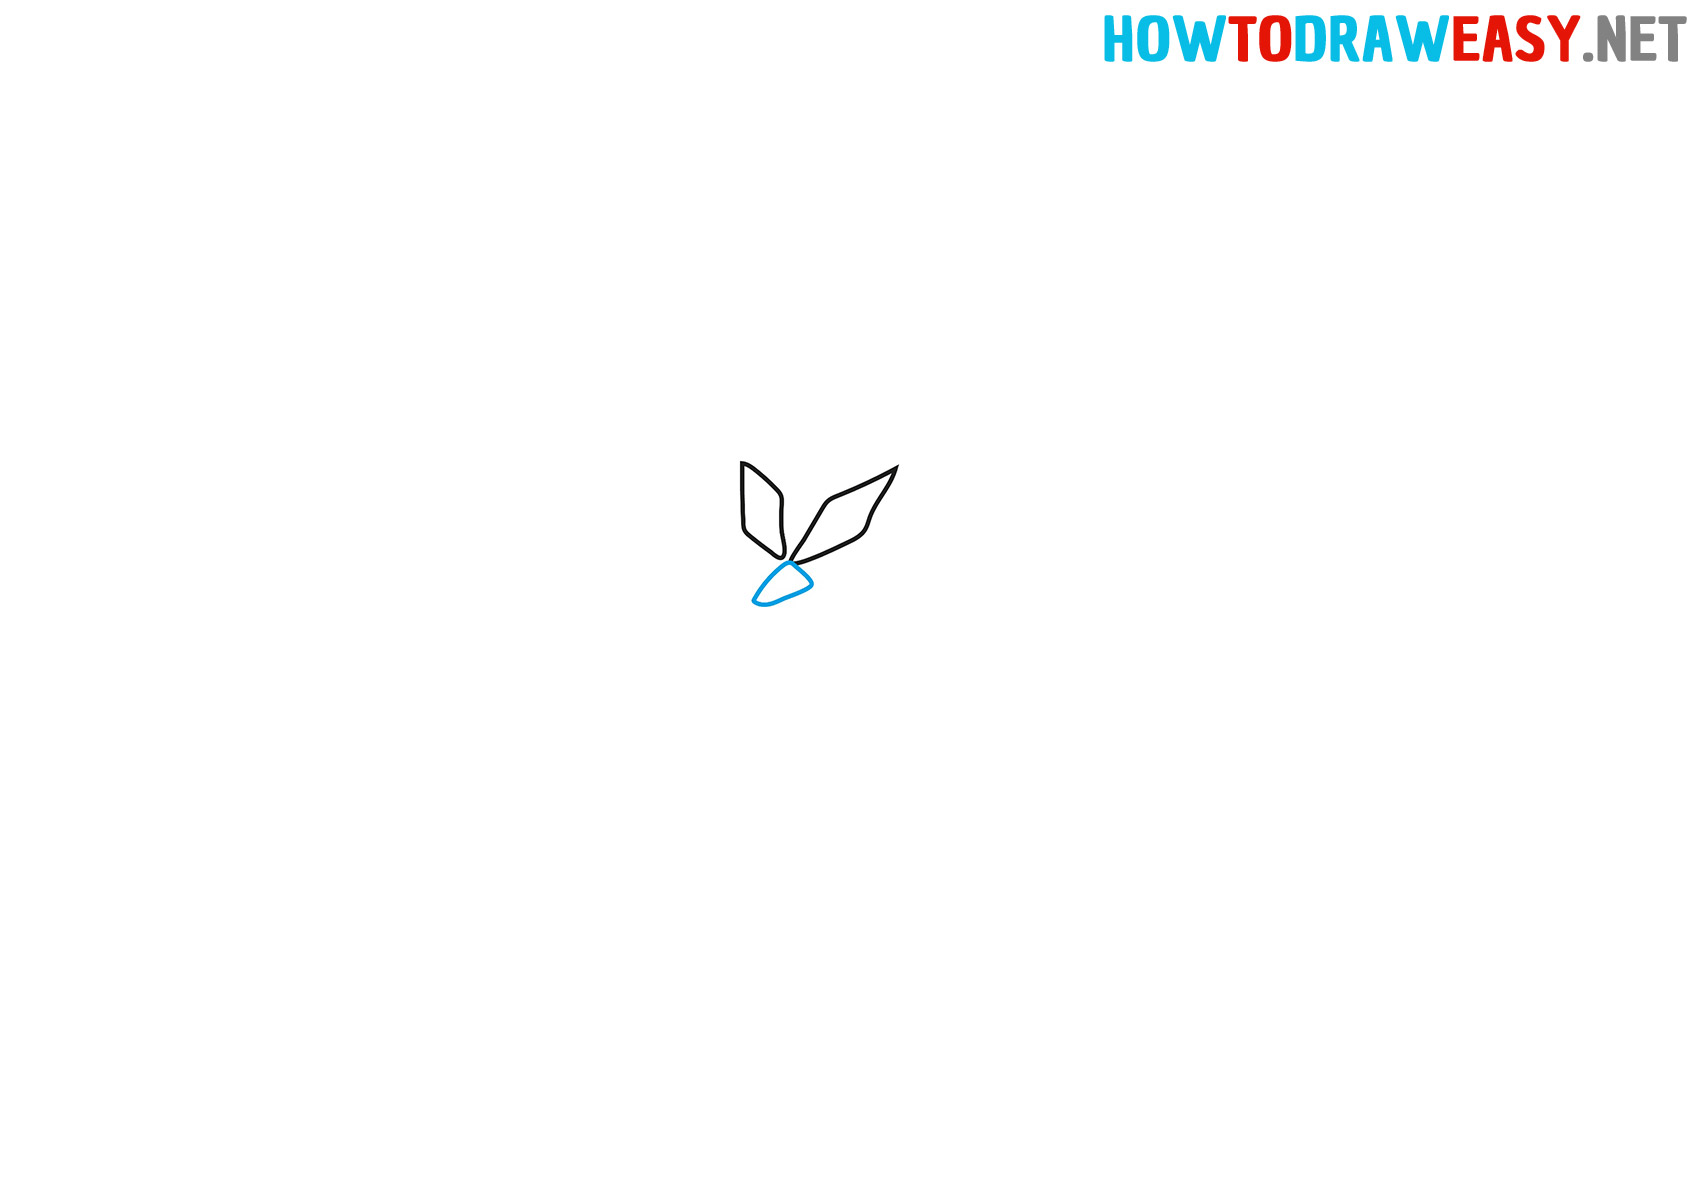
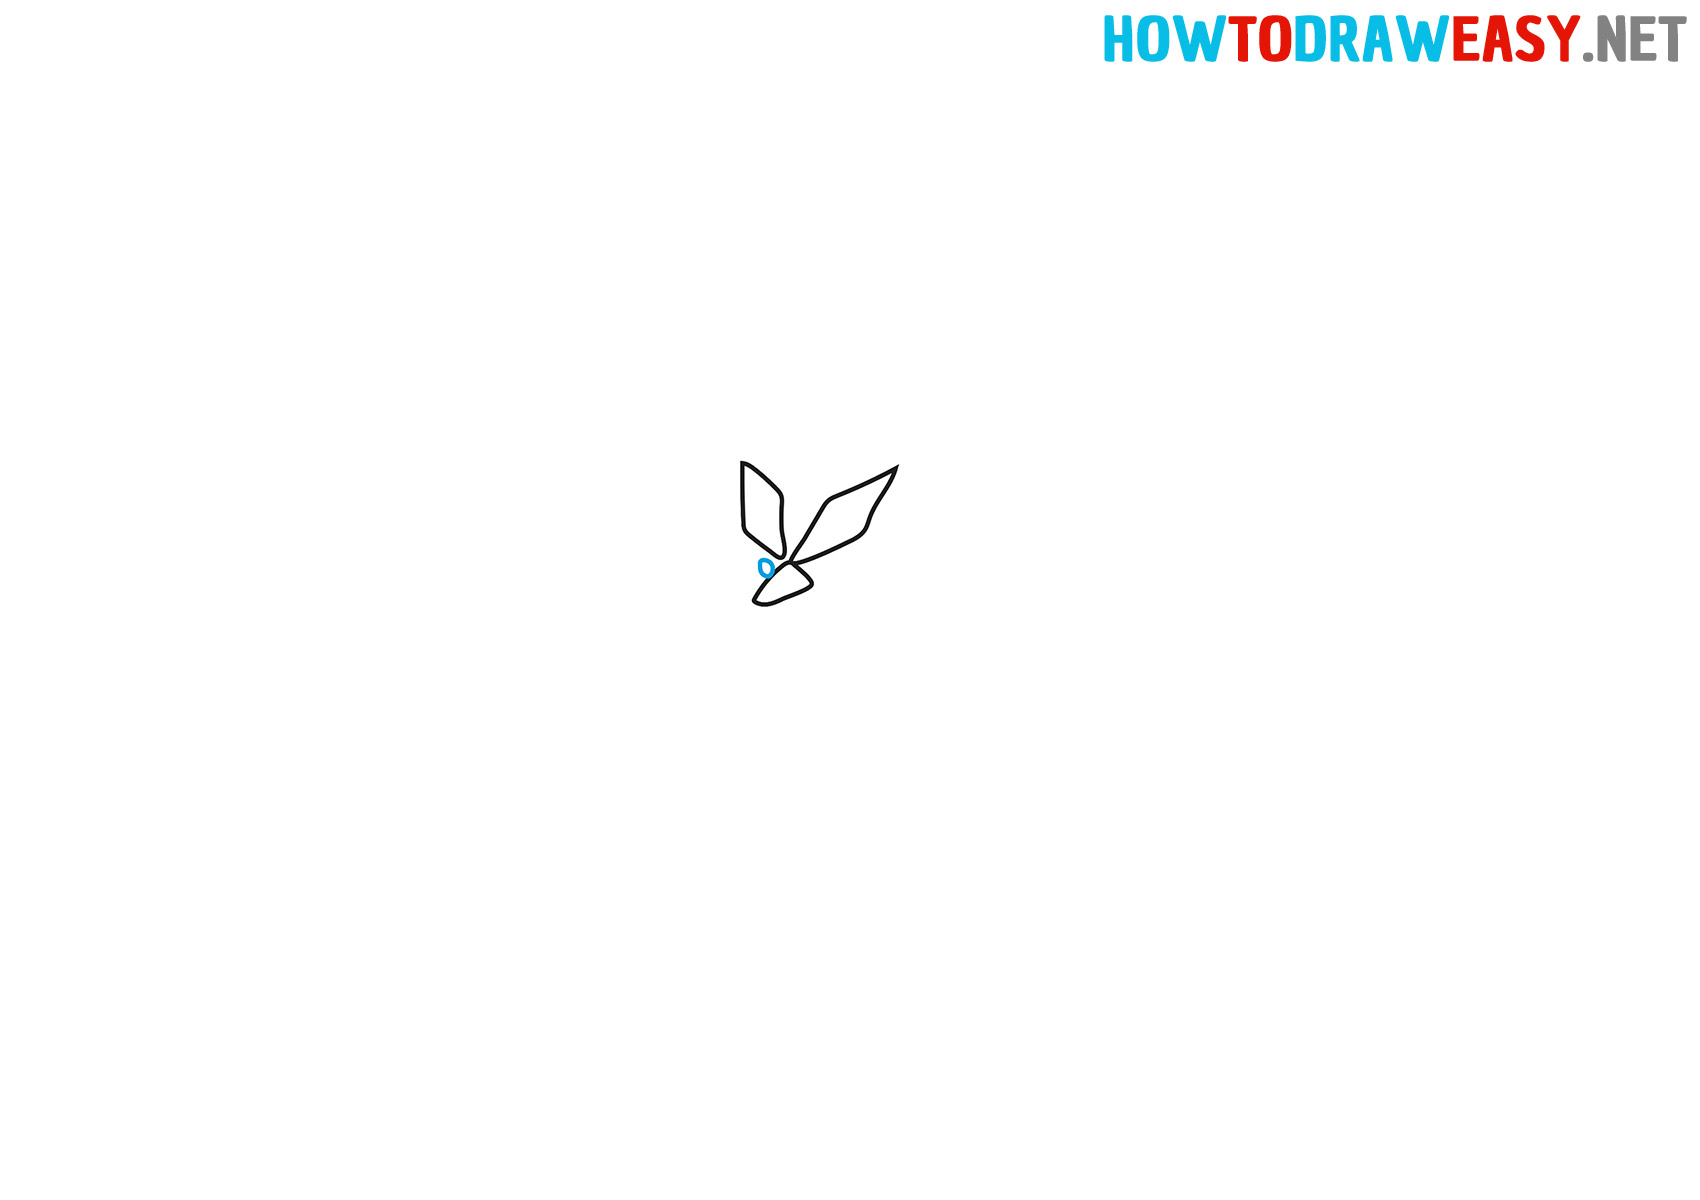
- Draw the eye.
Draw the small oval eye on the side of the beak.
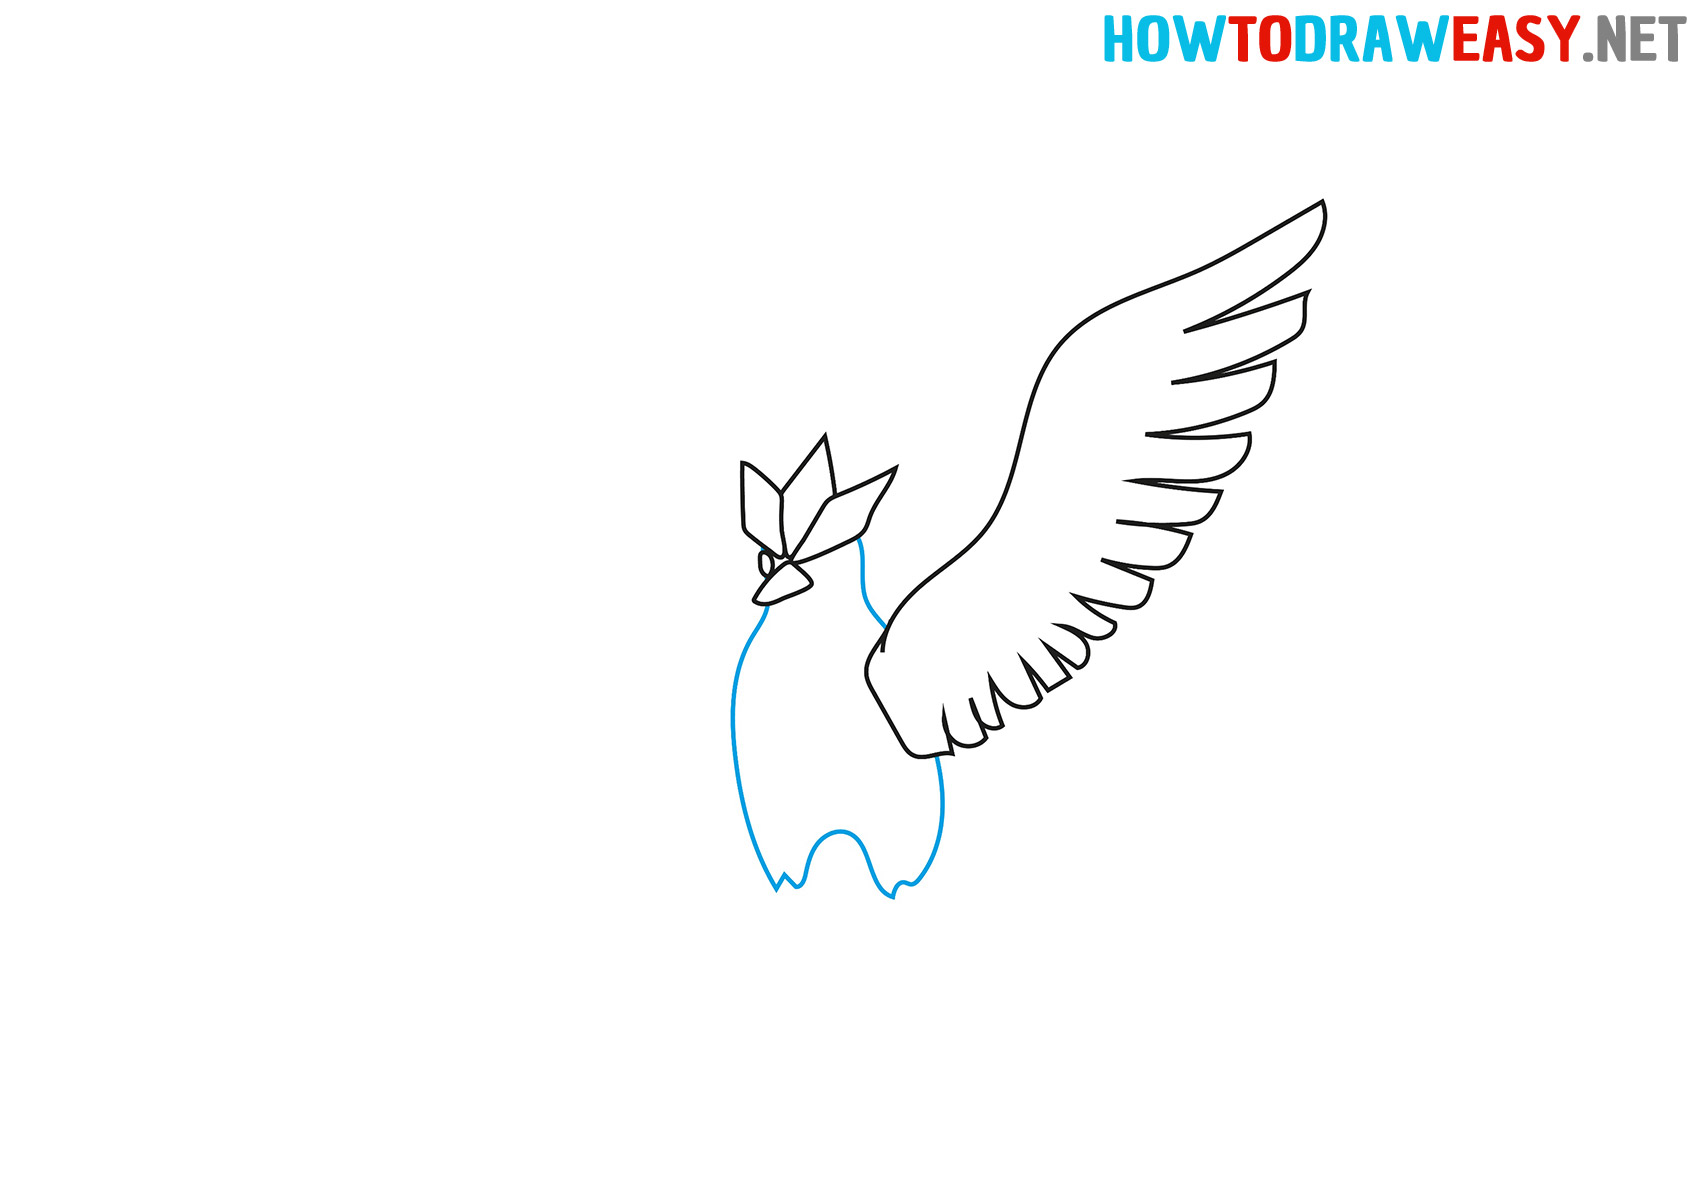
- Draw the left wing.
Before moving to the wing drawing, first, draw a comb using a sharp angle. Place it on the already painted pieces of scallops. Now you can go to the wing. Returning from a distance of combs, select a point from above and swing the curved line down. Next, you need to designate feathers with rectangles of various widths and lengths. In the direction of down, the sizes of feathers decrease.

- Draw the body.
The body is presented as follows: Lower a pair of curved lines from the head, then take two sharp vertices, denoting fluffy legs, and then complete the image of the arc.
- Draw the breast plumage and tail tip.
Draw an oval in the middle of the torso and add bird pyrshki along the contour. Next, draw the curved strip, the tip of the tail.
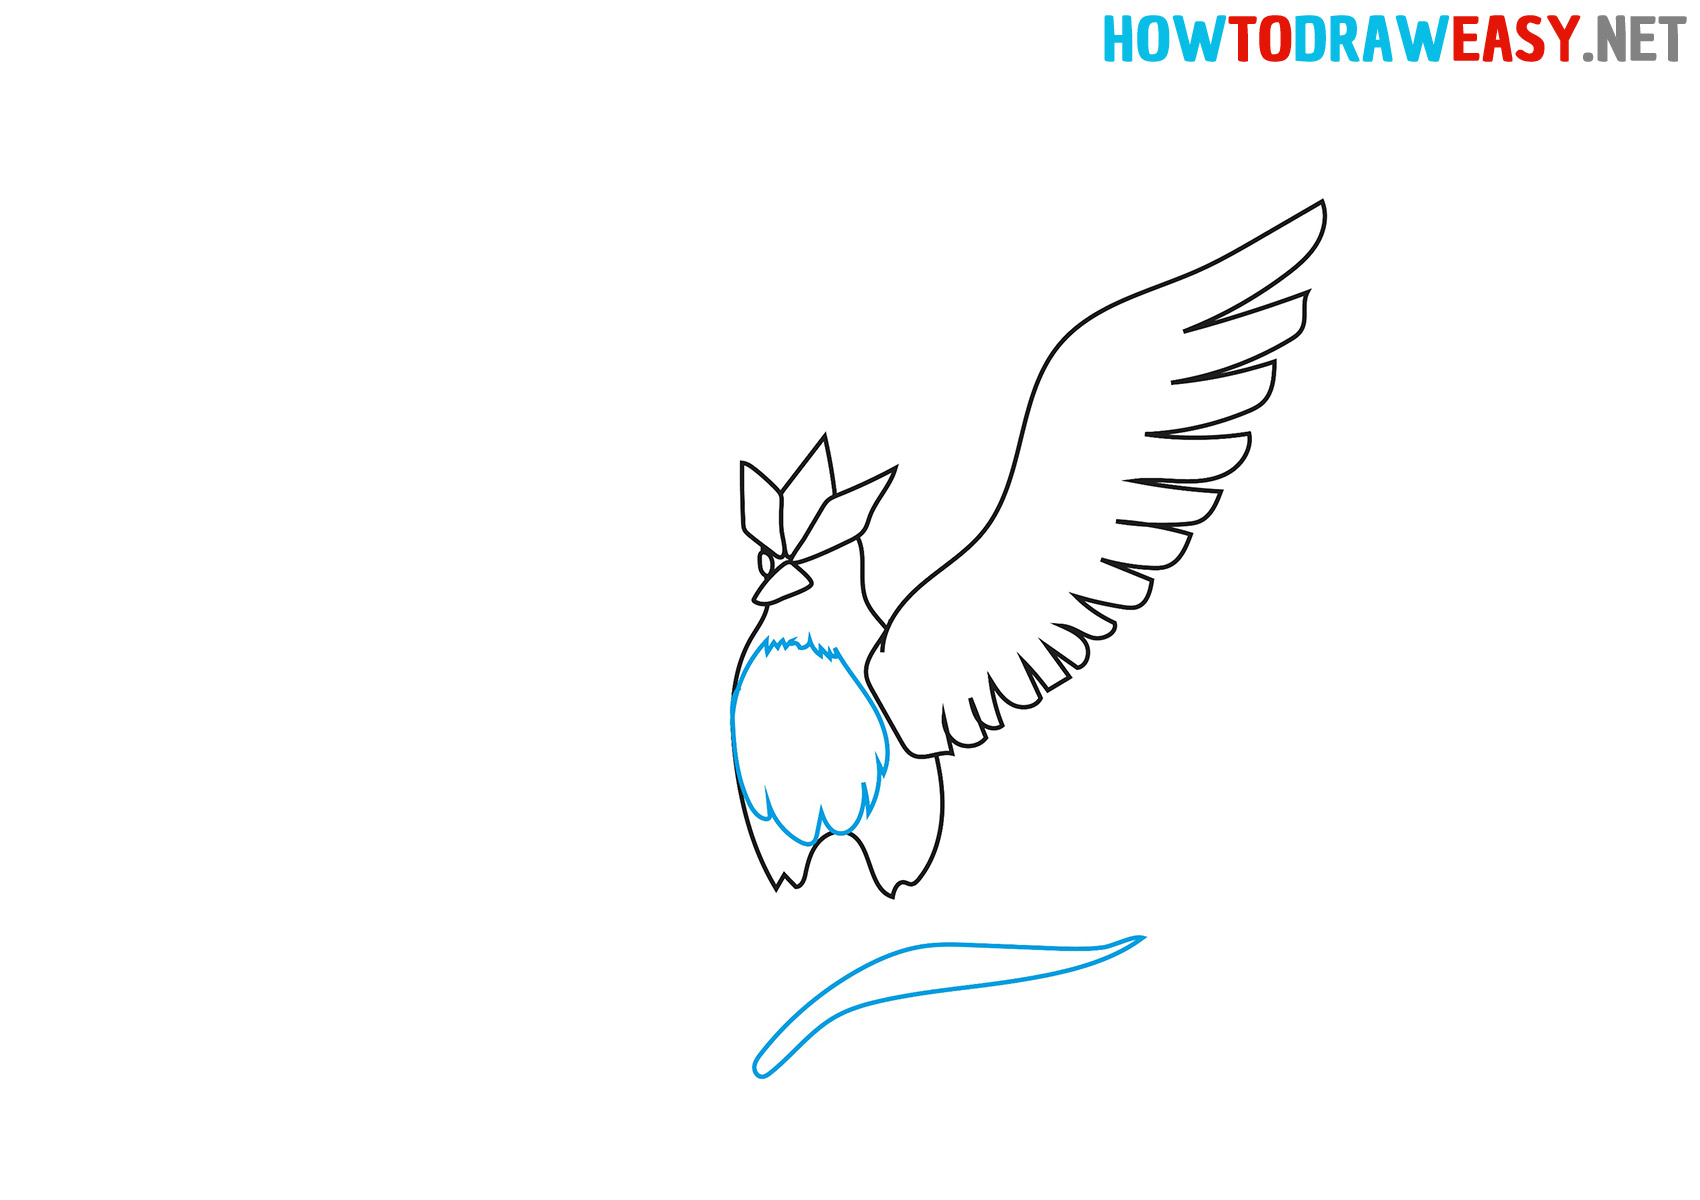
- Draw the second wing, eye, tail, and claws.
Draw the right wing just as you did earlier. After that, add an oval eye on the side of the beak. Next, connect the body with a tail with two crooked lowercase lines so that there is a wide tail. And also in this step, you need to draw on the sides of the tail of the claws of the Pokémon.
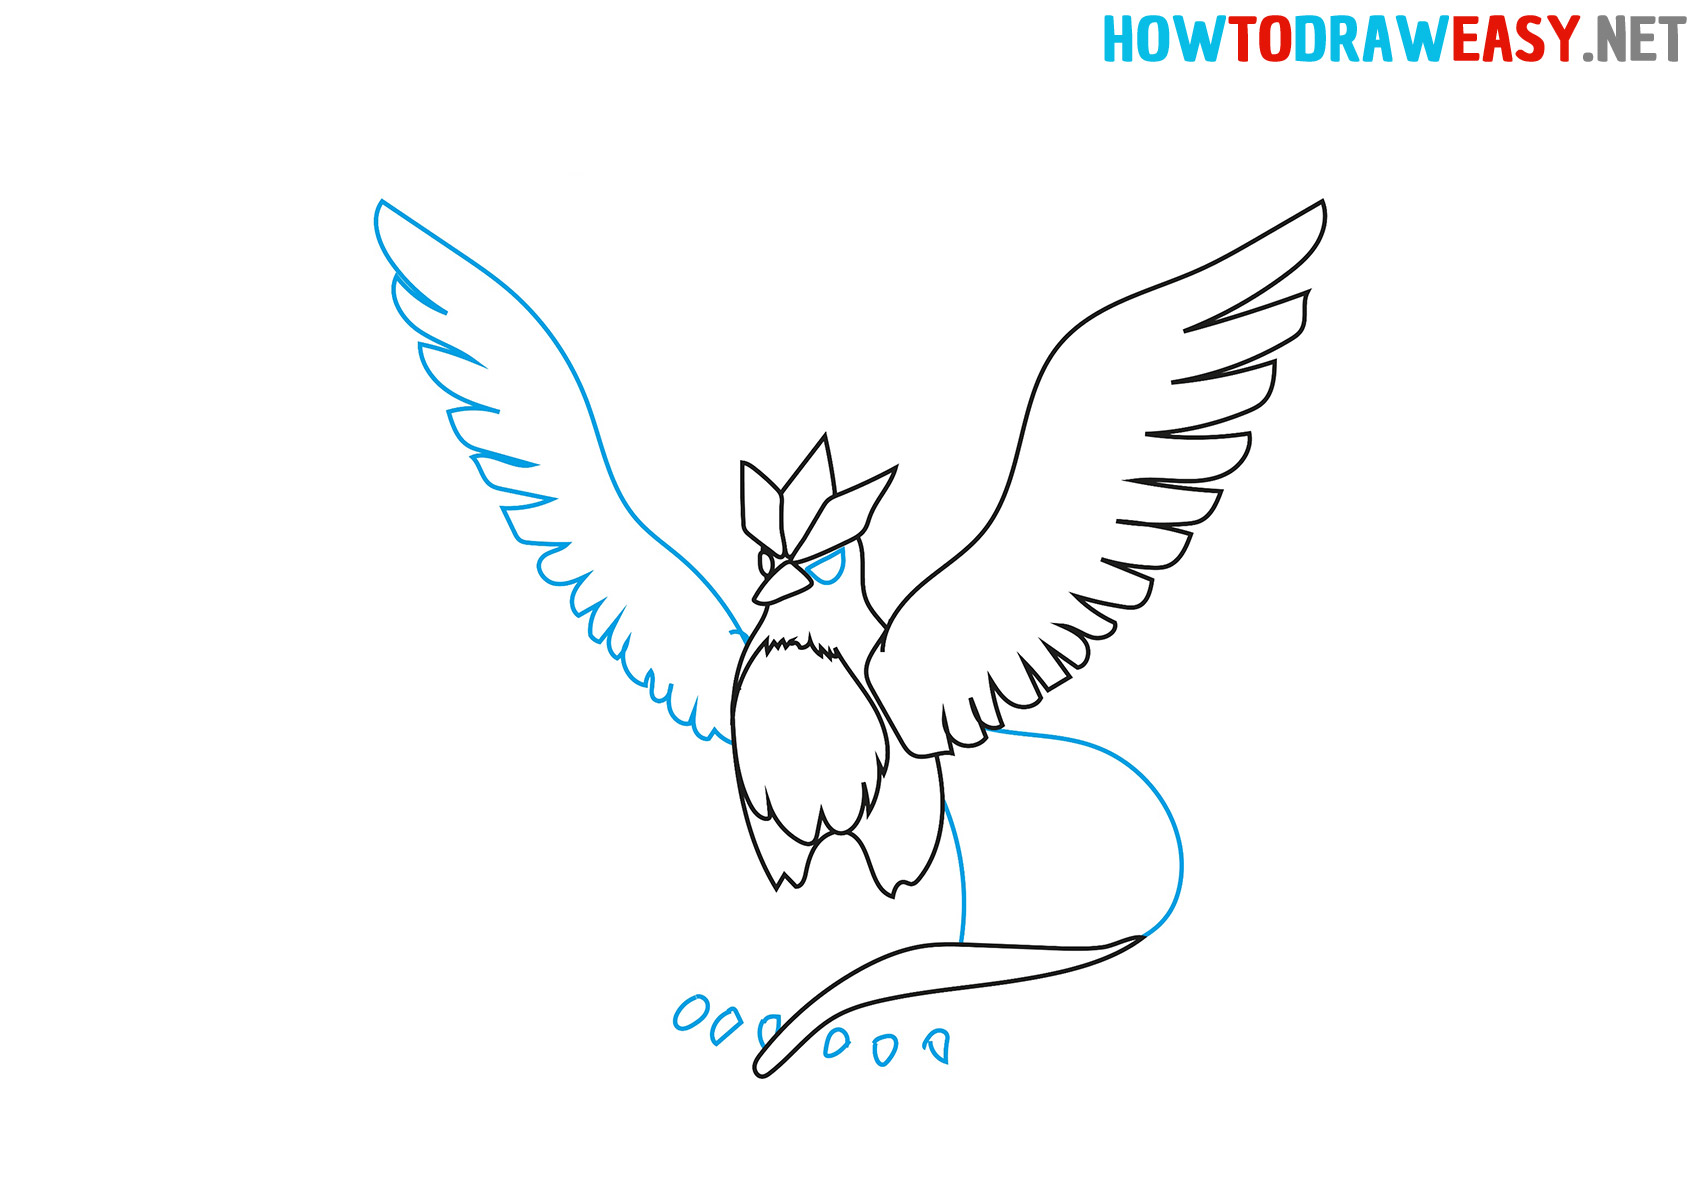
- Draw the bending of the wings, the bottom of the beak and legs.
Curved lines draw lines and tail. Next, under the beak, place an additional arc. Also, draw the legs as shown in the example.
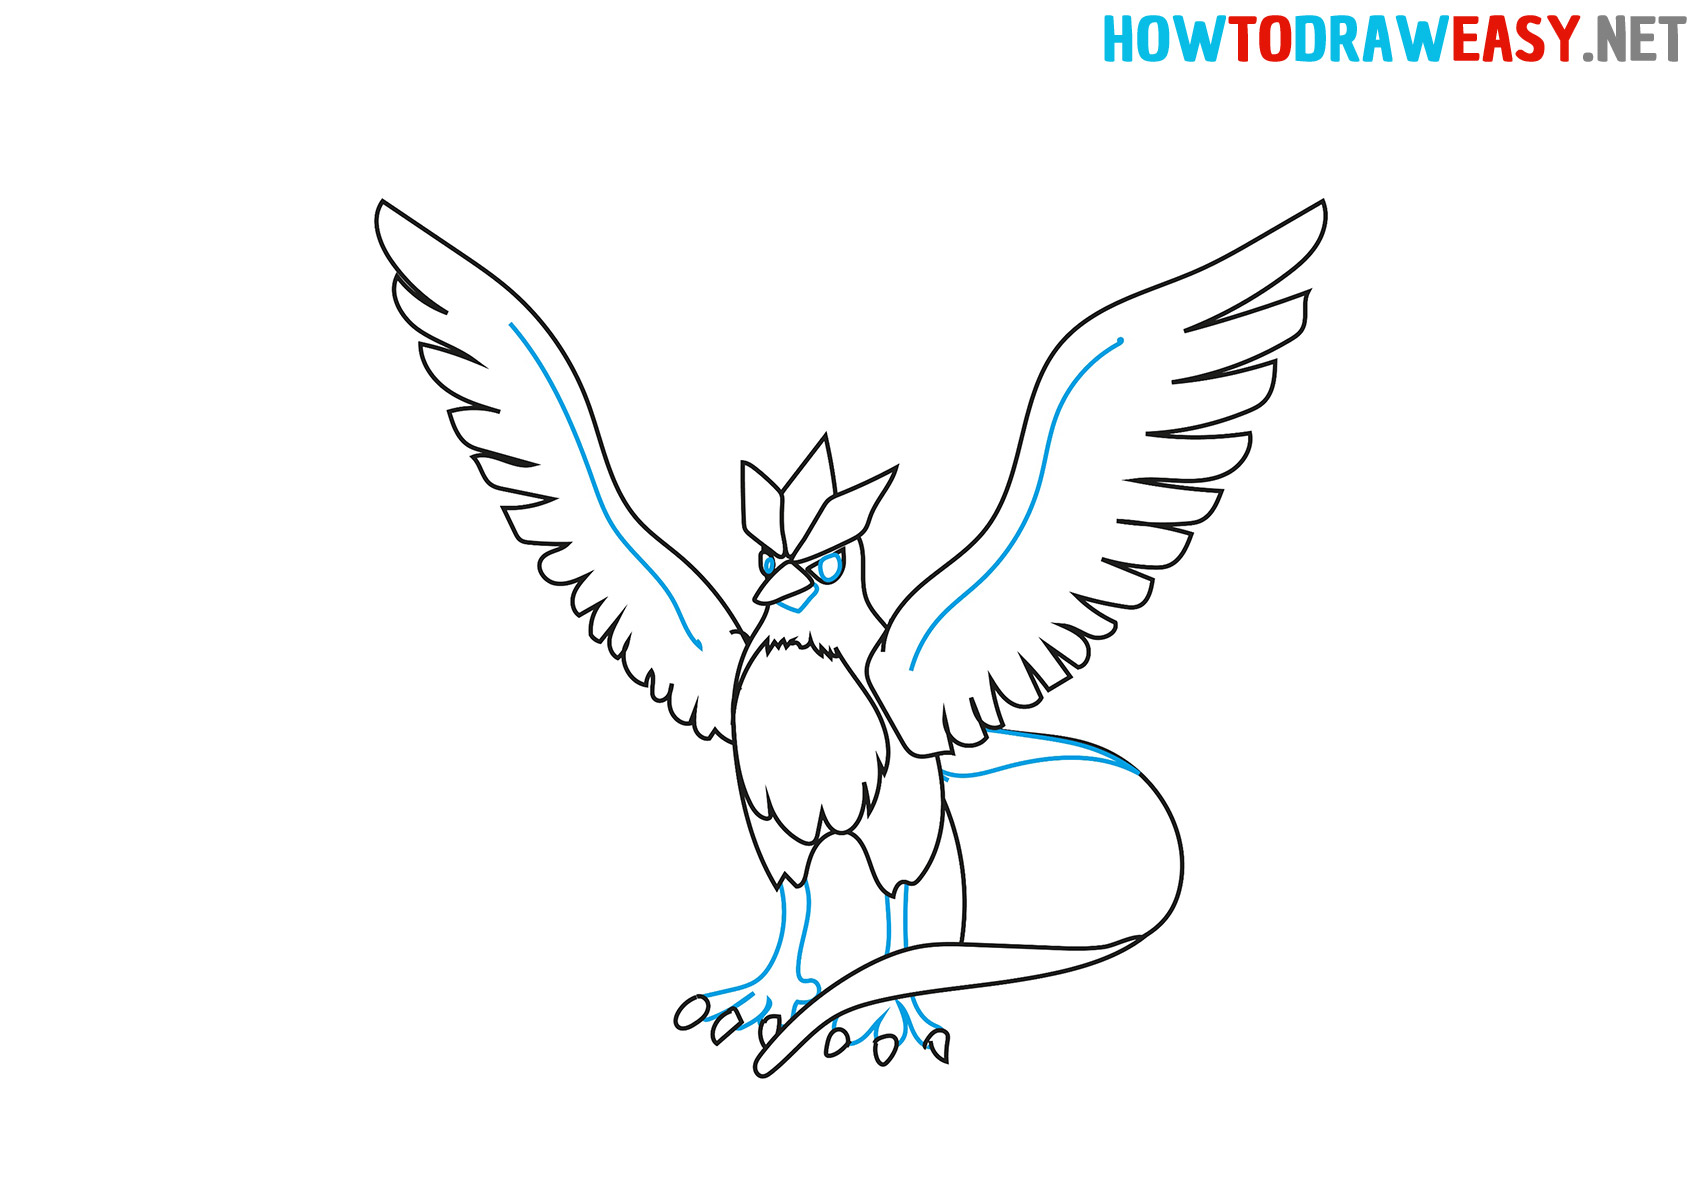
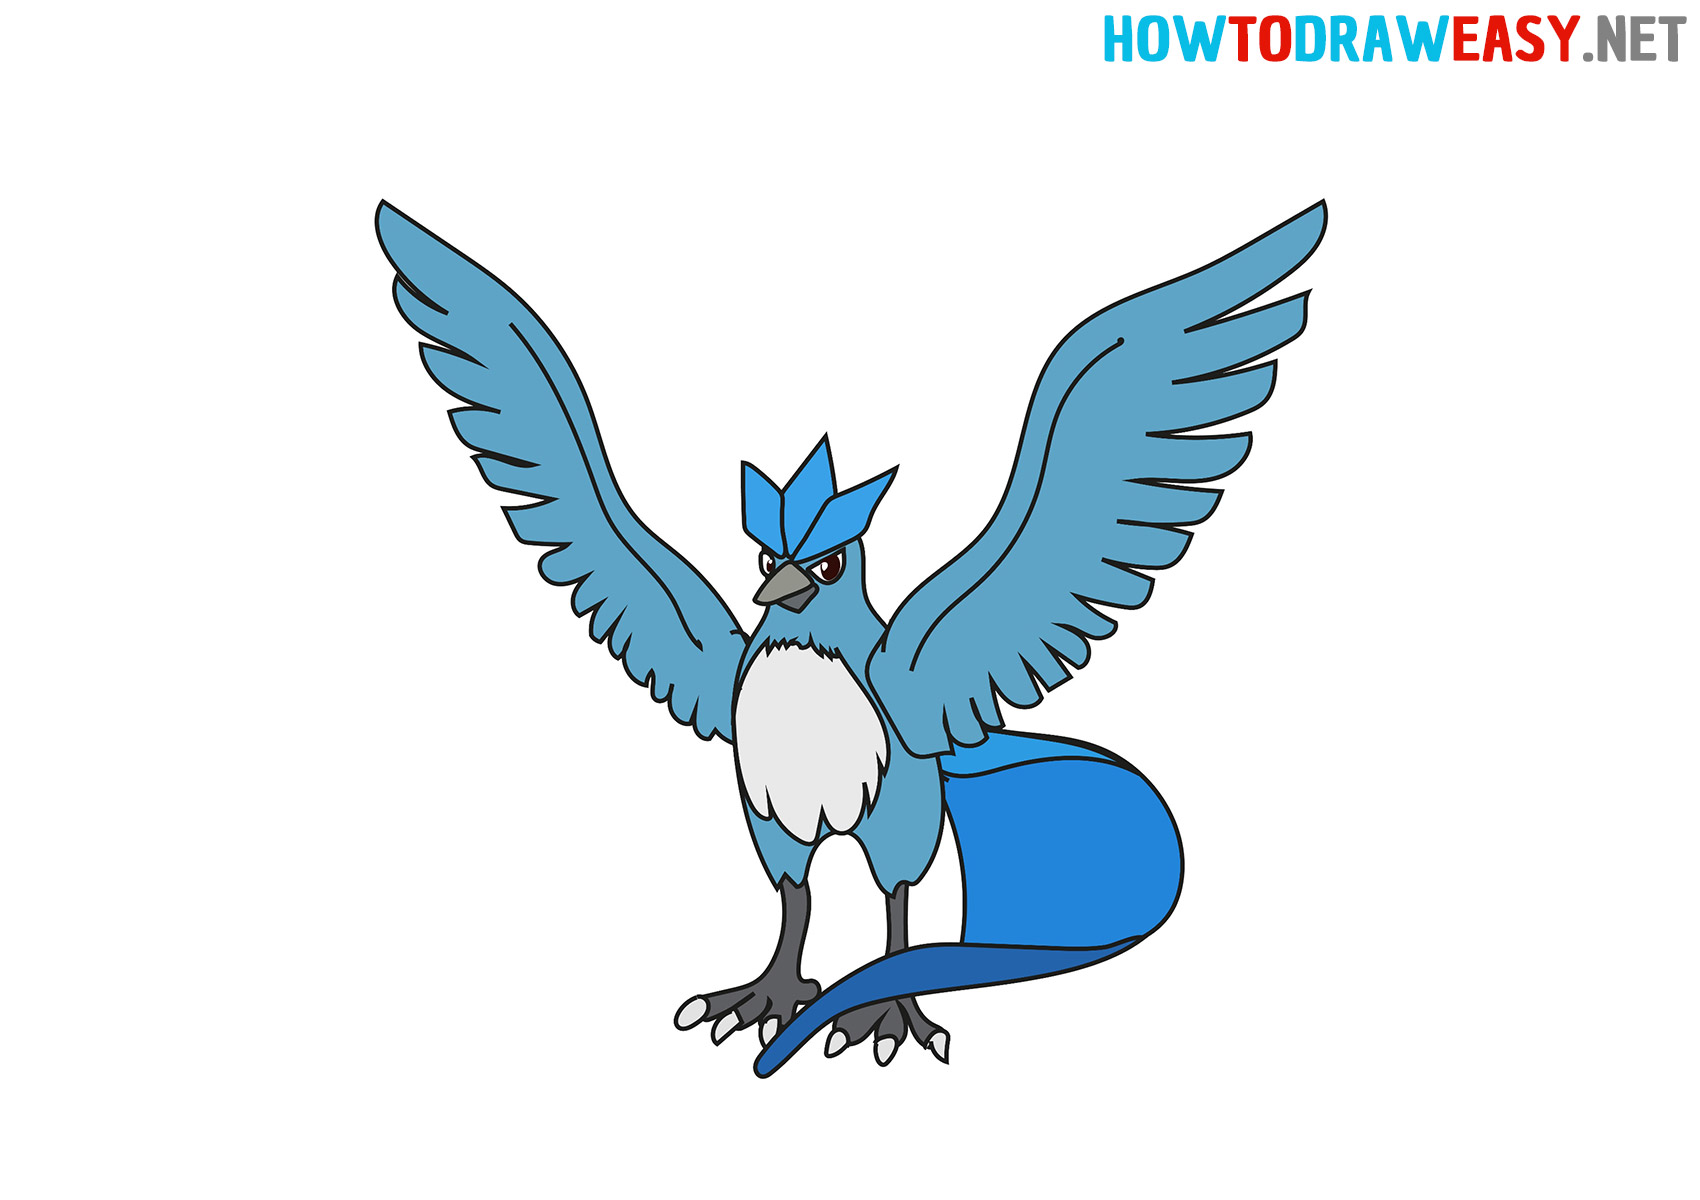
- Color your drawing.
Use the coloring supplies to color your Pokémon. Color it blue as in the example.


We hope that this was a useful and informative lesson for you. Be sure to show your new drawing to friends and family. We also recommend that you familiarize yourself with other drawing lessons.