How to Draw an Oyster with a Pearl
Learn how to draw an oyster with a Pearl step by step with this easy drawing tutorial for beginners, kids and adults.


Since childhood, in many cartoons and films, everyone has seen oysters with pearls and wanted to learn how to draw them. This drawing lesson for beginners will show you how to draw an oyster with a pearl quickly and easily. This lesson is also suitable for both adults and children.
Oysters look very strange, but at the same time they are very beautiful together with pearls. Pearls are among the most popular jewelry on earth and have been in demand for many years. Everyone remembers the scene from Batman with pearls, which the criminal ripped from the neck of Bruce Wayne’s mother Martha Wayne.
Oysters are also one of the popular seafood dishes. But those oysters that are eaten look very different. Oysters have a wide range of health benefits such as magnesium, iodine and zinc.
To draw an oyster with pearls, we have divided the lesson into seven steps. Enjoy your drawing!
Time needed: 35 minutes
How to Draw an Oyster with a Pearl
- Draw a circle.
The first is to draw an even circle. The circle must be even, because the pearls are perfectly spherical. You can use the compass as a tool, but we advise you to learn how to draw circles on your own.

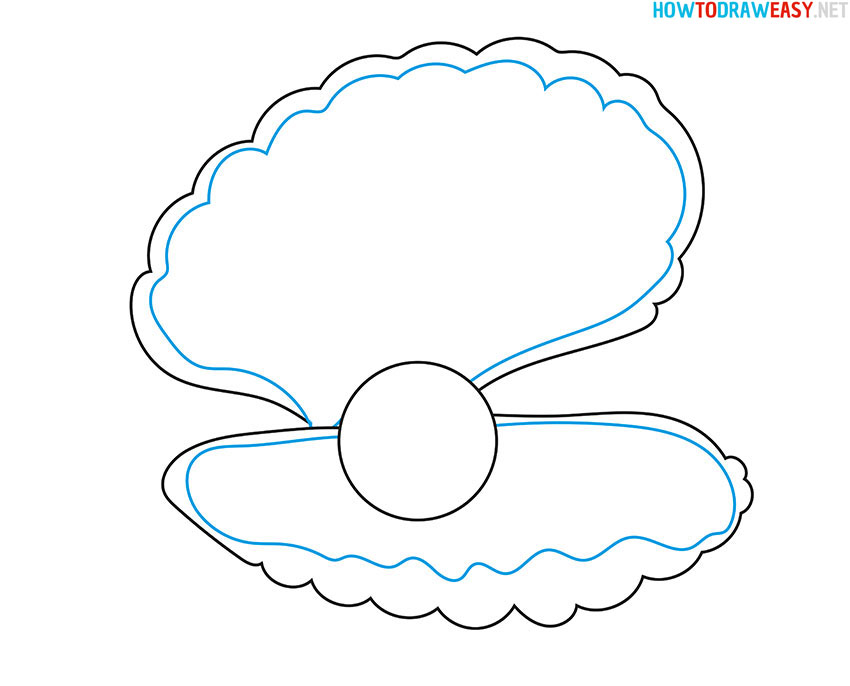
- Draw the shell of the oyster.
The second step is to draw the top and bottom shell of the oyster. It’s very easy, you need to start from the middle of the pearl and draw in wavy lines to the other part of the pearl with a pencil. Happened? Repeat by step, which is indicated in light blue. Repeat the same with the second shell.

- Draw the inside of the shell.
The third stage is to make the same line along the same trajectory, but already inside the shell of the oyster. Try to exactly repeat the line of the drawn shell.
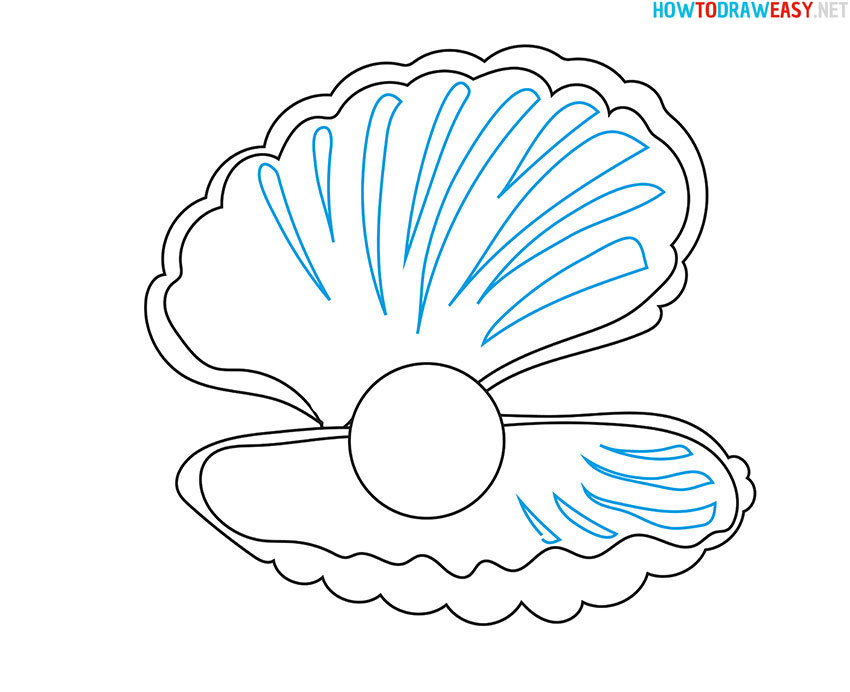
- Draw the details.
In this stage, we draw the inside of the oyster. These lines are used to indicate where the oyster’s surface will eventually shine. Repeat the steps from the pictures.
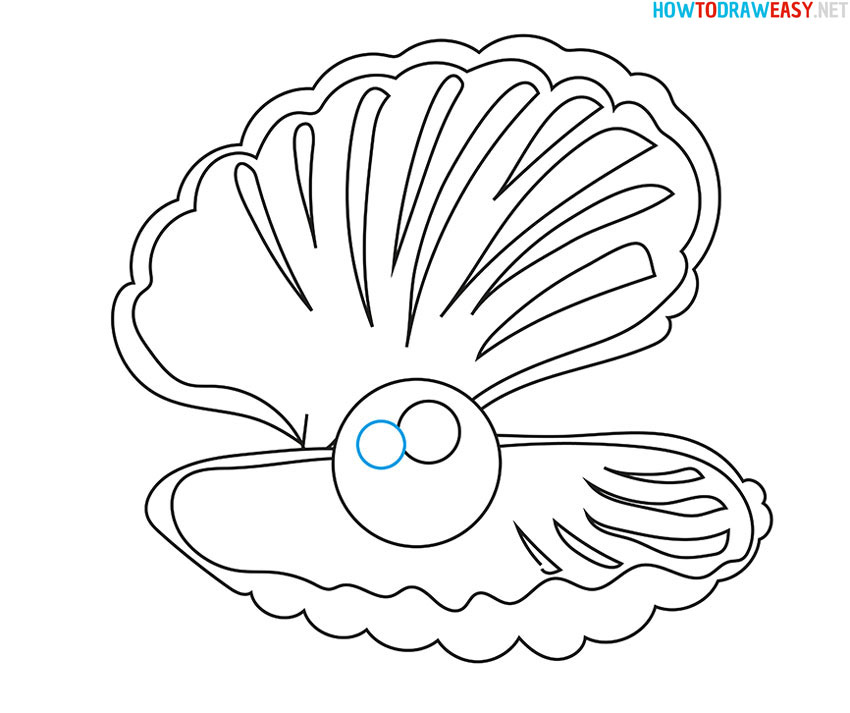
- Draw the glare of the pearl.
Draw a small circle for the pearl, this will be the top of the pearl glare.
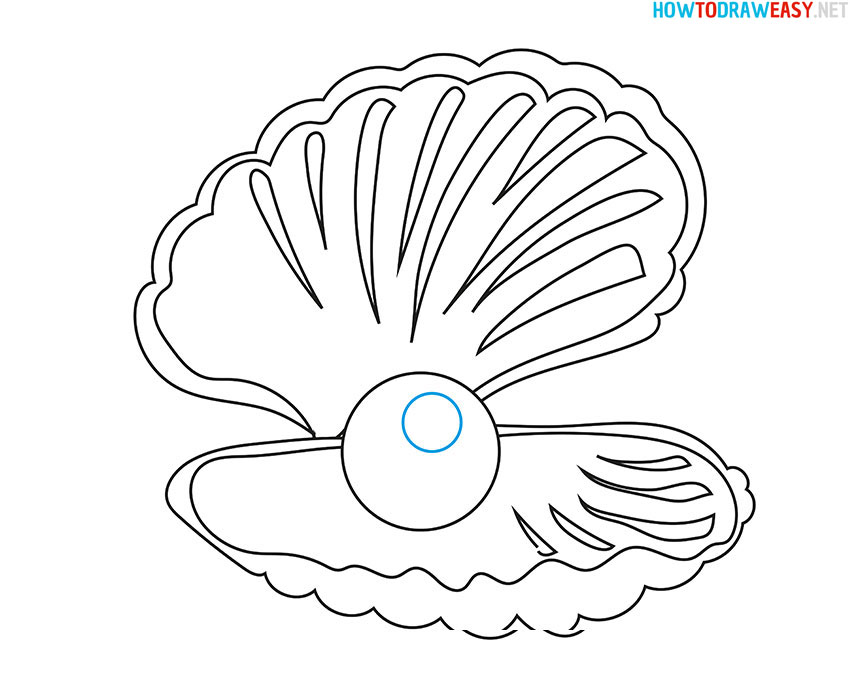
- Draw a second circle.
Now draw the second part of the pearl glare. This will give your illustrate a more natural and realistic look.
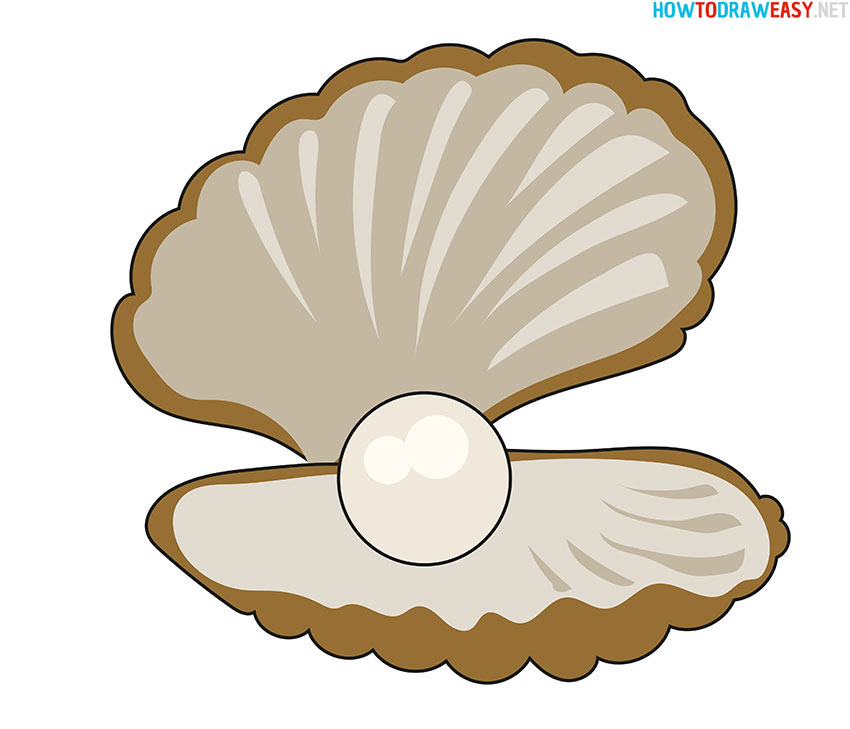
- Color your beautiful oyster and pearl.
The last step before completing the illustration. Use colored pencils, felt-tip pens, or watercolors, for example. Pick the colors you want and start dyeing the oyster with the pearl. Don’t forget to give your pearl design a natural glare.