How to Draw an Anchor Easy
Learn how to draw an anchor easy step by step with this simple drawing tutorial for beginners. Scroll down to see the collage and steps.
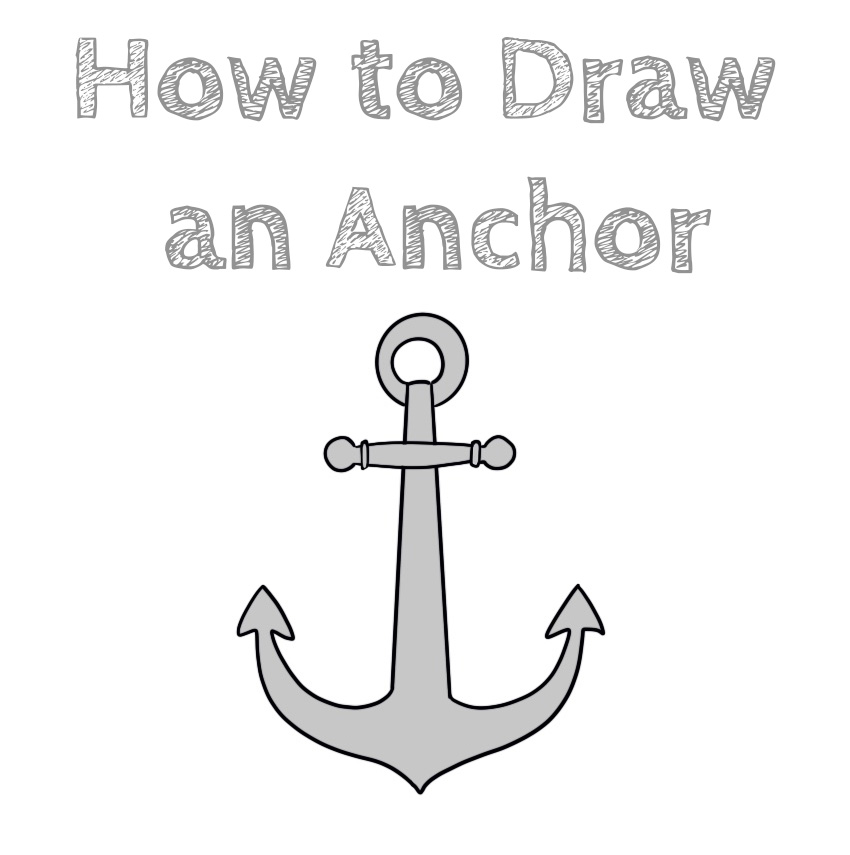
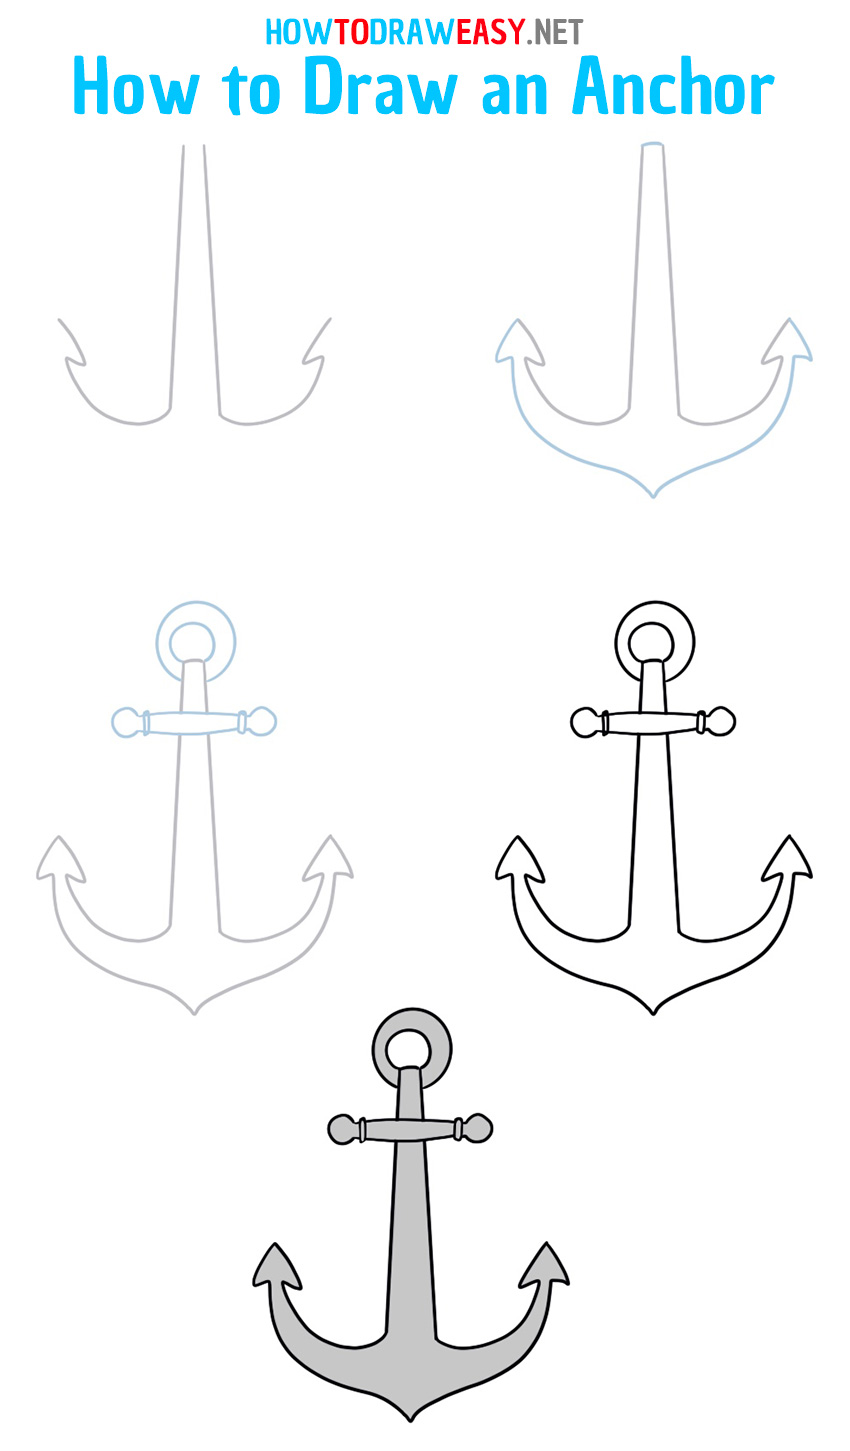
In this drawing tutorial, we will show you how to draw an anchor easy. An anchor is a special metal structure with which the vessel is held in one place. To sketch this drawing, artists just need to observe the rule of symmetry. In this step-by-step instruction, you will learn how to quickly sketch this large marine object. Anchors are often sketched on tattoos because this is one of the most popular tattoos in the world.
There are many types of anchors that relate to a particular type of vessel. But the first semblance of an anchor was invented in the 7th century AD. He was found in an old Byzantine fishing boat. This is due to the fact that with the help of the anchor, the anglers could stop at the right place.
Enjoy your drawing!
Time needed: 45 minutes
How to Draw an Anchor Easy
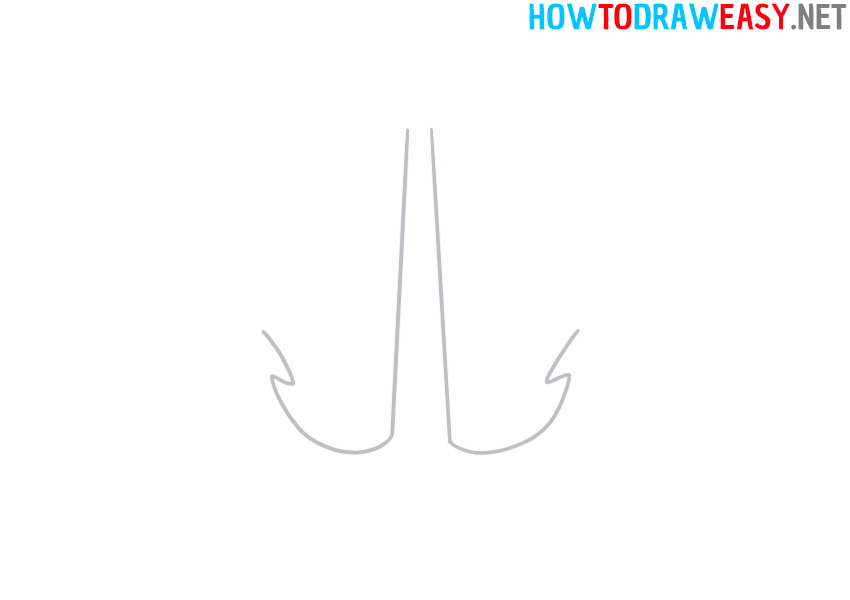
- Start with the outline of the anchor.
Draw symmetrical two sides. Try to make the left and right sides symmetrical.
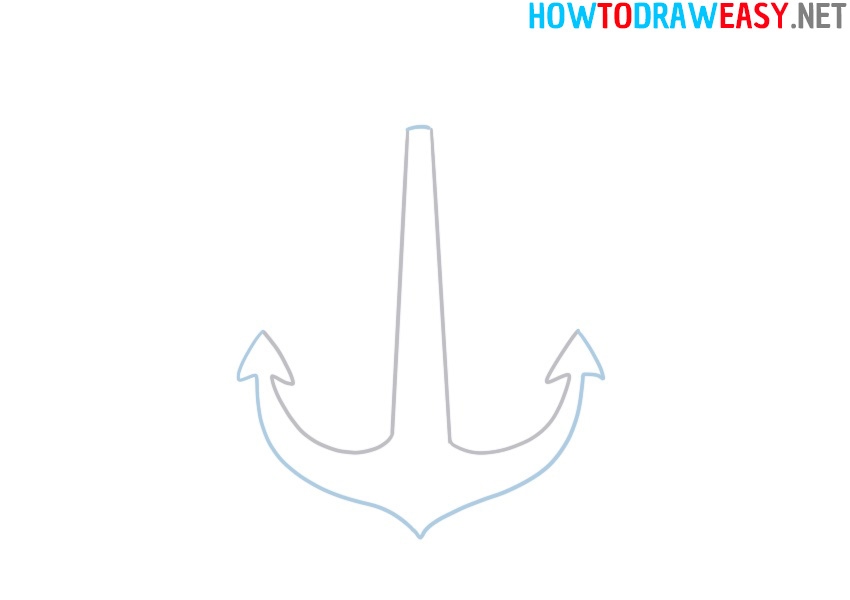
- Continue contouring.
Draw the bottom outline of the anchor, and don’t forget about symmetry.
- Anchor hook.
Add the upper part to which the cable is tied. This part of the anchor is very important, since it makes the whole structure reliable, on which everything rests.
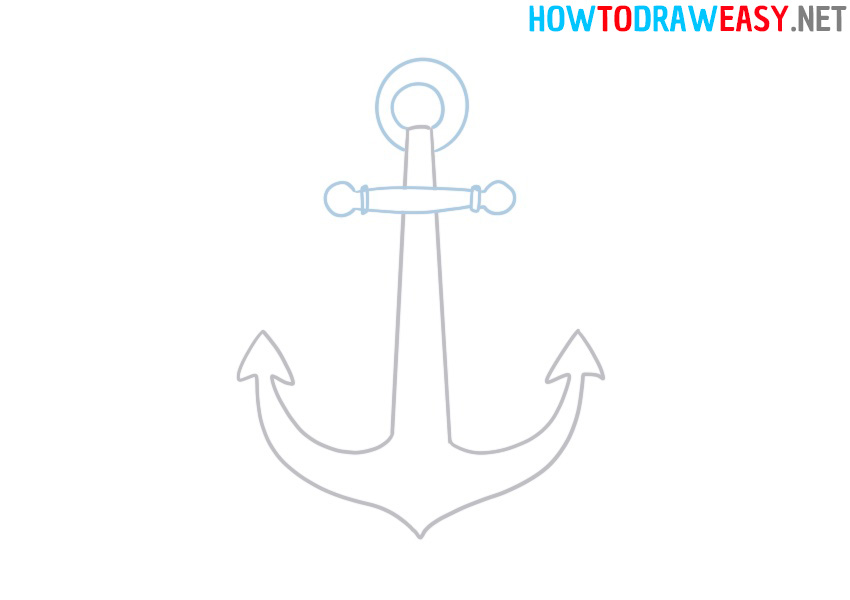
- Trace sketch.
Trace with ink and fountain pen or marker the sketch of our anchor and make it darker.
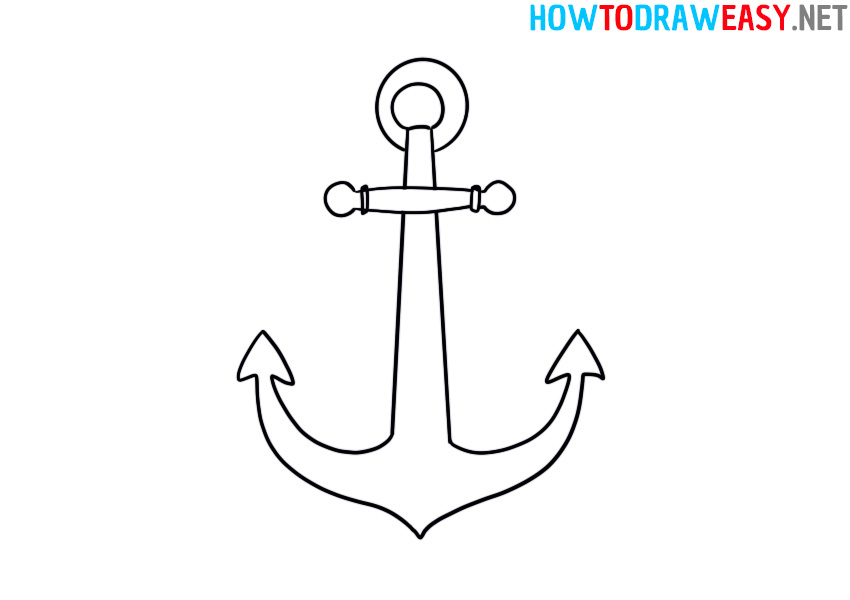
- Color the drawing.
We use just one color—gray, as most anchors are made of iron. You can use your own color for the drawing.
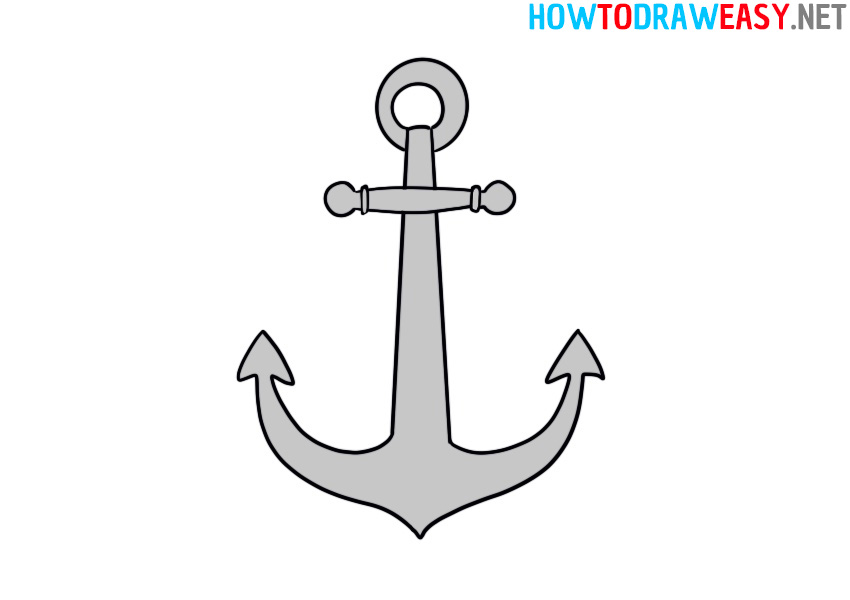
The anchor artwork is ready! If you followed all the points of the guide, then you should get a wonderful drawing. We advise you to post the result on social networks or share it with your friends, we will be very pleased.
Until next time, friends!
