
How to Draw a Wheel for Kids
Here you will learn how to draw a wheel for kids using our elementary instructions and tips. Below you will see the collage and all the steps!


Hello everyone for the step-by-step instructions on how to draw a wheel for kids. The wheel is considered an ancient invention that helped humanity develop 1,000 times faster than we would have done without it. It is believed to have been invented around the 5-10th centuries. BC. Wheels are still used in transportation.
Drawing a wheel is easy enough. For this tutorial, everything will be mostly circles. Follow the 8 steps of the simple instruction and you will definitely get a drawing of a car wheel. Let’s start!
Time needed: 30 minutes
How to Draw a Wheel for Kids
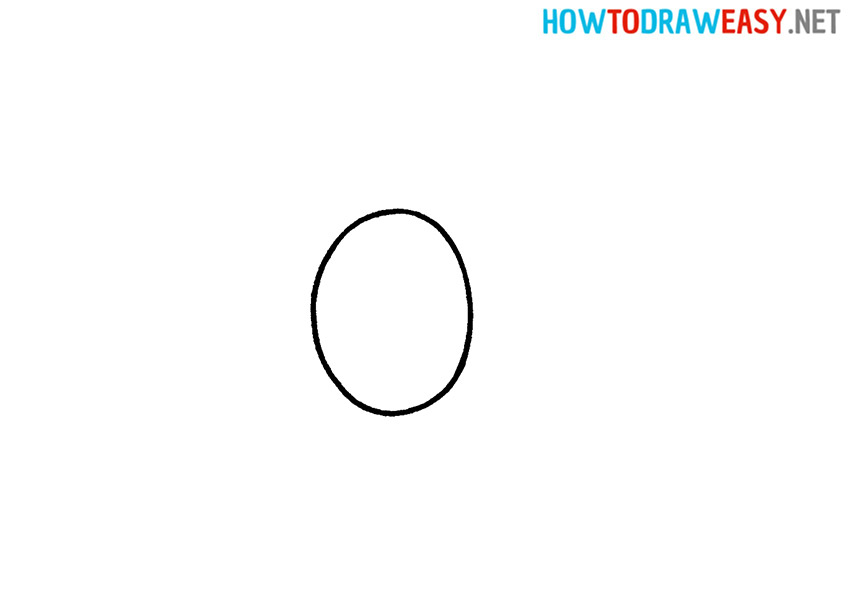
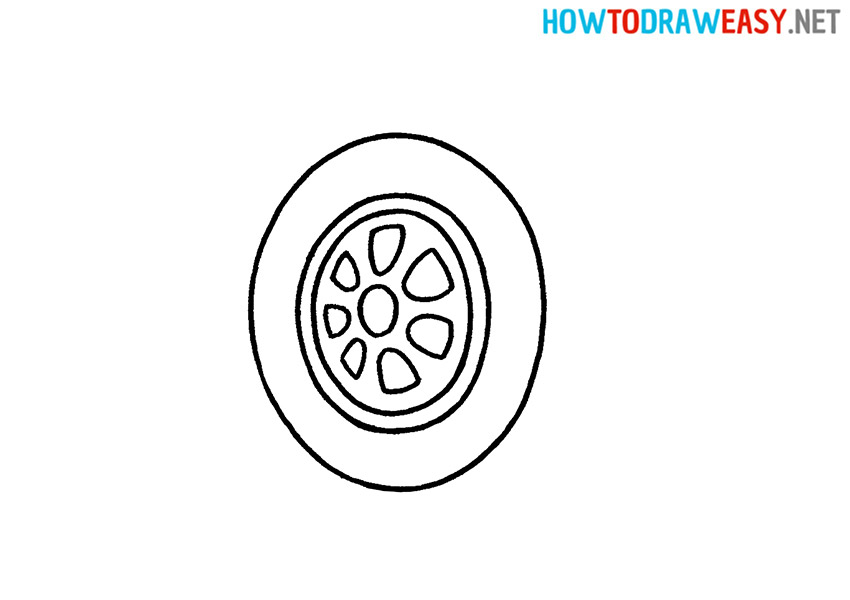
- Shape the circle.
The circle will be the outline of the rim.
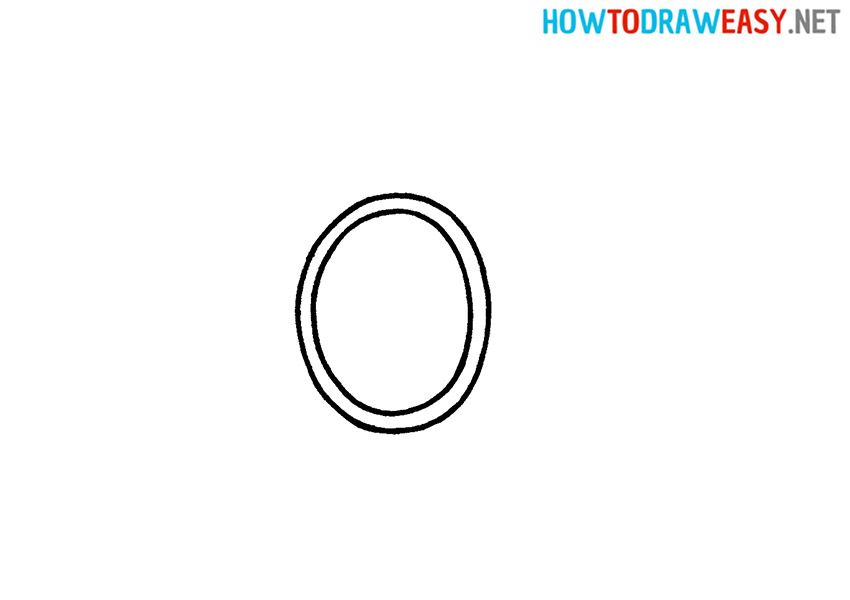
- Draw the outer rim.
This will be a circle slightly larger than the one we drew in step 1.
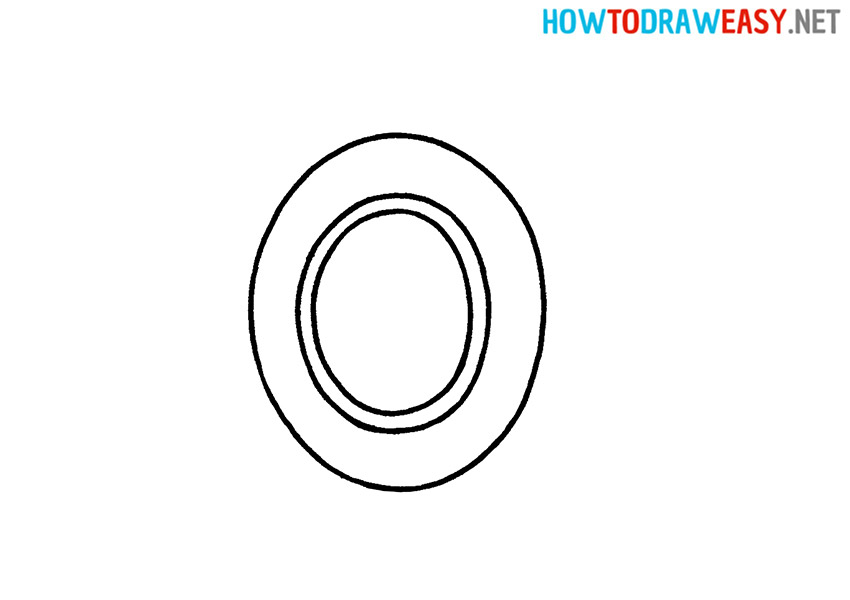
- Draw the tire.
Next, you need to draw a circle even more.
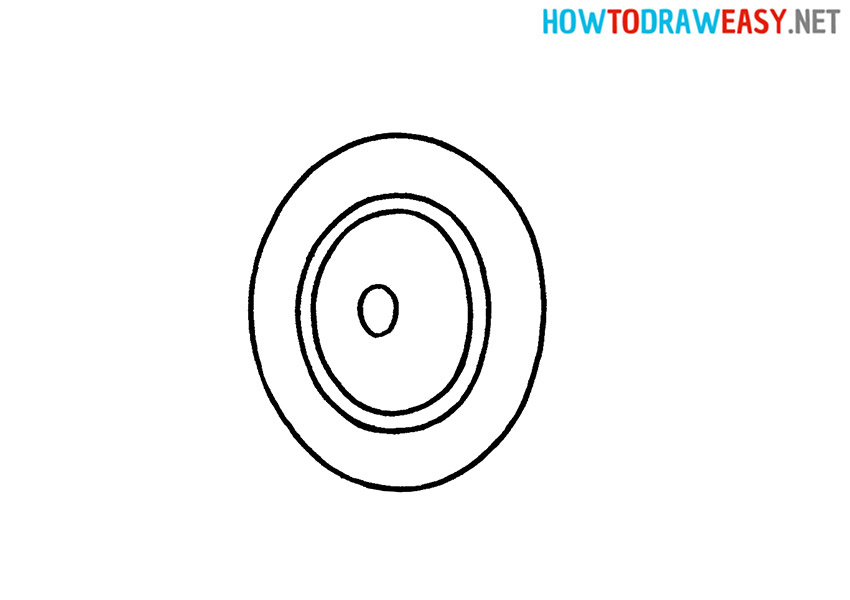
- Add the wheel fasteners.
The fasteners are needed so that the wheel is securely held and does not fall off during the trip. Draw it in the middle of the rim itself.
- Rim design.
You can come up with an individual design of the rim or draw as indicated in the instructions.
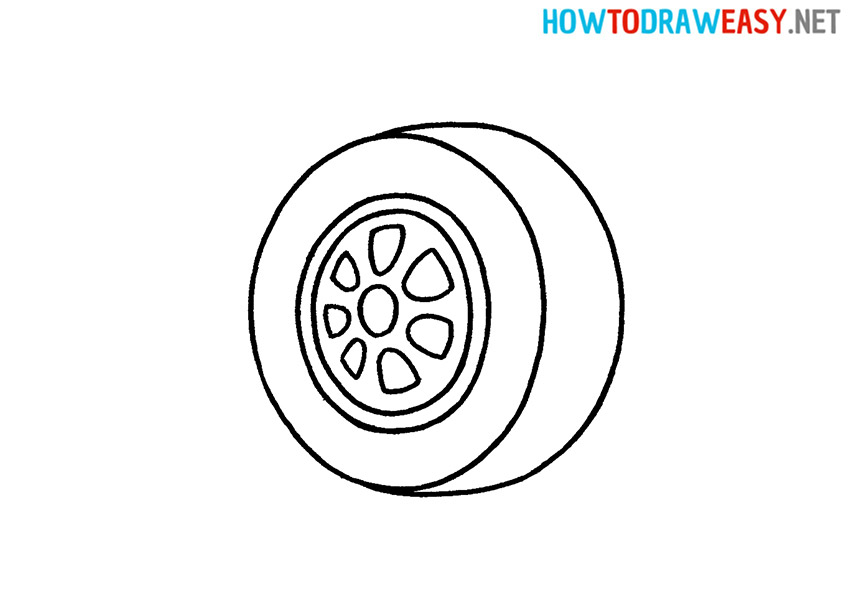
- Add volume.
To make the drawing look more realistic, you need to add some volume to the right of the tire itself. To do this, draw an arc to the right of the wheel.
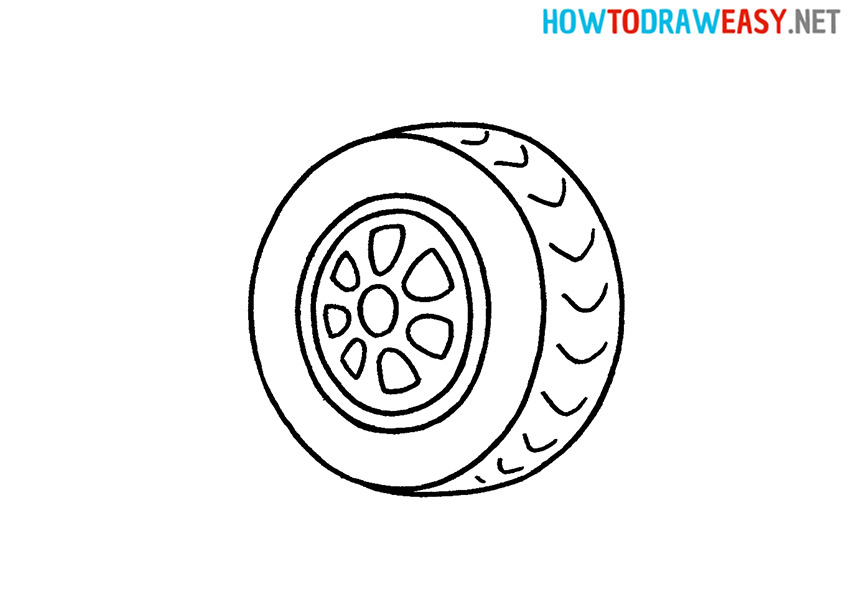
- Wheel details.
Draw the tread on the tire with arcs or broken lines.
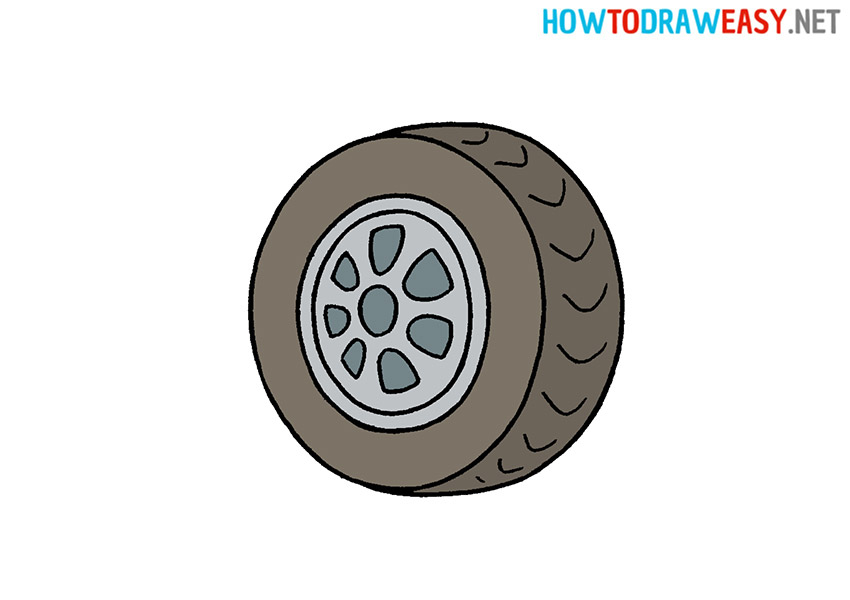
- Color the drawing.
If you drew with a pencil, we recommend that you trace the outlines of the sketch using a fountain pen. Then color your drawing!


We hope that you liked our lesson, and you will continue to draw using our step by step drawing lessons. Share your drawing and drawing ideas with your friends!