How to Draw a Waterfall
If you want to draw a great looking waterfall, then this is the best place to learn how. Start drawing with us!
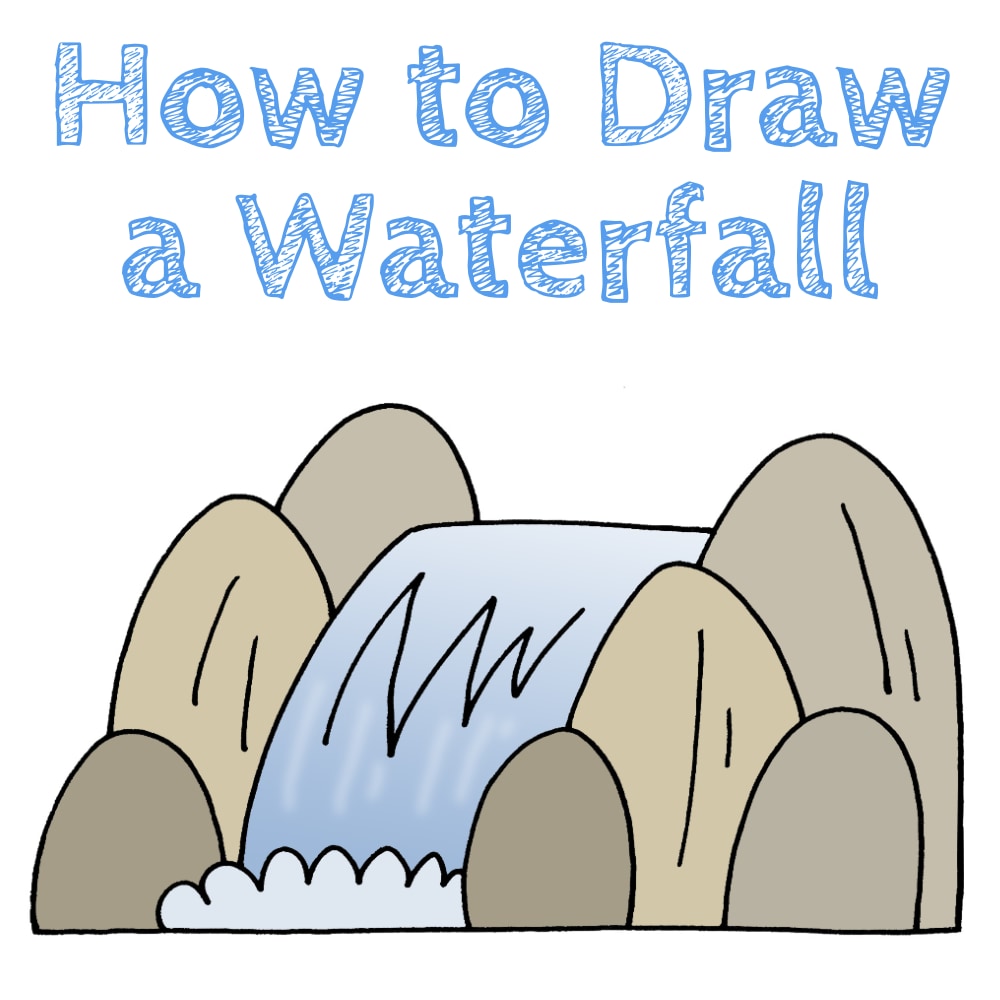
Welcome to the fascinating world of landscape drawing! In this lesson, we will focus on one of the most captivating and beautiful natural phenomena—waterfalls. Learn how to draw a waterfall easily and quickly!
Waterfalls are not just streams of water crashing down from a height, but also a magical combination of light, shadow, and textures that create a unique atmosphere. Your task is to learn how to convey all these details and capture the viewer’s gaze.
Get ready to embark on an exciting journey into the world of drawing waterfalls. Prepare your brushes, pencils, and paper, and be prepared for your creativity to come alive on paper. Don’t be afraid to make mistakes and try new approaches—that’s how you will develop your artistic skills and create magnificent landscape works.
Get ready for an exciting lesson on drawing waterfalls that will open up new horizons in your artistic creativity. Good luck!
Time needed: 30 minutes
How to Draw a Waterfall
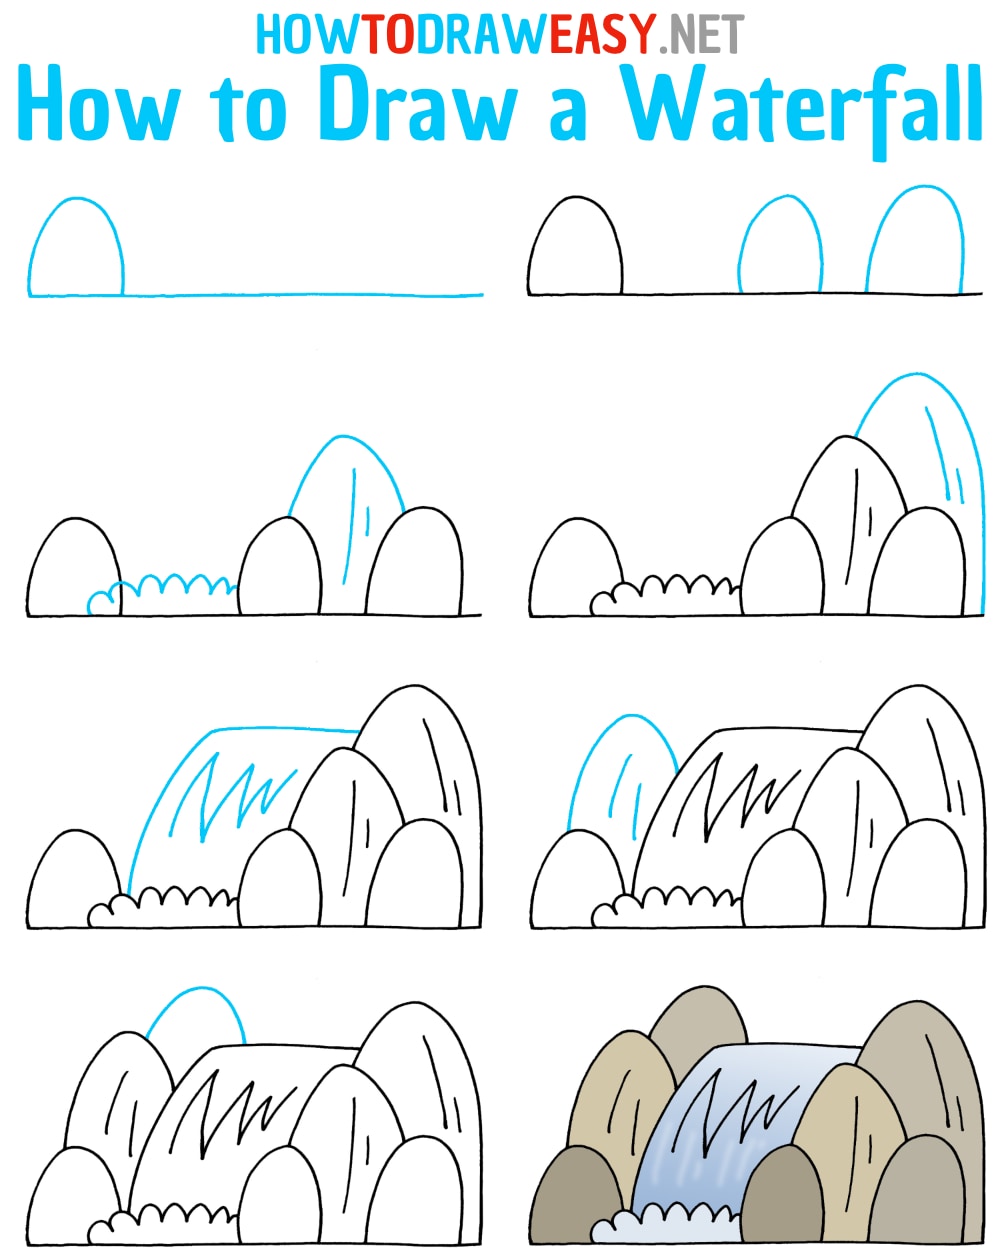
- Prepare the base.
Draw the first oval-shaped rock, then add the horizontal line for the base of the drawing.

- Add rocks.
Draw two more oval-shaped rocks as shown in the example.

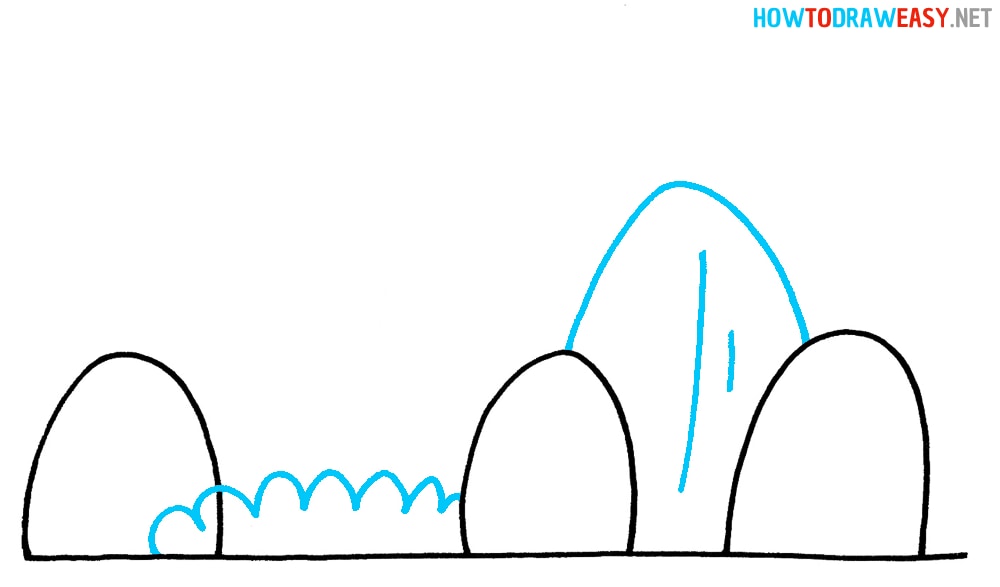
- Add details.
Following the example from the step, draw the foam of the waterfall and the large rock shape.
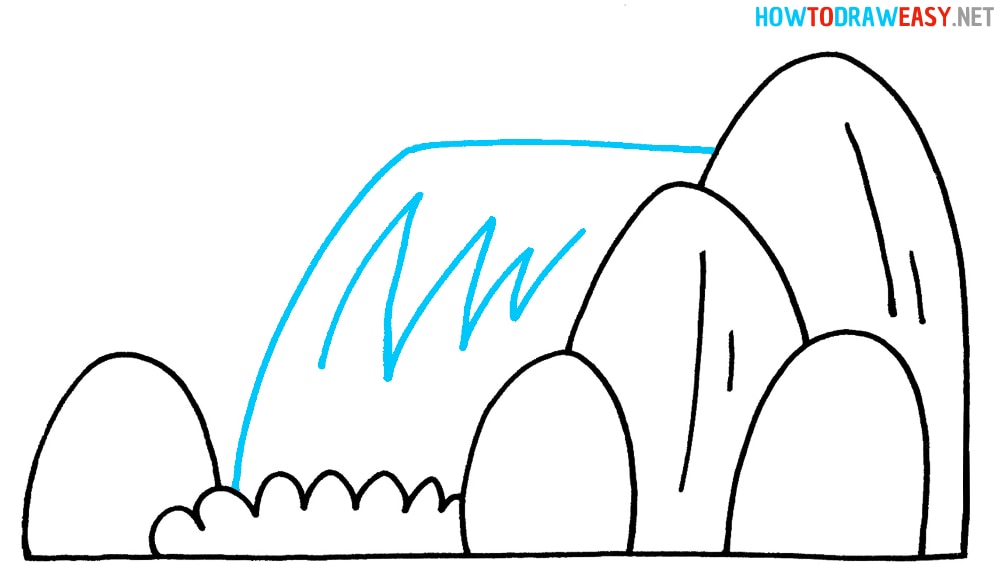
- Add the cliff.
Draw the huge cliff on the right side of the drawing.

- Draw the waterfall.
Now, using straight and curved lines, draw the water of the waterfall.
- Add more.
On the left side of the waterfall, add the barely visible cliff.

- Finishing touches.
Complete the drawing of the waterfall’s surroundings by adding the last rock.

- Color the drawing.
Following the example from the step, color your waterfall and rocks using your favorite coloring tools.
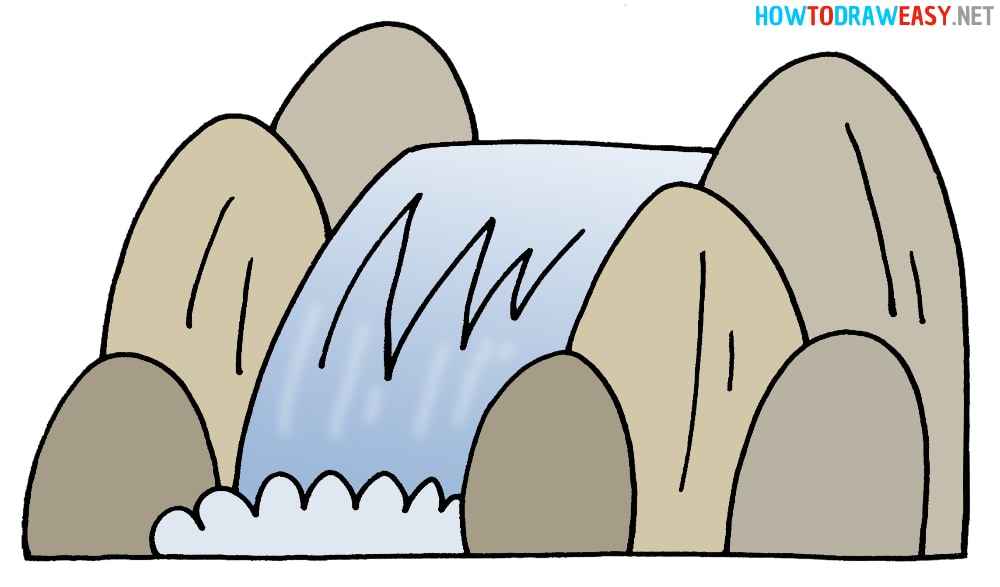
Thank you for joining us and drawing a great looking waterfall. Try also to draw a forest, this is also a very interesting experience!
