
How to Draw a Volcano
Scroll below and start the volcano drawing lesson. Here you will learn how to draw a volcano easy step by step.


Volcanoes – are incredible natural formations that captivate the imagination with their powerful eruptions and stunning beauty. Let’s explore some facts about volcanoes to better understand their structure and the phenomena associated with them. With this knowledge about volcanoes, you will be even more eager to learn how to draw a volcano.
A volcano is a geological formation in which molten magma, gases, and other materials are ejected to the Earth’s surface through an opening called the main crater.
The summit of a volcano is called the crater. It is a depression at the top of the volcano from which lava and gases are expelled during eruptions. The slopes of a volcano are formed by layers of solid lava and other materials that settle after an eruption.
Volcanoes are scattered all over the world. Some are located underwater, in the oceans, while others are on land. They can be active, dormant, or extinct. Active volcanoes periodically display activity, dormant volcanoes have been inactive for a long time, and extinct volcanoes haven’t shown activity for thousands of years.
To draw a volcano, you can use simple shapes: a triangle for the crater’s summit and a few more triangles for the slopes of the volcano. An essential element of the drawing will be the lava ejected from the summit, which can be depicted as a flow or splashes. Don’t forget to add smoke and steam, which occur during eruptions. Scroll down below and start the drawing process!
Time needed: 25 minutes
How to Draw a Volcano Step by Step
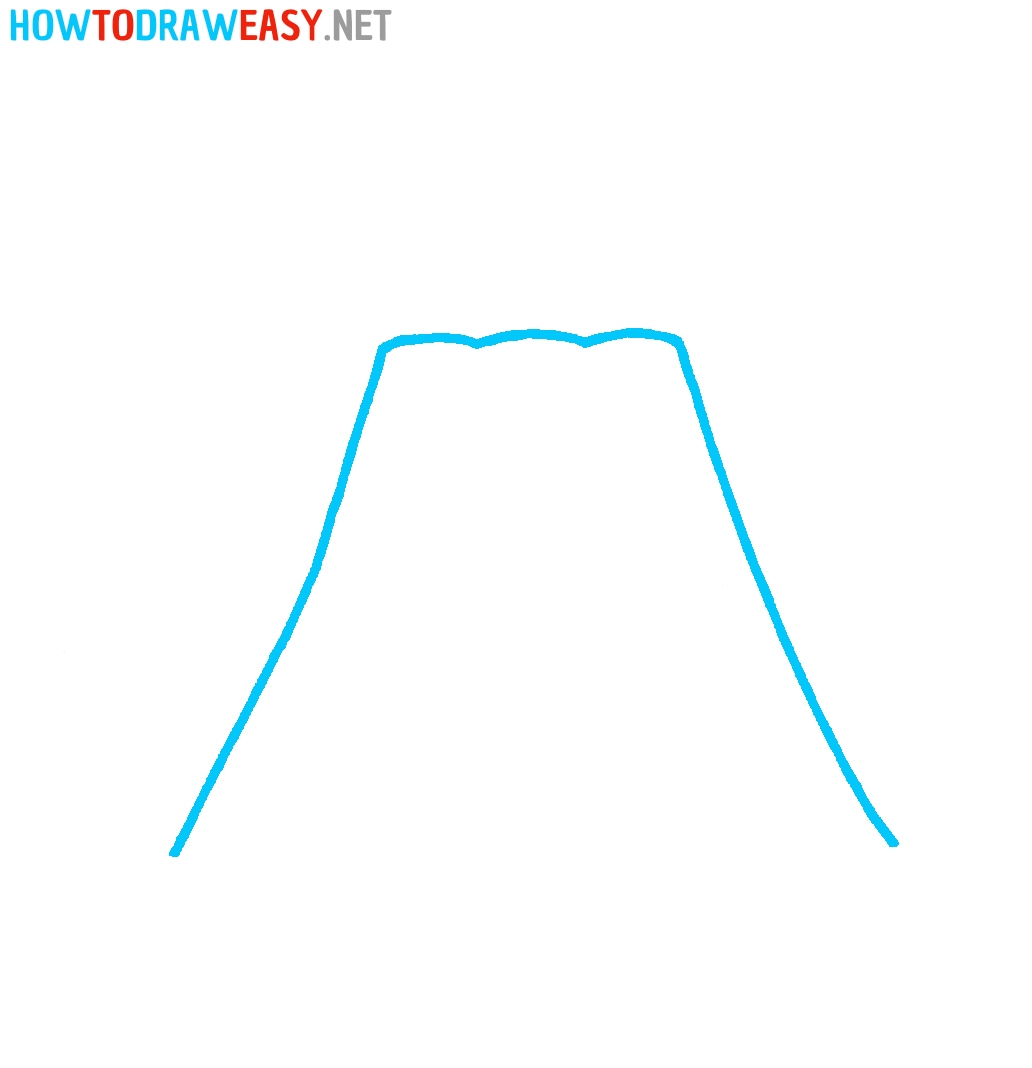
- Start with the base.
Draw the basic shape of the volcano using two curved lines, then add the wavy line on top for the crater.
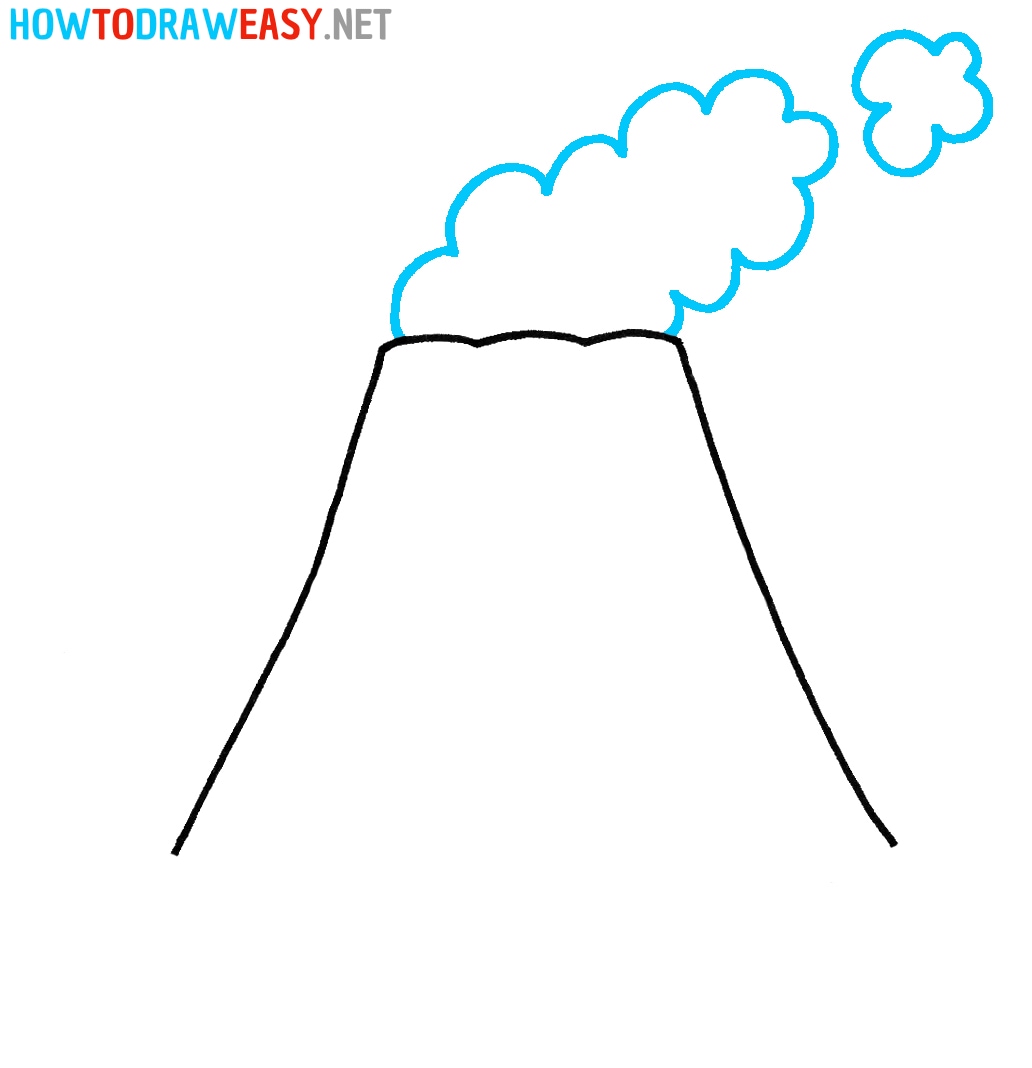
- Add the smoke.
Now, using wavy lines, depict the smoke coming out of the volcano’s crater.
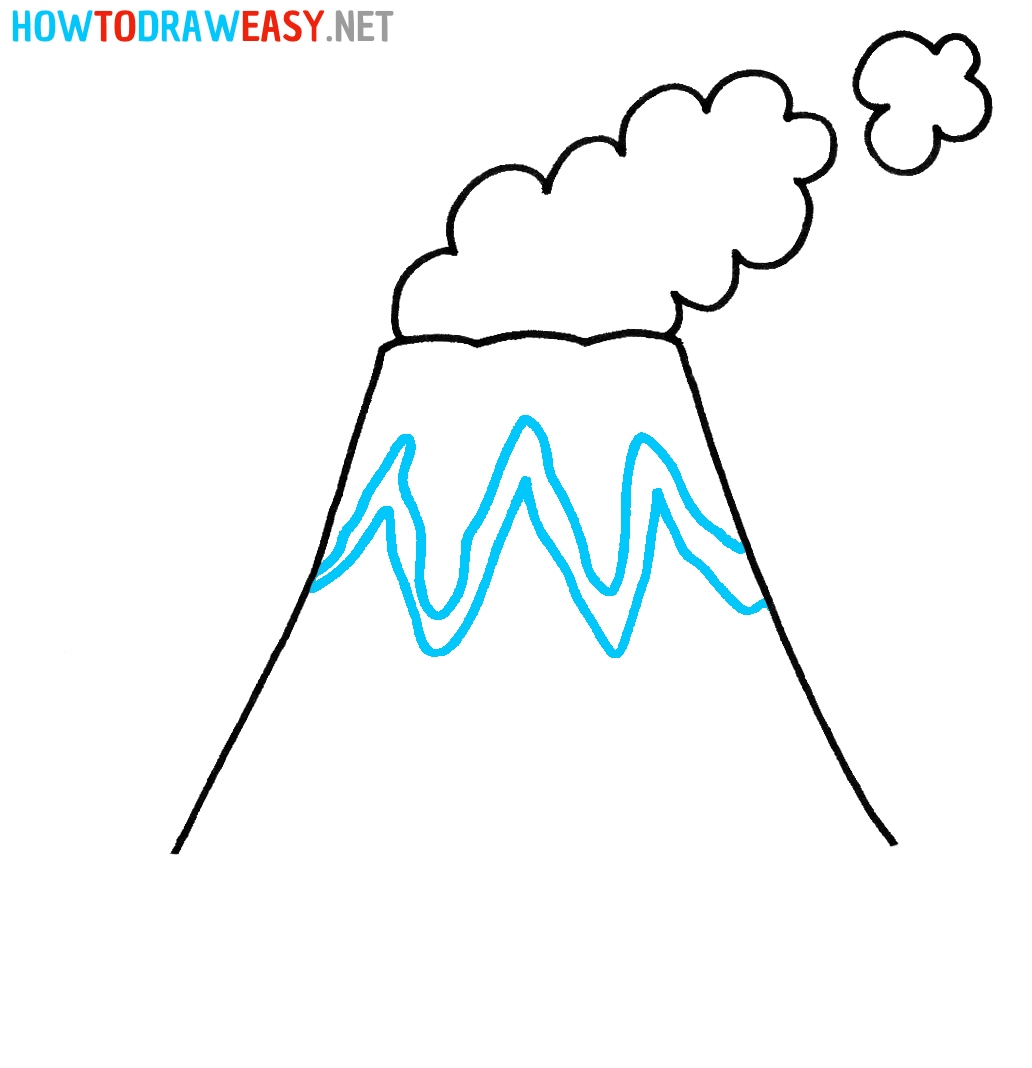
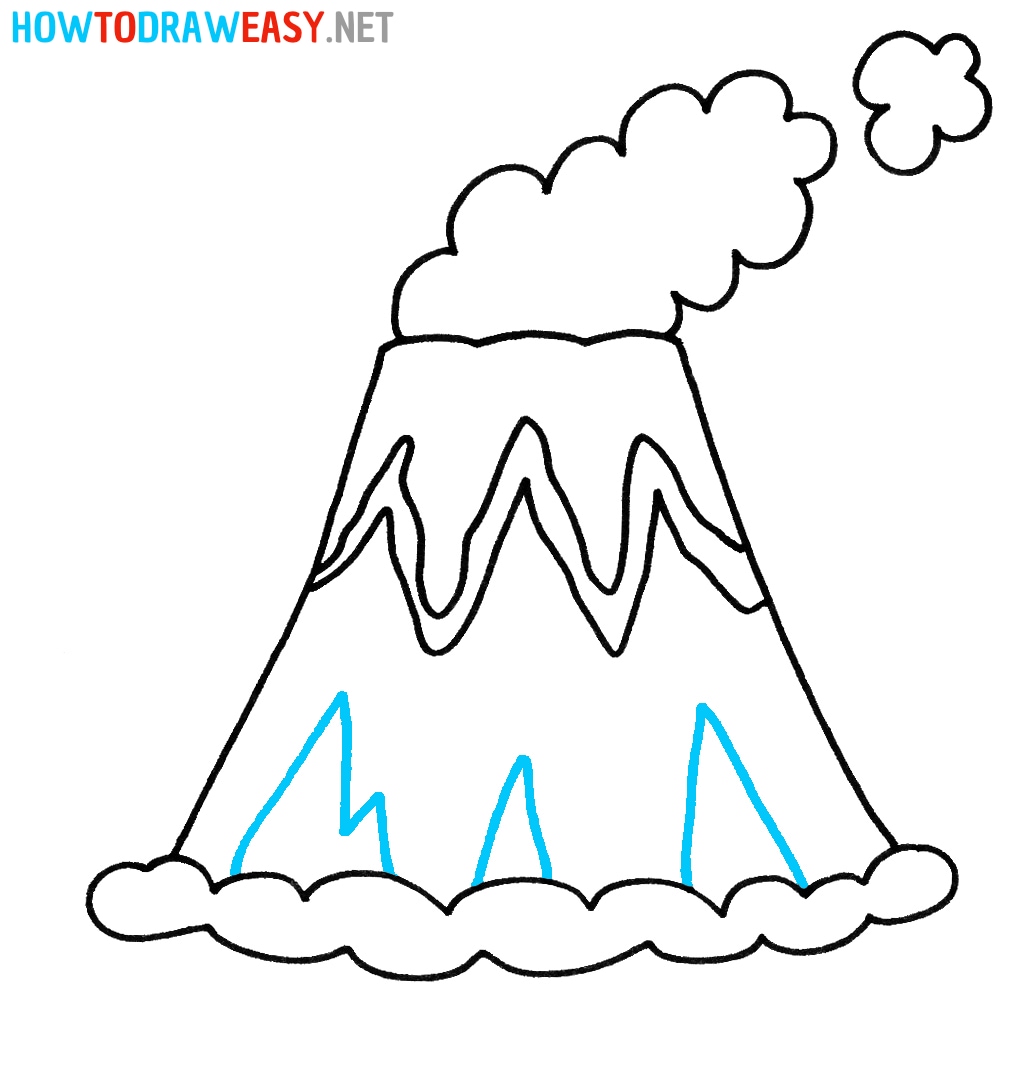
- Add the lava.
Draw triangular lines for the erupting lava.
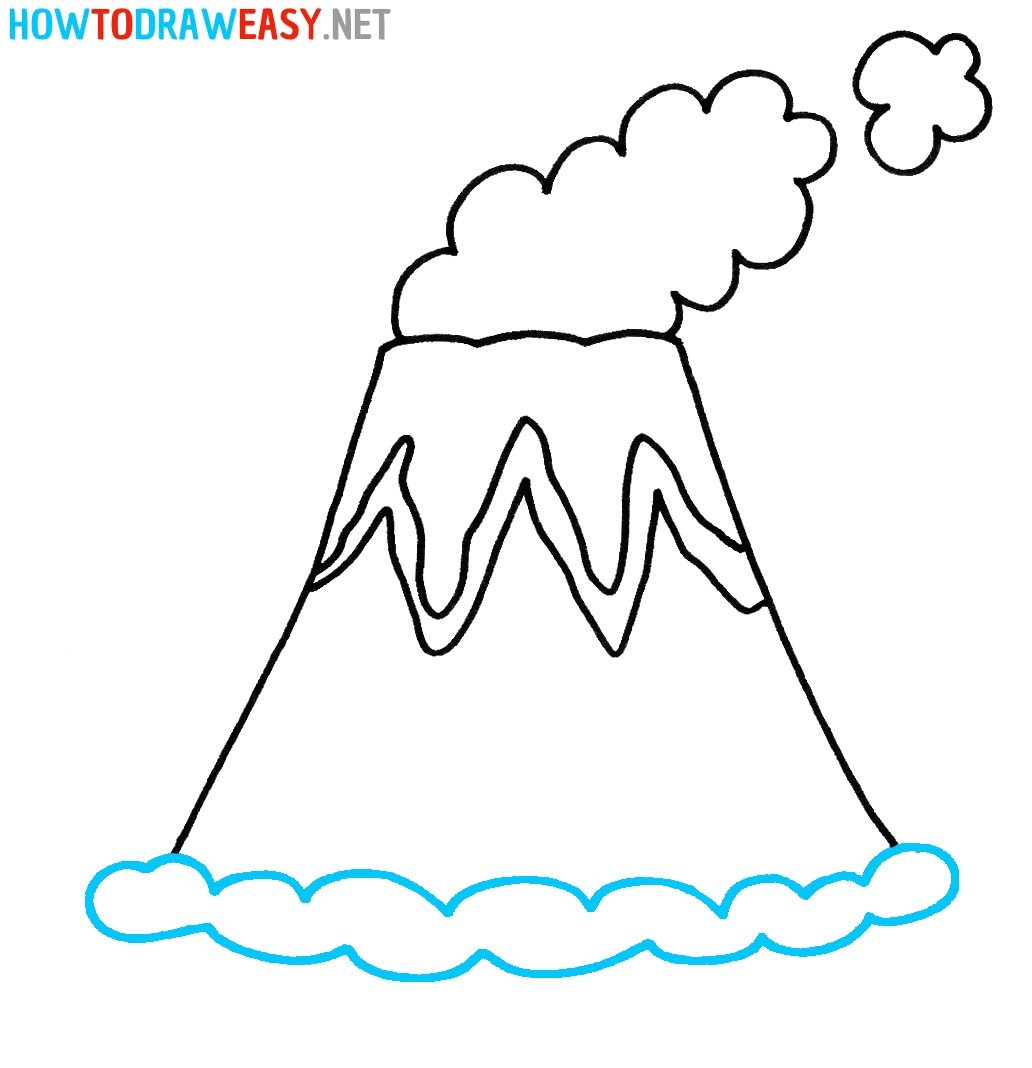
- Add the bottom.
Using the example from the step, draw the lower part beneath the volcano.
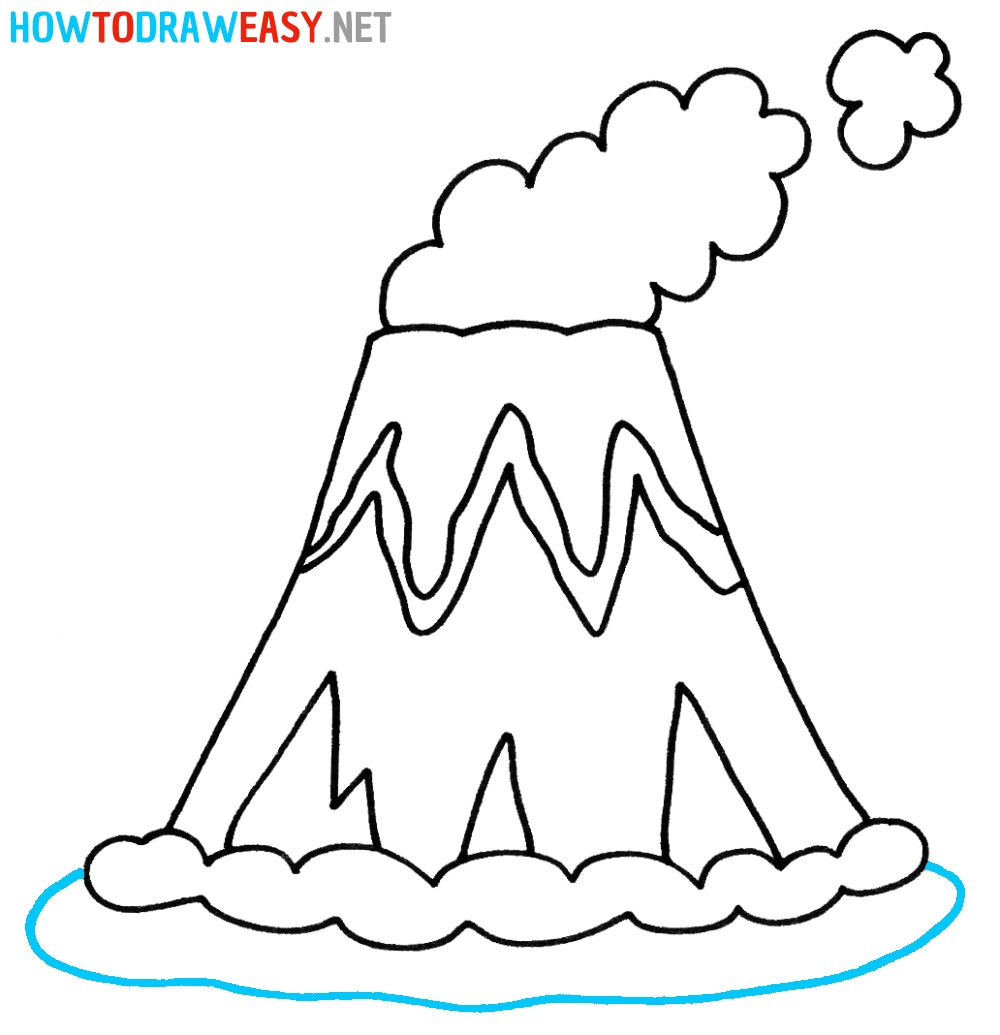
- Draw the volcano’s base.
Add detail to the volcano drawing by incorporating the rocky texture, as shown in the example.
- Add the ground.
Draw the ground beneath the volcano on which it is situated.
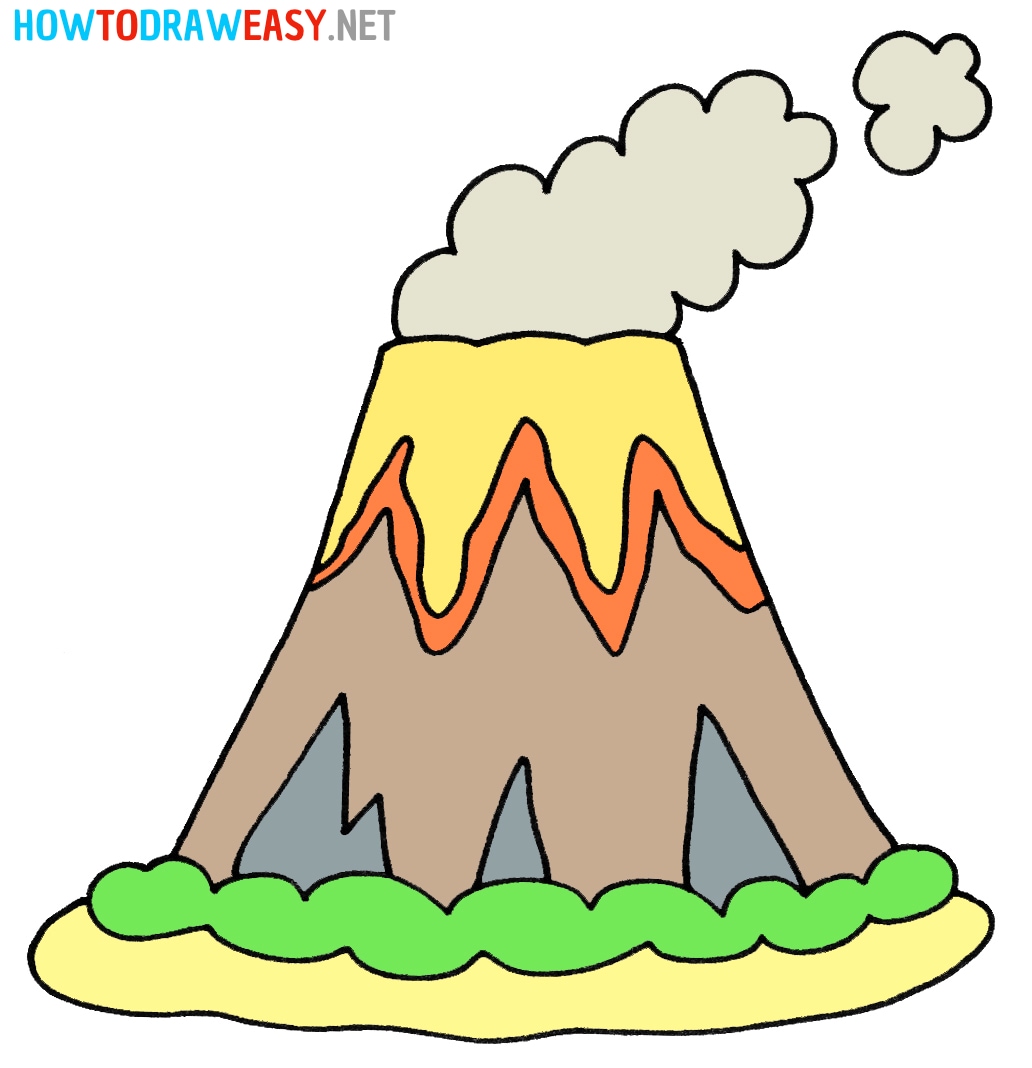
- Color the drawing.
The volcano sketch is ready, which means you need to trace the outline of the sketch and color your drawing.


We hope that this volcano drawing lesson has been interesting and helpful for you. Volcanoes are amazing natural formations, and learning to draw them can be an inspiring experience. You’ve learned the basic facts about volcanoes and discovered simple steps to create your own volcanoes on paper.
We hope that the volcano drawing lesson has sparked your creative imagination and inspired you to further explore the art of drawing. Don’t forget to practice and experiment, and remember that every step you take brings you closer to developing your artistic skills. We wish you good luck and creative success on your artistic journey!