
How to Draw a Turkey
Learn how to draw a turkey step by step with this easy tutorial. Follow simple instructions to draw a cute turkey with basic shapes, feathers, and color.


Turkeys Are Interesting and Unique Birds
Learning how to draw a turkey is a fun way to practice drawing birds and animals. Turkeys are large birds that are well known for their rounded bodies, long necks, and wide fan-shaped tails. In this step-by-step drawing tutorial, you will learn how to draw a turkey using simple shapes and easy lines.
Turkeys are native to North America and are especially well known in the United States. They are often associated with farms, forests, and rural landscapes. These birds are also famous because they are connected with the holiday of Thanksgiving, when turkey is traditionally served as a meal.
Wild turkeys are strong birds that can run fast and even fly short distances. They have long legs, large wings, and distinctive tail feathers that spread out like a fan. Male turkeys, also called toms, often display their tail feathers to appear larger and more impressive.
Why Turkeys Are Fun to Draw
Turkeys are great subjects for drawing practice because their bodies are made of simple shapes. Their body can be drawn as a large oval, while the head and neck are smaller rounded shapes.
By starting with these basic forms, artists can easily build the structure of the bird before adding details like wings, feathers, and legs. This method makes the drawing process easier and helps beginners understand proportions.
What You Will Need for This Drawing Tutorial
Before you begin learning how to draw a turkey, it is helpful to prepare a few simple drawing materials. The good news is that you do not need any special or expensive tools for this tutorial. Most beginners can complete this drawing using very basic art supplies.
First, prepare a sheet of paper. Any standard drawing paper will work well for this lesson. If you prefer digital drawing, you can also use a drawing tablet and your favorite drawing application.
Next, you will need a pencil. A pencil is perfect for sketching the basic shapes because you can draw light lines and easily correct them if necessary.
It is also useful to have an eraser nearby. An eraser helps you remove extra lines, fix mistakes, and clean up your drawing before adding the final details.
After finishing the sketch, you may want to use a black pen or marker to trace the final outline. This step makes the drawing look cleaner and more defined.
Finally, prepare some coloring tools if you would like to color your turkey. Colored pencils, markers, or crayons all work well. Adding color will make the drawing look more lively and complete.
Once your materials are ready, you can begin following the step-by-step instructions to draw your turkey.
What You Will Learn in This Tutorial
In this tutorial, you will learn how to draw a turkey step by step. We will start with simple shapes for the head and body. Then we will gradually add the neck, wings, legs, and the large tail feathers that make turkeys so recognizable.
By following each step carefully, you will be able to create a cute and simple turkey drawing that you can color and decorate.
Time needed: 15 minutes
How to Draw a Turkey Step by Step
- Draw the Head and Body Shapes
Start by drawing two basic shapes. First, draw a small oval for the turkey’s head near the upper left side of your paper. Then draw a much larger oval below and slightly to the right for the turkey’s body.
These shapes will act as the foundation of the drawing.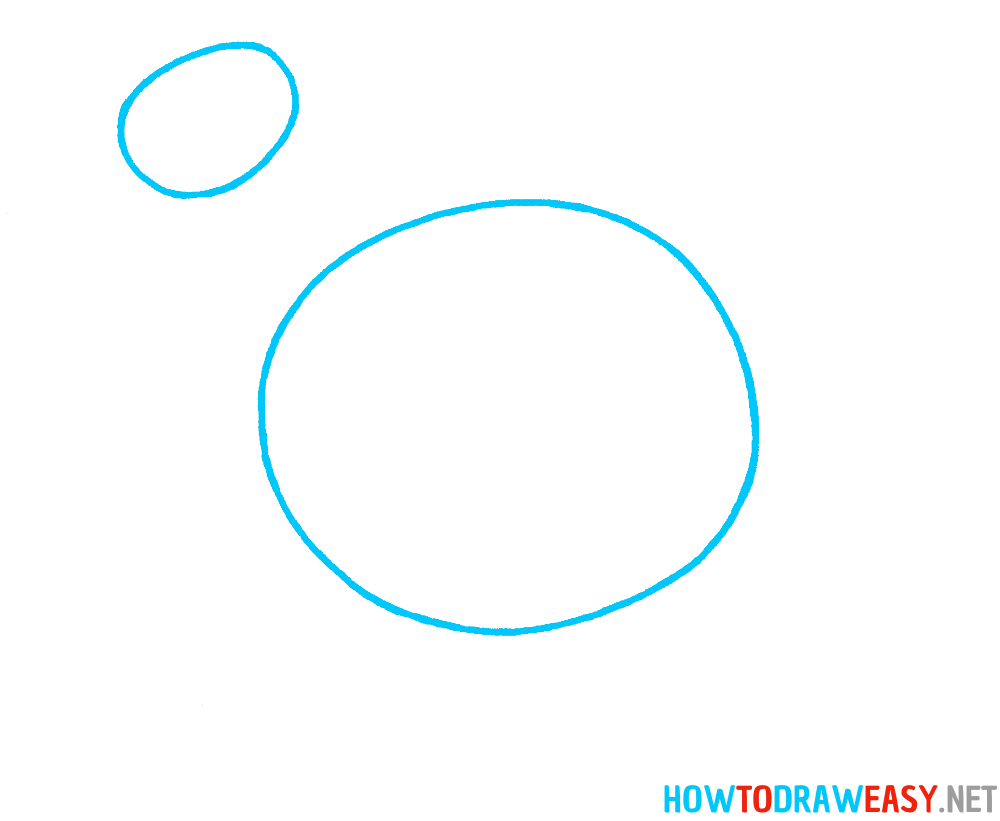
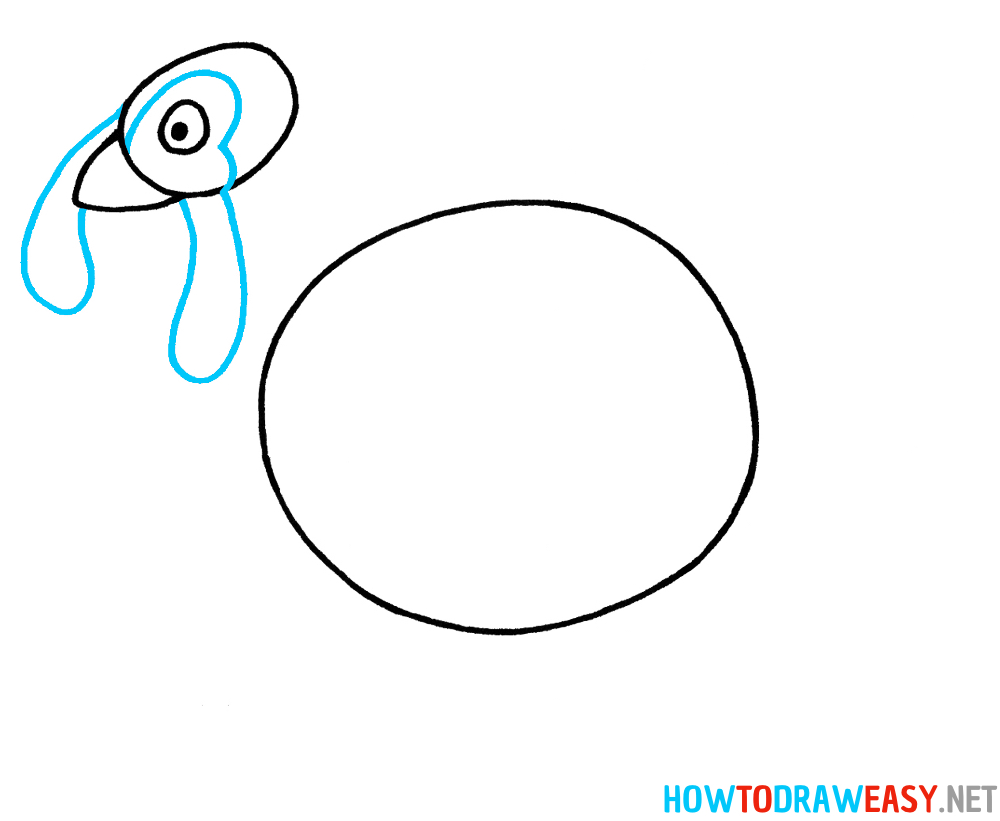
- Add the Face and Beak
Inside the head shape, draw a small circle for the eye. Then add a curved shape in front of the head to form the turkey’s beak.
Keep the lines simple and light, since these shapes will guide the rest of the drawing.
- Draw the Neck and Wattle
Turkeys have loose skin hanging from their necks, so add two soft, drooping shapes below the head. These shapes represent the turkey’s wattle and crest, which are distinctive features of this bird.
- Connect the Head to the Body
Now draw the turkey’s long curved neck connecting the head to the body. Draw a curved line from the bottom of the neck to the body. Then add a small fluffy shape where the neck meets the body to represent the feathers at the base of the neck.
At this stage, the basic structure of the turkey should be clearly visible.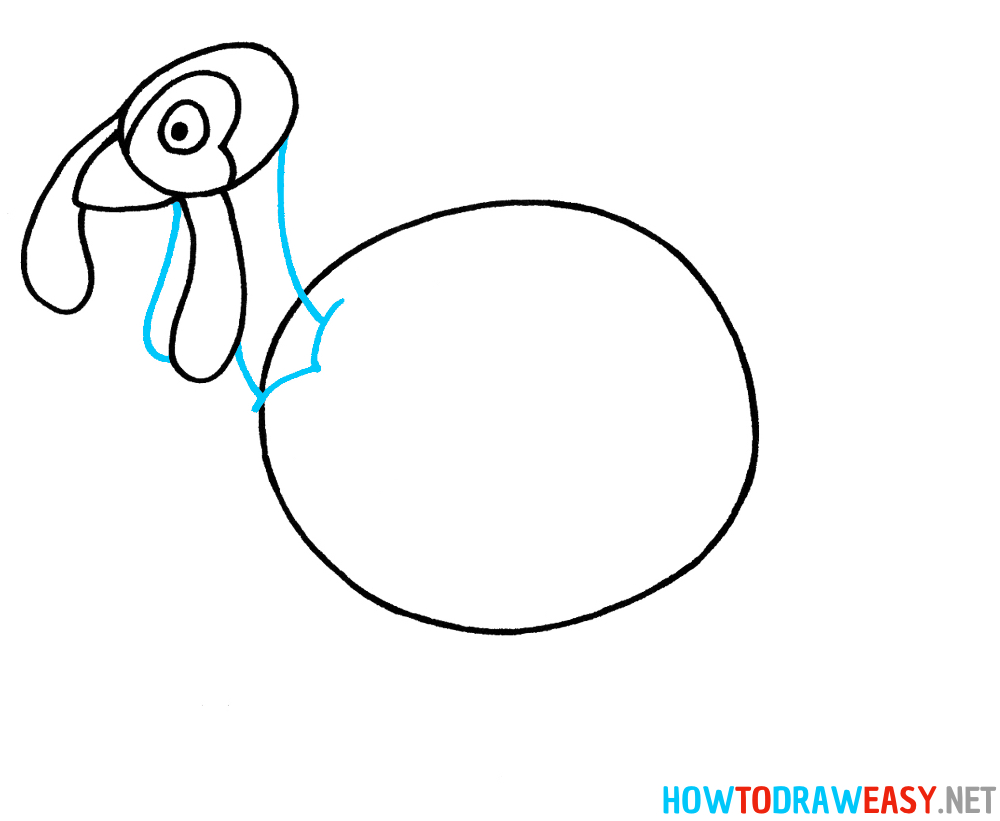
- Draw the Wing and Back Feathers
Now begin drawing the wing on the side of the body. Use curved, layered lines to create a feathered shape that rests against the body.
Then add several curved lines at the back of the body to start forming the tail feathers.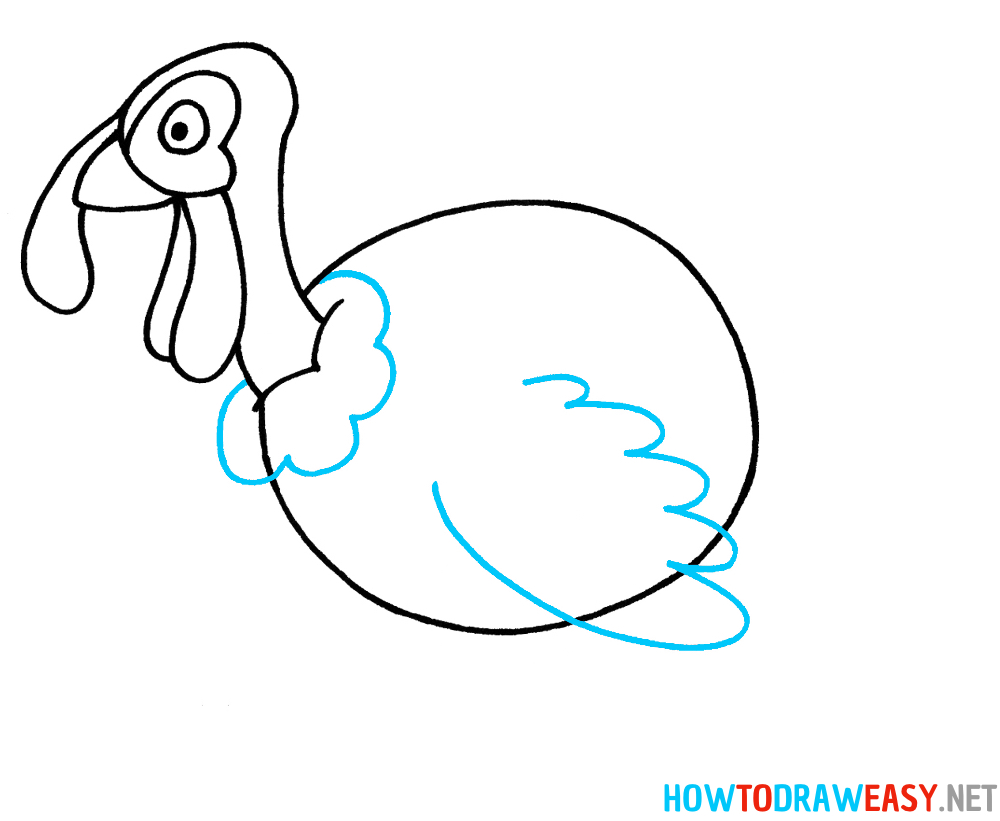
- Add the Legs and Feet
Draw two long legs extending downward from the body. Turkeys have thin but strong legs.
At the bottom of each leg, draw simple shapes to form the feet and toes. Each foot should have three toes pointing forward. Also detail the wing as in the example.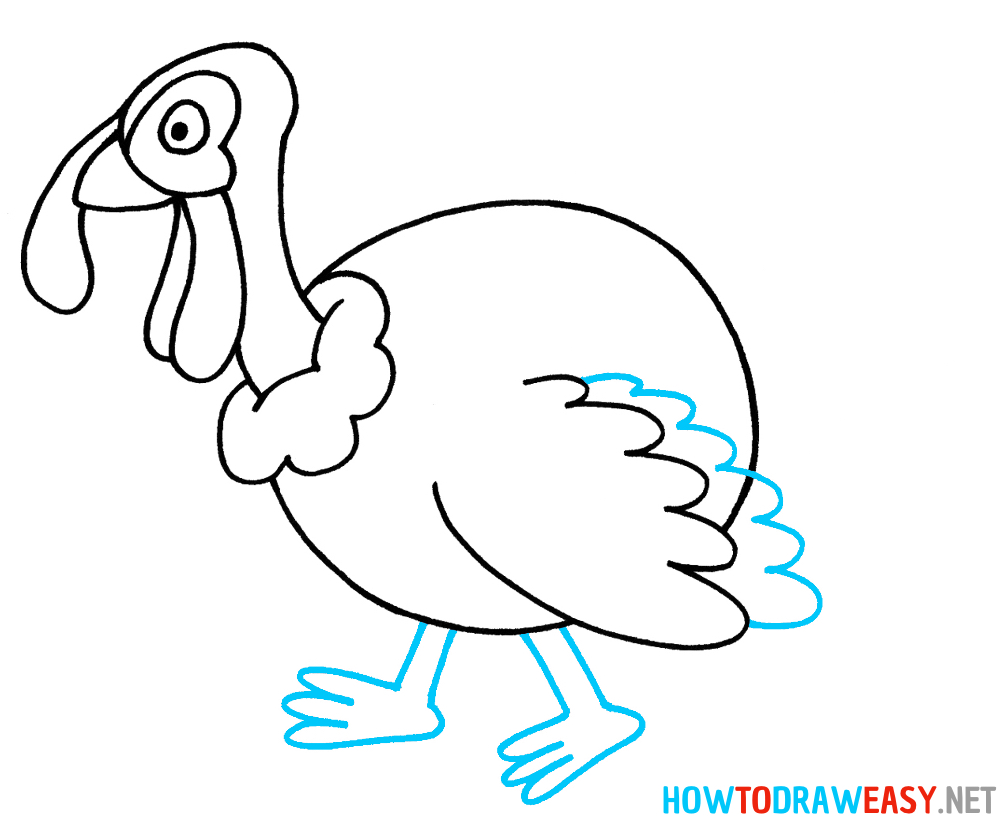
- Draw the Large Tail Fan
Now add the turkey’s large fan-shaped tail. Draw a wide semicircle behind the body.
Use rounded bumps along the edge to represent individual feathers. This large tail is one of the most recognizable parts of a turkey.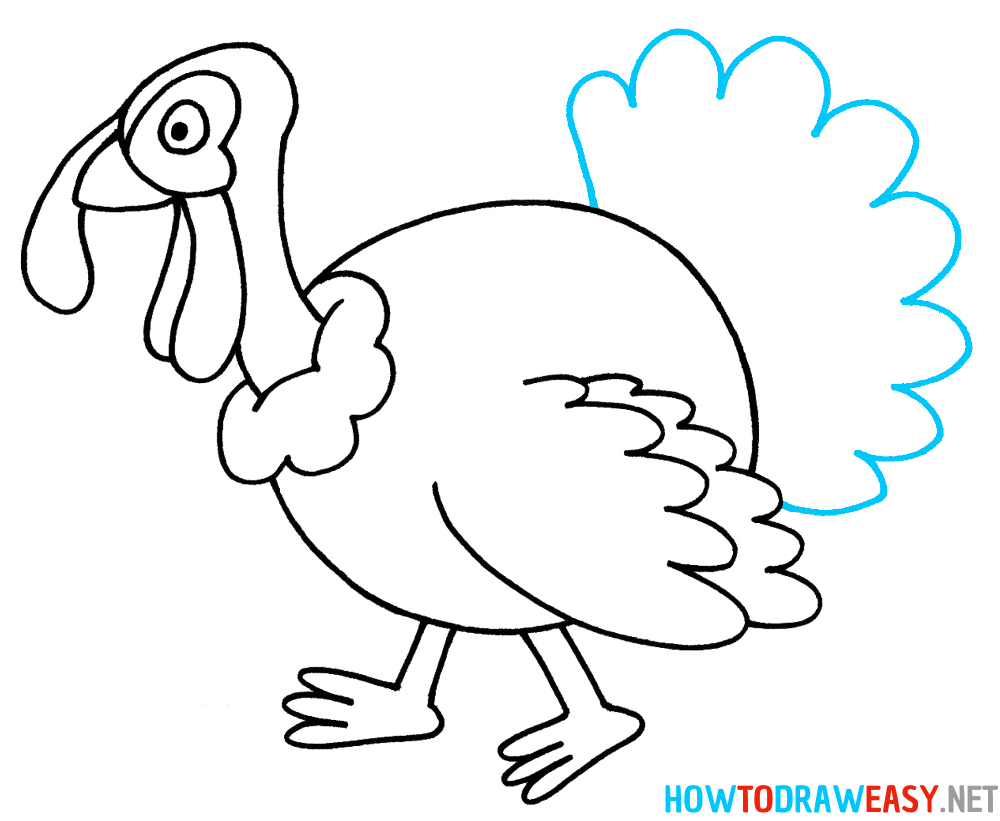
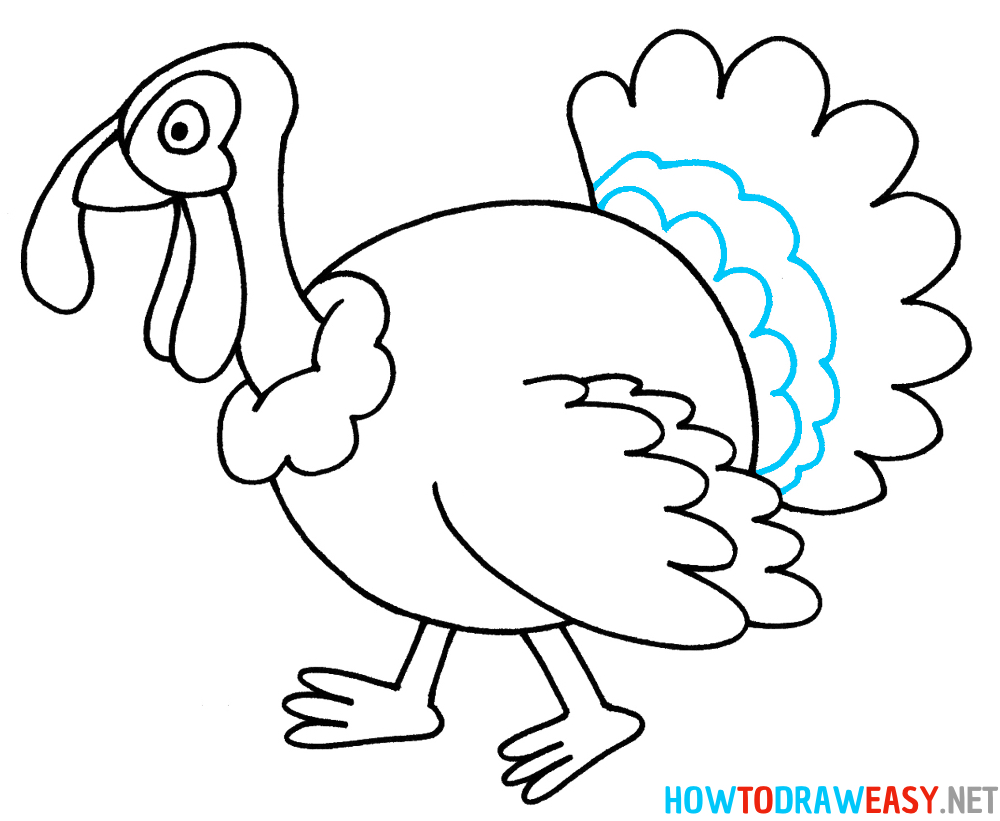
- Add Inner Tail Feathers
Inside the large tail fan, draw another row of smaller curved feather shapes. This second layer adds depth and makes the tail look fuller and more detailed.
- Add Feather Texture and Final Details
Finally, add small curved marks across the body to represent feathers. You can also refine the wing and tail shapes.
After cleaning up any extra sketch lines, color the turkey.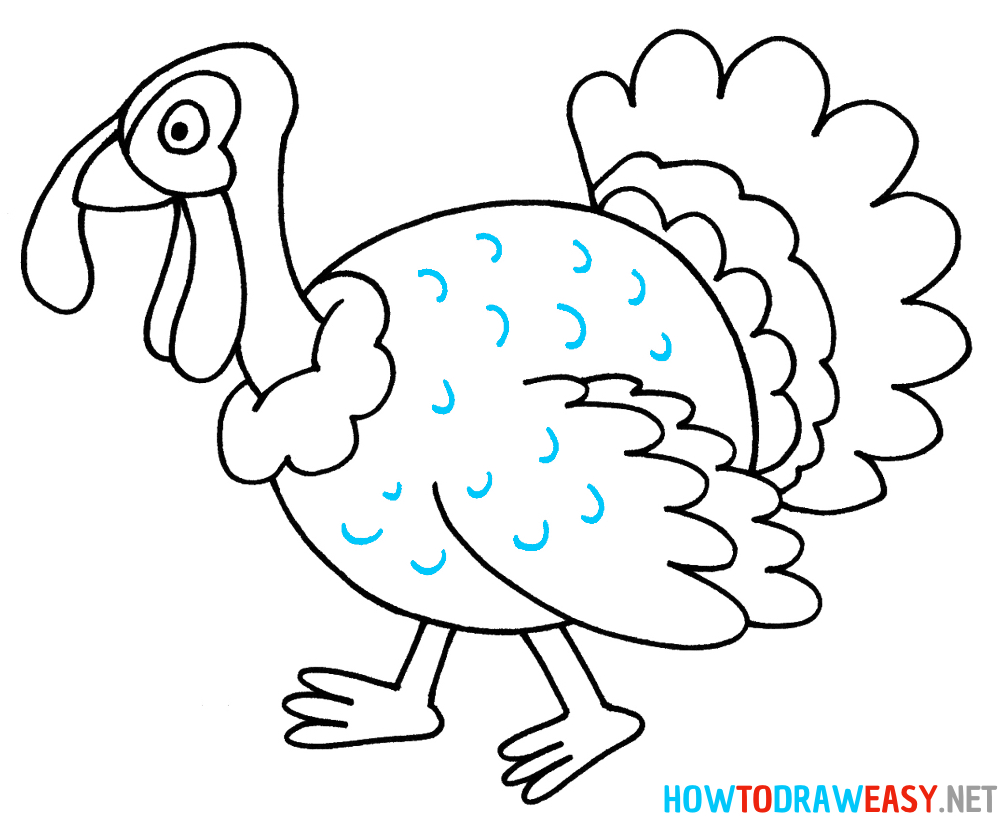
- Color the Turkey
In the final step, it is time to color your turkey drawing.
Start by coloring the turkey’s body with brown shades, since most turkeys have brown feathers. You can use darker brown for the wings and tail feathers and lighter brown for the body to add some variation.
Color the beak and legs yellow, which is a common color for many birds. The skin around the head and neck can be colored red or pink, which represents the turkey’s wattle and snood.
You can also color the large tail feathers with different shades of brown or add lighter tips to make them look more interesting.
Once you finish coloring, your turkey drawing will look bright, colorful, and complete.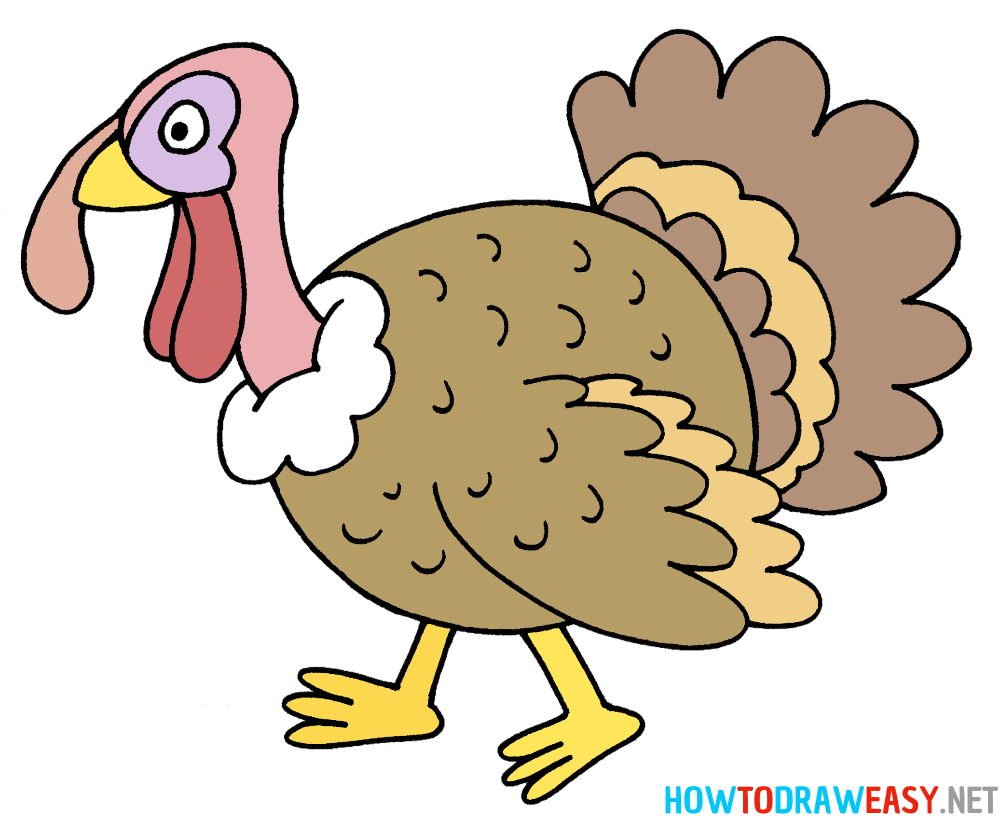


You Have Learned How to Draw a Turkey
Great job! By following this tutorial, you have learned how to draw a turkey step by step using simple shapes and easy lines. Starting with basic forms and slowly adding details is one of the best ways to learn how to draw animals.
This method helps artists understand the structure of the subject before focusing on details like feathers and textures.
Practice Makes Drawing Easier
Drawing improves with practice. Try drawing the turkey several times and experiment with different poses or styles. You can make the tail larger, add more feather details, or draw the turkey walking or standing.
Each time you repeat the drawing, your lines will become more confident and natural.
Continue Learning to Draw Animals
If you enjoyed this lesson, try drawing other animals and birds using the same step-by-step approach. Many animals can be drawn using simple shapes like circles and ovals.
Keep practicing, stay creative, and most importantly have fun drawing!